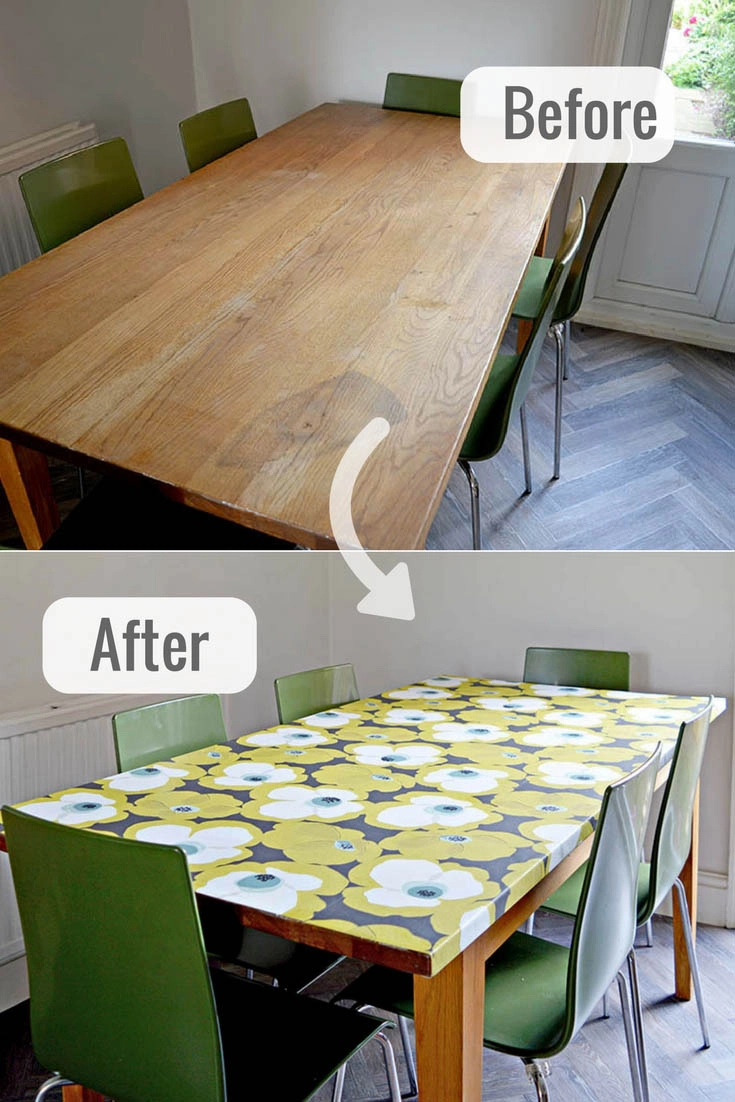
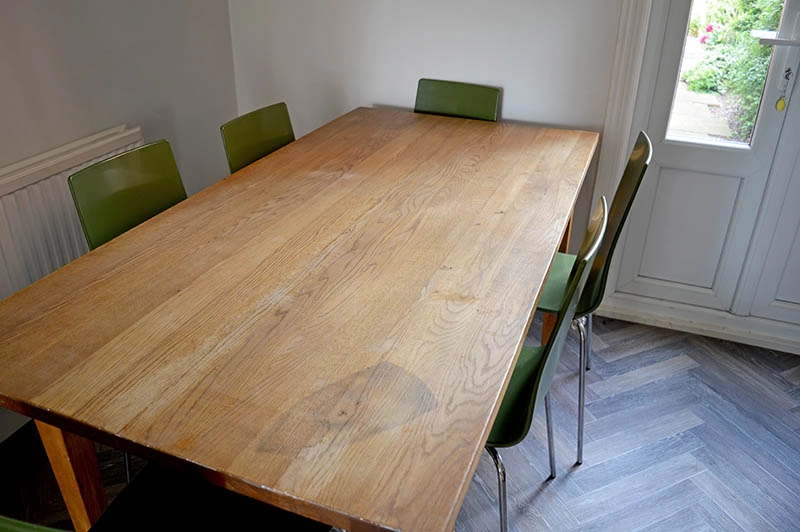
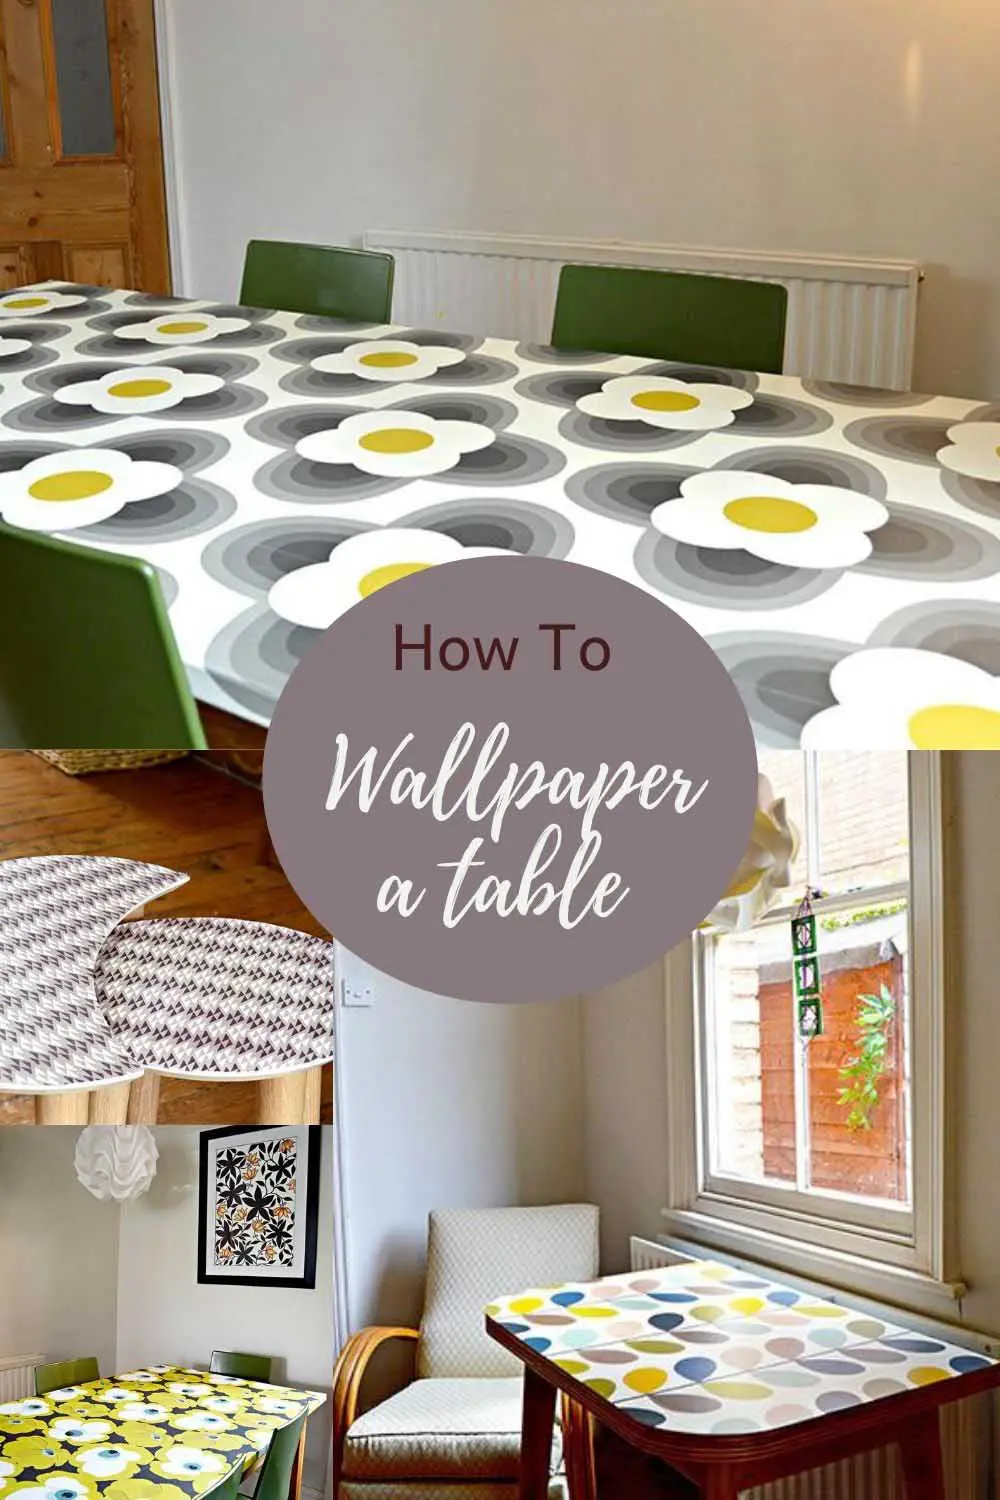
My friend Wendy’s dining room table is not just for eating on, she and her sons also paint and craft on it. The table is well used and as a result full of scratches, marks, and even a great big dirty iron burn. It was time to do a decoupage table top revamp.
Wendy wanted a bright and colourful look for the table with a mid-century modern vibe to fit in with the rest of her decor. The best way to achieve this was to decoupage the tabletop with some designer wallpaper.
Get A Designer Look: Decoupage Furniture With Wallpaper
Upcycling with wallpaper is a great alternative to painting a table top. Lots of wallpapers come with a special wipe-clean coating. There are loads of fantastic bright and colourful designs to choose from to give you a unique piece of furniture.
Also when you tire of the decoupage table top it is so easy to strip the wallpaper off and change the design.
We have used wallpaper to decoupage loads of things around the home. Form wallpapered mirror frames, to the kitchen bin, a kitchen wallpaper backsplash even our stairs are wallpapered with a Marimekko design.
We’re a participant in the Amazon Services LLC Associates Program, an affiliate advertising program designed to provide a means for us to earn fees by linking to Amazon.com and affiliated sites. As an Amazon Associate, I earn from qualifying purchases.
What you need to decoupage table top with wallpaper
- Wallpaper – You will not need more than a 1/4 of a roll of wallpaper. The wallpaper used for this table was Romo Makela Quince and oversized poppy design with a mid-century modern feel.
- Wallpaper paste and bowl for mixing paste.
- Wallpaper paste brush
- Wallpaper smoothing brush
- Rotary cutter and mat
- Metal meter ruler
- Wallpaper scissors
- Crystal Clear Indoor Varnish
How to decoupage table top with wallpaper
1.. The first thing to do is to make sure that the top of your table is clean, dry, and dust-free.
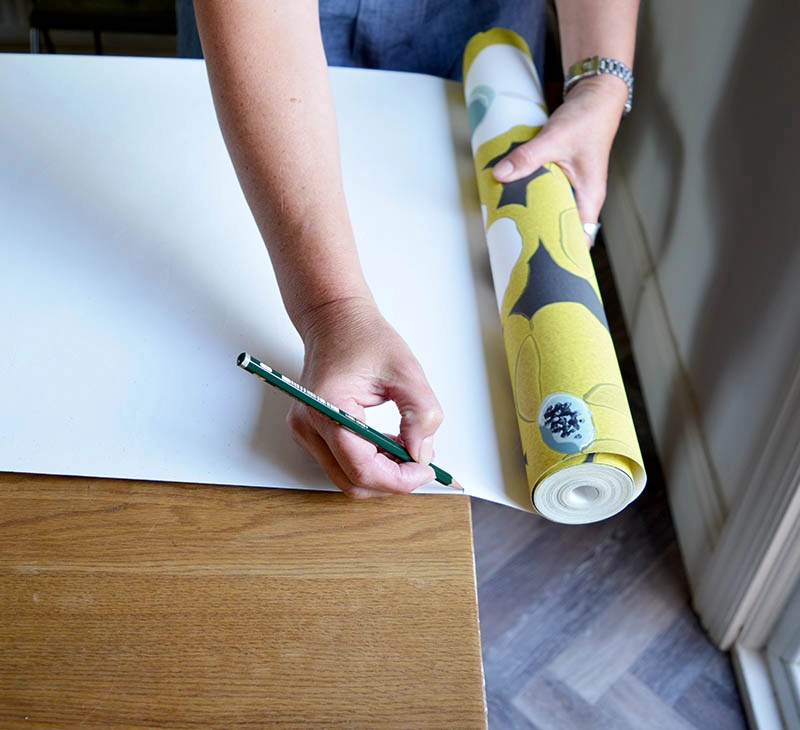
2. The next part is the most tricky part of wallpapering a tabletop, measuring the wallpaper. Unless you have a particularly skinny table, the table top will be more than one wallpaper roll width wide.
The table was in fact 2 wallpaper widths wide. However, because of the way the wallpaper was patterned we cut 3 widths of wallpaper. To make sure you didn’t notice any difference in the way the pattern matched up.
What patterned wallpaper you use will affect how you cut the paper to fit the table. I find a smaller busier print is easier to pattern match.
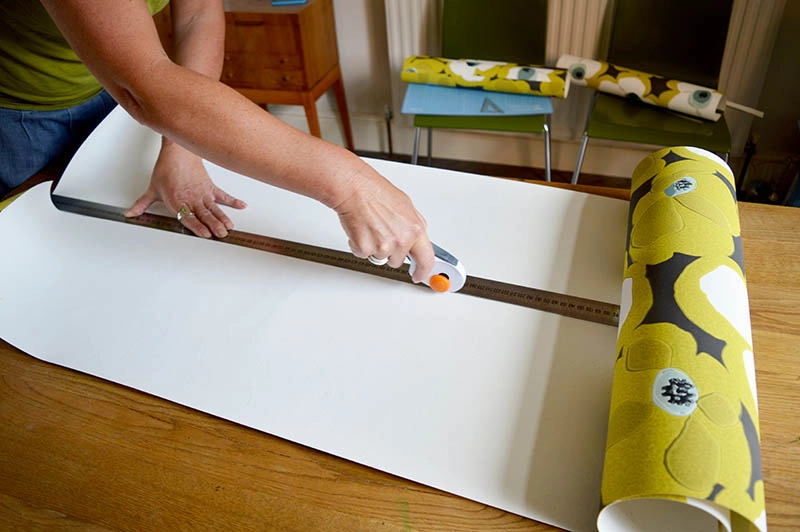
Top tip: Center your wallpaper roll in the middle of the tabletop and measure the length. Using a rotary cutter and mat cut the wallpaper.
3. For the next step, you will need to work out the measurements of the 2 strips of wallpaper on either side of the middle strip. Carefully make sure that the pattern of the wallpaper matches up with either side of the center strip.
These 2 strips would be as wide as the centrepiece. Make sure that you allow for an overlap over the edge of the table. The wallpaper can be trimmed at the end. It’s better to have too much wallpaper than not enough.
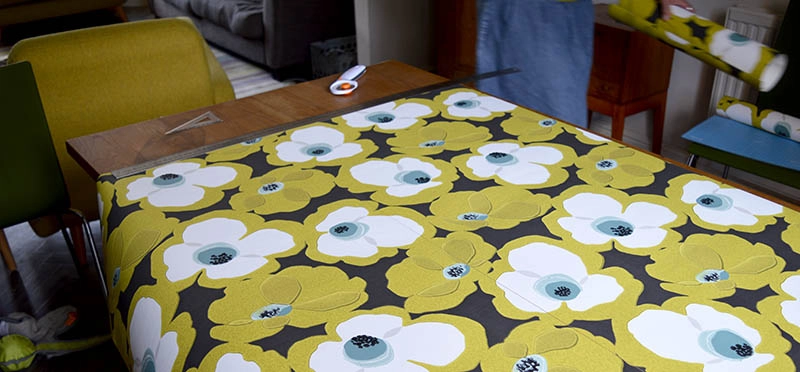
4. When you are happy with the 3 strips of wallpaper you have for the tabletop. Make up the wallpaper paste to the instructions on the packet.
Then using a wallpaper brush paste the back of your wallpaper. Fold over and leave to one side for a couple of minutes.
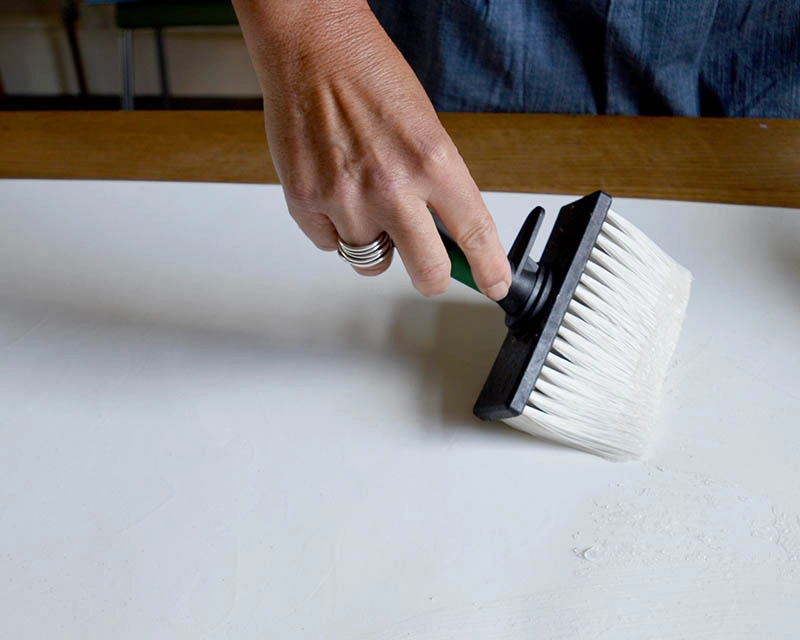
5. In the meantime also paste the table and leave for a couple of minutes. This will provide an extra key for the wallpaper.
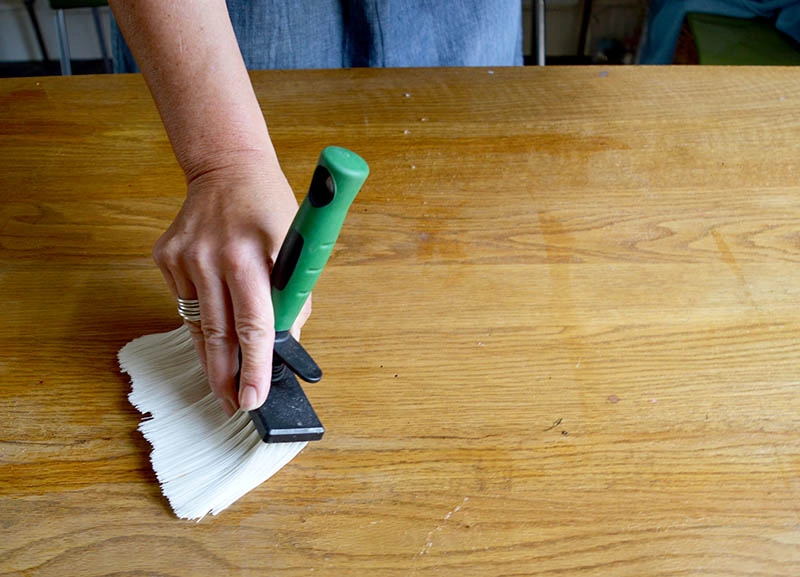
6. Next, lay the middle strip of wallpaper on the top of the table and carefully move it into position so it is in the centre. Using a smoothing brush smooth out the wallpaper and remove any air bubbles.
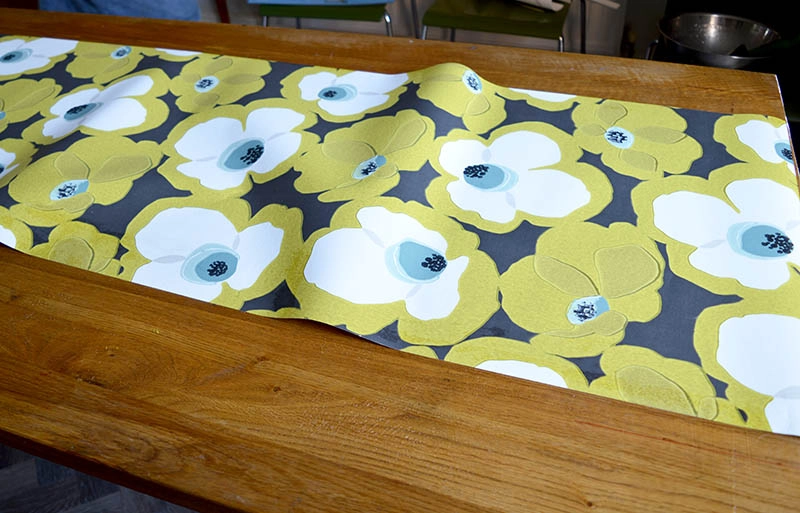
7. Then, take the second strip of pasted wallpaper and lay it on the table next to the middle piece carefully lining up the patterns. Trim off any excess width with wallpaper scissors and wrap the wallpaper around the side edge of the table.
Again smooth out air bubbles with a wallpaper brush.
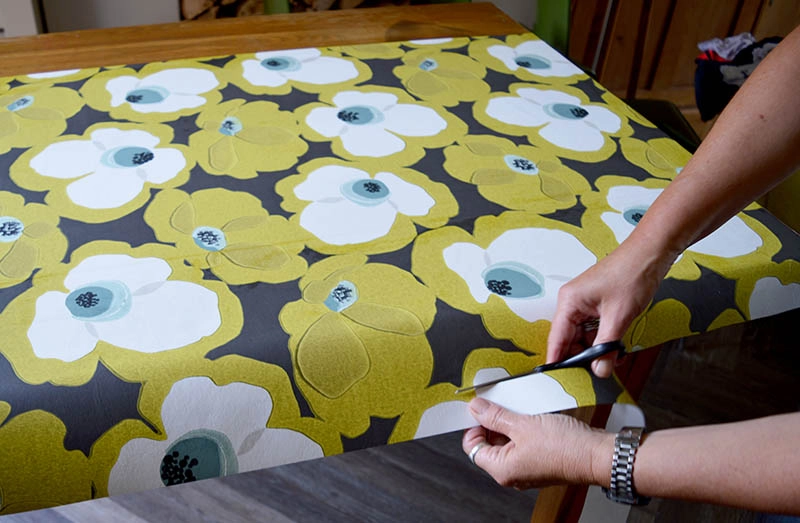
8. Then, repeat with the final strip of wallpaper on the other side.
Leave the wallpaper a few hours to dry. Then, to provide extra protection to your table, coat the decoupage tabletop with 2 coats of crystal clear varnish.
Top tip: Make sure that you use crystal clear varnish and not just clear varnish. As clear varnish can leave a yellow tinge. In fact I recommend testing the varnish on a scrap piece of wallpaper first to make sure it doesn’t yellow the wallpaper decoupage tabletop.
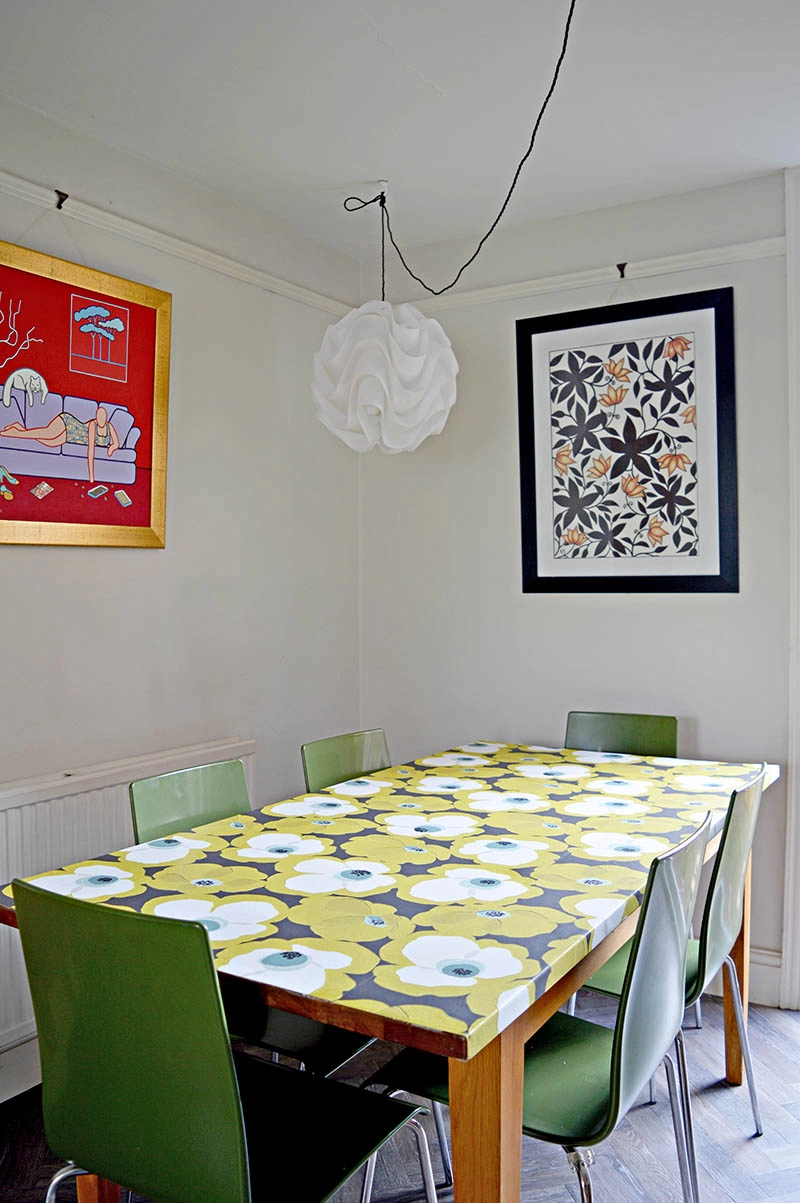
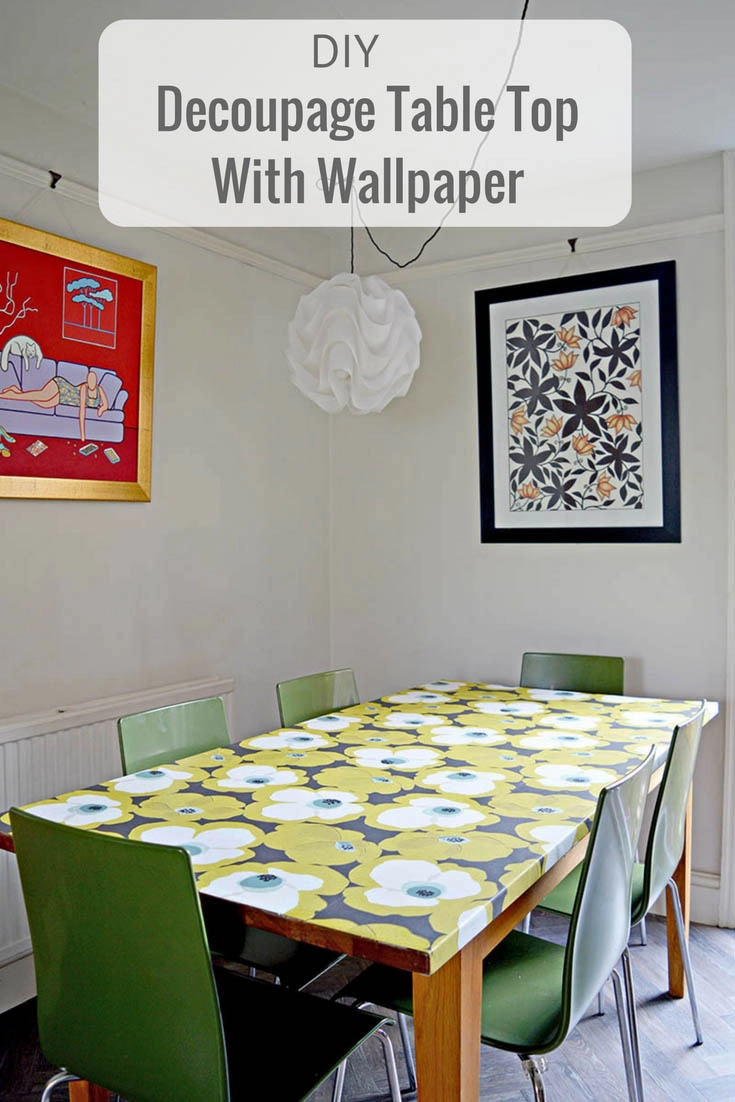
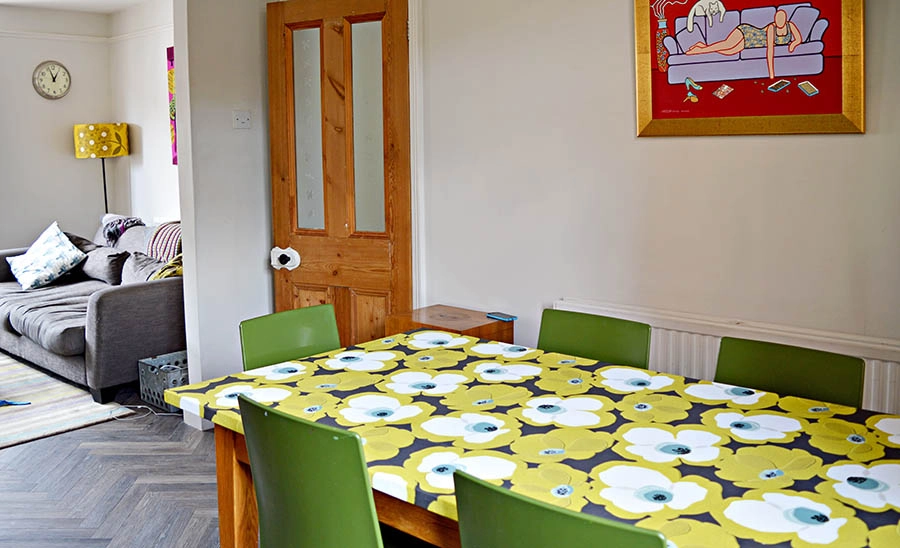
Wendy’s battered old table looks like new with its fresh decoupage tabletop. The wallpaper she chose really compliments her mid-century modern decorating style. It still amazes me what a difference a bit of wallpaper can make.
She has enough wallpaper left over to make a wallpaper lampshade to match.
I have also used wallpaper for an IKEA Hemnes hack, giving a plain dresser a tropical update.
Wallpaper is not the only material that can be used to upcycle tabletops. I created a piece of Marimekko wall art by decoupaging a tabletop with paper napkins. I also transformed a boring IKEA table into a map table with a gift wrap decoupage.
I’ve also used paint for tabletops and countertops including painting my kitchen worktops.

Laurie
Monday 9th of August 2021
I tried this on some vintage drawers and no matter how carefully I spread paste to the edges the paper start to come away when it’s dry and if you lift it it the paper would just come off in a sheet. Why won’t it stick properly. Do I need to do something other than degrees the wooden surface?
Claire Armstrong
Monday 9th of August 2021
Did you try and key the wood first. That is add a layer of glue to the wood then let it dry fully before adding more glue and the wallpaper. I find that if I key the surface first the wallpaper sticks with no problem.
Maria V Oliver
Tuesday 18th of August 2020
Great project. Beautiful wallpaper. Where can I get it. Thanks
Claire Armstrong
Wednesday 19th of August 2020
Thank you. I got it from wallpaperdirect it’s the Albany Shangra Larange.
Cara
Friday 12th of January 2018
Nice idea! Your friend really needs to lower her artwork though, it's all hung way too high. Art should be hung at eye level, centre of the piece should be at 58" high. Meanwhile, the light fixture should be hung 30-34 inches above the dining table. (And she shouldn't loop the cord, looks too messy.)
Claire Armstrong
Friday 12th of January 2018
Thank you, I will pass on your suggestions.
Val
Friday 15th of September 2017
Lovely idea, especially as it'll be relatively easy to get off in the future for a change of paper maybe. Can I ask if you sealed it as my table gets lots of use daily and things get spilt etc. I wouldn't want cup circle stains on it etc.. Any ideas?
Valerie A Jones
Wednesday 25th of August 2021
@Claire Armstrong, What brand or type of varnish?
Claire Armstrong
Saturday 16th of September 2017
Thank you. Yes the table was sealed with a varnish, a couple of coats. That protects it from everyday ware and tear.
Doober
Friday 7th of July 2017
It's cute but I would have added trim all the way around the edge of the table.
Claire Armstrong
Friday 7th of July 2017
Thank you, and thanks for the suggestion.