Create a stunning moth sewing project using upcycled denim and fabric scraps! Follow our detailed step-by-step instructions and free pattern to craft beautiful faux taxidermy moths, perfect for all skill levels.
Upcycling projects don’t always have to be practical and functional; they can also be fun and frivolous. This is especially true of this upcycled denim moth taxidermy project, designed for various skill levels and perfect for transforming scrap fabric into a larger-than-life fabric moth.
I love to upcycle fabrics, especially the little scraps that people often don’t think are worth keeping. I have a big bag of beautiful fabric scraps and bits of old jeans waiting to be transformed into something fun. This project uses leftover scraps and upholstery fabrics to create stunning moths.
There are many cool adult craft ideas on the blog, where I’ve upcycled fabrics into fun things such as flowers, whole succulent gardens and beautifully crafted denim and tartan feathers. This is the first time, though, I’ve attempted insect taxidermy.
Fabric Butterflies and Fabric Moths
Initially, I thought of making denim butterflies, but I changed my mind. I decided to make moths instead. Both insects are very similar. Butterflies are beautiful and the show-offs of the insect world, but I prefer the understated coolness of moths.
Moths, on the whole, are less pretty than butterflies and tend to be duller in colour. But some moth species often have hidden flashes of beauty that only show when in flight.
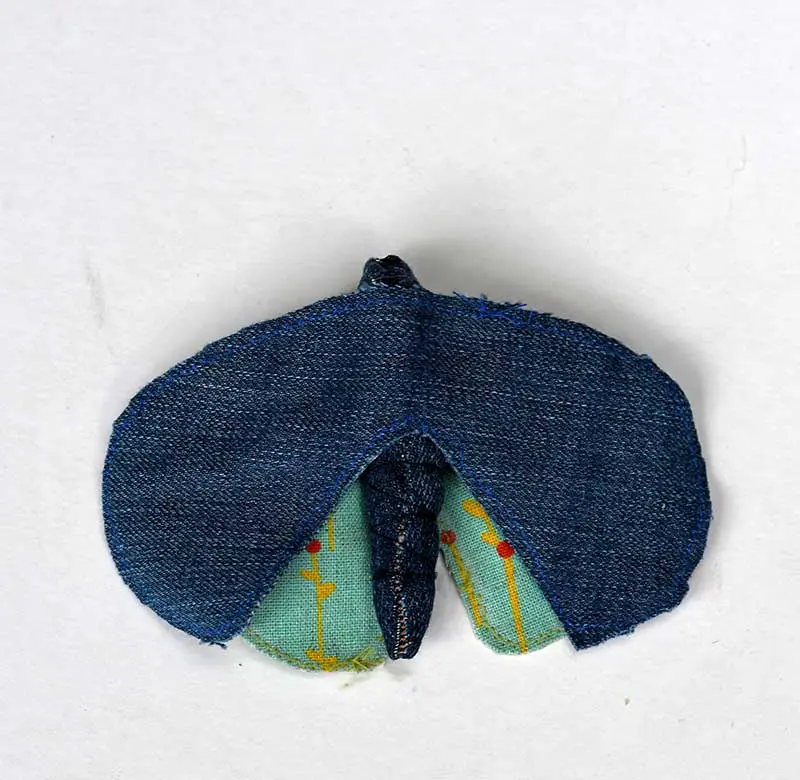
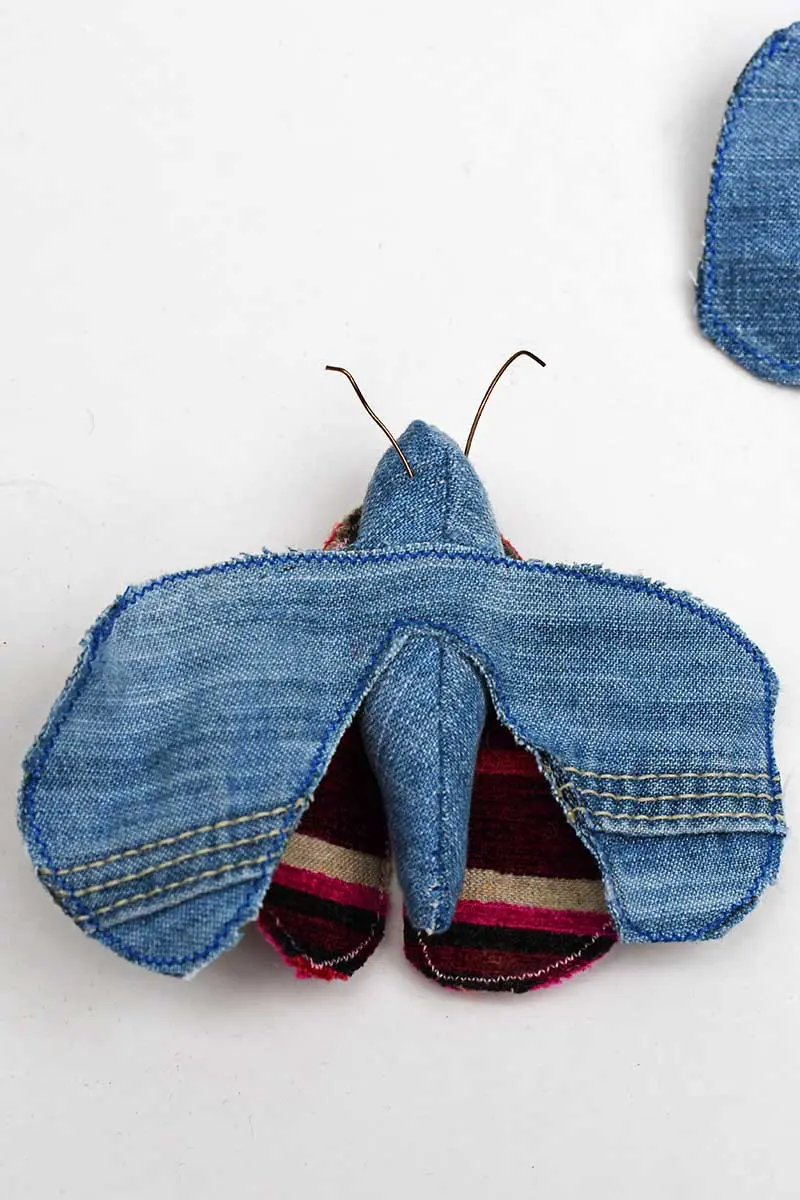
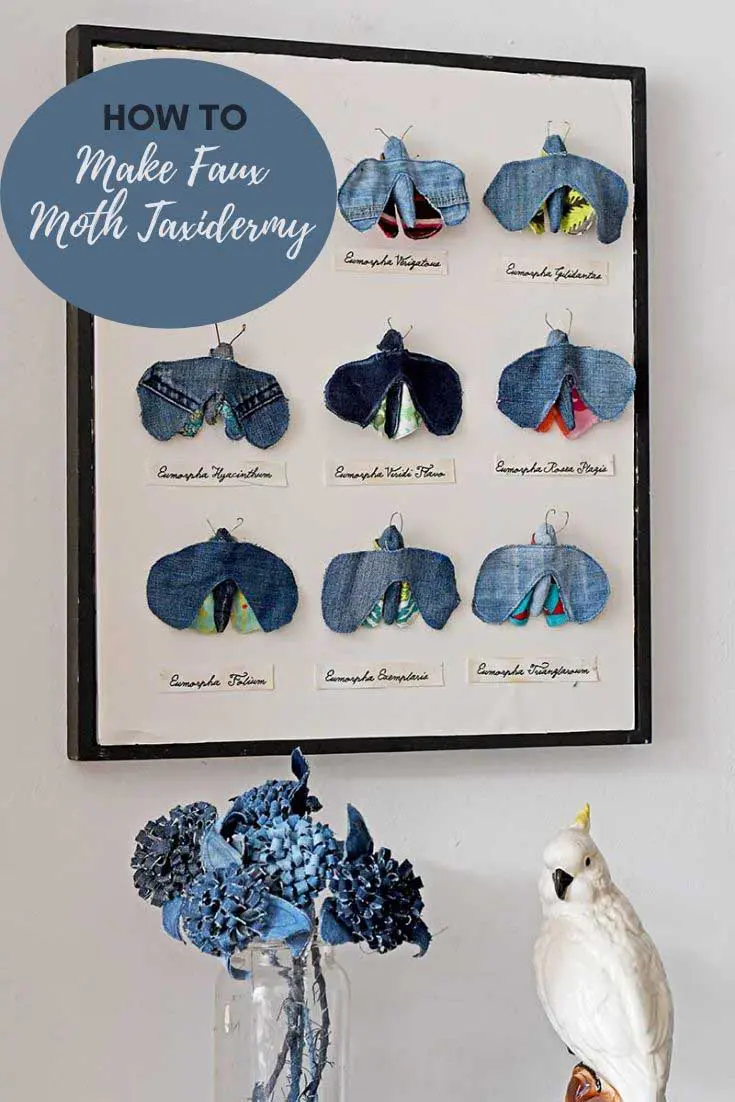
I could capture this with my fun taxidermy by creating two sets of wings for each moth—the upper wings in denim and the lower wings in a more colourful fabric.
These denim fabric moths were made using a sewing machine, but they can easily be made as a no-sew upcycle project. Instead of stitching the fabric wings together, they could be glued with fabric glue. The sewing pattern includes detailed step-by-step instructions, making it accessible for all skill levels.
Creating a Moth Taxidermy Specimen Display
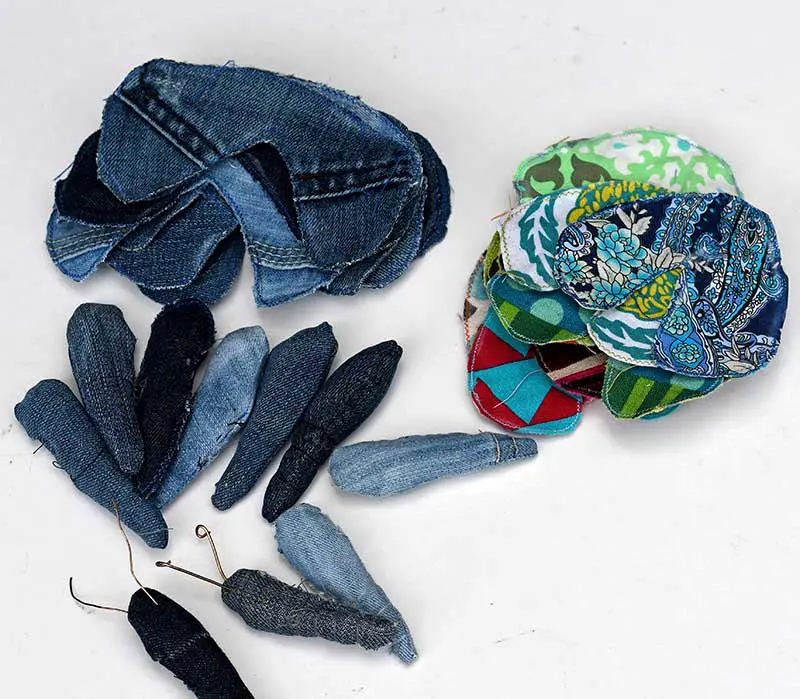
Once I started making these upcycled fabric moths, I couldn’t stop. Soon, I had a collection of faux moth taxidermy. I love upcycling denim and using scraps from several old pairs of jeans. It is a great way to show off the wonderful different shades of indigo denim that come in. Every fabric moth was made from a different shade of denim and patterned fabric, following a free pattern available on the blog.
I thought a fun way to display these moths would be in a traditional insect display case. These days, displaying real insects in specimen cases, as they did in the past, seems ethically and environmentally dodgy. However, I thought it would be OK with this faux taxidermy.
I even gave each of my upcycled denim moths a faux scientific Latin name to add to the effect. I mounted the fabric moths using the same insect pins that entomologists use. This finished ornament makes perfect little presents for friends and family.
The denim moths featured in the alphabet of denim crafts, under the letter M. And in this collection of butterfly crafts for adults.
We’re a participant in the Amazon Services LLC Associates Program, an affiliate advertising program designed to provide a means for us to earn fees by linking to Amazon.com and affiliated sites. As an Amazon Associate, I earn from qualifying purchases.
What You Need To Make Fabric Moth Wall Art
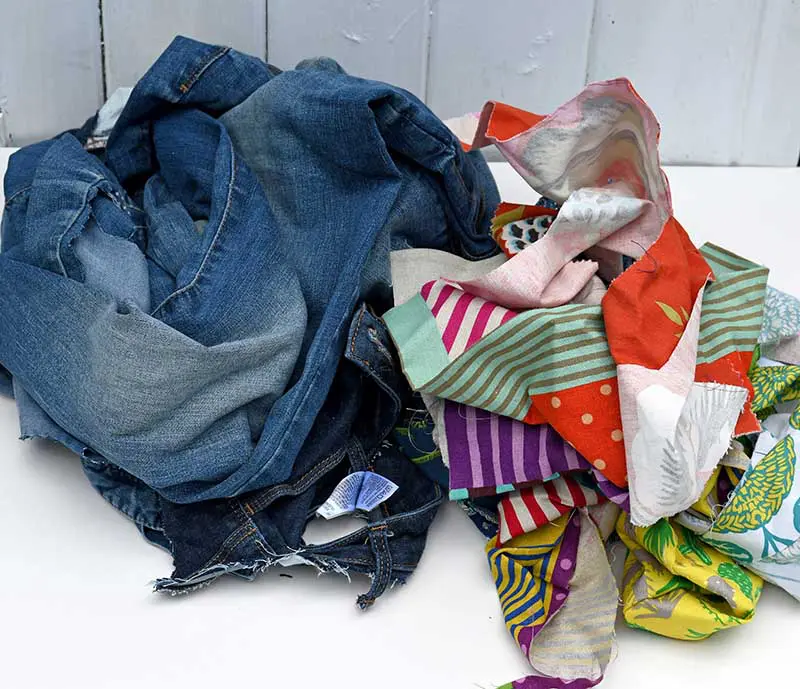
- Scraps of denim and fabric in various colours. When I say scraps, I mean scraps, as you only need tiny pieces of fabric for each moth.
You might have a favourite old patterned shirt or blouse that you want to turn into a moth. Fabric swatch samples would also work well with this upcycle project—the more colourful, the better.
- Tailor’s chalk
- Frame for mounting the moth taxidermy
- Foamboard to fit the mounting frame
- Free moth sewing pattern
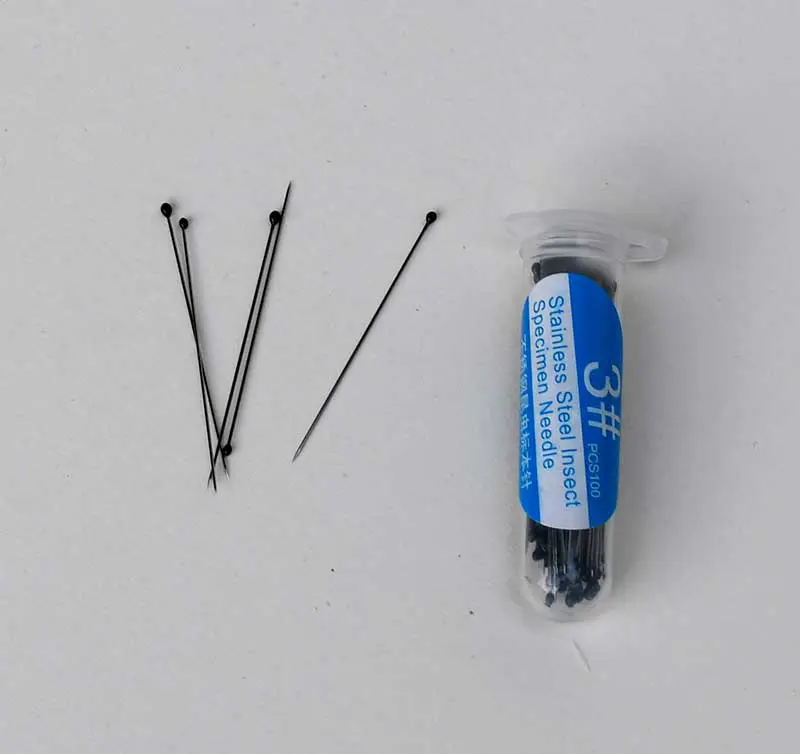
- Insect mounting pins
- Sewing machine or fabric glue
- Superglue gel with a brush
- Craft wire for the moth antennae
- A small amount of fiberfill
How To Make Fabric Moth Taxidermy
Step 1: Print off the moth sewing pattern and cut out the template pieces. There is a pattern for the top wings, one for the underwing and a body pattern piece.
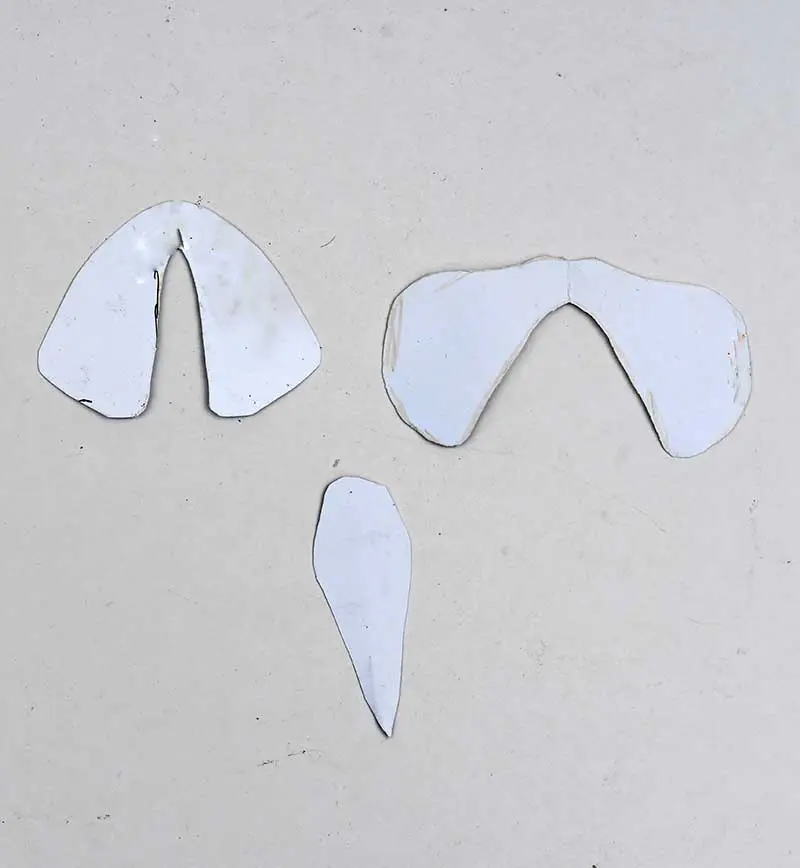
Step 2: Fold over a piece of scrap denim that is double-thickness. Or use a denim pocket from a pair of jeans. Place the larger upper wing template on top of the denim right sides up and draw around with the tailor’s chalk.
Do the same with the moth’s body.
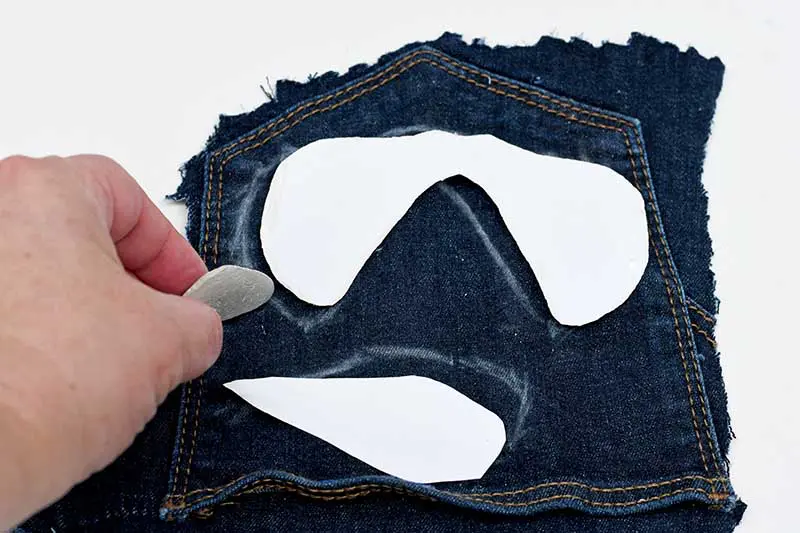
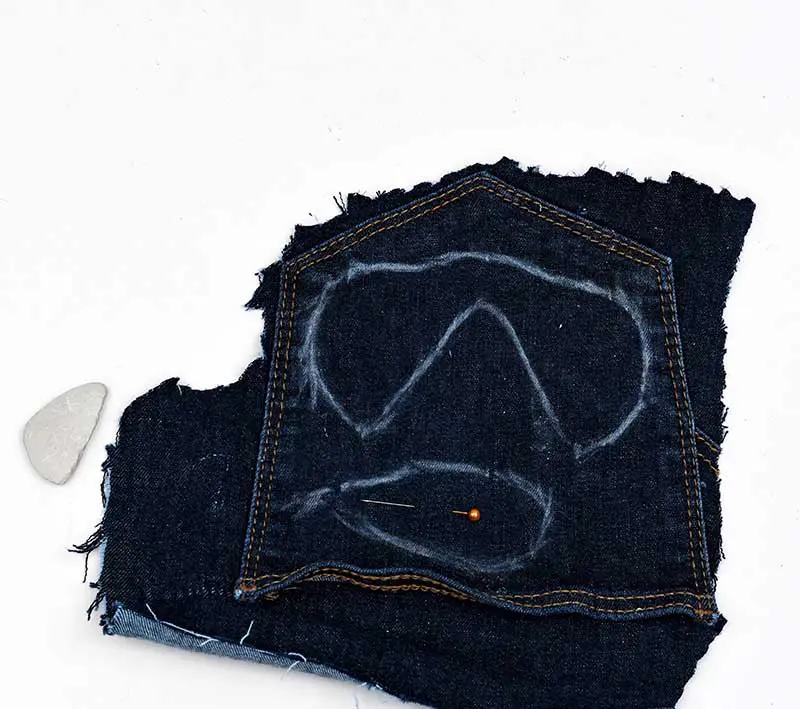
Step 3: Next, sew around the moth denim wing shape using a sewing machine, following the chalk marks. I set my sewing machine to a small zigzag stitch setting.
Then, cut out the wing shape to be as close to the stitching as possible.
Top tip: If you don’t have a sewing machine, stick the two pieces of fabric together with glue instead of stitching. Then, cut the shape out following the chalk lines.
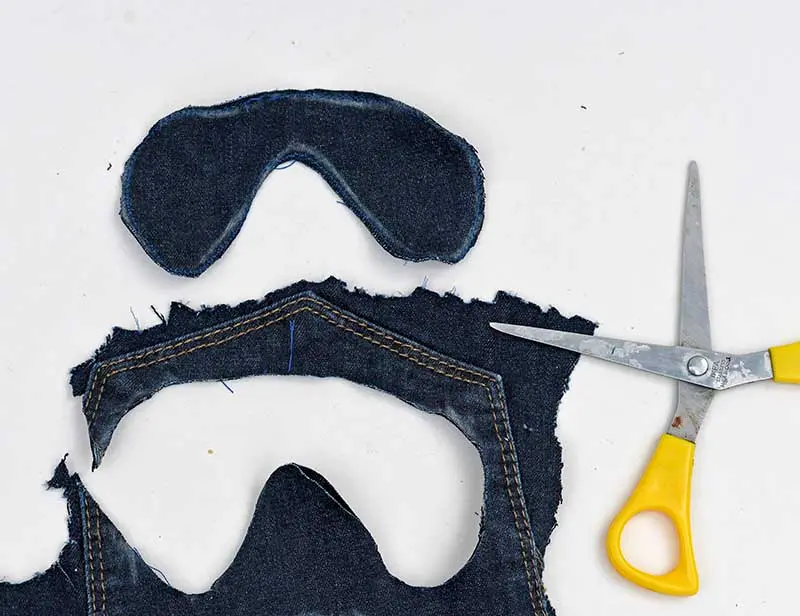
Step 4: Cut out the two denim body pieces. Stitch them together, leaving a small hole. Stuff the moth body with fiberfill and then stitch it shut. Cut two small wire antennae from the craft wire and stick them into the moth’s body head.
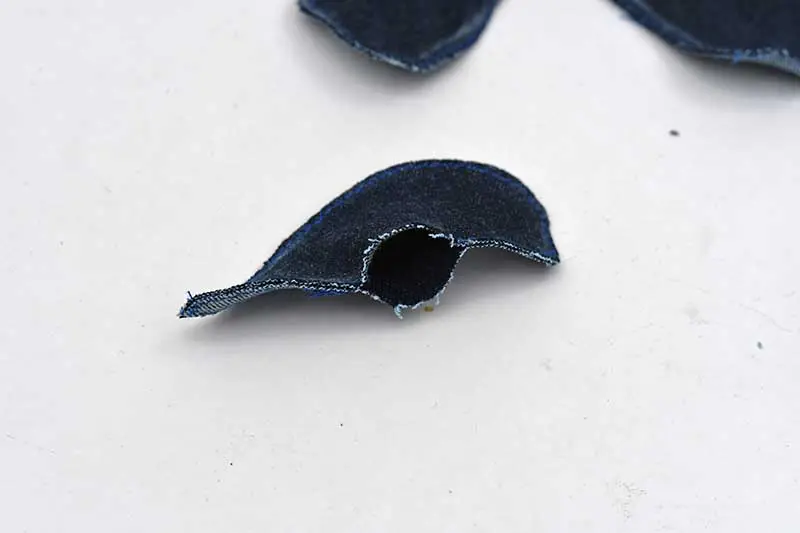
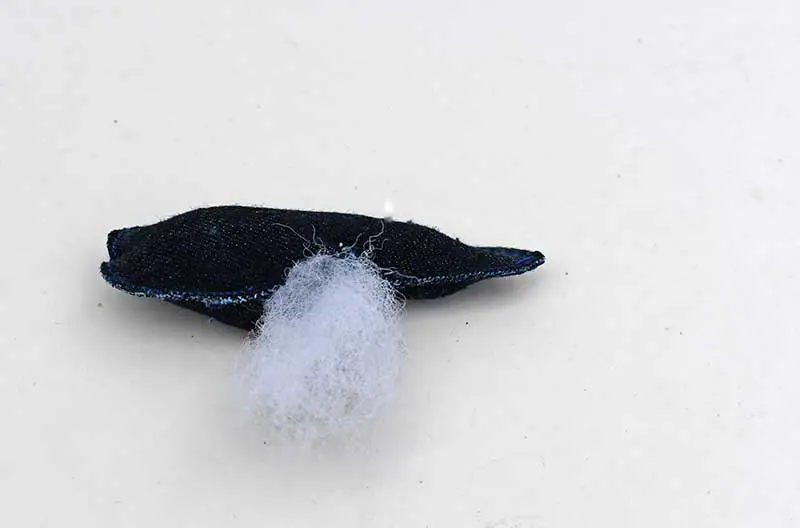
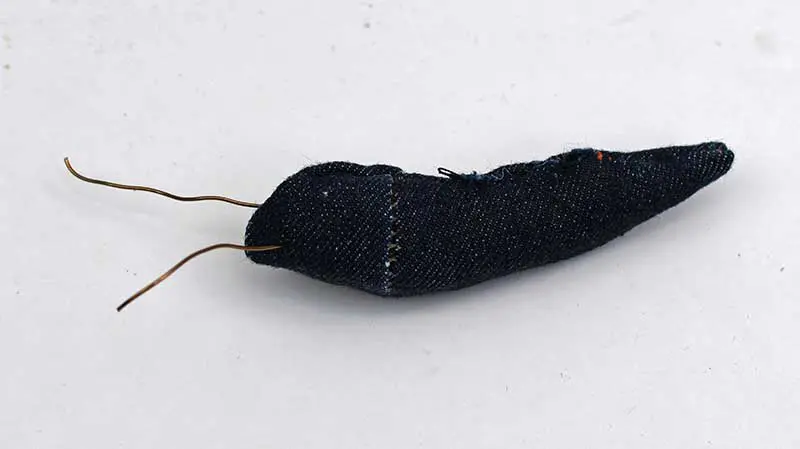
Step 5: Next, make the colourful underwings the same way as the denim wings using the pattern for the smaller wings, but this time, use the colourful scraps of patterned fabric.
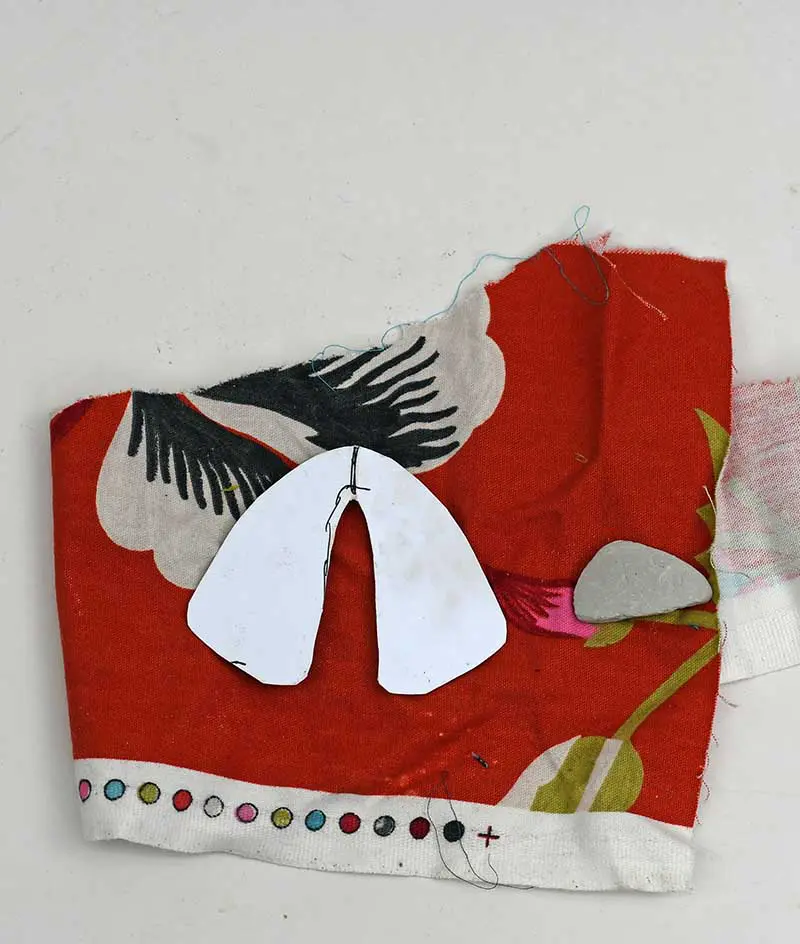
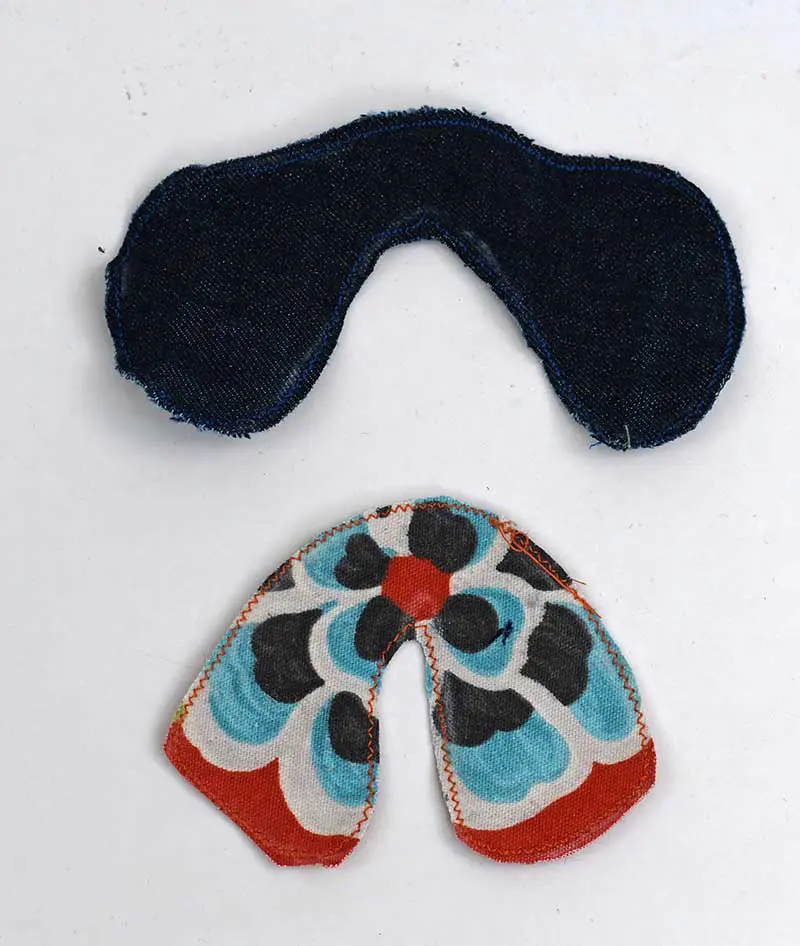
Step 6: Carry on making the moth taxidermy body parts in different shades of denim and fabric colours. I made enough to make nine upcycled denim faux moths.
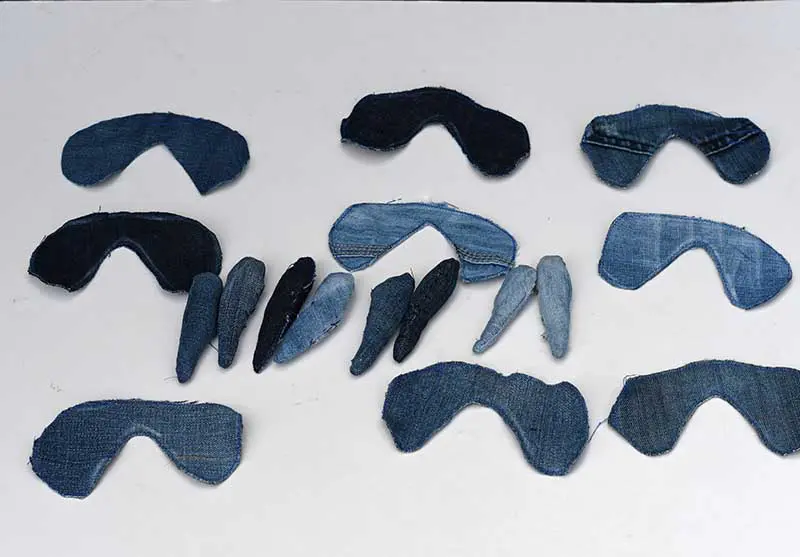
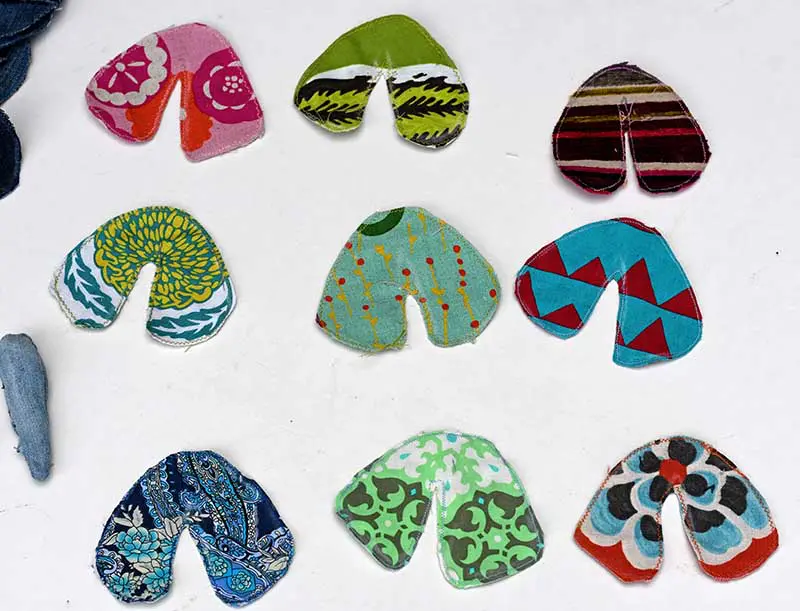
Putting the Fabric Moths Together
Step 7: Before putting the moths together, experiment with different combinations of upcycled denim wings and scrap fabric wings for each moth.
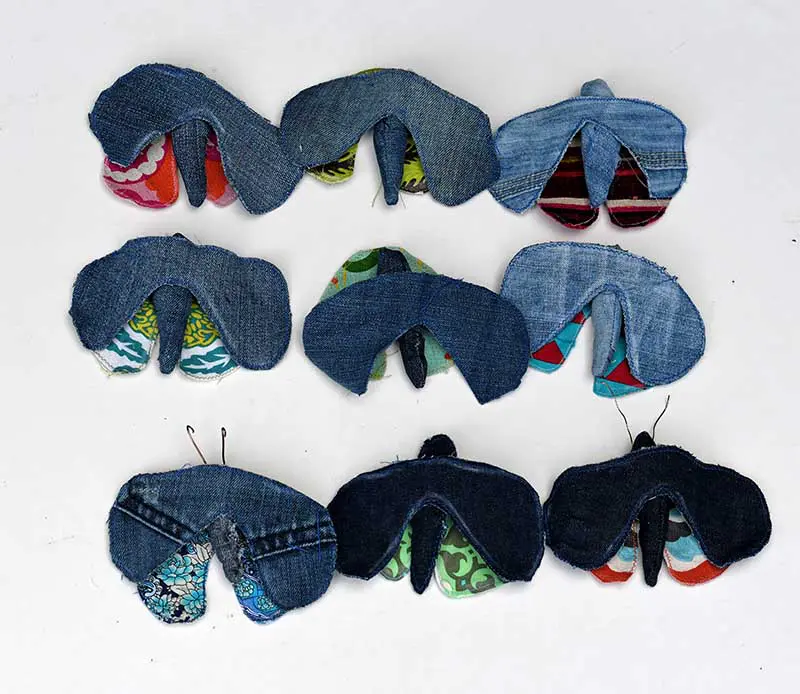
Step 8: Once you decide on the moth’s wings, it’s time to assemble them. I used super glue gel with a brush for this. Firstly, I brushed the moth’s body sides with a small amount of glue.
Then, I placed the body on top of one of the scrap fabric wings and stuck the underwings to the body. Ideally, the wings should stick to the sides of the body so they are slightly raised.
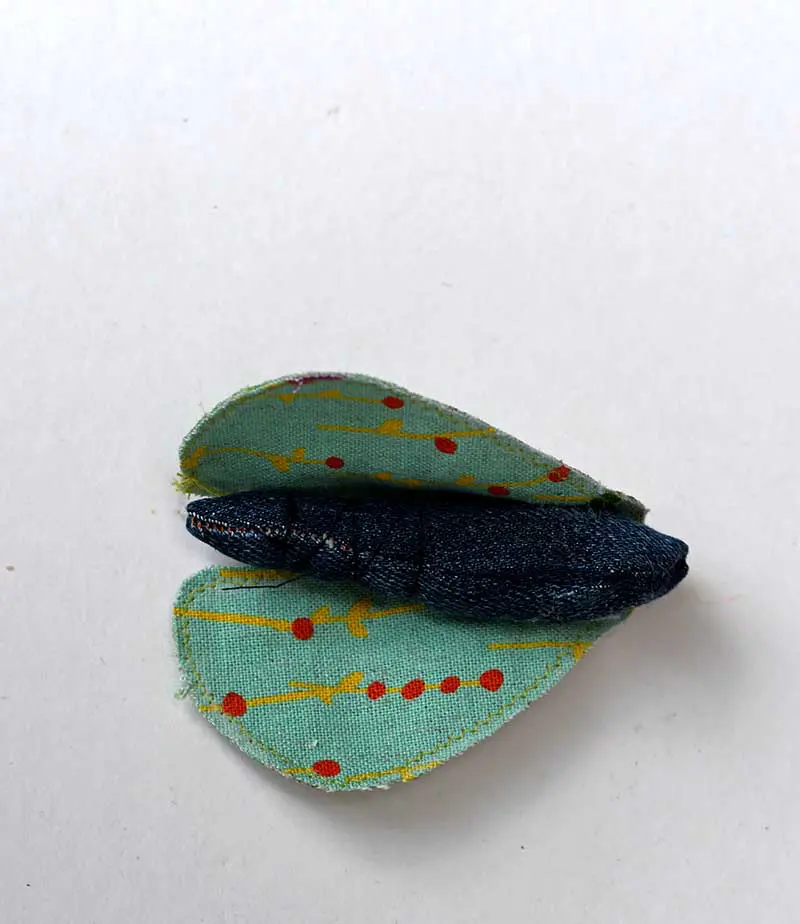
Step 9: Again, use the super glue gel to stick the wings onto the top of the moth’s body. If you haven’t already, add a wire antenna.
Carry on putting the moths together until all nine are made.
Putting the Mounted Moth Insect Display Together
Step 10: I wanted to display these scrap fabric moths as wall art in the style of old-fashioned insect taxidermy. This involved using insect mounting pins. To make the pins easily fixable, I cut foam boards to fit the base of my frame.
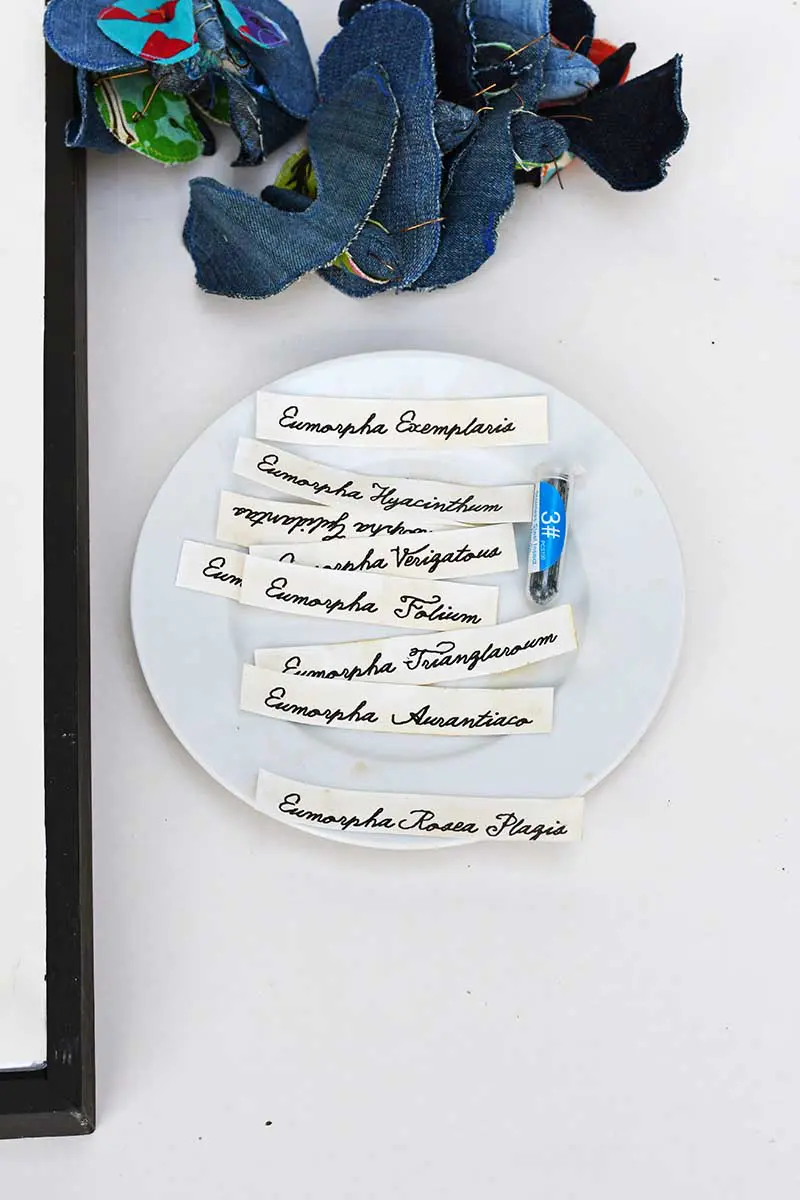
Step 11: To add to the vintage insect display vibe, I made labels for the faux moths. I found a vintage-style handwritten font called Tell Us. You can make your moth names or download mine here.
To give the moth labels an aged look, I brushed them with diluted coffee.
Step 12: Next, play around with the moth display to see how it best fits your frame. I arranged my moths for the insect display frame in a three-by-three layout.
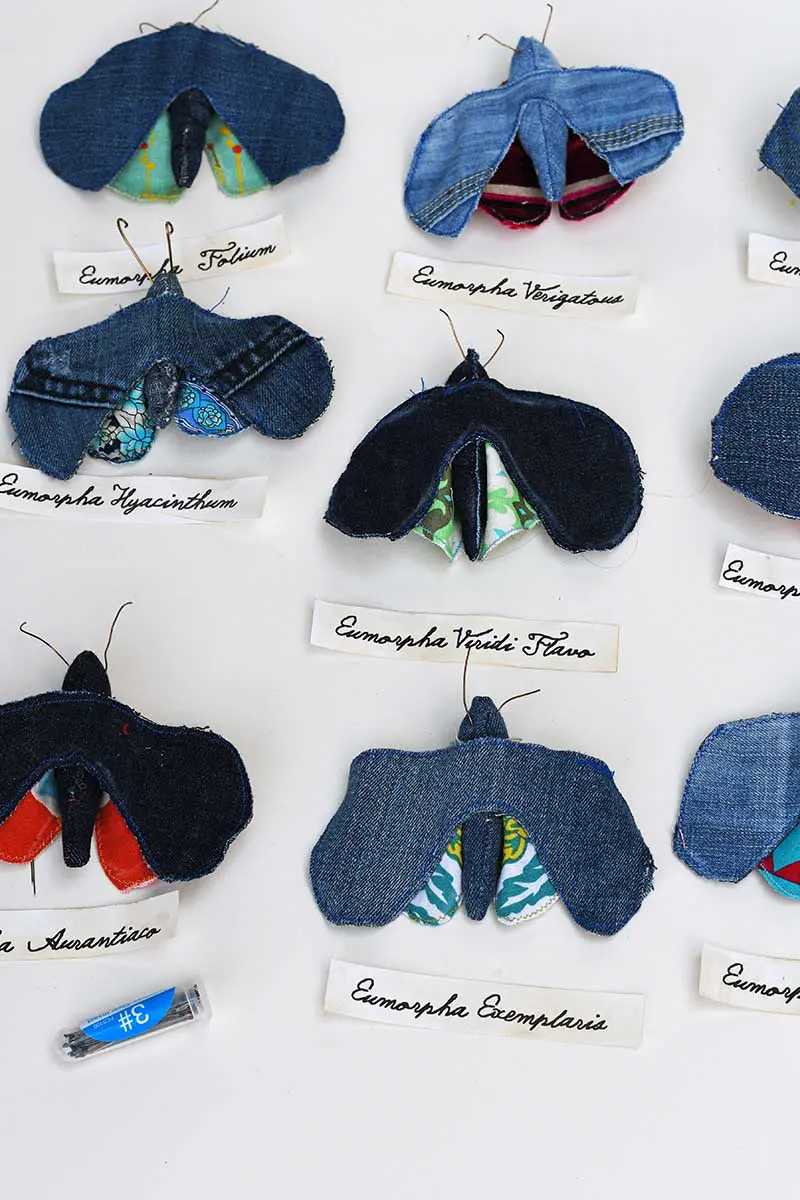
Step 13: Once you are happy with the arrangement of the insect display, fix the moths in place. I used three insect specimen pins for each moth—one in the body’s centre and one for each denim wing.
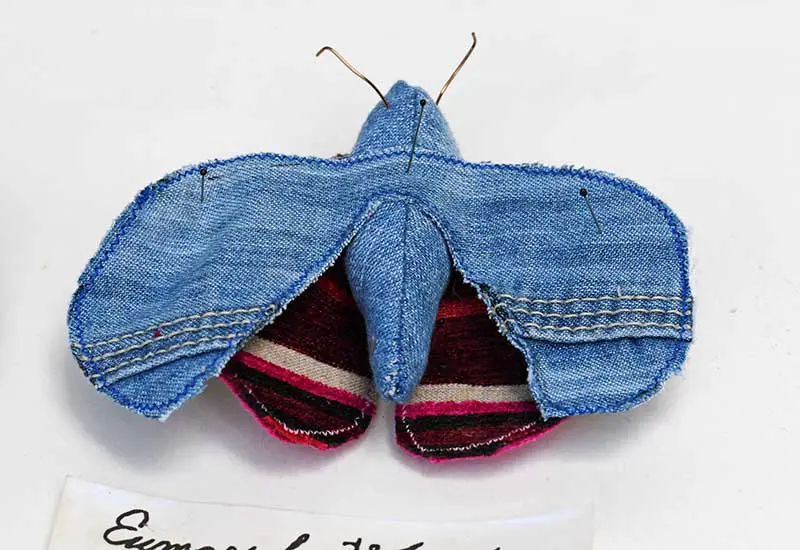
Step 14: I glued the labels to the foam board using a simple glue stick to finish this fun faux insect display of moths.
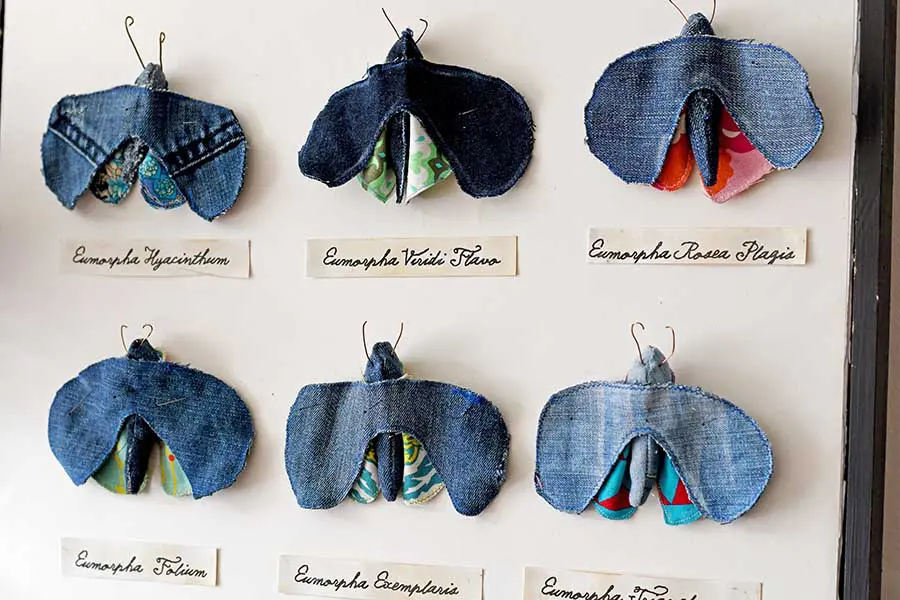
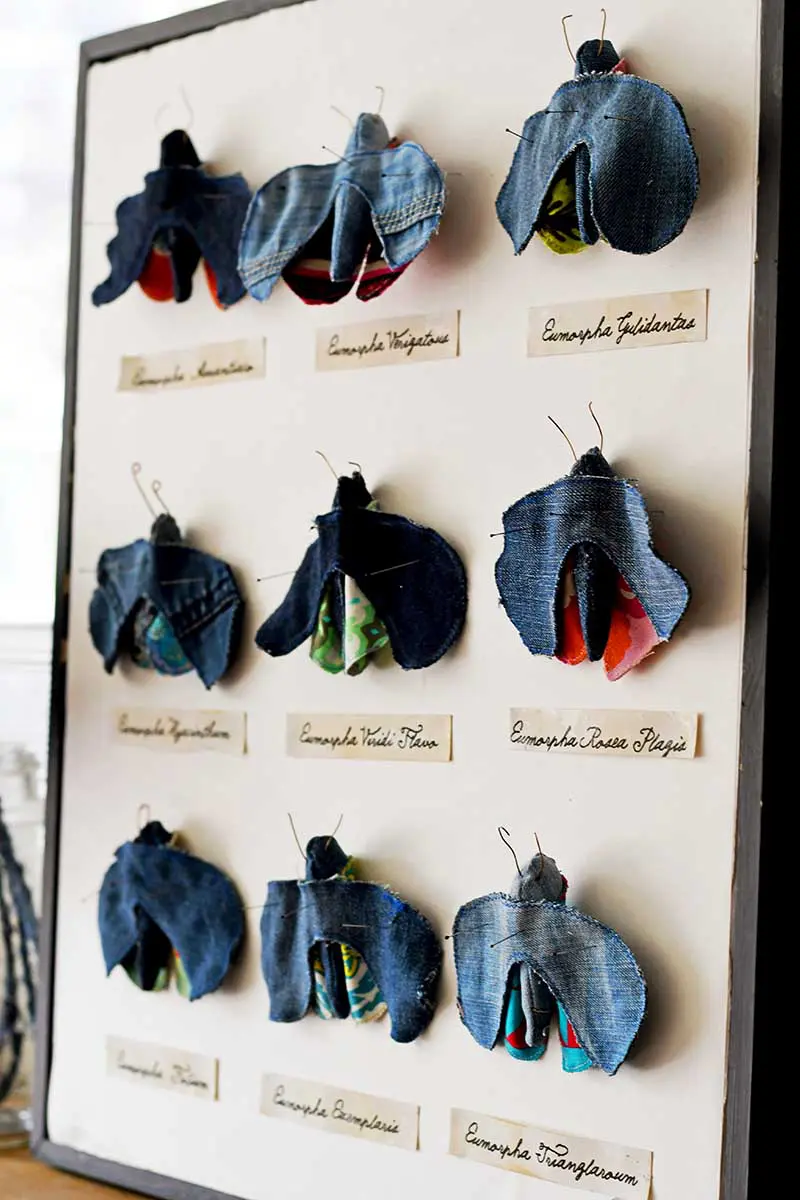
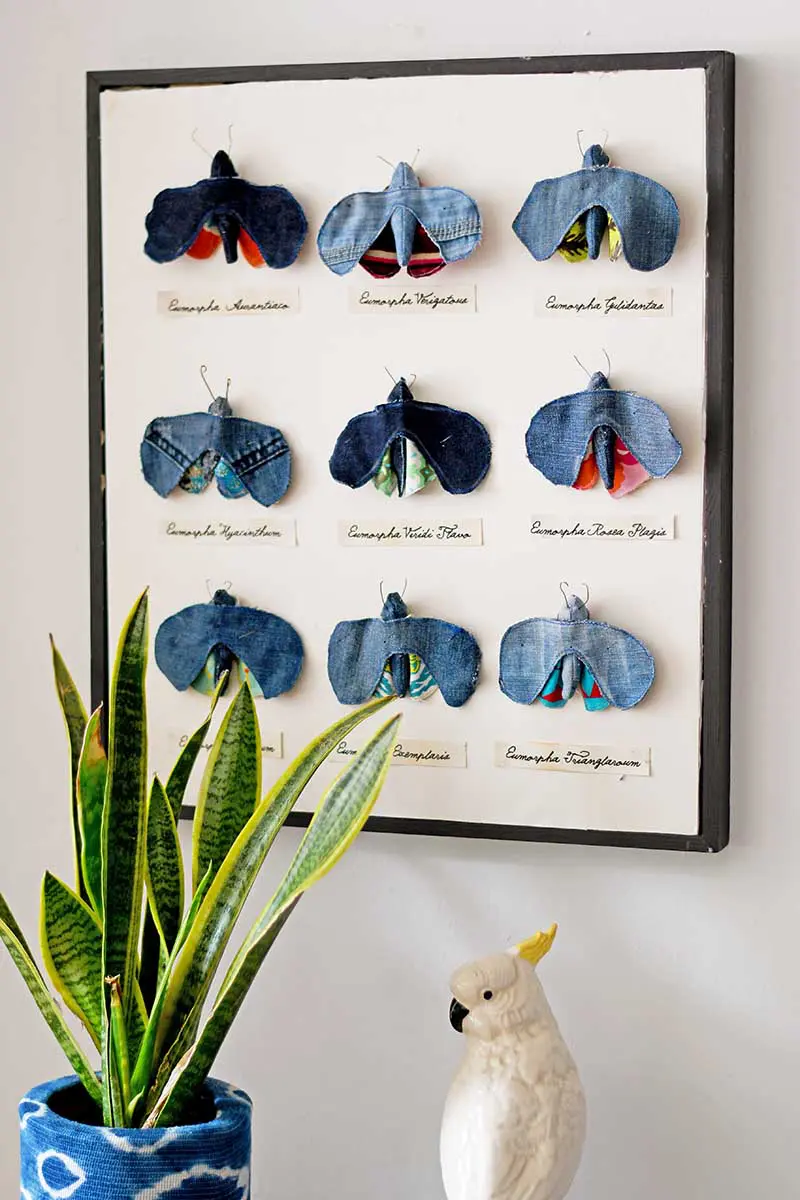
My whole nature-loving family loves this faux insect taxidermy moth display, which is now hanging in my lounge. The tutorial for the Shibori indigo plant holder in the photo is here.
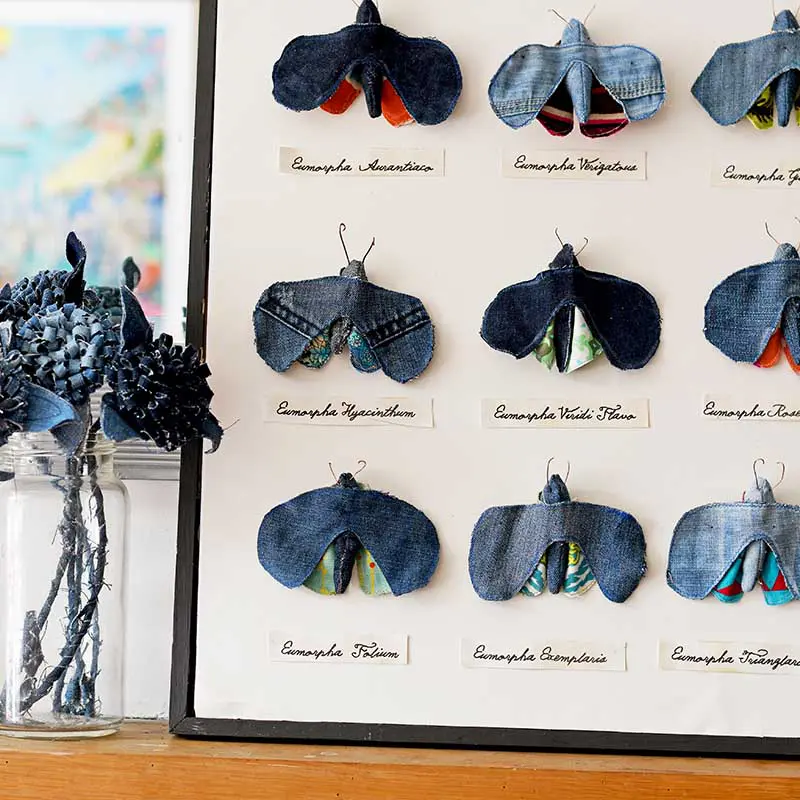
The moth display also looks good next to the pom pom jeans flowers, denim bunny and the cute denim mushrooms I made.
You can set them free if you think it’s cruel to pin faux moths in a display.
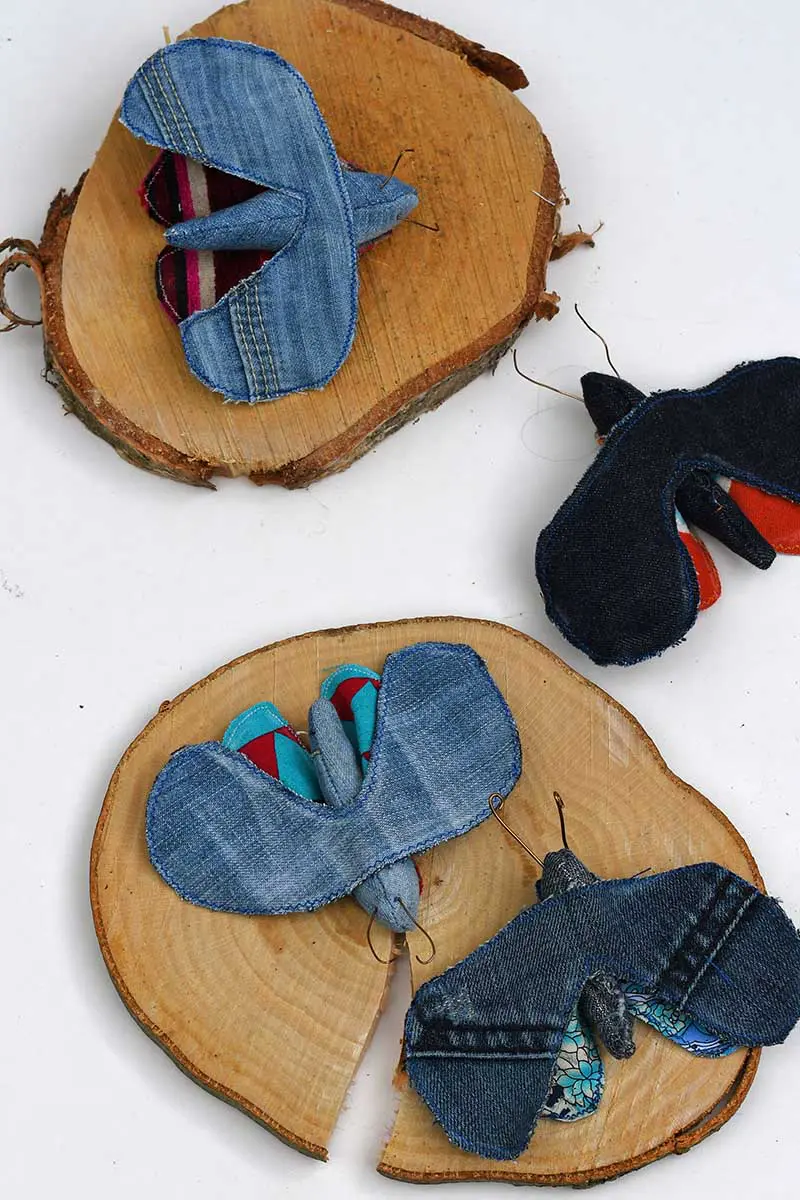
Denim Moth Taxidermy
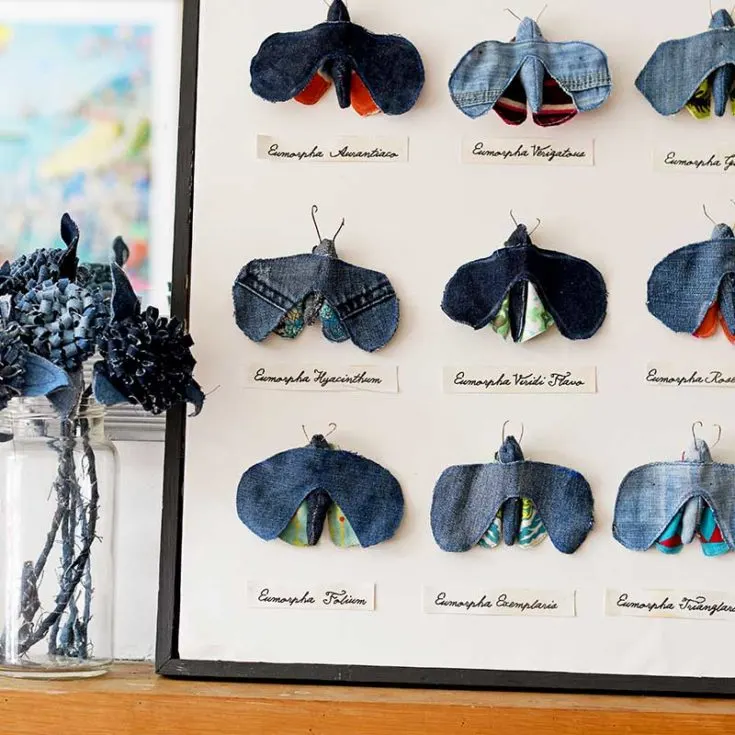
Make a fun piece of wall art inspired by vintage insect displays of the past. Use your denim and fabric scraps to make some cute faux moths and then frame them in an insect display box.
Materials
- Scrap pieces of denim from old jeans
- Colourful pieces of scrap fabric
- Fiber fill
- Moth pattern free to download from the site
- Insect mounting pin
- Frame and foam board
- Super glue gel
- Tailors Chalk
- Thin craft wire
Tools
- Sewing machine
Instructions
- Print and cut out the free moth template.
- Place the large wings and body shape on doubled up denim scraps. Draw around the shapes with tailor's chalk.
- Using a sewing machine stitch around the chalk mark. Use a small zig-zag stitch setting on the sewing machine.
- Cut out the stitched wings and body pieces as close to the stitches as possible.
- Repeat with the small wing on colourful fabric scraps.
- Sew the two body pieces together. Leave a small hole for stuffing with fiberfill.
- Stuff the moth body and then sew it shut. Make an antenna for the moth from the craft wire.
- Glue the colourful small wings to the base of the moth body.
- Then glue the denim wings to the top of the faux moth's body.
- Repeat and make eight more moths in different combinations of fabric and denim.
- Back a plain frame with foam board.
- Print off Latin labels for the faux moths. Cut them out and age the labels with diluted coffee.
- Using insect specimen pins, pin the moths to the foam board. Use three pins for each moth one in each wing and one in the body.
- Glue the aged labels to the foam board, one under each moth.
If you like faux nature-themed crafts, you should also check out my fabulous vintage fabric mushrooms art display and these other butterfly craft ideas.
Plus, I have more ideas for things to make with fabric scraps, including these whimsical DIY jellyfish.

Tracy King
Thursday 13th of August 2020
These are so incredible! I am amazed by your creativity and abilities. Thanks so much for sharing!
Claire Armstrong
Thursday 13th of August 2020
Aww, thank you so much 😊
Michele M / Finch Rest
Wednesday 22nd of July 2020
Wow!!! That craft decor idea is absolutely unique. You did a fabulous job - and to be honest, they actually look REAL.
I am old enough that I remember actually doing butterfly and moth collection for school - yours is so much less creepy. I HATED killing those beautiful winged creatures. Ewww. Just ewww. It wasn't me at all - but this, this I truly admire!
So clever@!!!
Claire Armstrong
Wednesday 22nd of July 2020
I know it seems unbelievable that we used to kill those beautiful creatures just for display purposes. Thank you so much.
Kristin
Sunday 12th of July 2020
This is such a creative and fun idea!!! I absolutely love it! Thanks for sharing it at Charming Homes & Gardens!
Claire Armstrong
Sunday 12th of July 2020
Thank you, I'm glad you enjoyed it.
Sherry
Saturday 11th of July 2020
Can you show how you made the Deming flowers
Claire Armstrong
Saturday 11th of July 2020
There is a link to them in the post. I have two denim flower tutorials on the blog just click on these links and you'll go straight to them, the ones in the post and some denim roses.
Kathy A
Friday 10th of July 2020
What a great project! I was a butterfly/moth collector as a kid. They were mounted on a blanket inside a large dress box--until my brother and I played with a large ball and it bounced into the box...now, I prefer to just take pictures of them! My dad was a ham radio operator--and a night bird. Several times my poor mother awoke to a kitchen full of her glasses all trapping live moths that he and us 2 kids had caught in the middle of the night! Pictures--and faux--are so much kinder!
Claire Armstrong
Friday 10th of July 2020
That all sounds a bit mad! Thank you so much