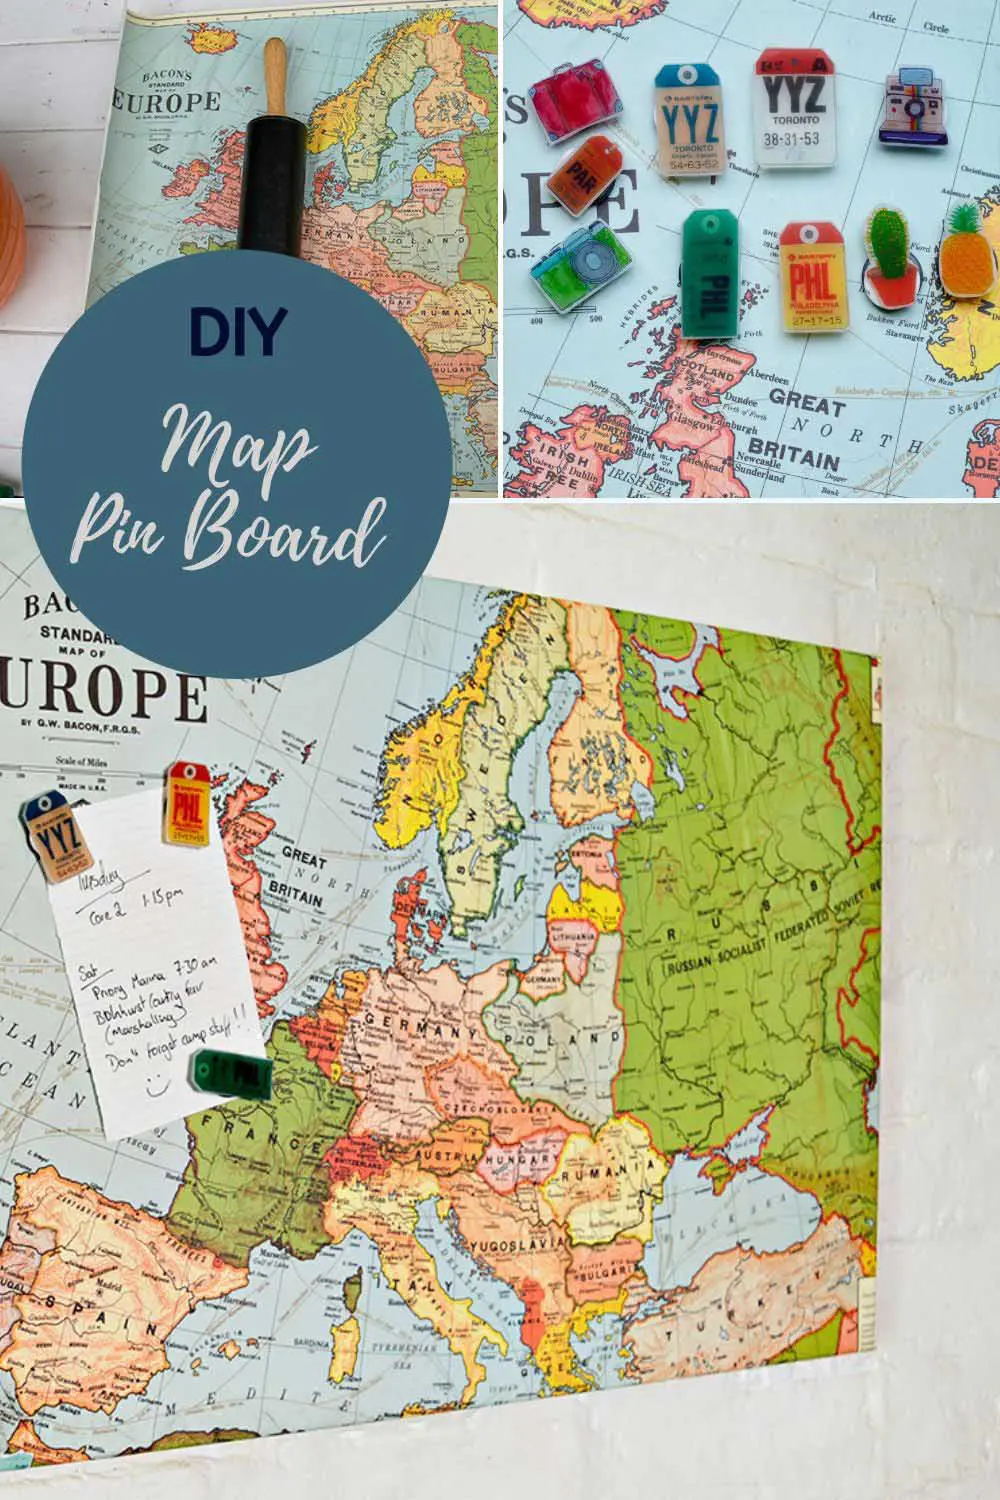
This is a tutorial to make a cool map magnetic board and fun travel-themed pins for those with wanderlust.
I love maps! Stick a map on something and all of a sudden it becomes much more attractive and hipper. For example my brilliant vintage map suitcase.
If you use the right map you can also add meaning to an object by personalizing it with maps of your favourite places. I did this with my personalized map chairs.
When he finishes school in the summer my son wants to go interrailing around Europe. With a map magnetic board in his room, he can plan his trip whilst daydreaming. He can also save up for the trip with the map mason jar bank I also made him.
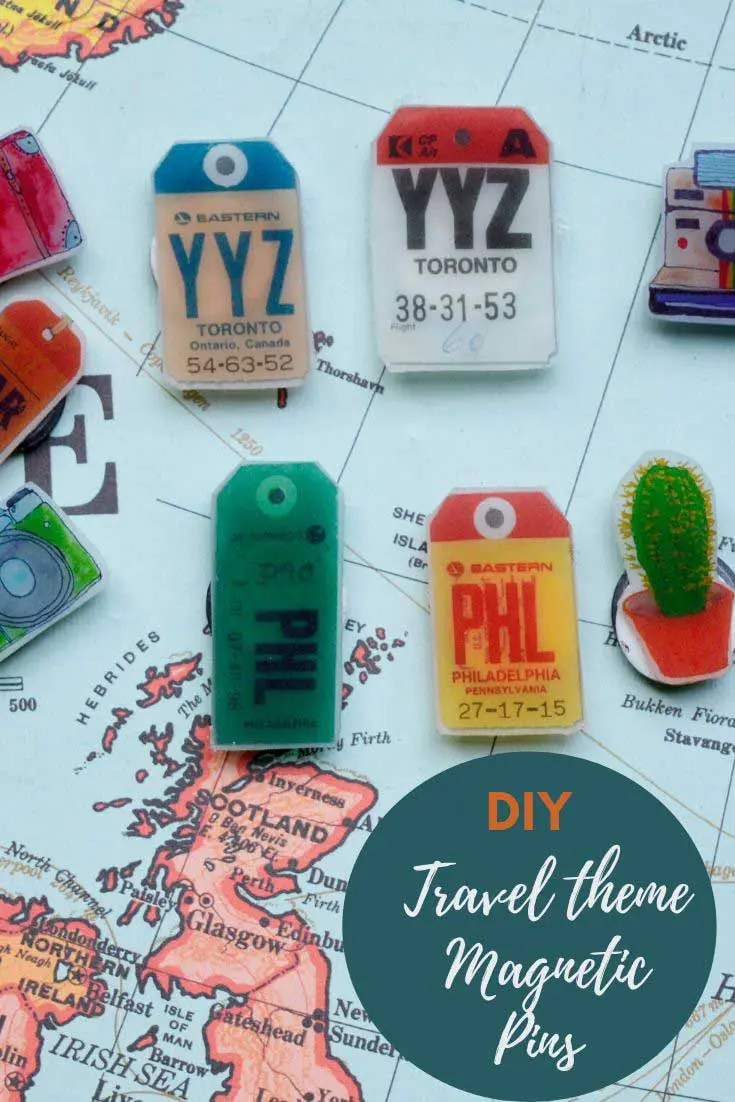
To add a bit more fun to the board I made some travel themed magnetic pins to compliment it. These were made using old airline travel tags.
This map magnetic board would look great in any home office, or teenagers bedroom. It would be a great gift for people like my son with wanderlust! There is a tutorial for some great postage stamp magnets here, that would look fantastic on this board.
This post contains Amazon affiliate links for your convenience. Click here to see my disclosure policy.
What You Need To Make a Map Magnetic Board and Travel Pins
- Magnetic notice board. My board was a simple steel board you can also by these cheaply in IKEA.
- Europe Map – You can download the same map from my collection of free vintage maps for crafts. Or Cavallini sells this same map as gift wrap paper.
- Mod Podge & sealer
- Rolling pin & Scissors
For the Magnetic pins
- Inkjet shrink film paper
- Self-adhesive coin magnets
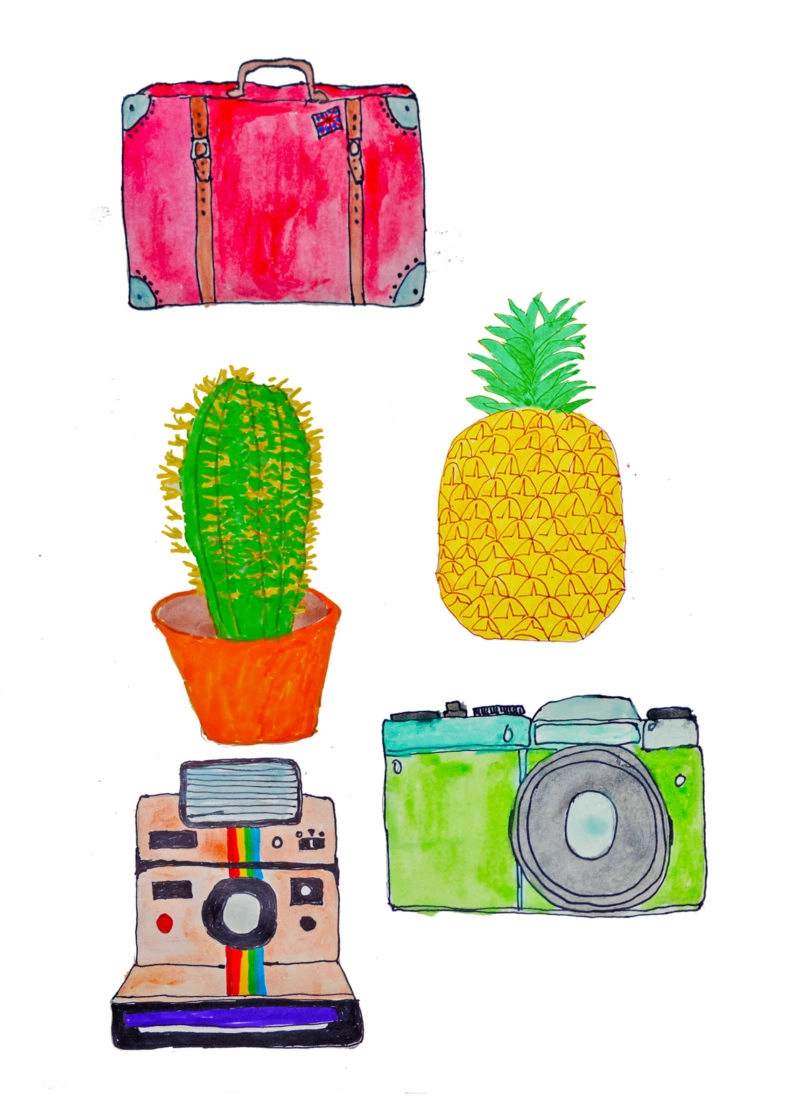
- Images, create your own or download mine for free
How to Make a Map Notice Board and Magnetic Pins
1.. First, to ensure that my map would stick to the board I keyed it, by covering the front of the board in dilute Mod Podge (50/50) and leaving to dry.
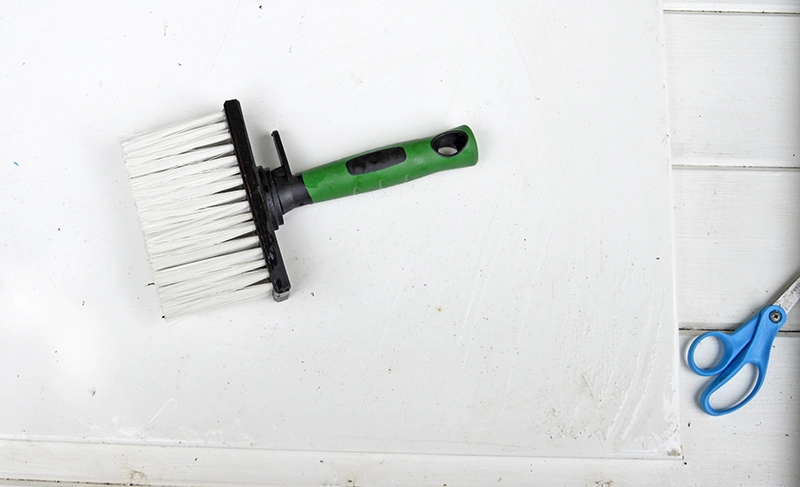
2. Next, apply a thin layer of Mod Podge glue to the board and to the wrong side of the map print out.
Then, carefully lay the map over the top of the board.
Top Tip: To help eliminate air bubbles, I used both a ruler and a rolling pin to gently squeeze them out.
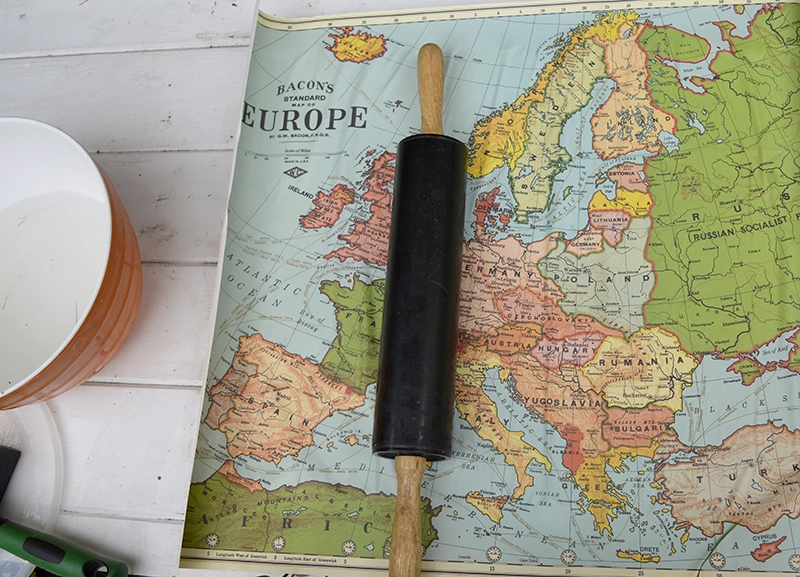
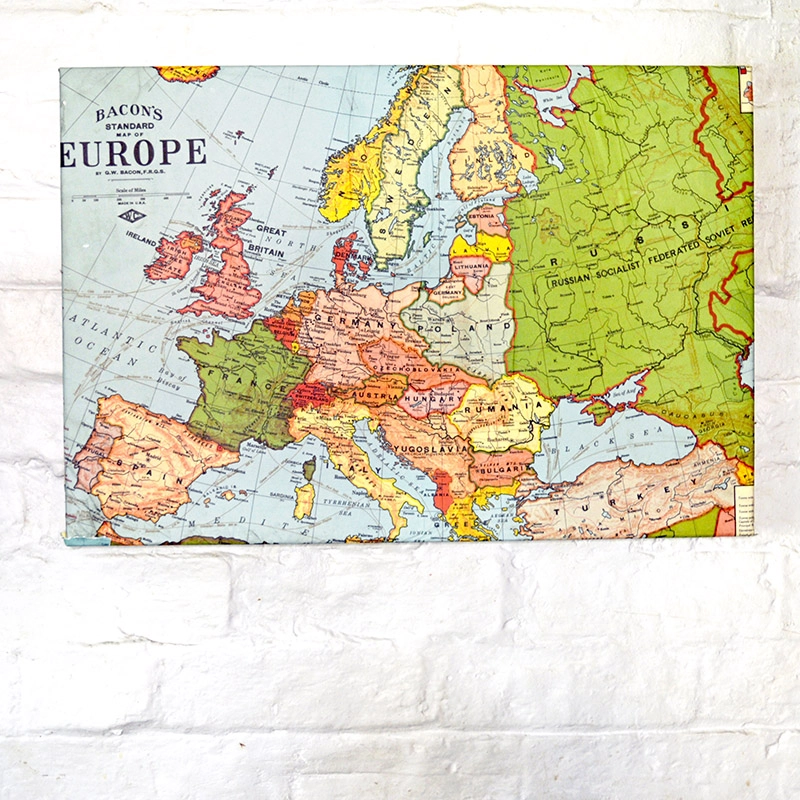
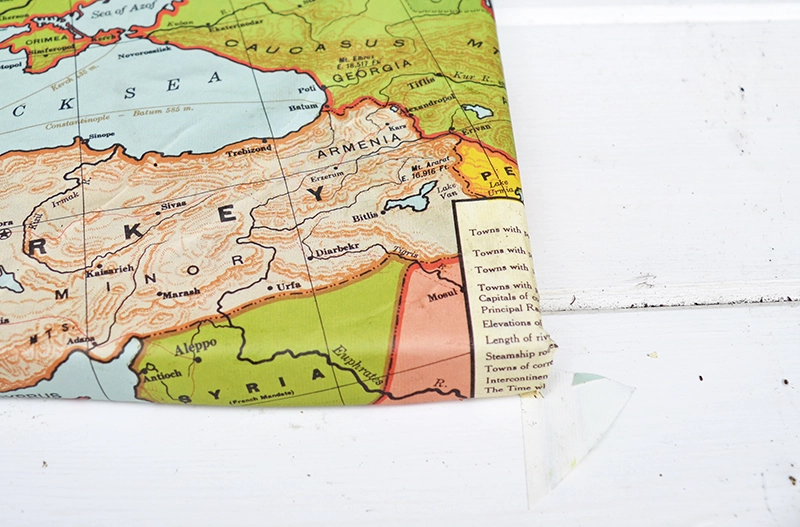
3. The map wrapping paper was wrapped around the sides of the board and the excess trimmed away.
To protect the map, apply a coat of Mod Podge glue or varnish to the top of the map.
How to Make the Magnetic Travel Themed Pins
Keeping with the travel theme of this map magnetic notice board, I made some special magnetic pins to match. I used a mixture of my own travel-themed hand-drawn images (download them here) and some vintage airline tags.
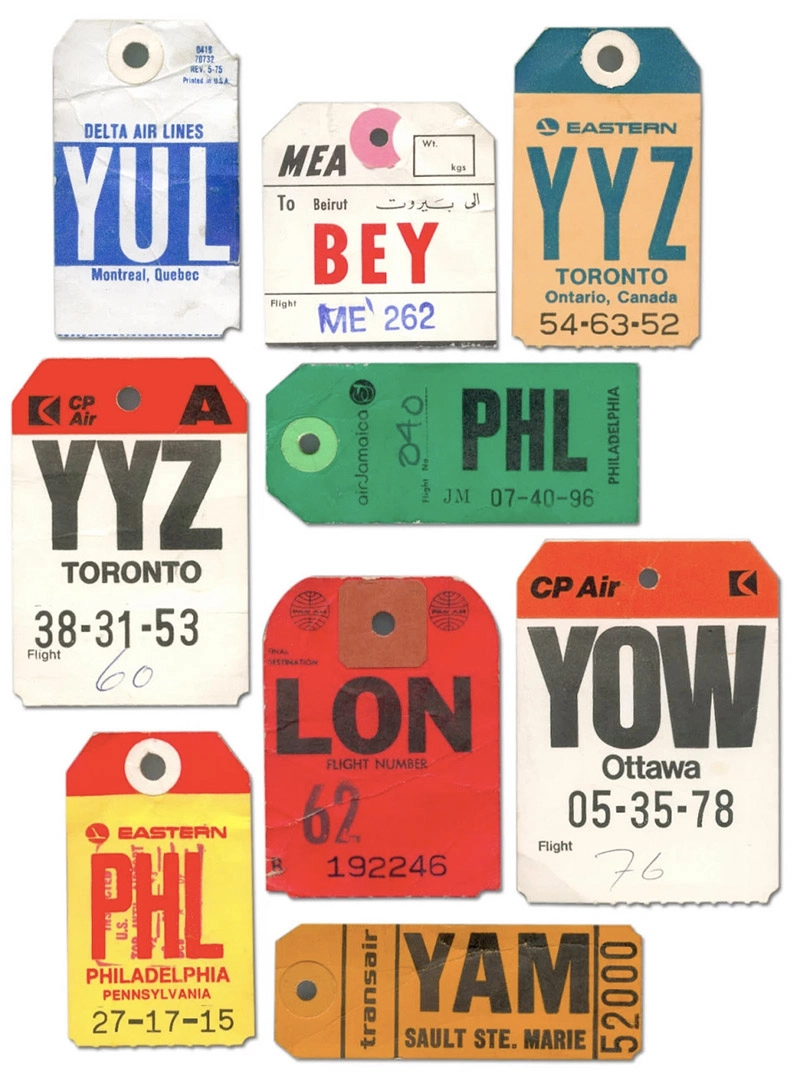
1.. Print the images you want to use on to the shrink plastic using an inkjet printer. You may want to resize the images to suit you, just keep in mind that the images with shrink to about a 1/3 of their size.
2. Cut out the travel pictures from the shrink plastic and place on a non-stick baking tray.
3. Next, shrink your images according to the instructions that come with your shrink plastic. I did mine in a 150c oven.
Top Tip: Don’t get alarmed as the plastic shrinks it will curl but then uncurl.
4. Finally, once the picture has shrunk and cooled, just stick a self-adhesive magnet on the back to create a magnetic pin.
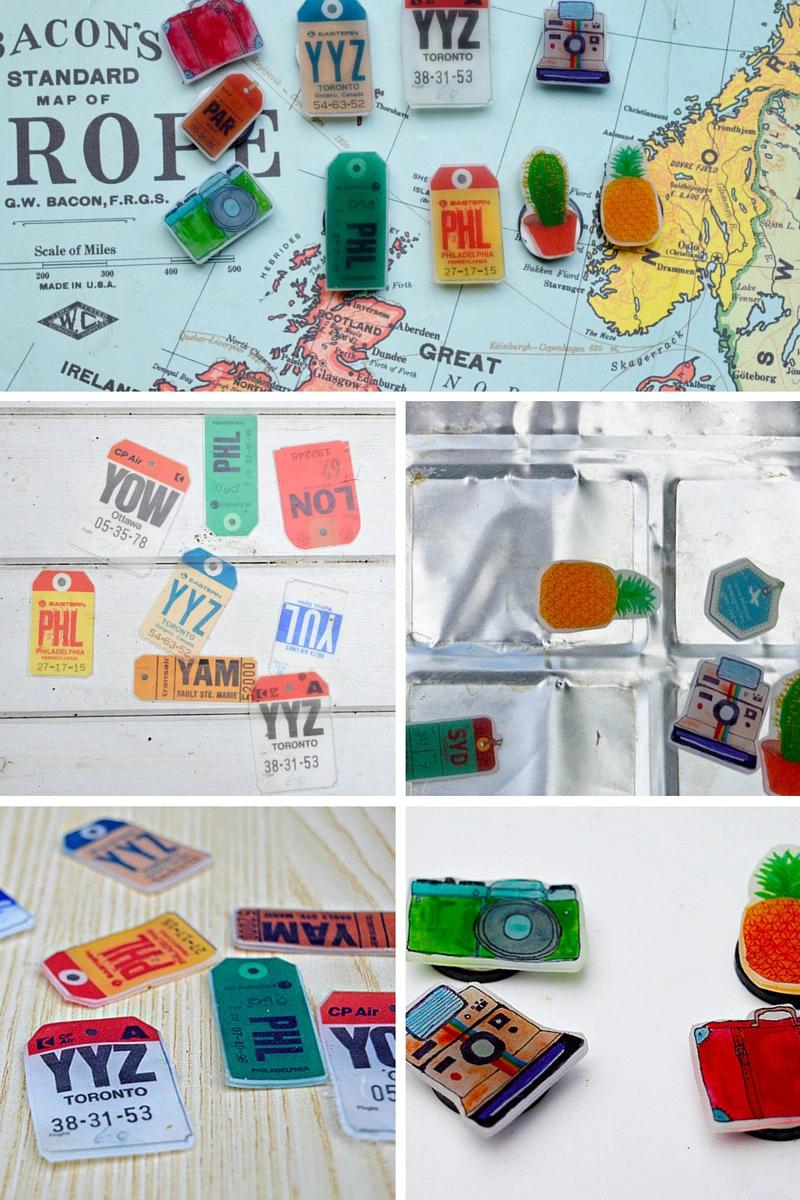
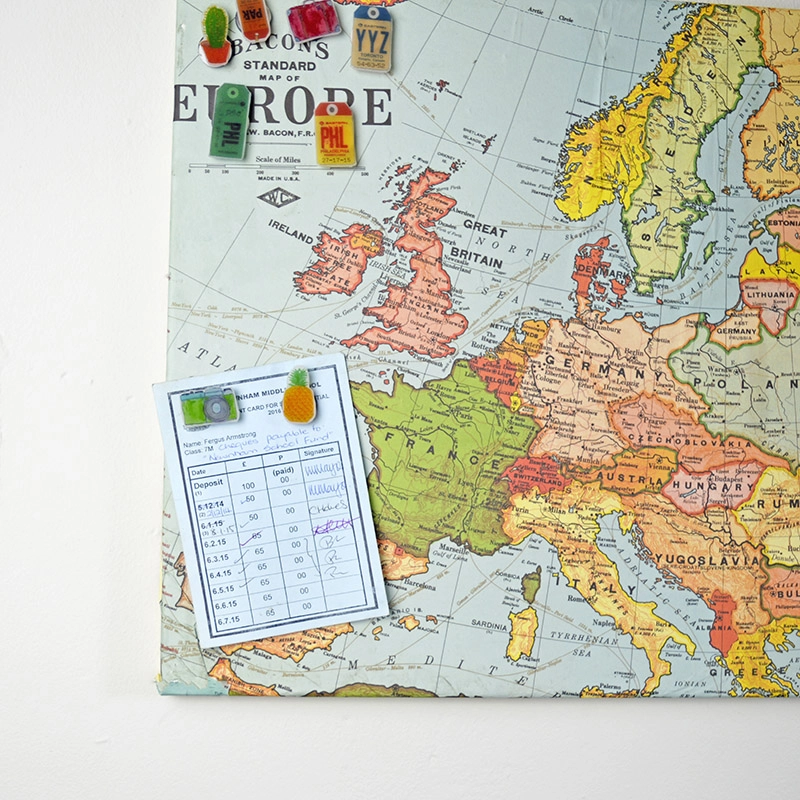
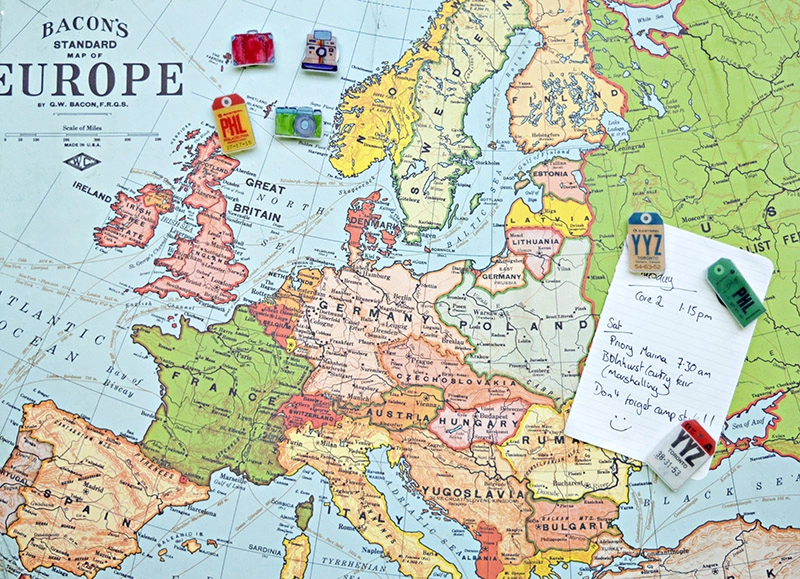
These magnetic pins are a cute addition to the magnetic pinboard and can make it even more personalized. Especially if you use luggage tags for special destinations. You’ll find more cool Shrinky Dink ideas here.
If you prefer a traditional pinboard over a magnetic board then check out this DIY personalized map cork board.
If you want more free travel luggage images I have some with my travel-themed upcycled vintage suitcase side table.
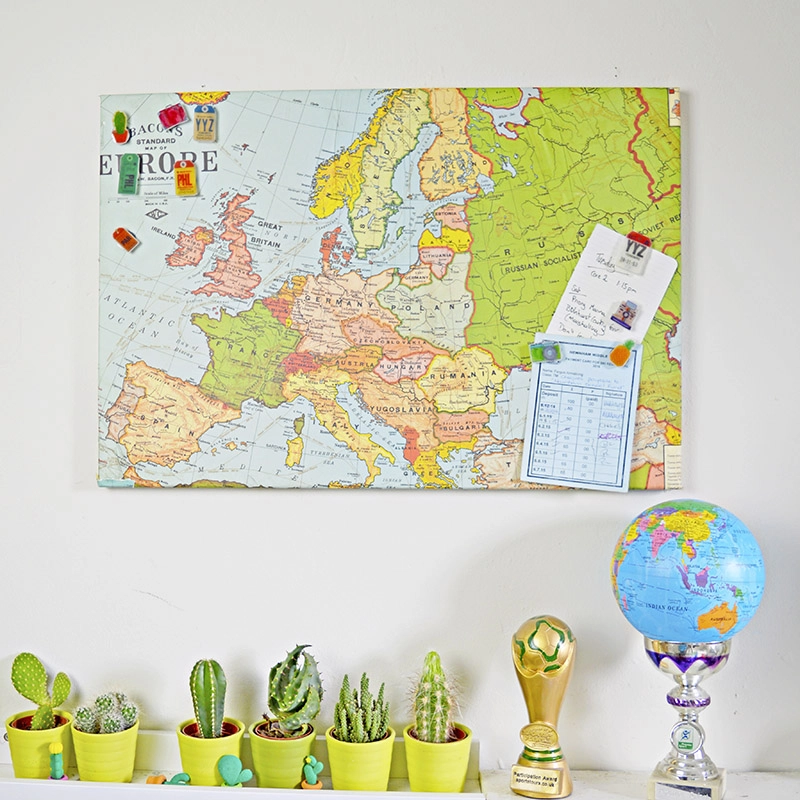
Since making this map pinboard for my son I’ve gone a bit overboard with the travel theme and have made him a DIY world map desk. I’ve even hacked his IKEA Rismon lamp with a map. And he has a DIY IKEA map clock on his wall.
Not to mentioned the personalized map pillows I had printed for him.
My husband likes maps too and I have made him a personalized map glass trinket dish and map rock keychains.

Claire Armstrong
Monday 27th of June 2016
Thank you ! You can get all sorts of maps wrapping paper, cities countries and world.
creativejewishmom/sara
Monday 27th of June 2016
Fabulous Claire, and love those magnets too! I've got some of those magnet boards too, and we really need a world map somewhere, so this is perfect! thanks for sharing on craft schooling Sunday!
LydiaF
Sunday 26th of June 2016
I was already sold on the project but then you added shrinky dinks to the mix and now I'm in love! Your son will have a blast traveling Europe by rail. As you probably know, the trains are (mostly) modern, fast and the scenery is amazing. Thanks for sharing with us at Creatively Crafty #ccbg :)
Claire Armstrong
Sunday 26th of June 2016
Thank you ! Shrinks dinks are such fun ! Yes he's started planning his trip already and keeps talking about it. It's nice to have something to look forward to.
Emma
Sunday 26th of June 2016
What an amazing idea! I love the little pins you made, too - so creative!
Claire Armstrong
Sunday 26th of June 2016
Thank you ! I loved crafting with shrinks dinks.
Jamie
Saturday 25th of June 2016
What a fun idea!! Would be perfect to showcase the places you've visited, I love it! Thank you for sharing with us at the #HomeMattersParty
Claire Armstrong
Saturday 25th of June 2016
Thank you ! My other son has one of these boards too so will be upcycling with some other maps.