Vintage Image Transfer For An Upcycled Leather Bag
Whilst flicking through one of my
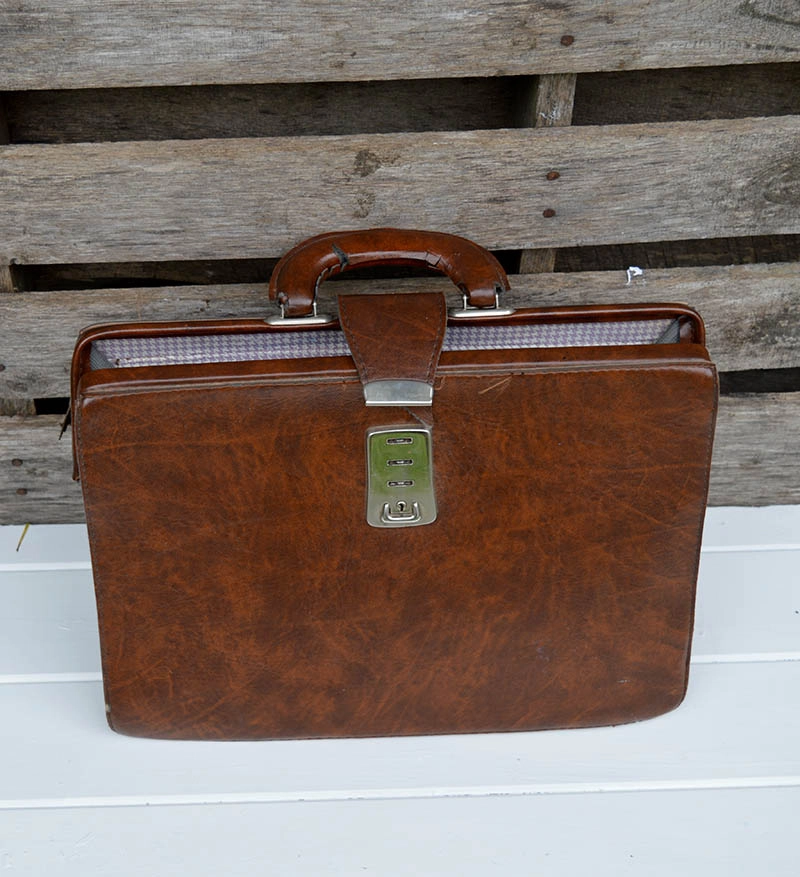
Yonks ago I’d picked up an old leather briefcase/bag from a charity (goodwill) shop for a couple of pounds with the intention of upcycling it. Even though the bag was from the ’50s or 60’s it was the perfect size for a laptop.
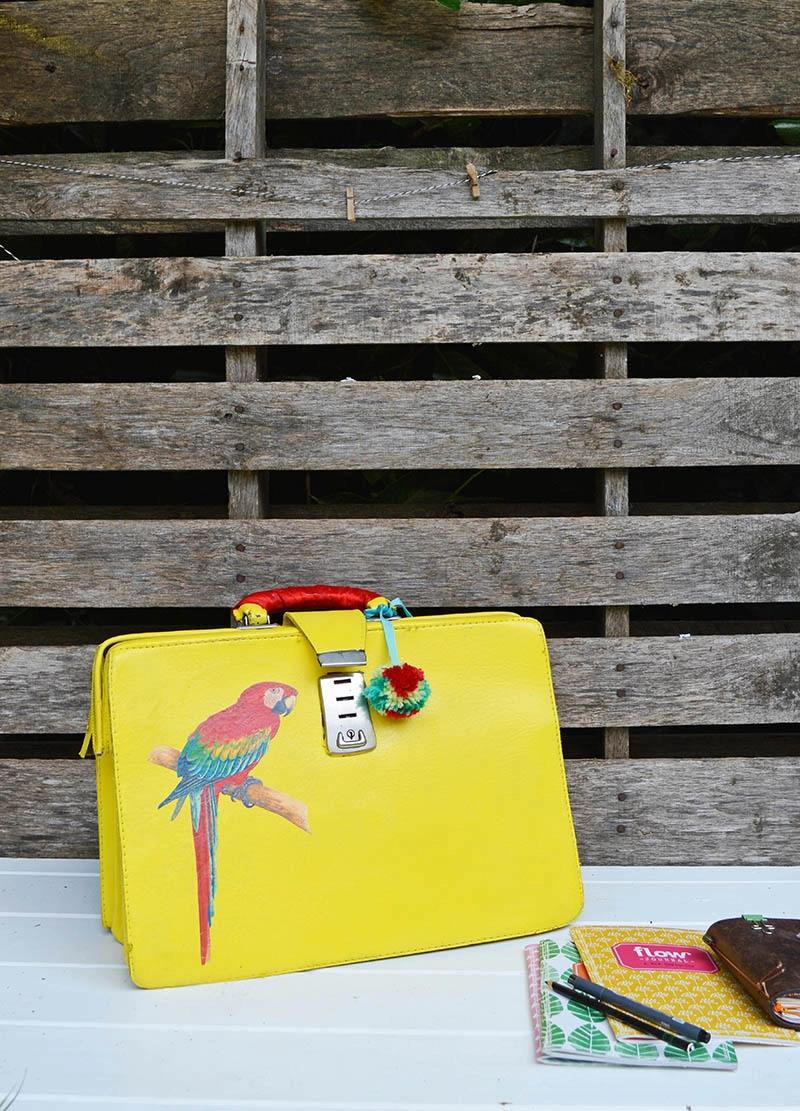
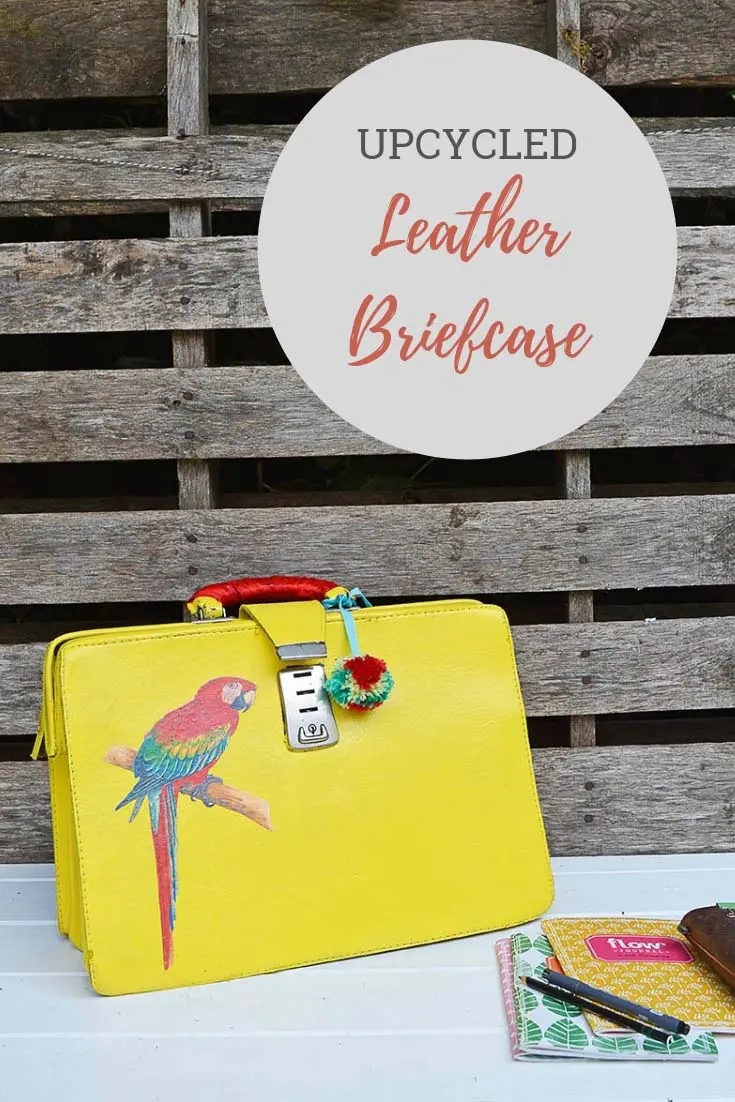
The bag had been gathering dust in my loft and I’d almost forgotten about it until now. I wasn’t going to try and turn it into the Dolce and Gabbana bag. However, the designer handbag gave me the inspiration to use bright yellow paint and vintage graphics to make my upcycled leather bag.
I don’t often work with leather so I got to experiment with painting leather and transferring images onto it, which was great fun.
I’m so happy with how my brilliant bright upcycled leather bag turned out. It’s got to be the brightest laptop bag in town. There will be no danger of me losing it as you can spot it a mile away. It will definitely stand out at the next conference or meeting I attend.
This post contains Amazon affiliate links for your convenience. Click here to see my disclosure policy.
What I used for the upcycled leather bag
- Old leather bag – Mine was from a charity shop, these bags were very common in the 50’s and 60’s in fact mine was just like the one my Grandma took to work.
- Painters tape
- Dark t-shirt transfer paper
- Vintage graphic – Try Remodelaholic for lots of free vintage graphics.
- Iron
- Mod Podge -Outdoor finish
How To upcycle the leather bag
Painting the bag
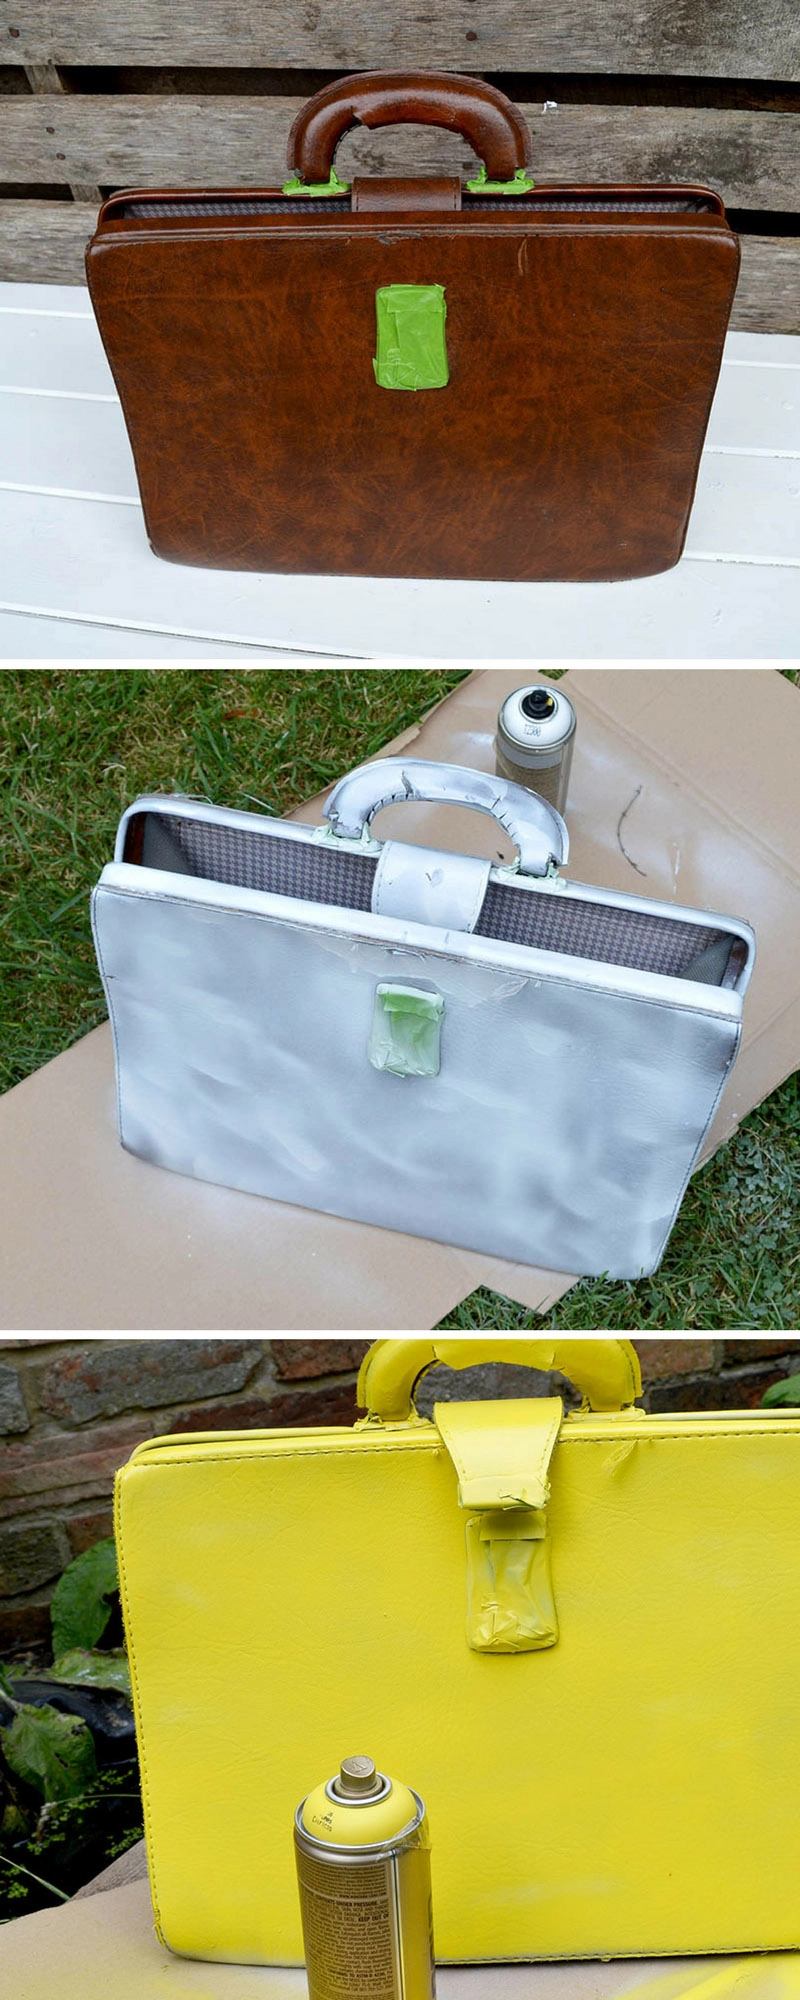
1. Firstly, cover the areas of the bag that you don’t want to be painted with painters tape. Such as the metallic areas of the buckle and zip.
Work outside whilst spray painting as it can get rather smelly.
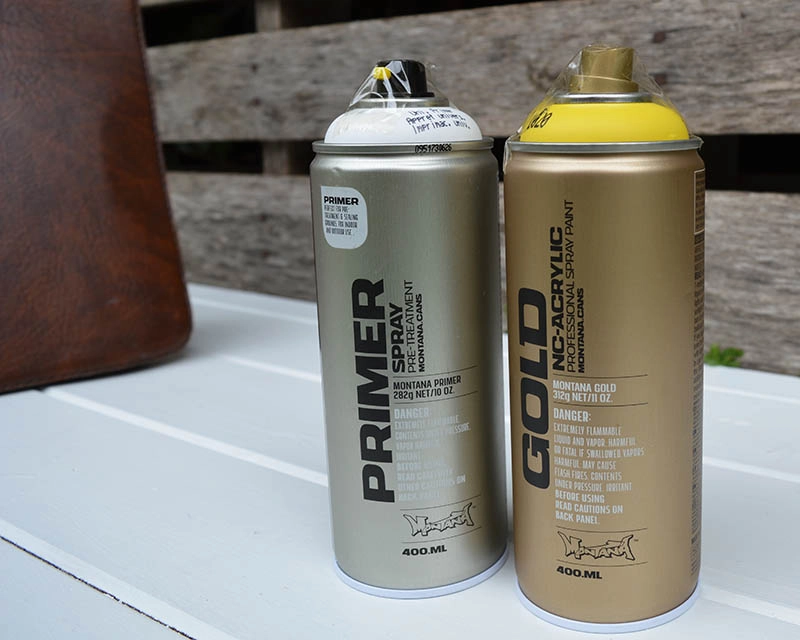
2. Next, before spray painting the leather use a primer to make sure the paint will stick. Spray the bag all over with a primer such as Montana Gold universal primer.
3. Once the primer paint has dried then spray the leather bag with the colour you want. I used Montana Gold Citrus paint. Cover the leather bag in two coats, let the paint dry fully between coats.
Transfering a vintage graphic onto leather
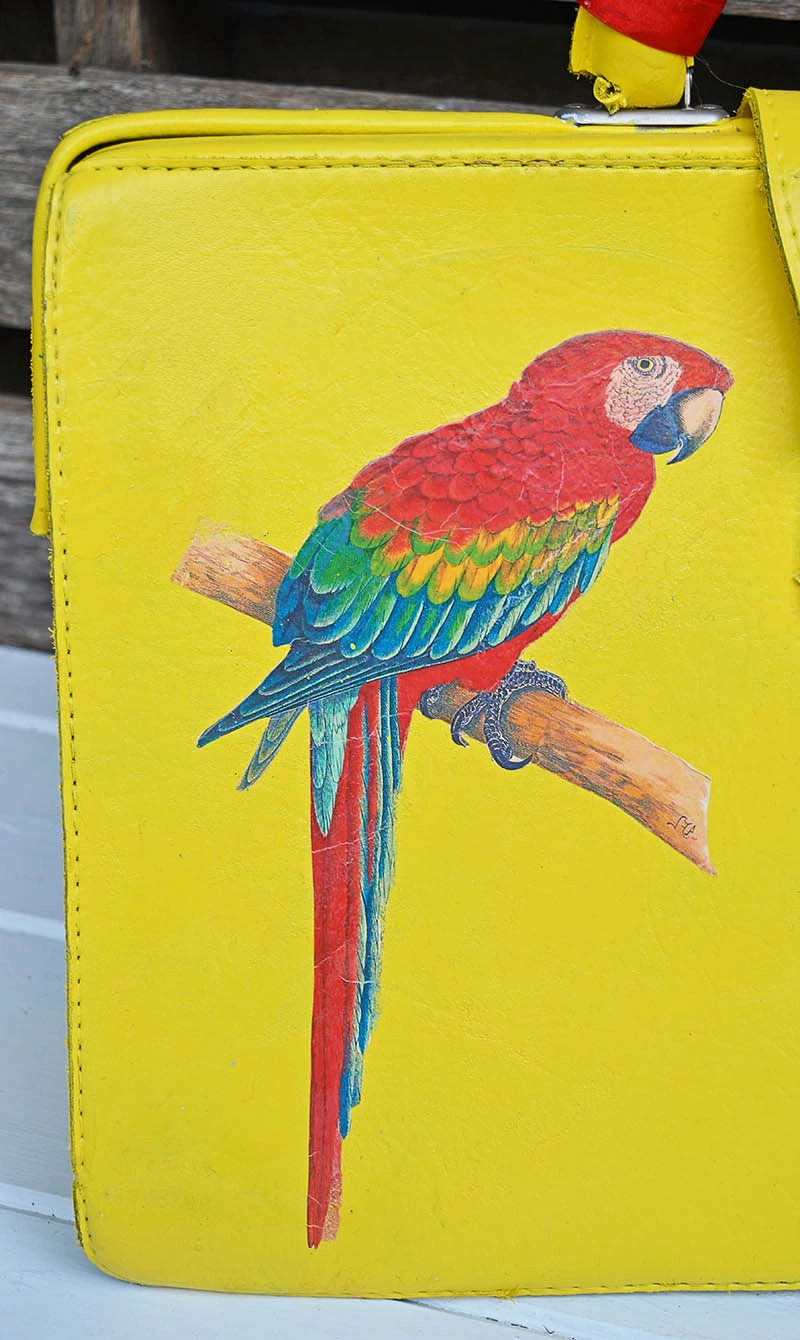
4. I downloaded the macaw graphics from the internet. If you look there are lots of sites where you can download royalty free images to use for crafting. Pictureboxblue has a good collection of parrot paintings you can use for free.
5. Print your chosen images onto the dark t-shirt transfer paper.
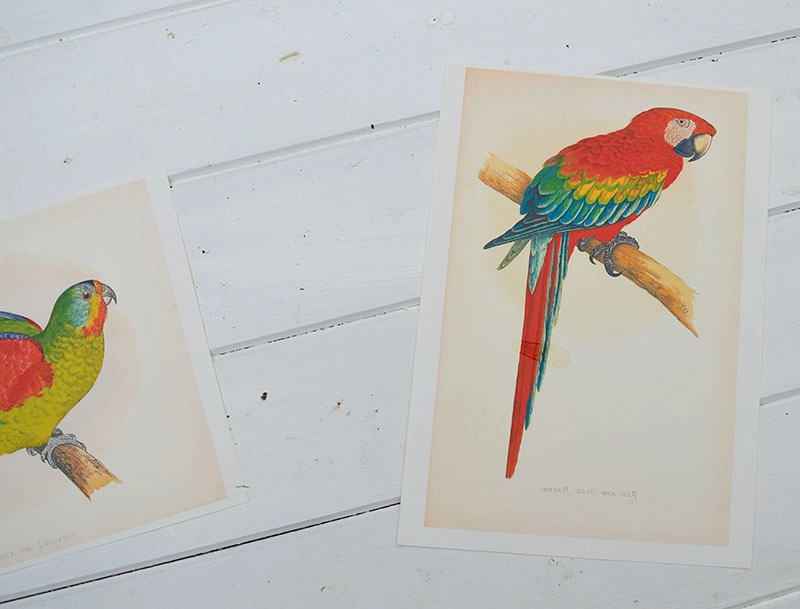
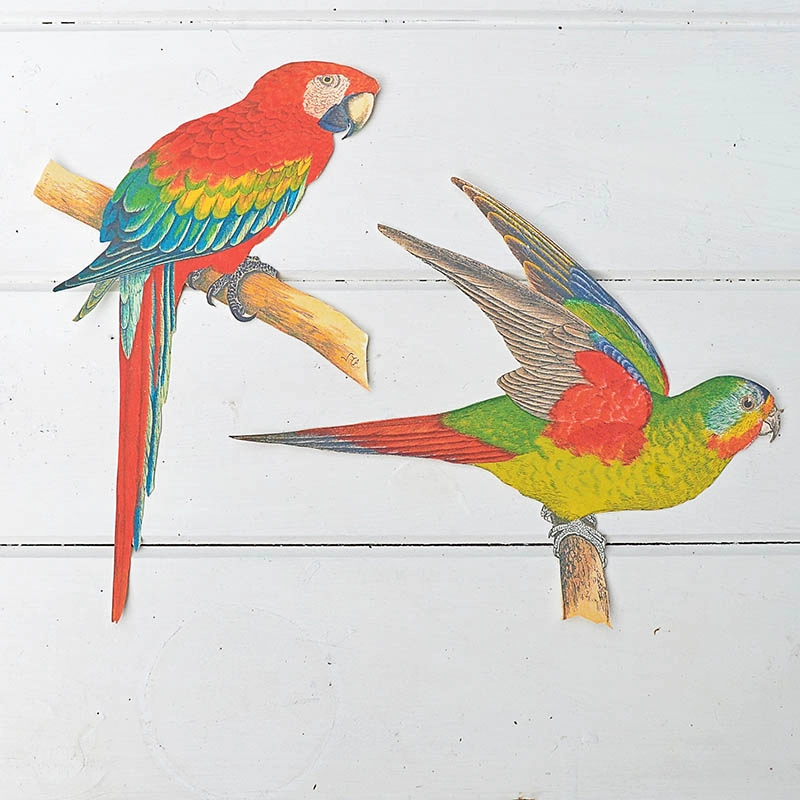
6. Next, carefully cut around each printed parrot. Then peel it away from the backing paper. This is quite a tricky delicate thing to do. I find that if you actually peel away the backing paper rather than the image it is less likely to tear.
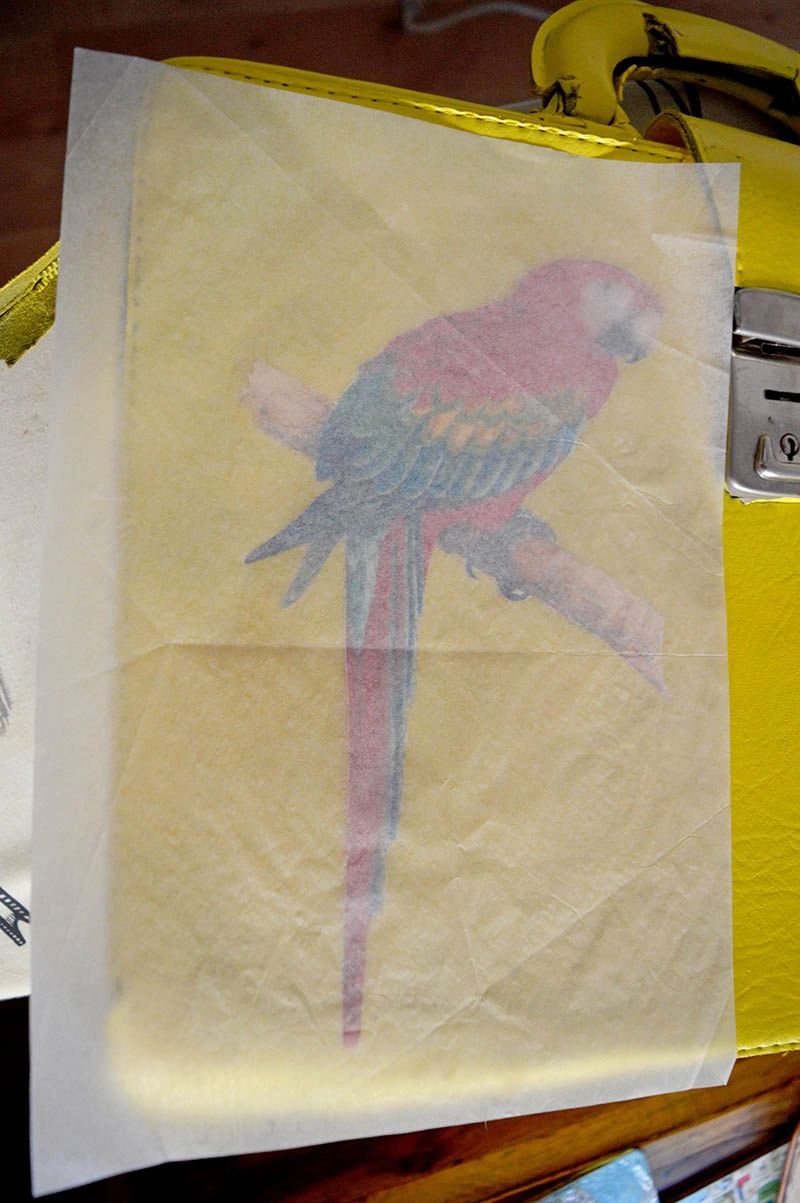
7. There will be instructions with the transfer paper on how to use it. With the paper I used, the image was placed face up on the bag and covered with wax paper.
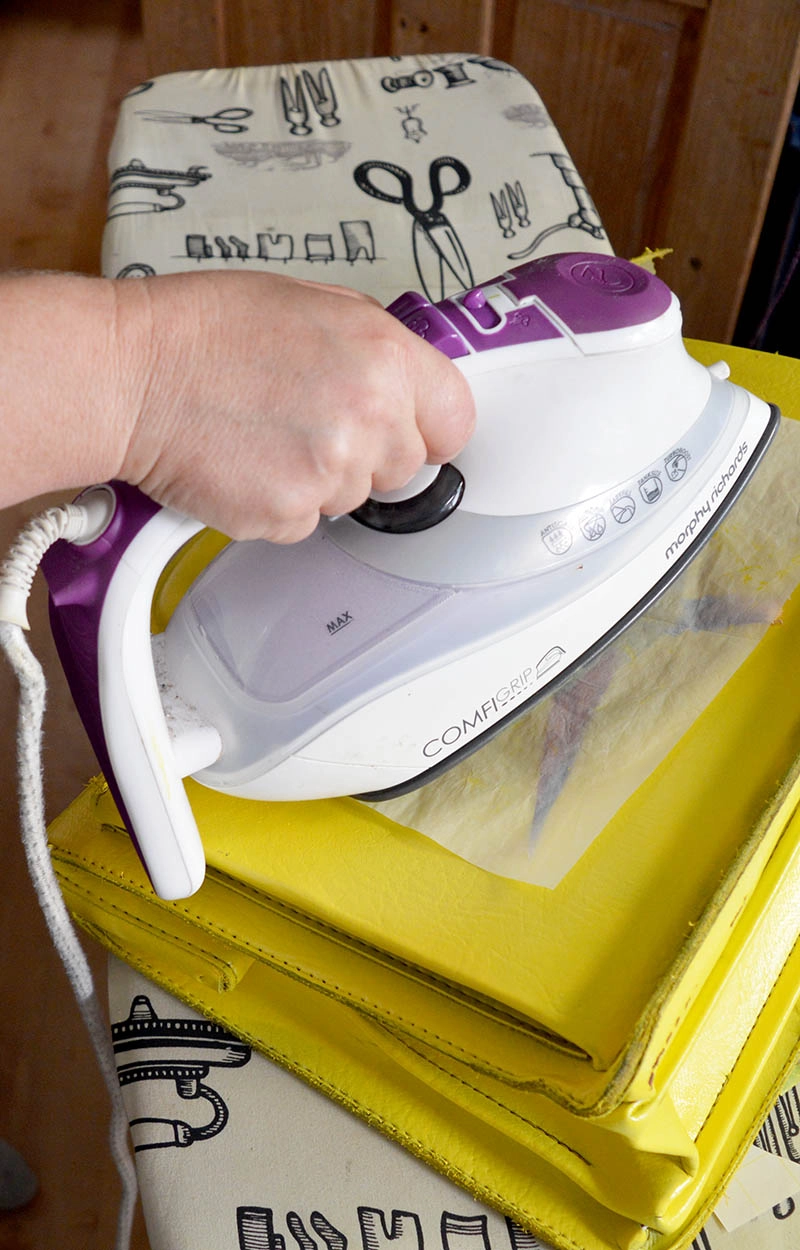
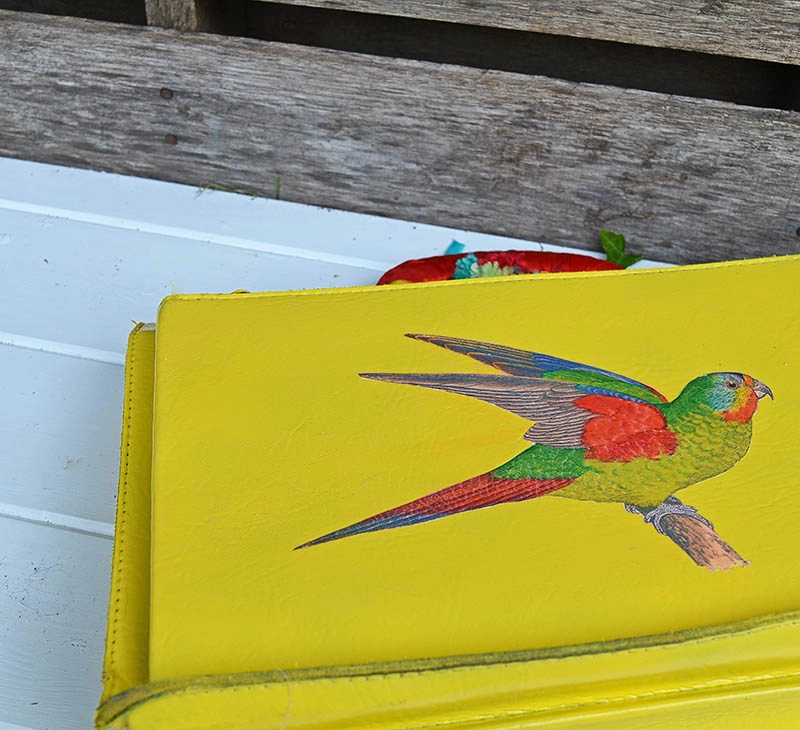
8. Use a hot iron (with steam setting switched off) to iron the image onto the bag. I ironed a parrot to both the front and back of the bag.
Finishing off the upcycled leather bag
10. After, the parrots have been transferred to the bag, apply two coats of outdoor Mod Podge. This is to protect the upcycled leather bag from chips and knocks.
11. Finally, the handle was coming unstitched in places so I just wrapped a red ribbon around it. Make a
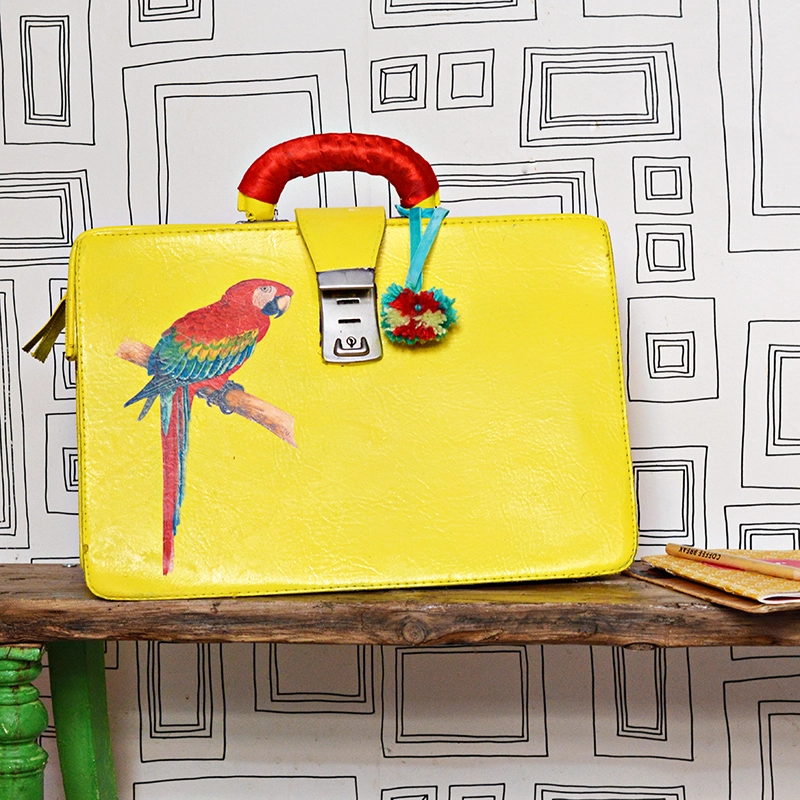
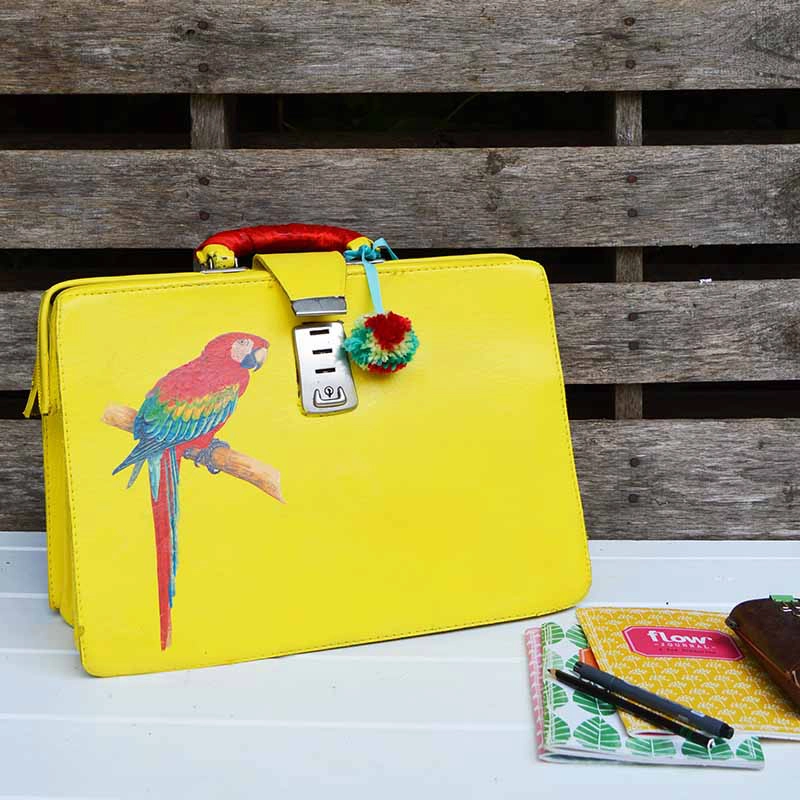
This is just such a happy looking upcycled leather bag. You will see me coming with that bright yellow and red and it is
If you would like to print on other fabrics or even wood there is a good tutorial on how to print onto fabric at home on Pillarboxblue.
If you liked this post you should check out these vintage old suitcase ideas which also include painting on leather and other colourful upcycles.

creativejewishmom/sara
Sunday 3rd of September 2017
Love it Claire, so you and yet a new look! The new banner is fab, good for you, and thanks for sharing on craft schooling Sunday, great to reconnect!
Claire Armstrong
Sunday 3rd of September 2017
Thank you, Sara. I hope you hade a great summer, loving getting back to craft schooling Sunday.
Brenda Jordan
Saturday 2nd of September 2017
I love finding your newsletter in my email..thank you for the ideas and time you take to share them..
Claire Armstrong
Saturday 2nd of September 2017
Thank you Brenda, that is lovely to hear.
August 8th: Recipe & DIY Linky - The SITS Girls
Tuesday 8th of August 2017
[…] Pillar Box Blue: Upcycled Leather Bag […]
Mary
Friday 4th of August 2017
I am very impressed with the boldness of this project Claire. And the paint did a fine job of covering up all the dark leather underneath. Who needs Dolce and Gabbana when we have Pillar Box Blue?
Claire Armstrong
Saturday 5th of August 2017
Exactally, thank you Mary.
Sandra L Garth
Friday 4th of August 2017
This is beautiful Clarie, and now I regret giving my old leather bag to the thrift store. Thank you for sharing with us at Celebrate Your Story, and have a great weekend.
Claire Armstrong
Saturday 5th of August 2017
Thank you, I'm sure there will be another leather bag.