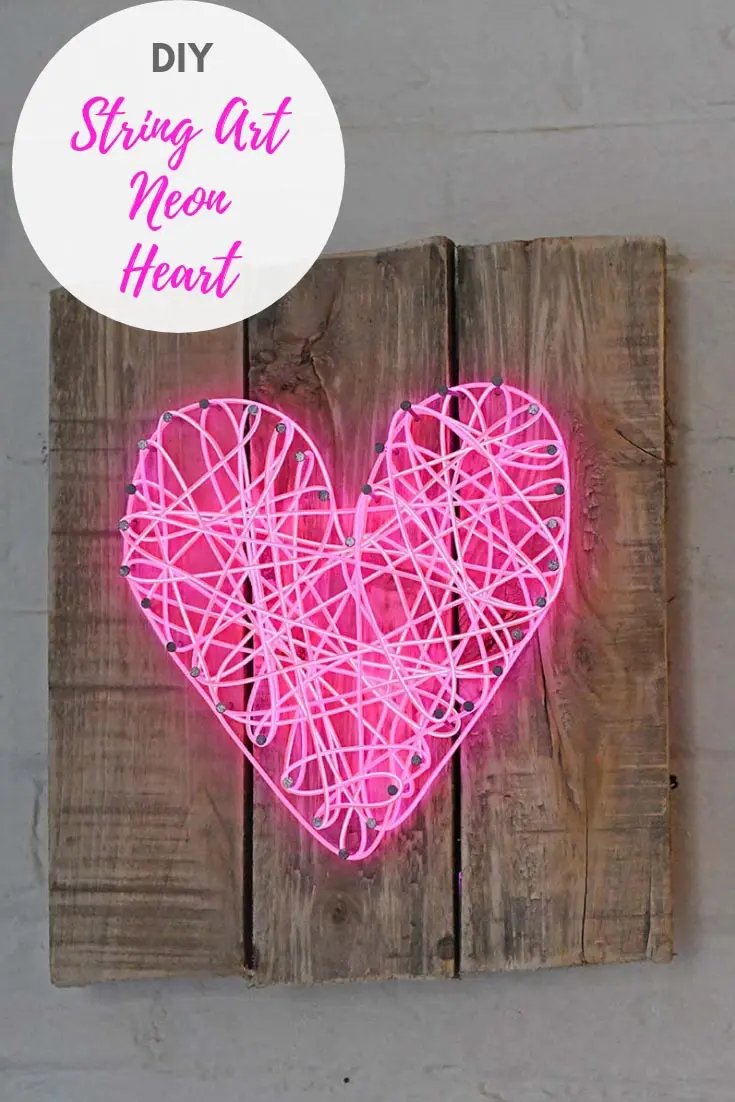
The post title might say this string neon heart sign is for Valentine’s. But, just like love, this gorgeous neon sign is for all year round and not just Valentine’s day!
I’ve always loved crafting and making stuff. When I was about ten years old, I got a string art kit for my birthday (which happens to be on Valentine’s Day!). Mine was some geometric pattern with gold and silver thread on a black velvet background. It was on my bedroom wall for years!
String Neon Heart Sign for Valentine’s
I thought it would be fun to recreate my string art but this time, using El neon wire to make an illuminated neon heart sign.
One thing that has changed since I was a child is that I’m not such a fan of symmetry. My neon heart string art design is much more random than those kits I used to make.
This is a very quick and easy craft to do. I made my backboard out of pallet wood. But you can use any old bit of wood.
El wire is very cheap to buy and comes in loads of
We’re a participant in the Amazon Services LLC Associates Program, an affiliate advertising program designed to provide a means for us to earn fees by linking to Amazon.com and affiliated sites. As an Amazon Associate, I earn from qualifying purchases.
What You Need To Make A Neon Heart Sign
- Pallet wood for the backboard or any other old wood, such as a chopping board or cupboard door.
- Galvanised round head nails approximately 50mm in length
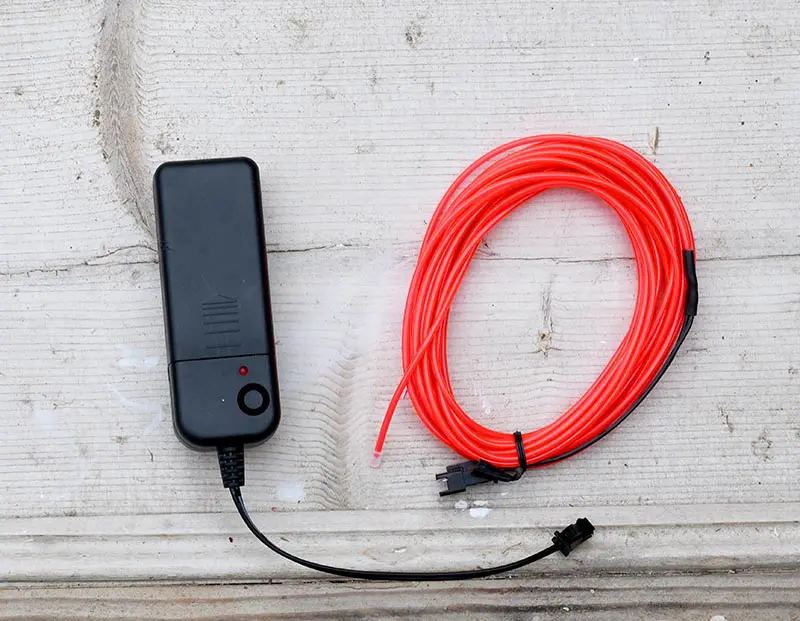
- 2 X 5m (15ft) Pink Neon El wire with battery pack
- A piece of A4 paper
How To Make A String Neon Heart Sign
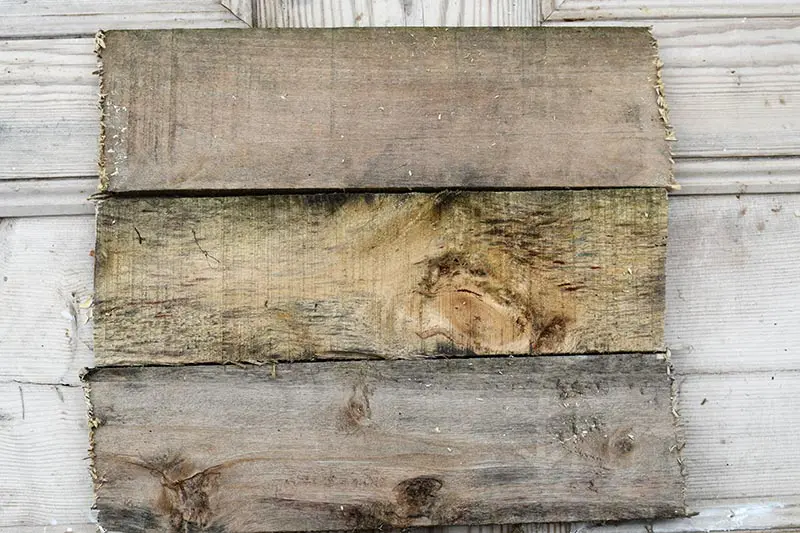
Step 1: I first made a rustic backboard for my neon heart sign by repurposing some pallet wood. I cut three strips of pallet wood to about 40cm in length. I then sanded them smooth.
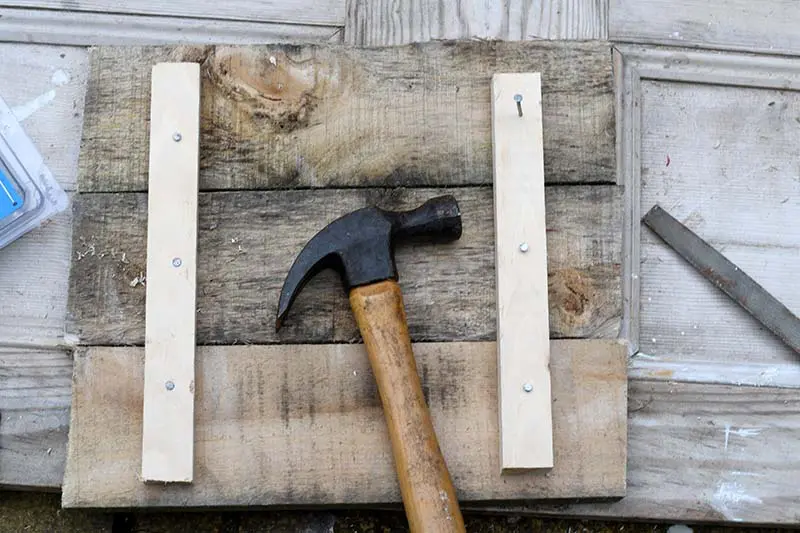
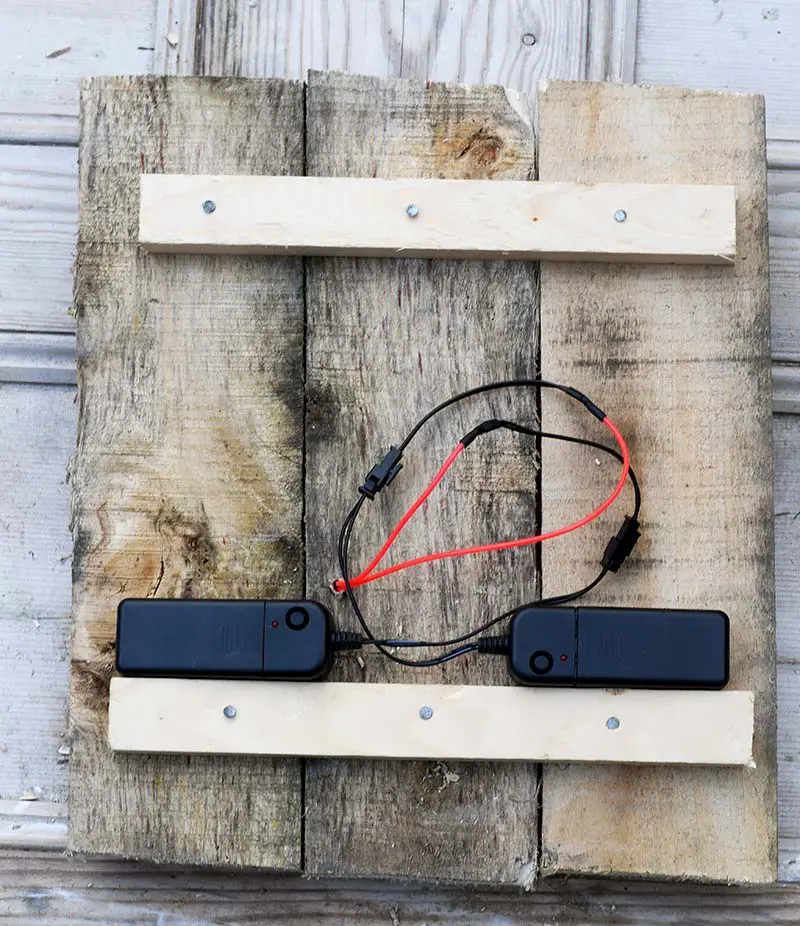
Step 2: Nail 2 strips of wood to the back to hold the three pieces of pallet wood together. Even if you use a different piece of wood for the sign, it is worth nailing one of these wood strips to the back. They make a handy shelf for the battery pack.
Step 3: Cut out a heart shape to fit the wooden base using a sheet of paper. Place the heart template on the wood and draw around it with a pencil.
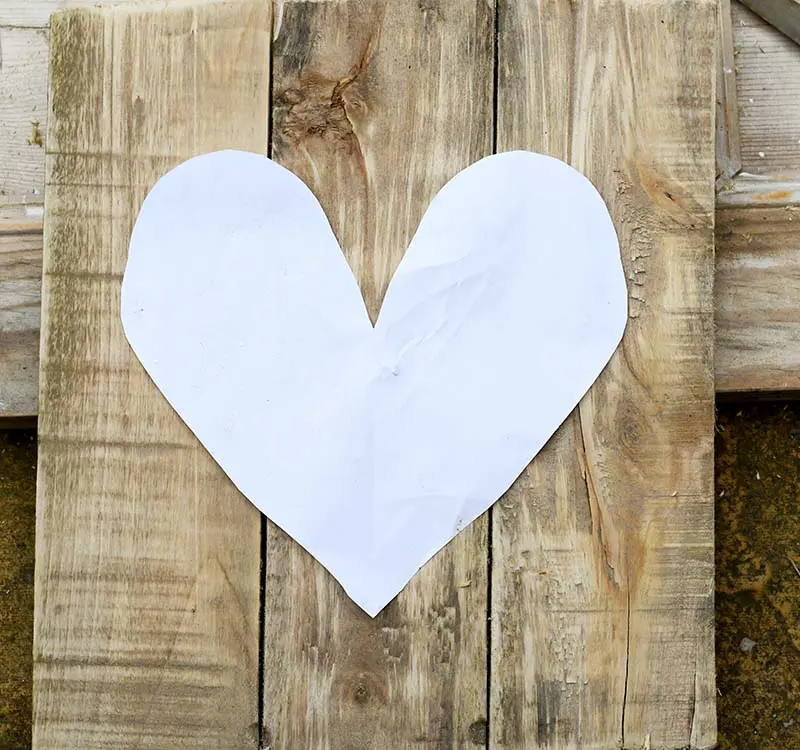
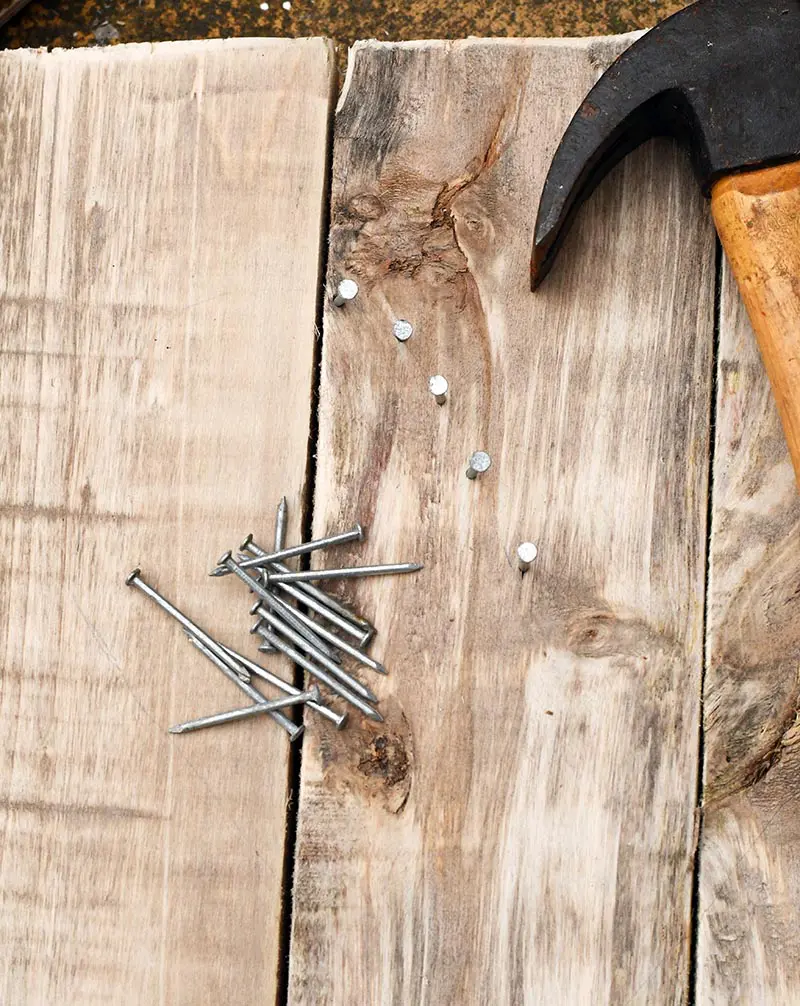
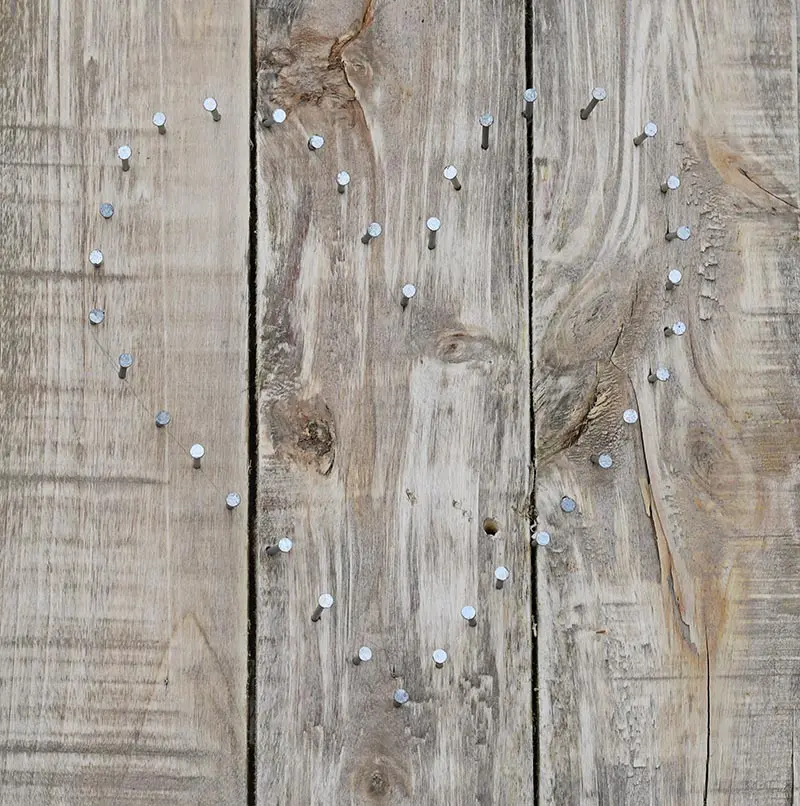
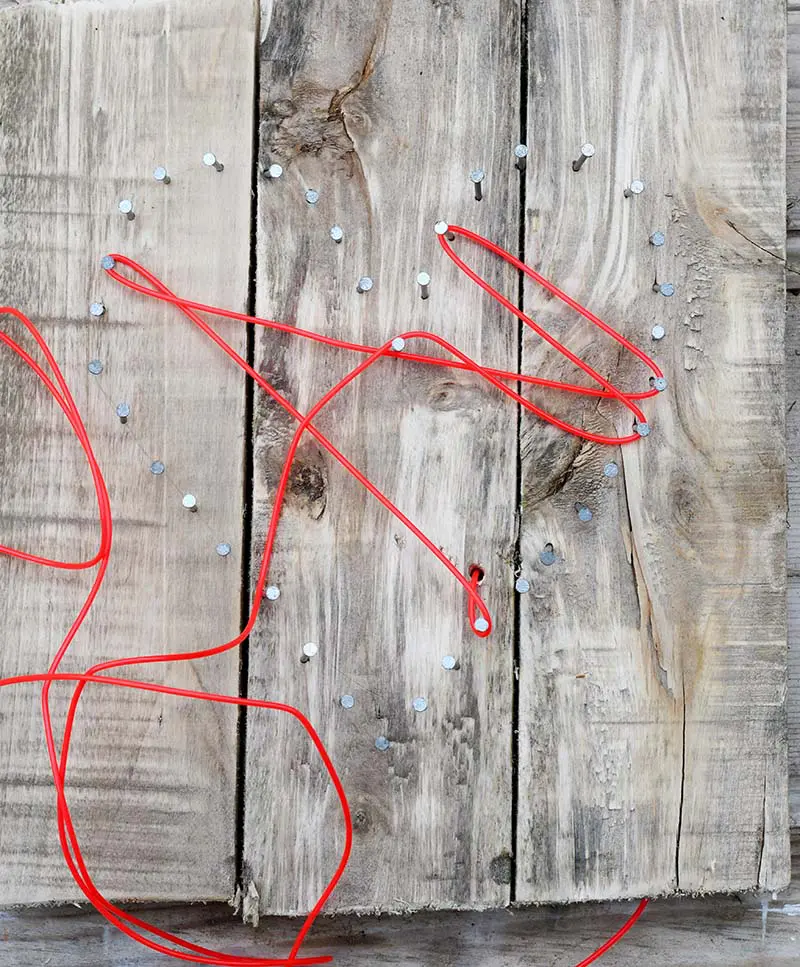
Step 4: Next, hammer the nails about 2-3 cm (1″) apart using the heart outline as a guide.
Step 5: Drill a hole inside the nail heart just big enough for the El neon wire to pass through.
Step 6: Pull the el wire through the hole in the wood. Leave the battery packs at the back.
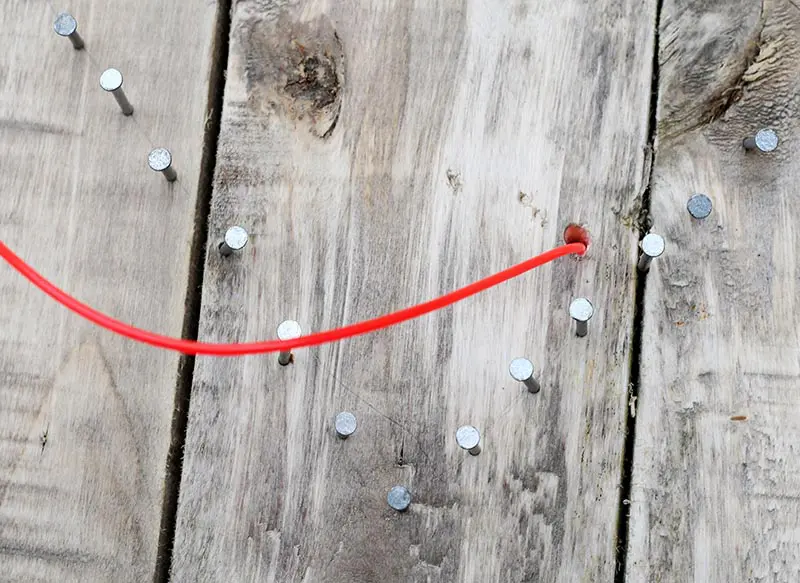
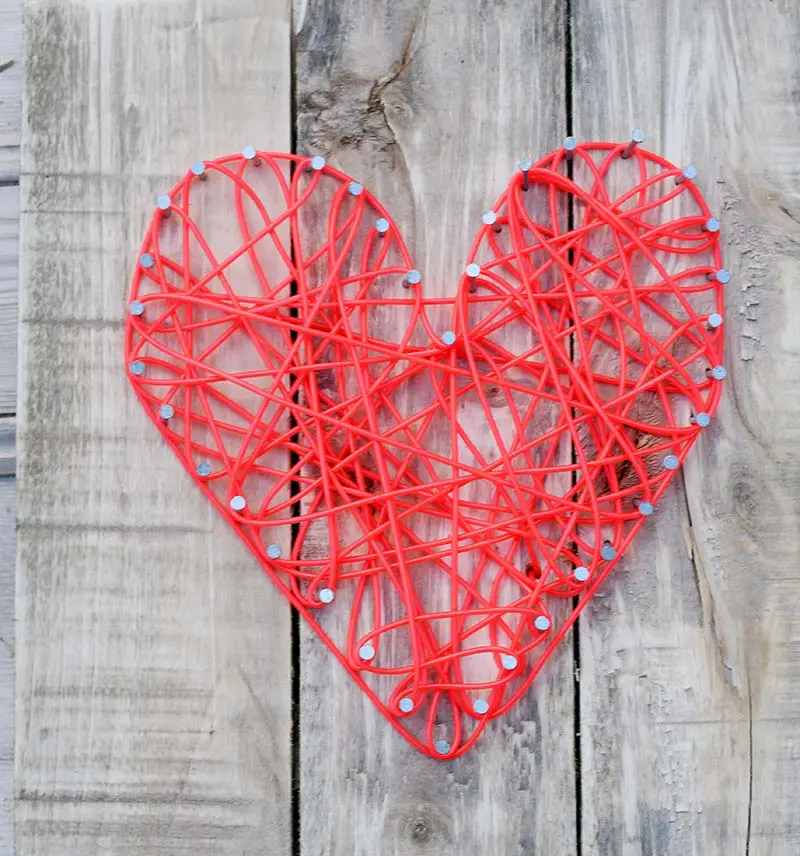
Step 7: Start crisscrossing the wire across the neon heart as you would with string art. Wrap the wire around the nails as you go. I went for a random string art pattern, but you can be more methodical if you prefer. Carry on until you run out of wire. Secure the end to the wood base with a dab of glue.
Step 8: To finish off, secure the battery packs to the back of the neon heart sign with tape.
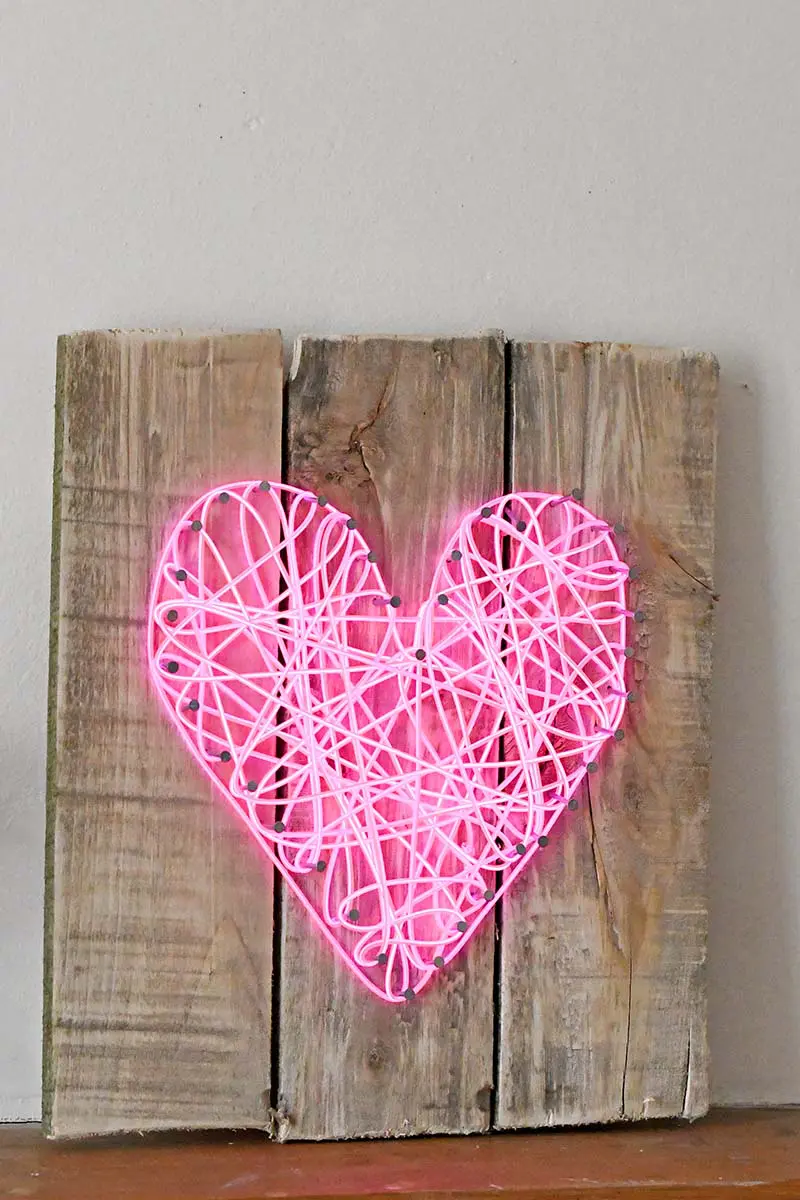
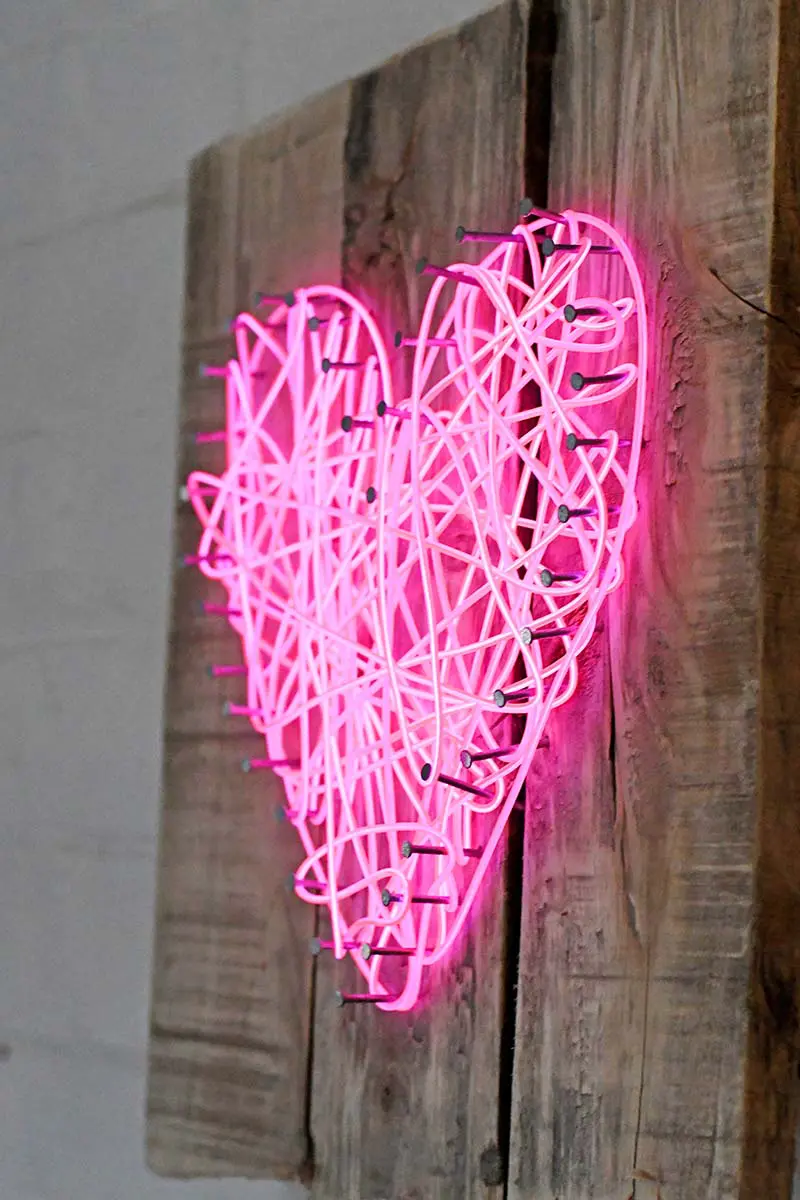
I love the pink
Who says pink is just for Valentine’s? I’ve used the same pink neon wire to make a unique spooky DIY skull decoration for Halloween.
I have also made an illuminated Valentine’s DIY lightbox sign from an old wine box.
If you like this project, you might want to check out some of my other illuminated and non-illuminated Valentine’s projects.
Heart string lights- Valentines Light Decorations
- Pinecone Flower Heart
- Valentines Bottle Lights
- Paper Mache Hearts & wall decorations
For more DIY wall decor ideas check out diyideacenter.com

45 DIY String Artwork Concepts and Initiatives - Project DIY Hub
Saturday 20th of January 2024
[…] this DIY venture, you may make a glowing neon coronary heart signal utilizing pallet wooden, galvanized nails, and […]
DFW Craft Shows
Tuesday 11th of January 2022
I was so impressed when I realized it ACTUALLY GLOWS. Thanks for sharing!
Claire Armstrong
Tuesday 11th of January 2022
Thank you, it provides a lovely pink light.
Margaret
Monday 18th of January 2021
Hi there - Such a fun idea! Just curious how troublesome it is to turn on battery packs once they are on back of wood? Thanks for the inspiration!
Claire Armstrong
Tuesday 19th of January 2021
Hi Margret, the battery packs are easy to switch on and off with just a flick of a switch. Just make sure that you can easily get to the back of the sign, mine leans against the wall on my mantle so very easy to get too.
Caro | The Twinkle Diaries
Saturday 2nd of February 2019
We've had these string for years!! We gaffer tape them to our hats so we can see each other at night on a festival field!! I must re-purpose a couple of them and make the boys some wall art. Such a great idea Claire :) #HomeEtc
Claire Armstrong
Sunday 3rd of February 2019
Thank you, great idea for festivals.
Mother of 3
Thursday 31st of January 2019
What a great project idea! We have tried string art a few times but I have never heard of neon wire. I bet my boys would love this. Thanks so much for linking up with us at Share Some Love. Pinned.
Claire Armstrong
Thursday 31st of January 2019
Thank you. Your boys could spell their name with the wire. My son has a neon sign of his name.