Most of my Christmas decorations are colourful and a bit Boho. Occasionally, I like having simple ornaments like this Scandi felt Christmas craft.
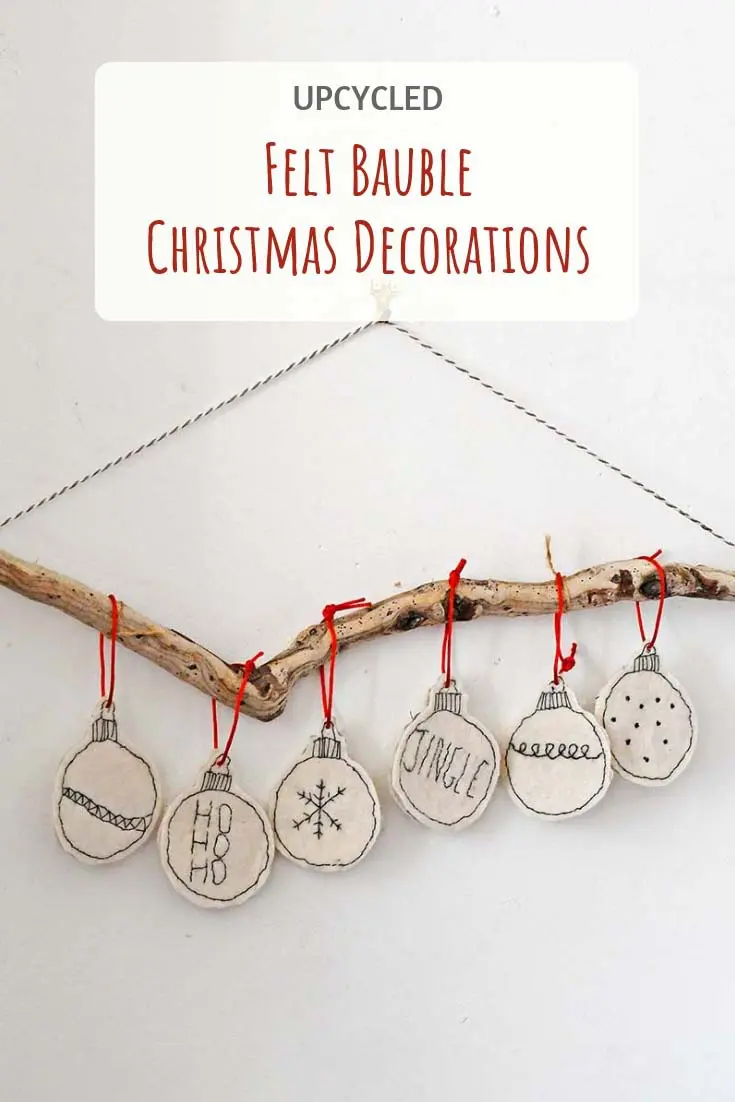
Last year, I made some handmade monochrome felt Christmas ornaments from an old sweater. I still had some scraps left over from this craft and used them to make these felt Christmas trees to complement them.
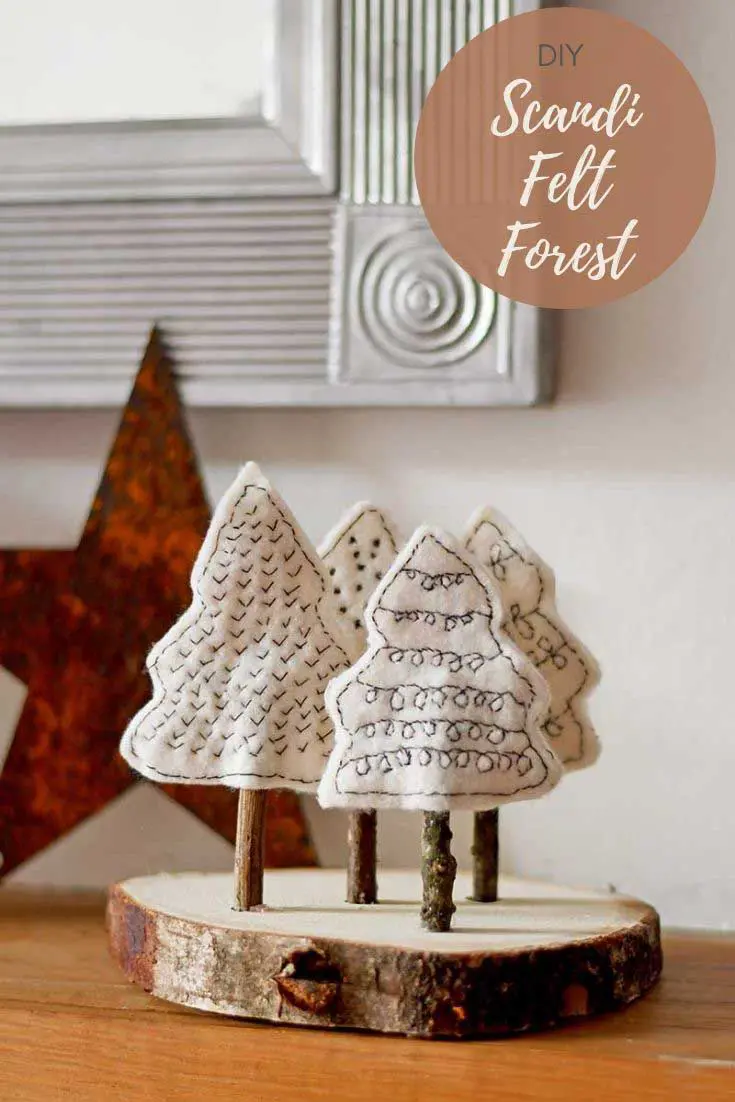
Instead of making a felt Christmas craft to hang from the tree, I’ve made a cute Scandi felt forest that can sit on the mantle.
This Scandi Christmas forest decoration costs almost nothing to make. As well as the sweater scraps, I used a wood slice as a base. I still had some wood slices left over from the stash I cheekily acquired from a Ryobi conference I attended early in the year.
Even though the trees are embroidered, no specialist needlework skills are needed. The stitches are so simple, like doodling with black cotton thread.
This craft is featured in this collection of fantastic Christmas crafts for adults and embroidered Christmas decorations.
We’re a participant in the Amazon Services LLC Associates Program, an affiliate advertising program designed to provide a means for us to earn fees by linking to Amazon.com and affiliated sites. As an Amazon Associate, I earn from qualifying purchases.
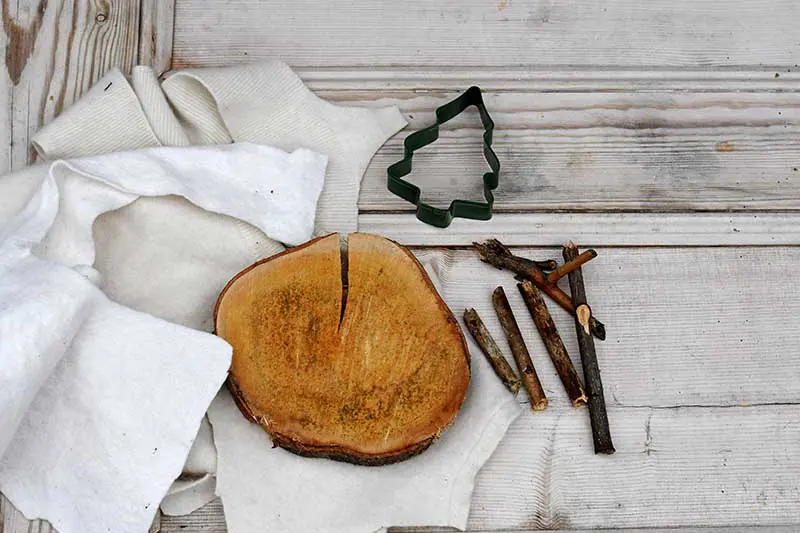
What You Need To Make Scandi Felt Forest
- Cream felt scraps – I used felted wool from an old cream sweater. If you don’t have one, craft felt will do.
- Wood slice – A large wood slice for the base (about 15 cm in diameter)
- Cream/white paint
- Gorilla contact adhesive
- Black thread and needle
- Twigs
- Christmas tree cookie cutter
How To Make A Scandi-Felt Christmas Craft
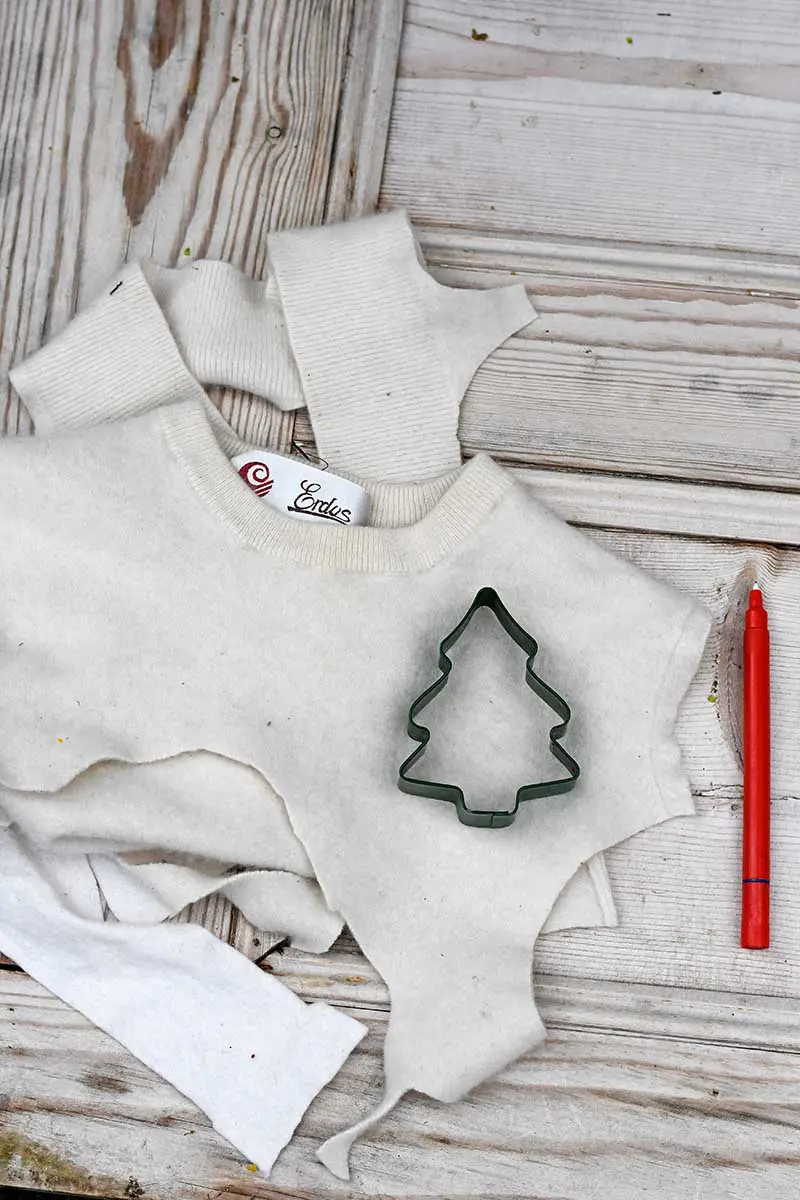
Step 1: First, place the Christmas tree cookie cutter onto the felt, draw around it, and then cut out the shape. You will need eight felt Christmas tree shapes, 2 for each of the four Scandi felt trees.
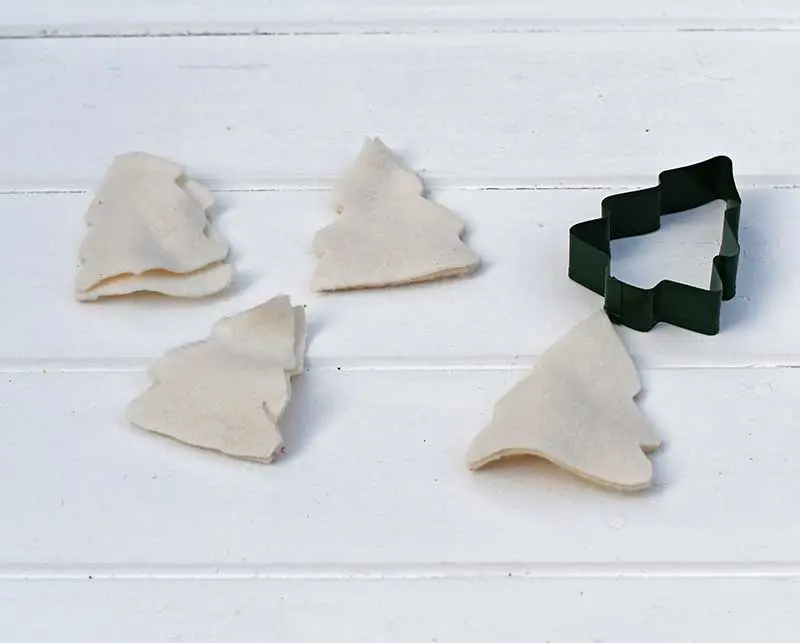
If you don’t have a Christmas cookie cutter, you can draw a tree shape using one of the templates below.
Step 2: The simple tree embroidery makes this felt Christmas craft cute and gives it the Scandi feel. You can use the patterns below as a guide for the embroidery.
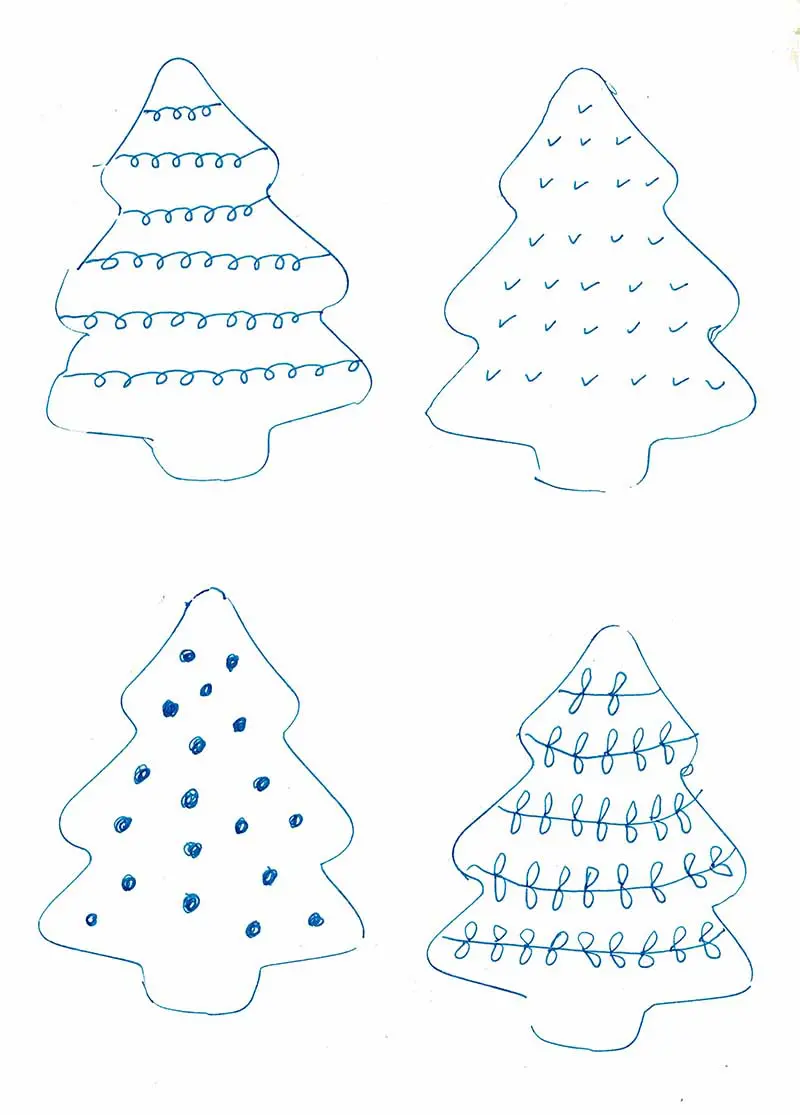
The embroidery is simple; start by stitching a simple running stitch border around the tree shape.
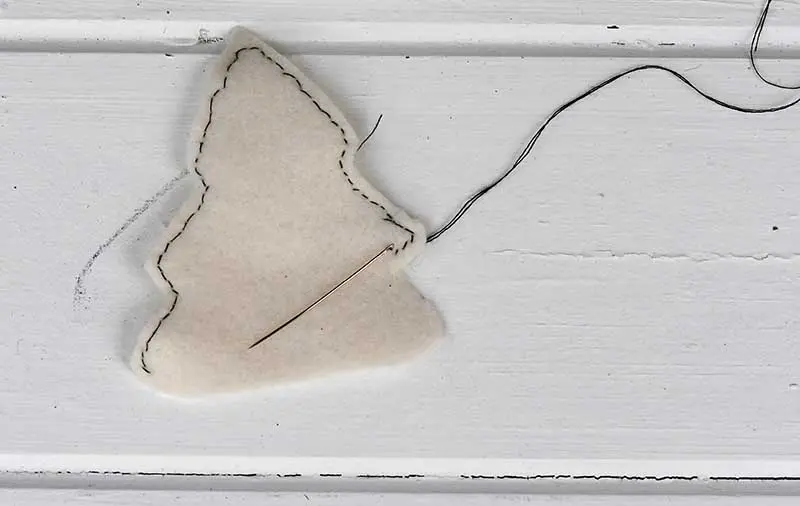
Then, stitch one of the patterns from the guide onto the felt Christmas tree. Only stitch on one piece of felt for each tree; the back will be plain.
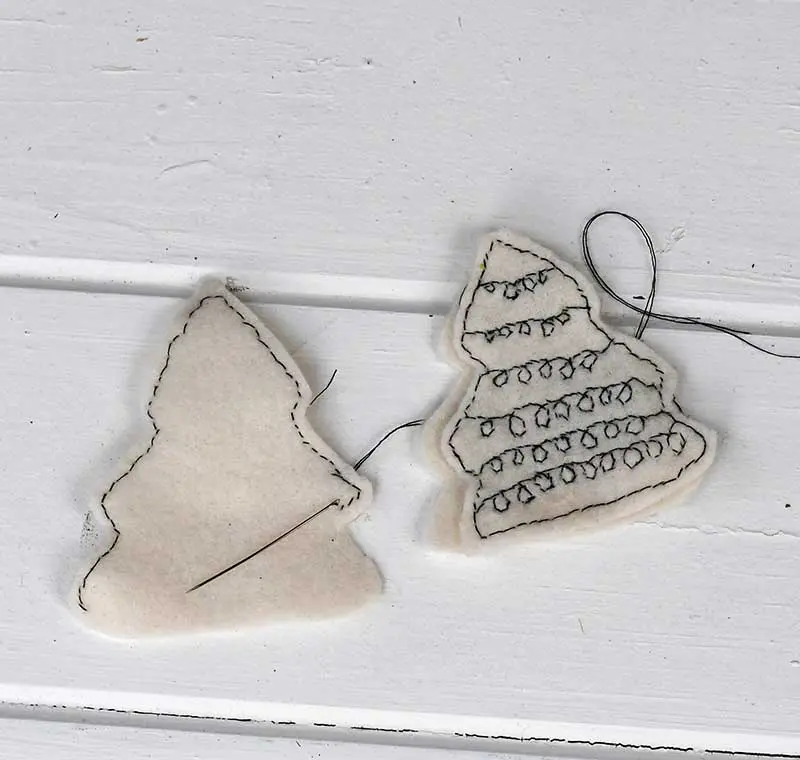
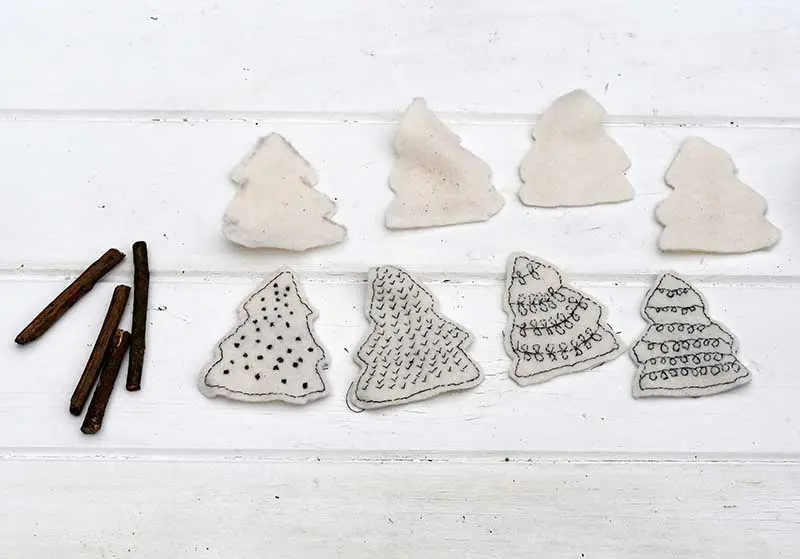
Step 3: The felt Christmas trees can be assembled once all the embroidery is finished. Using contact adhesive glue, an embroidered felt tree to a plain back, sandwiching a twig trunk in the middle.
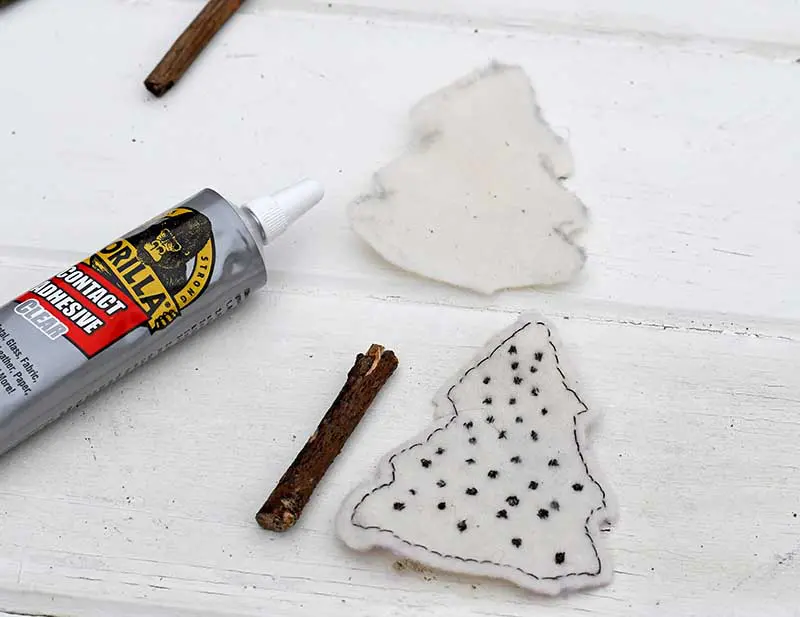
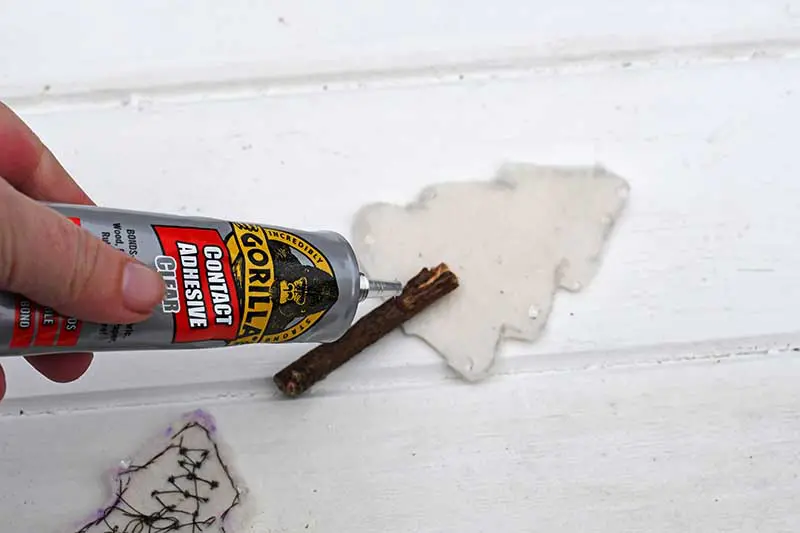
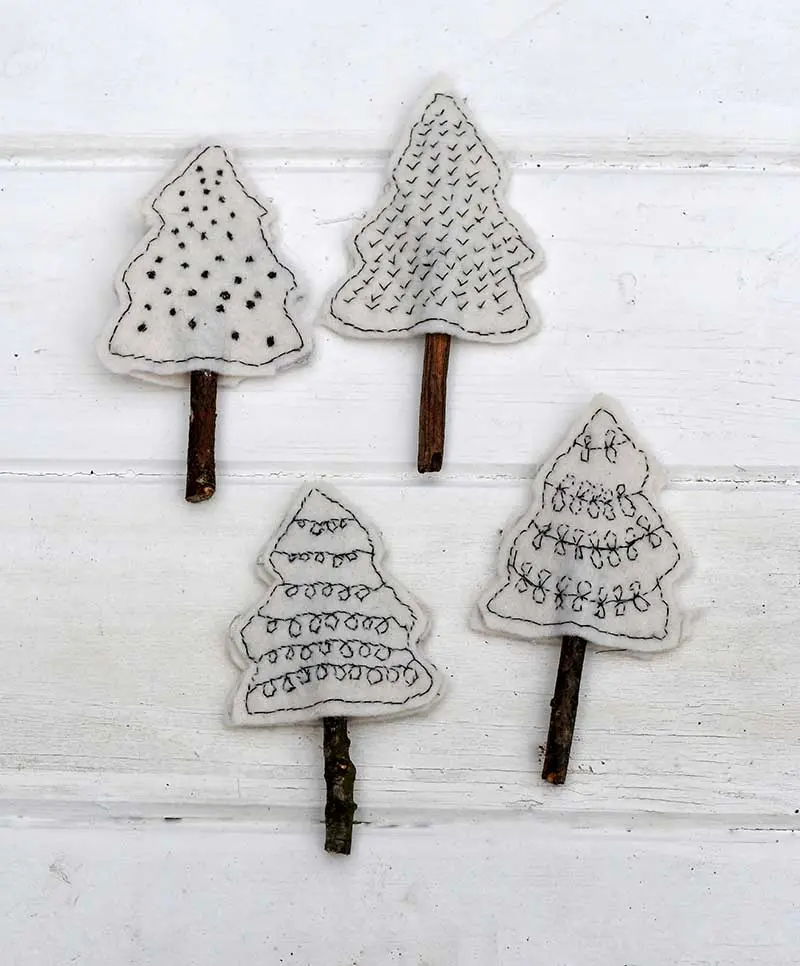
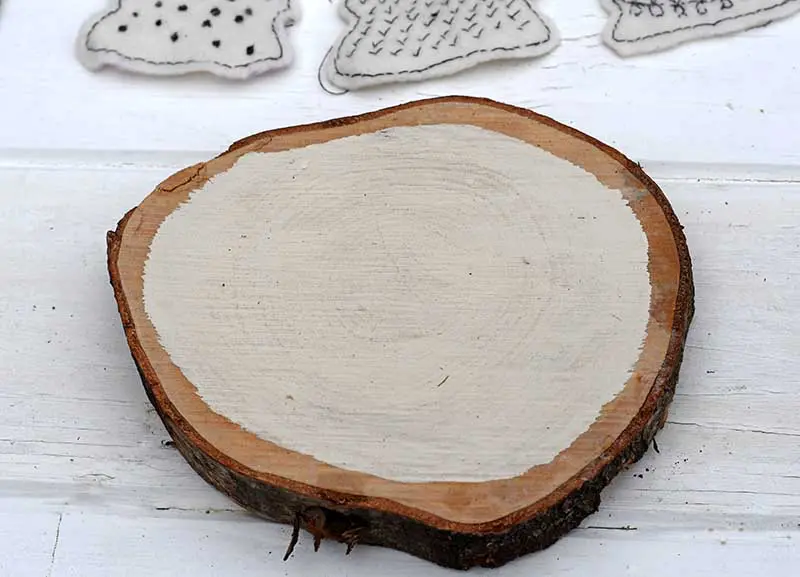
Step 4: Next, prepare the wood slice base. First, paint it creamy white with a small border.
Get a drill with a drill bit approximately the same size as the twig tree trunks. Then, drill four holes in the wood slice base—one for each tree.
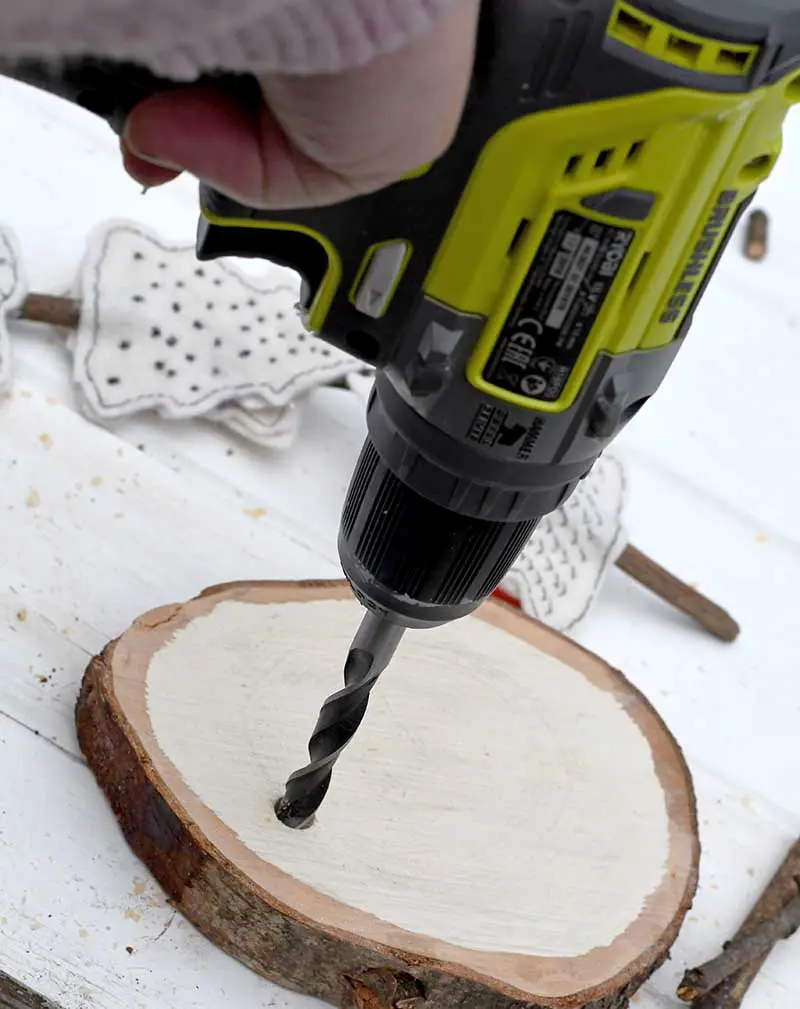
Make sure the placing of the holes is staggered.
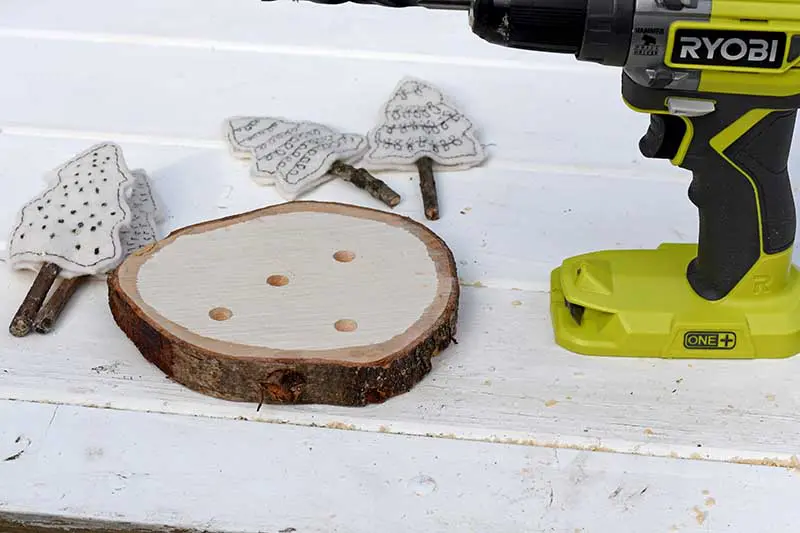
Step 5: Finish the Scandinavian felt Christmas craft by glueing a tree into each hole.
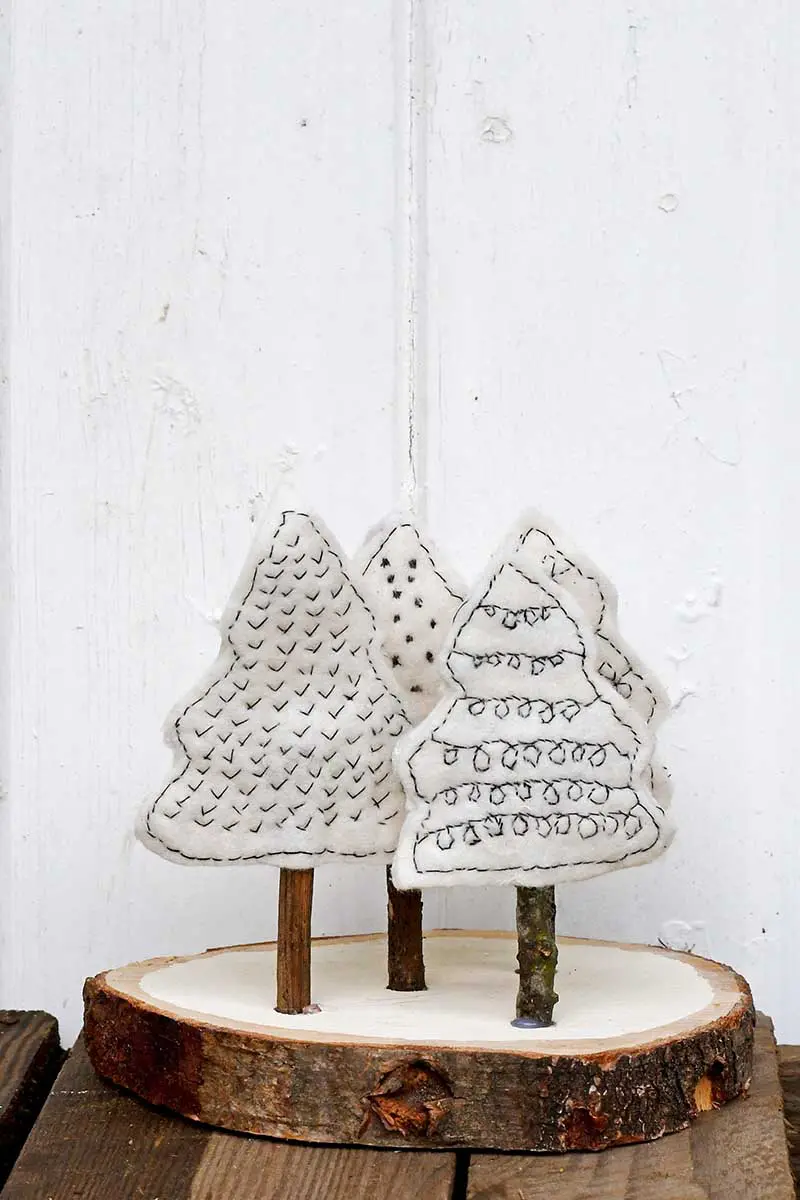
I love this cute mini Scandinavian mini-forest decoration. It will stay on the mantle all winter, not just for Christmas.
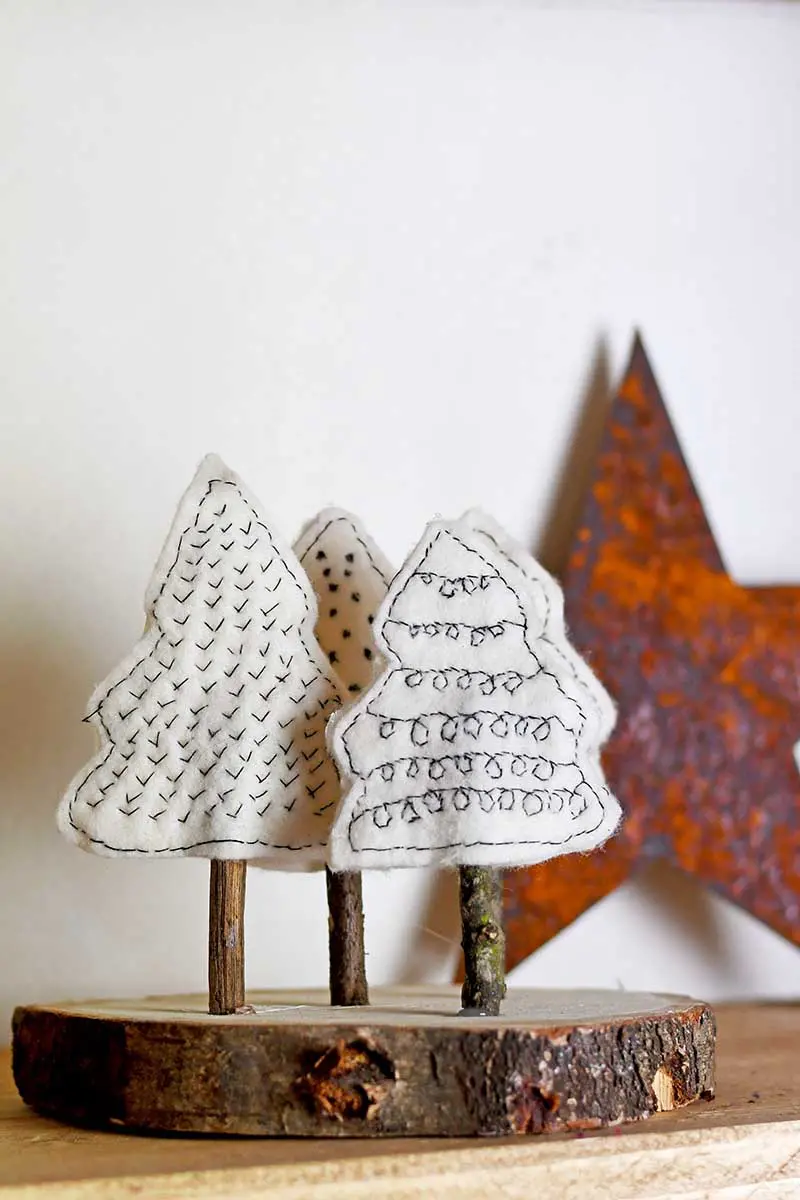
I also like how my mini forest decoration looks on the wood slice shelves I made earlier in the year.
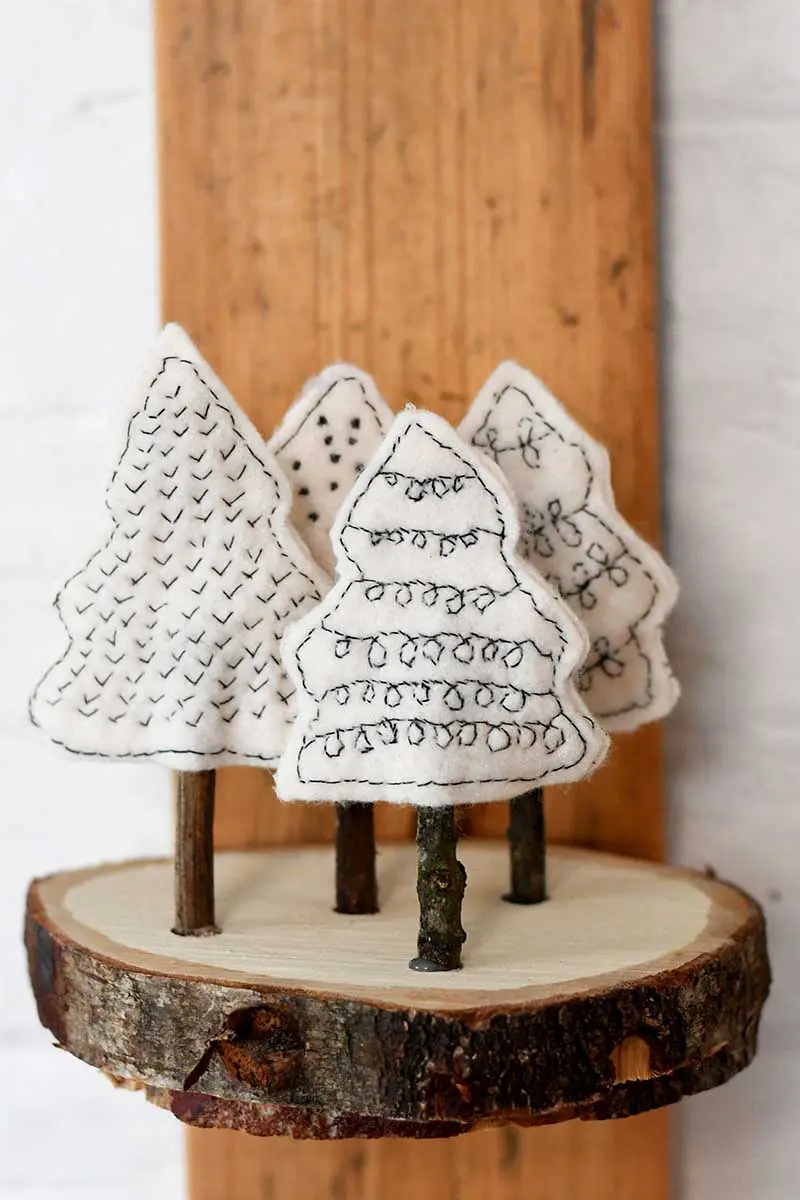
Other Ideas
By the way, if you make crafts to sell, then these trees do well at Christmas fairs.
I’ve made a Valentine’s version of this craft with my Scandi embroidered hearts decoration. I also have a spring mantle embroidery with this cute duck and hen embroidery.
Another fun way to embroider it onto a stretched canvas like this hanging plant decoration.
I use the same Christmas tree cookie cutter to make a Scottish forest of tartan trees. You’ll find many more Christmas sewing projects here.
Wood slices are fun to use for whimsical displays like these trees. You should check out my vintage fabric mushrooms wood slice display that is even more whimsical.
Felt Christmas Craft Scandinavian Forest
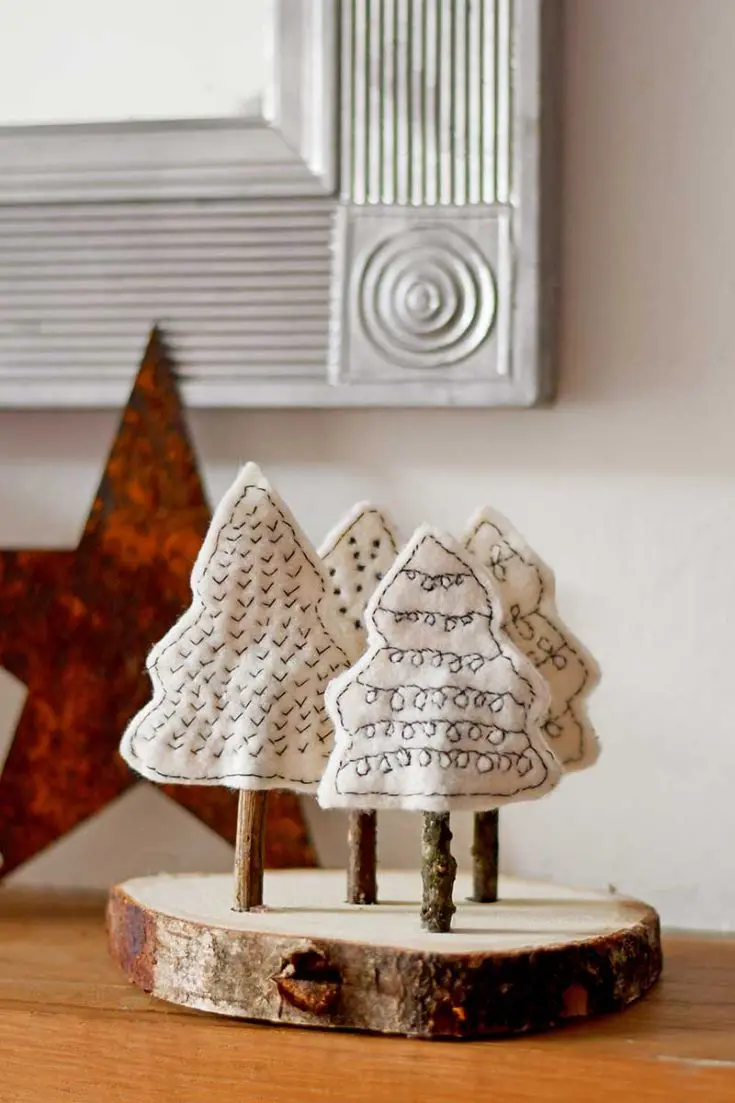
Make this gorgeous mini Scandinavian forest for your mantle. This felt Christmas craft is very simple and affordable as it uses mainly repurposed materials.
Materials
- Felt scraps
- Wood Slice
- Twigs
- Needle and Thread
- Glue
Tools
- Drill
Instructions
- Using a template or Christmas cookie cutter cut out 8 felt Christmas trees
- Embroider four of the trees with a simple black and white pattern (free pattern)
- Glue an embroidered tree to a back with a twig trunk
- Paint the wood slice
- Drill four holes into the wood slice
- Glue the trees into the drilled holes
Like many of the crafts and DIYs on this site, this Scandinavian Christmas decoration was made from the things I had around me. You might want to check out some of my other upcycled felt Christmas crafts and those that use wood slices.
- Sweater Upcycled Ornaments
- Felt Christmas Tree Made From Sweaters
- A Christmas Pudding Wood Slice Ornament
- Fun Frida Kahlo Christmas Ornament
- Upcycled Felt Garland
- Felt Tassels From Old Sweaters
For more Christmas sewing ideas, visit allfreesewing.com

23 DIY Scandinavian Christmas Decorations with Nordic, Hygge Vibes
Wednesday 4th of December 2019
[…] pillarboxblue […]
Jodie Fitz
Tuesday 5th of November 2019
Love this felt project! Thank you for sharing at last week's Reader Tip Tuesday party. It's being featured at this week's party: https://www.jodiefitz.com/reader-tip-tuesday-weeks-craft-recipe-party-14-2-2-2-2-2-2-2-2-2-2-2-2-2-2-2-2-2-2-2-2-2-2-2-2-2-2-2-2/
I always look forward to your creations. xo Have a great day...
Claire Armstrong
Tuesday 5th of November 2019
Thank you so much I look forward to seeing it.
Kristi Dominguez
Monday 4th of November 2019
These are so lovely! What an adorable craft idea! Thanks for sharing!
Claire Armstrong
Tuesday 5th of November 2019
Thank you so much. I did enjoy making them.
Cecilia
Monday 4th of November 2019
These are so cute! Thanks for sharing at Vintage Charm!
Claire Armstrong
Tuesday 5th of November 2019
Thank you so much, Cecilia.
Silver Pennies Sundays Link Party (334) - Finding Silver Pennies
Sunday 3rd of November 2019
[…] I hate to say this but Christmas will be here before we know it. How cute are these Scandi trees by Pillar Box Blue? […]