Discover how to transform an old jeans waistband into a charming, durable denim bookmark using Sashiko stitching – a perfect gift for book lovers.
I’m excited to share a cool, upcycled denim project I made for my husband’s birthday. He’s always reading, usually juggling two or three books at once, and I wanted to give him something unique and personal.
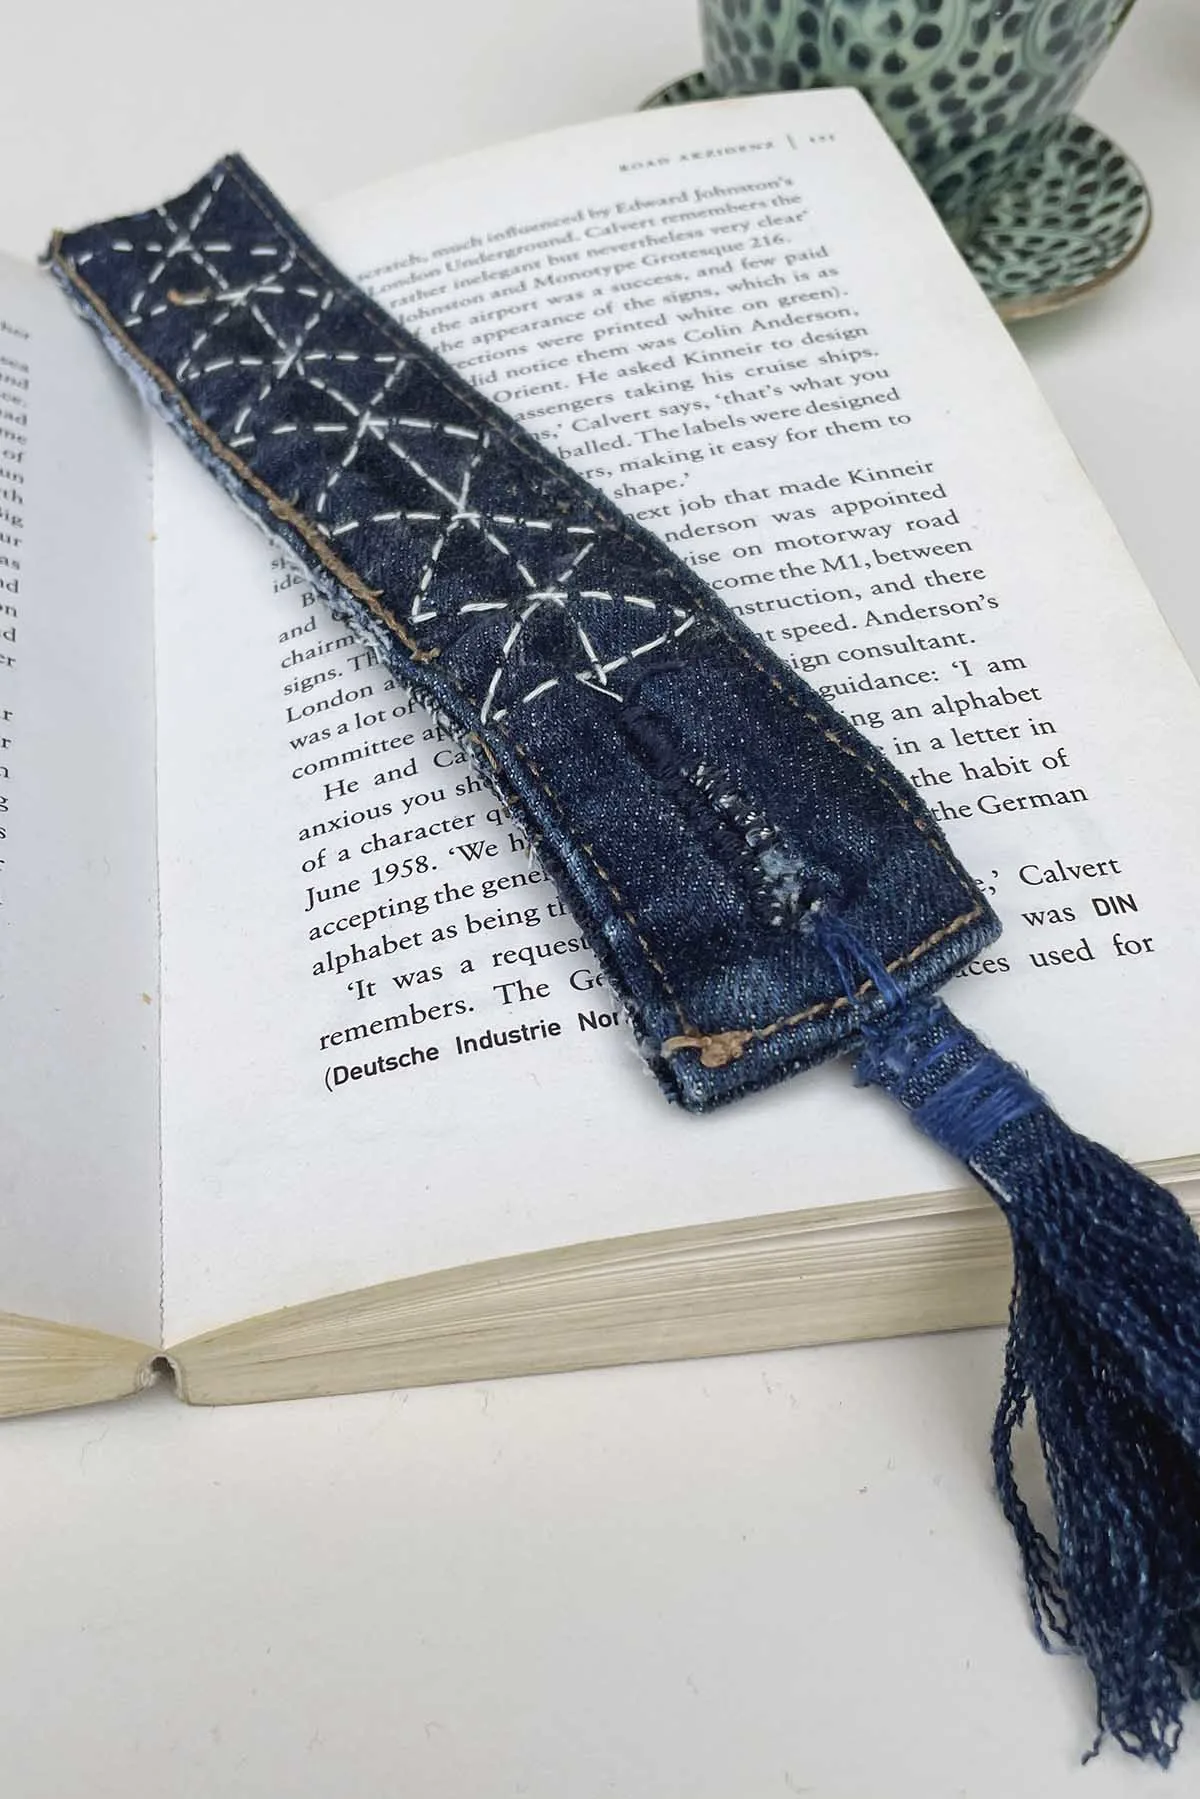
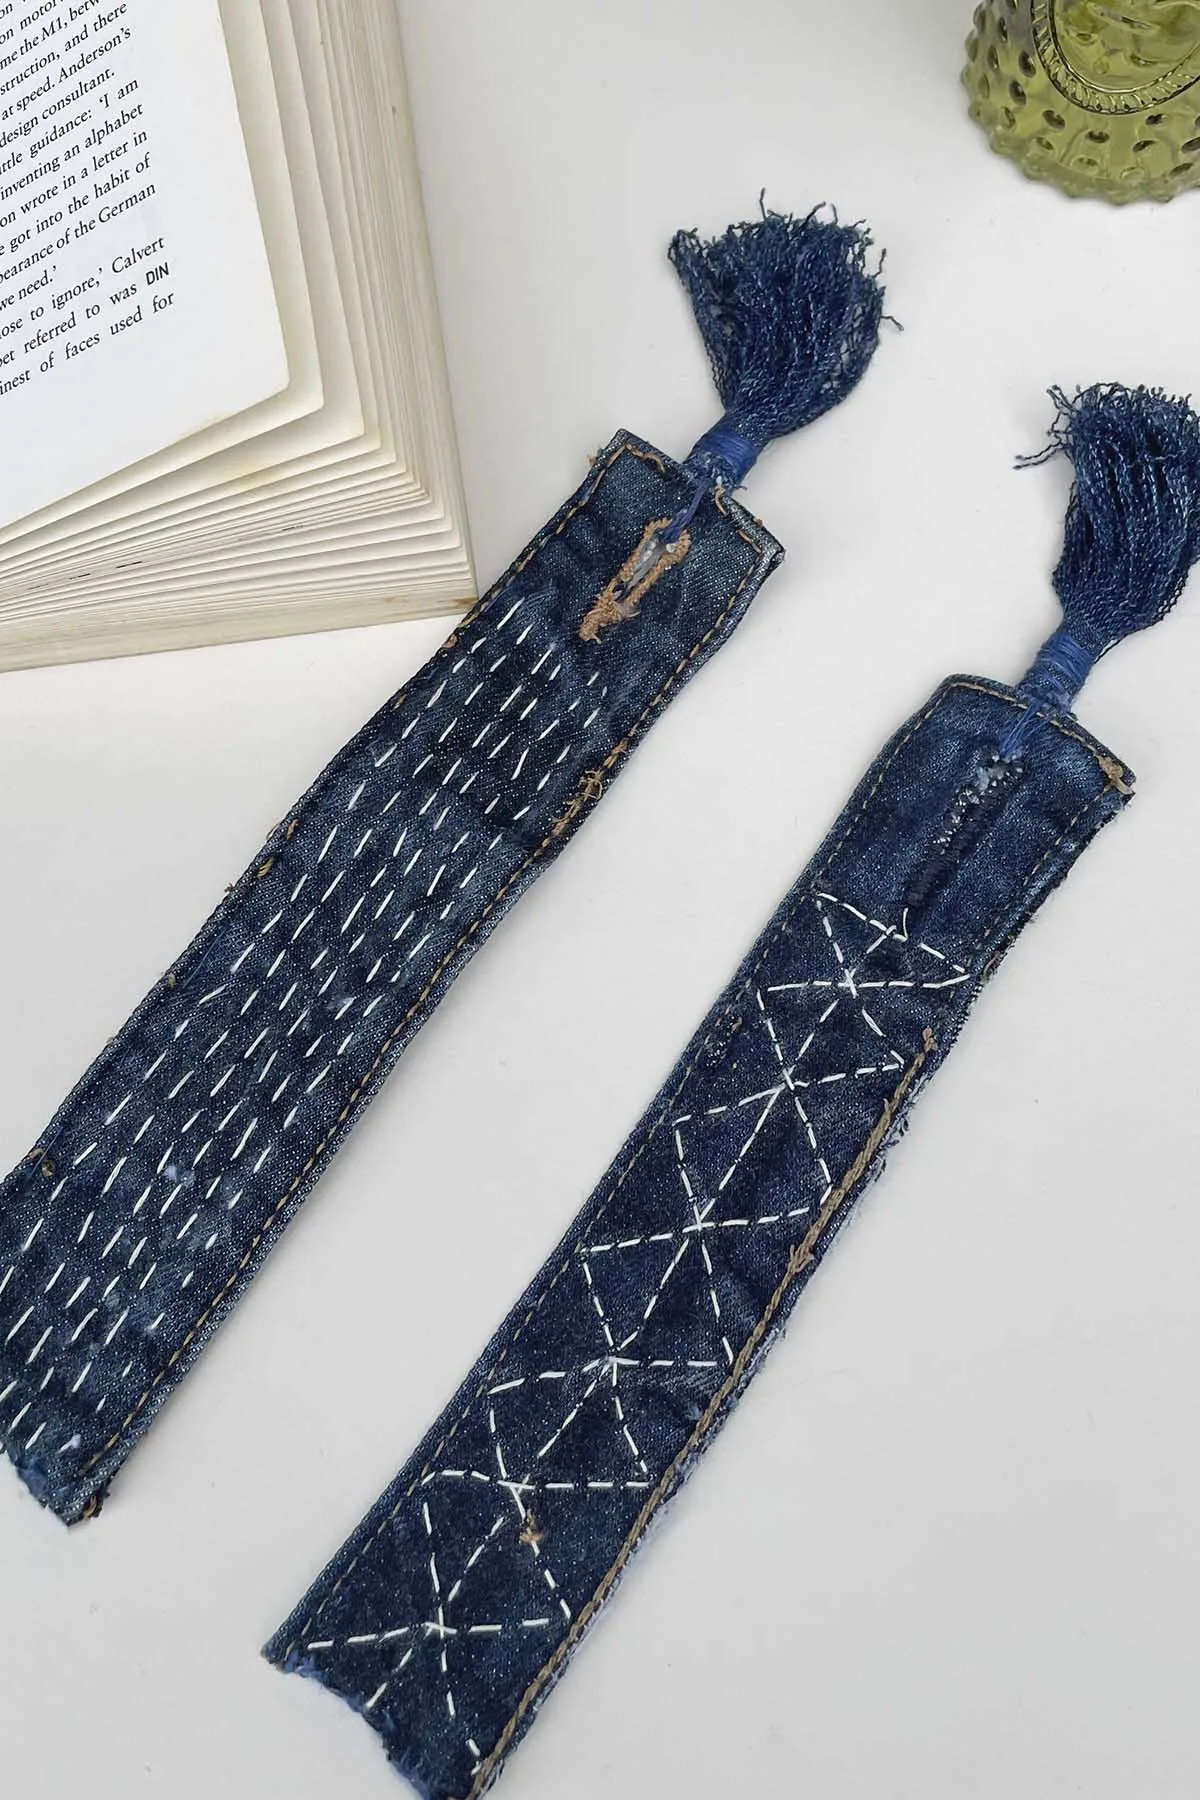
So, I came up with the idea to make him bookmarks. But not just any bookmarks; I crafted them from an old pair of his jeans, adding a personal touch with some neat stitching called Sashiko, a Japanese technique. I made two because he often reads more than one book at a time.
This project involved creating a thoughtful, handmade gift for him while also discovering a unique way to repurpose the often-overlooked waistbands of old jeans. Creating this bookmark involved simple hand stitching.
Materials Needed
We’re a participant in the Amazon Services LLC Associates Program, an affiliate advertising program designed to provide a means for us to earn fees by linking to Amazon.com and affiliated sites. As an Amazon Associate, I earn from qualifying purchases.
- Denim Waistband: From an old pair of jeans.
- Denim Scrap: A small scrap piece of denim for the tassel decoration
- Sashiko Thread: This particular thick cotton thread is used in Sashiko embroidery. While traditional colours are white or blue, feel free to experiment.
- Sashiko Needle: These are longer than regular sewing needles to accommodate the unique stitching style.
- Seam Ripper and Scissors
- Ruler
- White Fabric Pencil Marker or Chalk
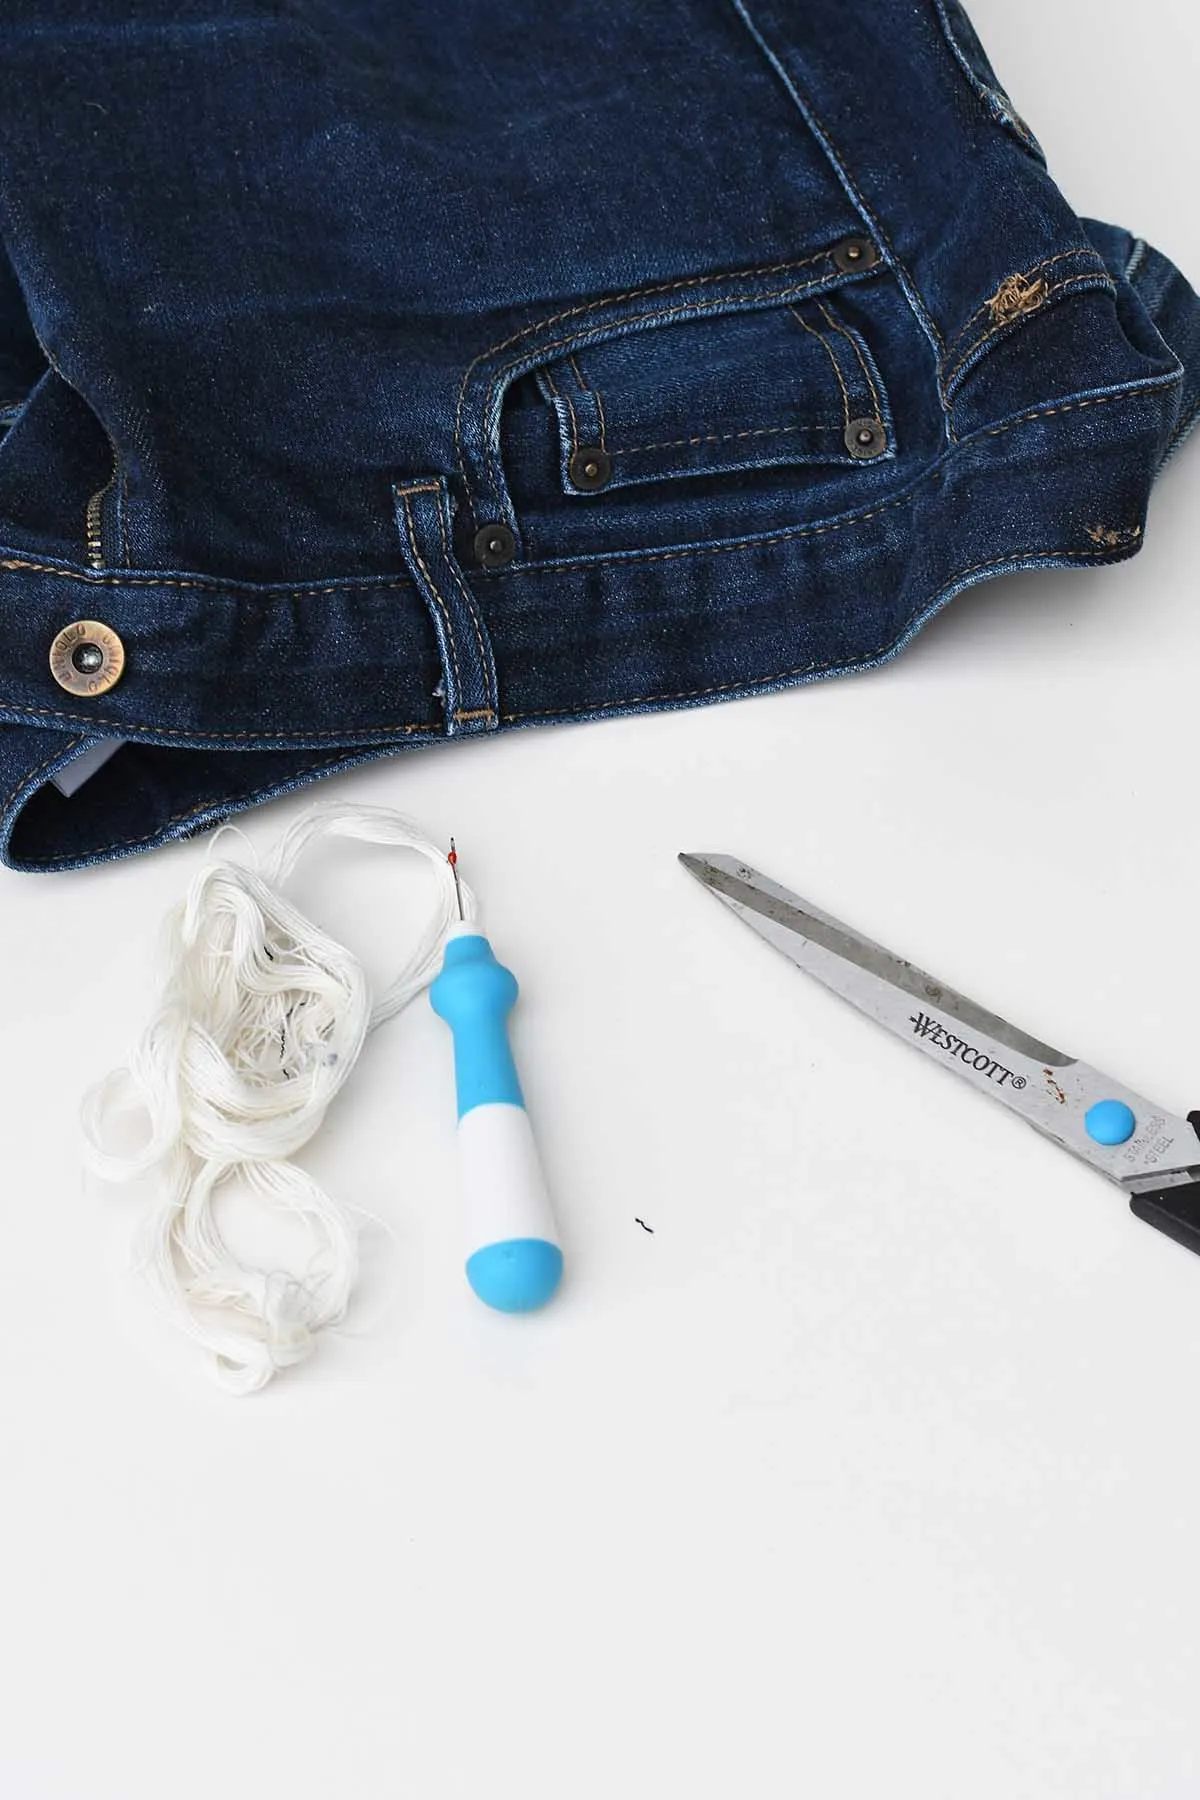
How To Make A Fabric Bookmark
Removing The Jeans Waistband
There are two methods for detaching the waistband from a pair of jeans. First, you could cut off the waistband right along the top edge of the jeans, staying as close to the seams as possible for a clean cut.
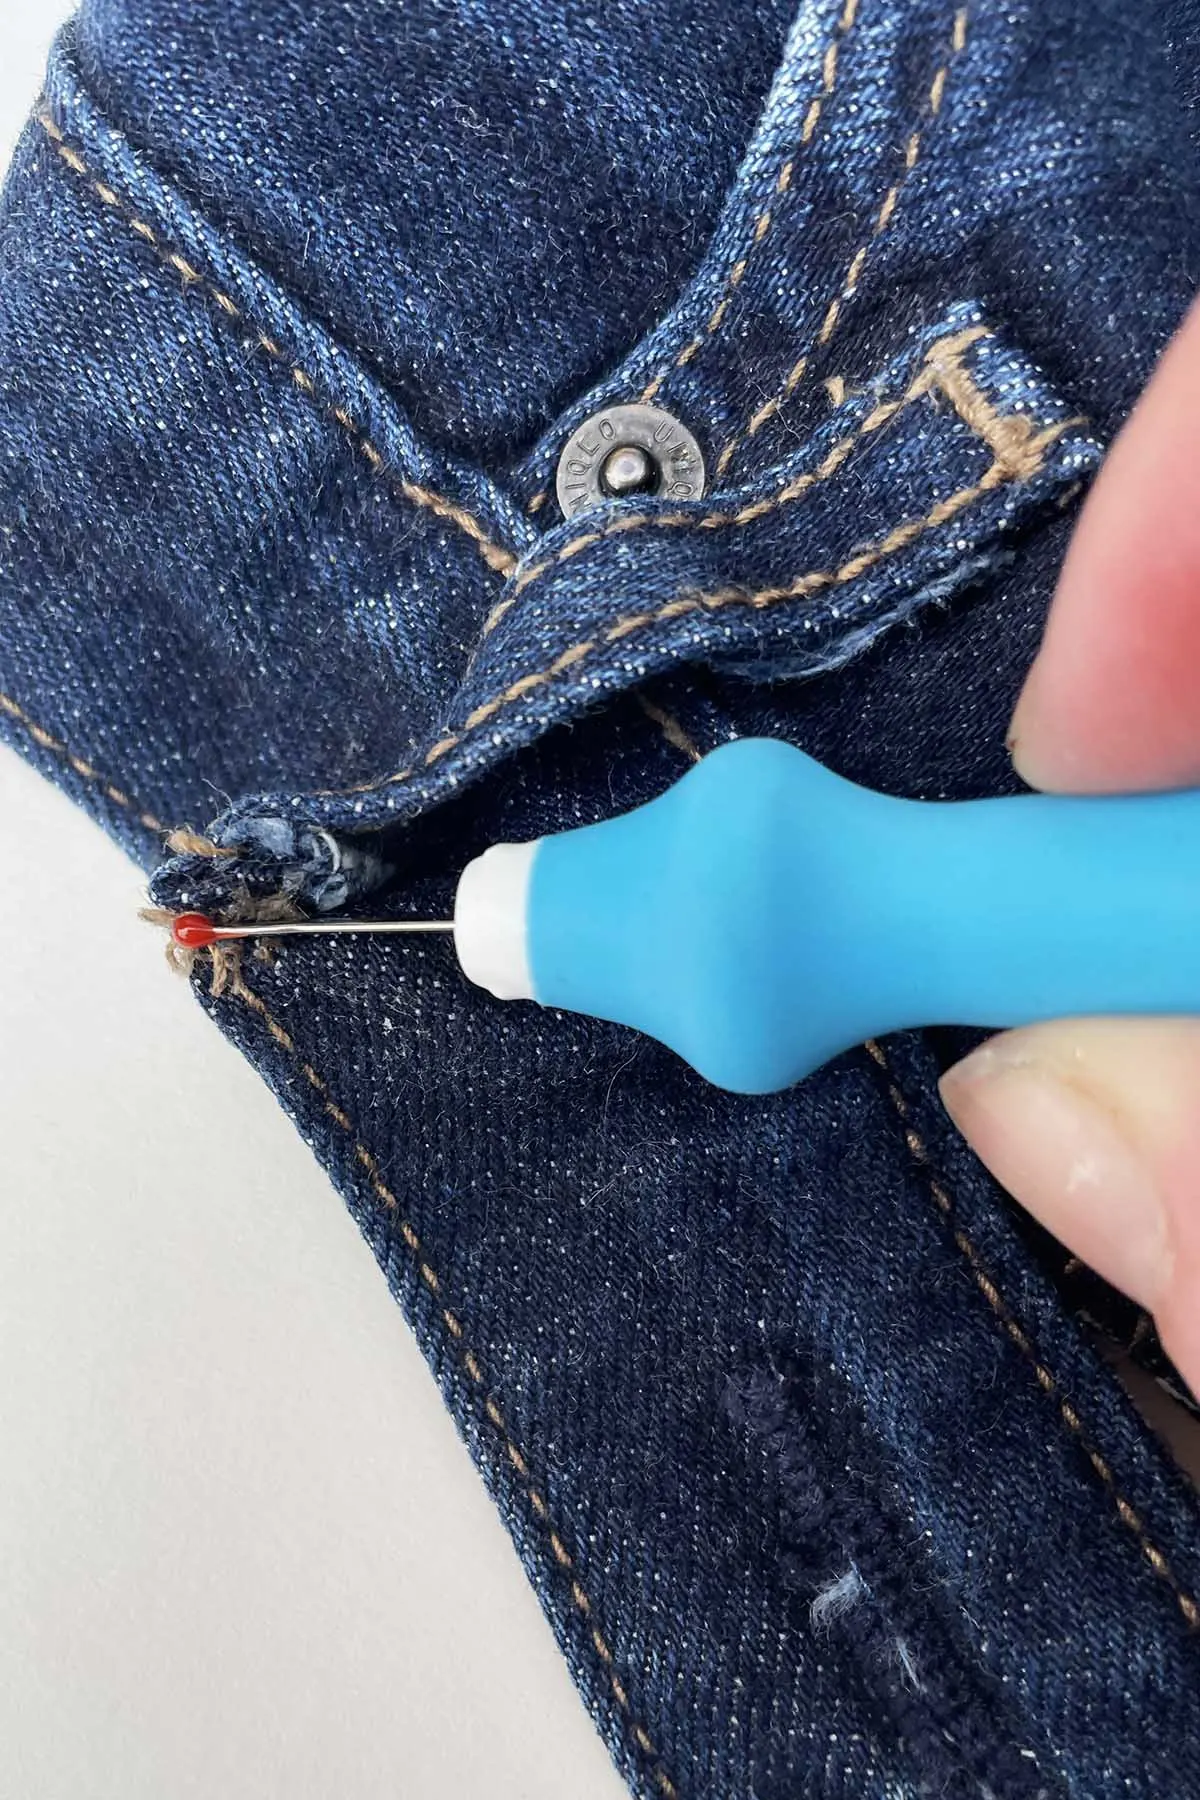
Alternatively, you can use a seam ripper to carefully detach the waistband from the jeans. This latter technique neatly unfolds the waistband.
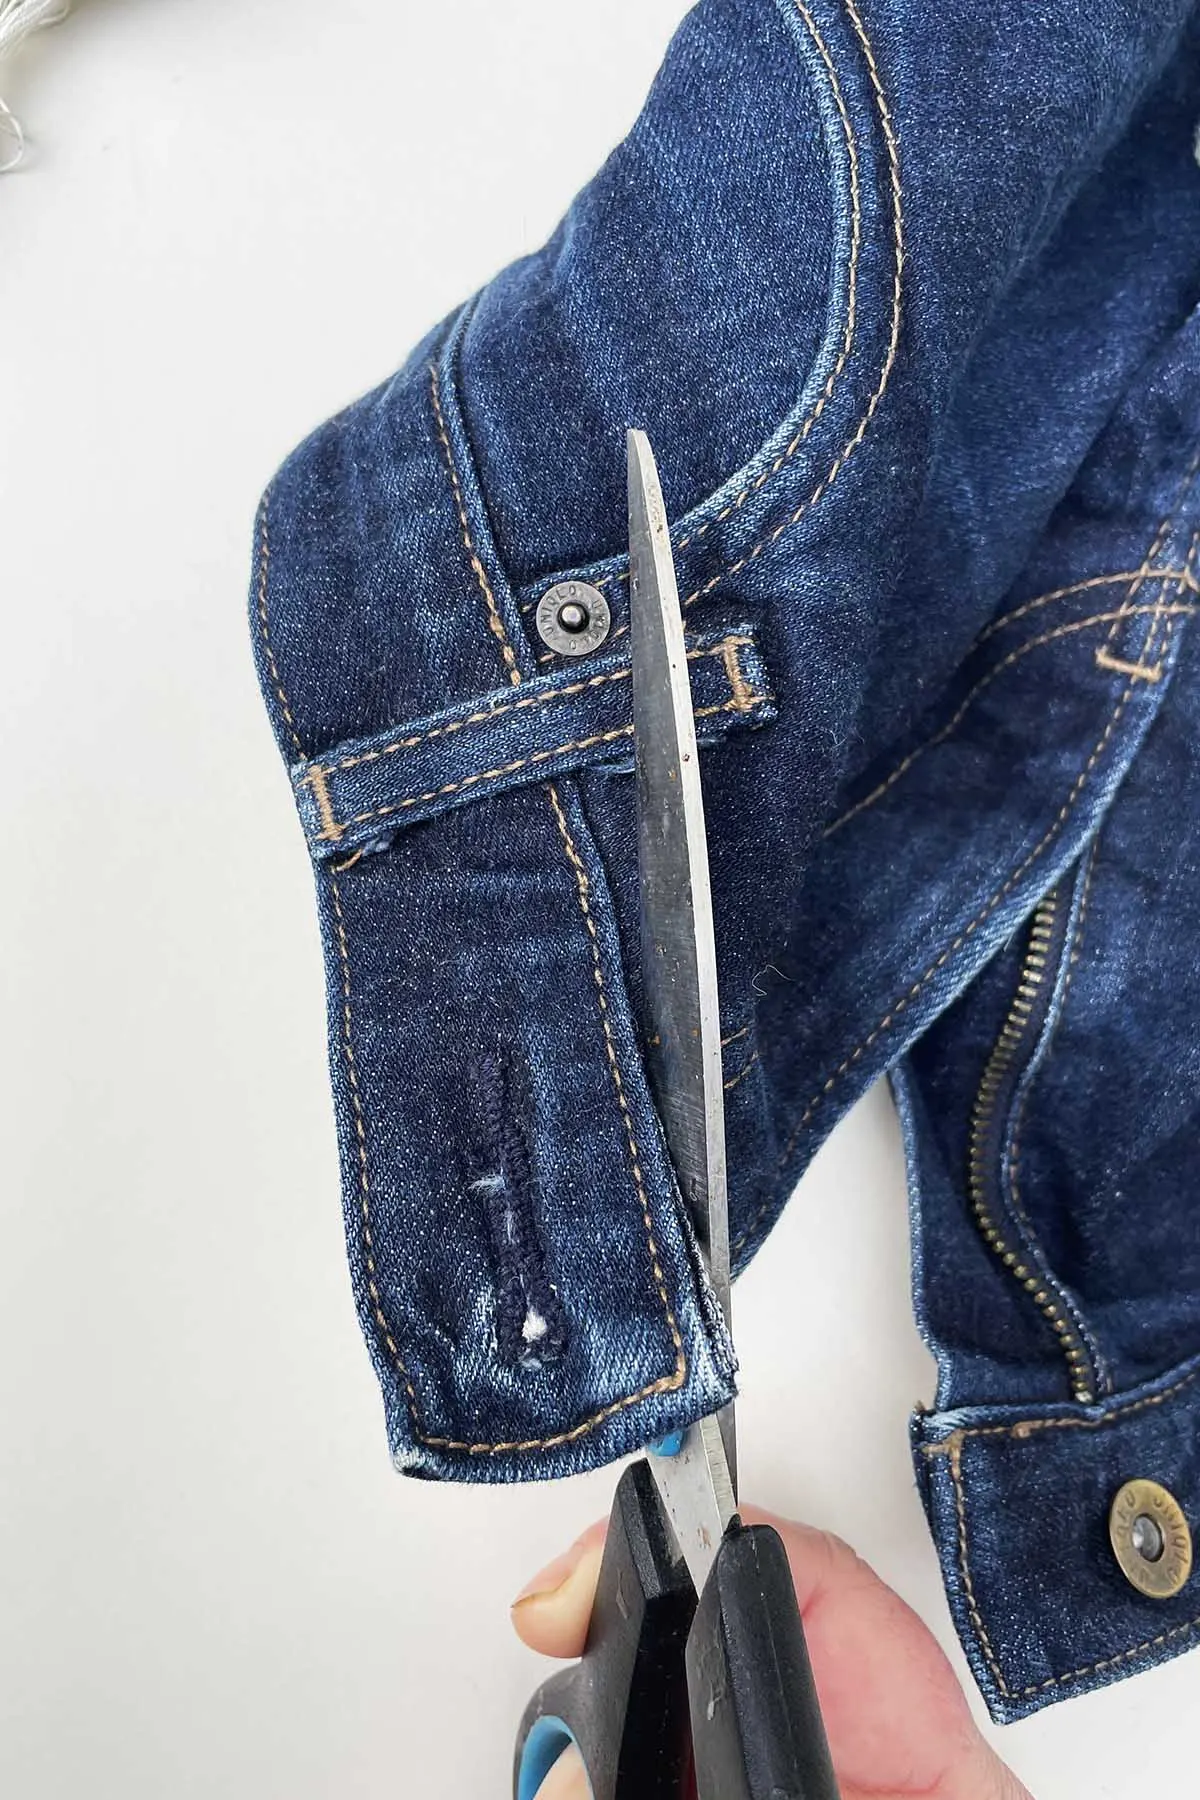
However, it’s essential to first address the belt loops. Regardless of your chosen method, you’ll need to use the seam ripper to remove belt loops from the jeans to ensure a smooth work surface.
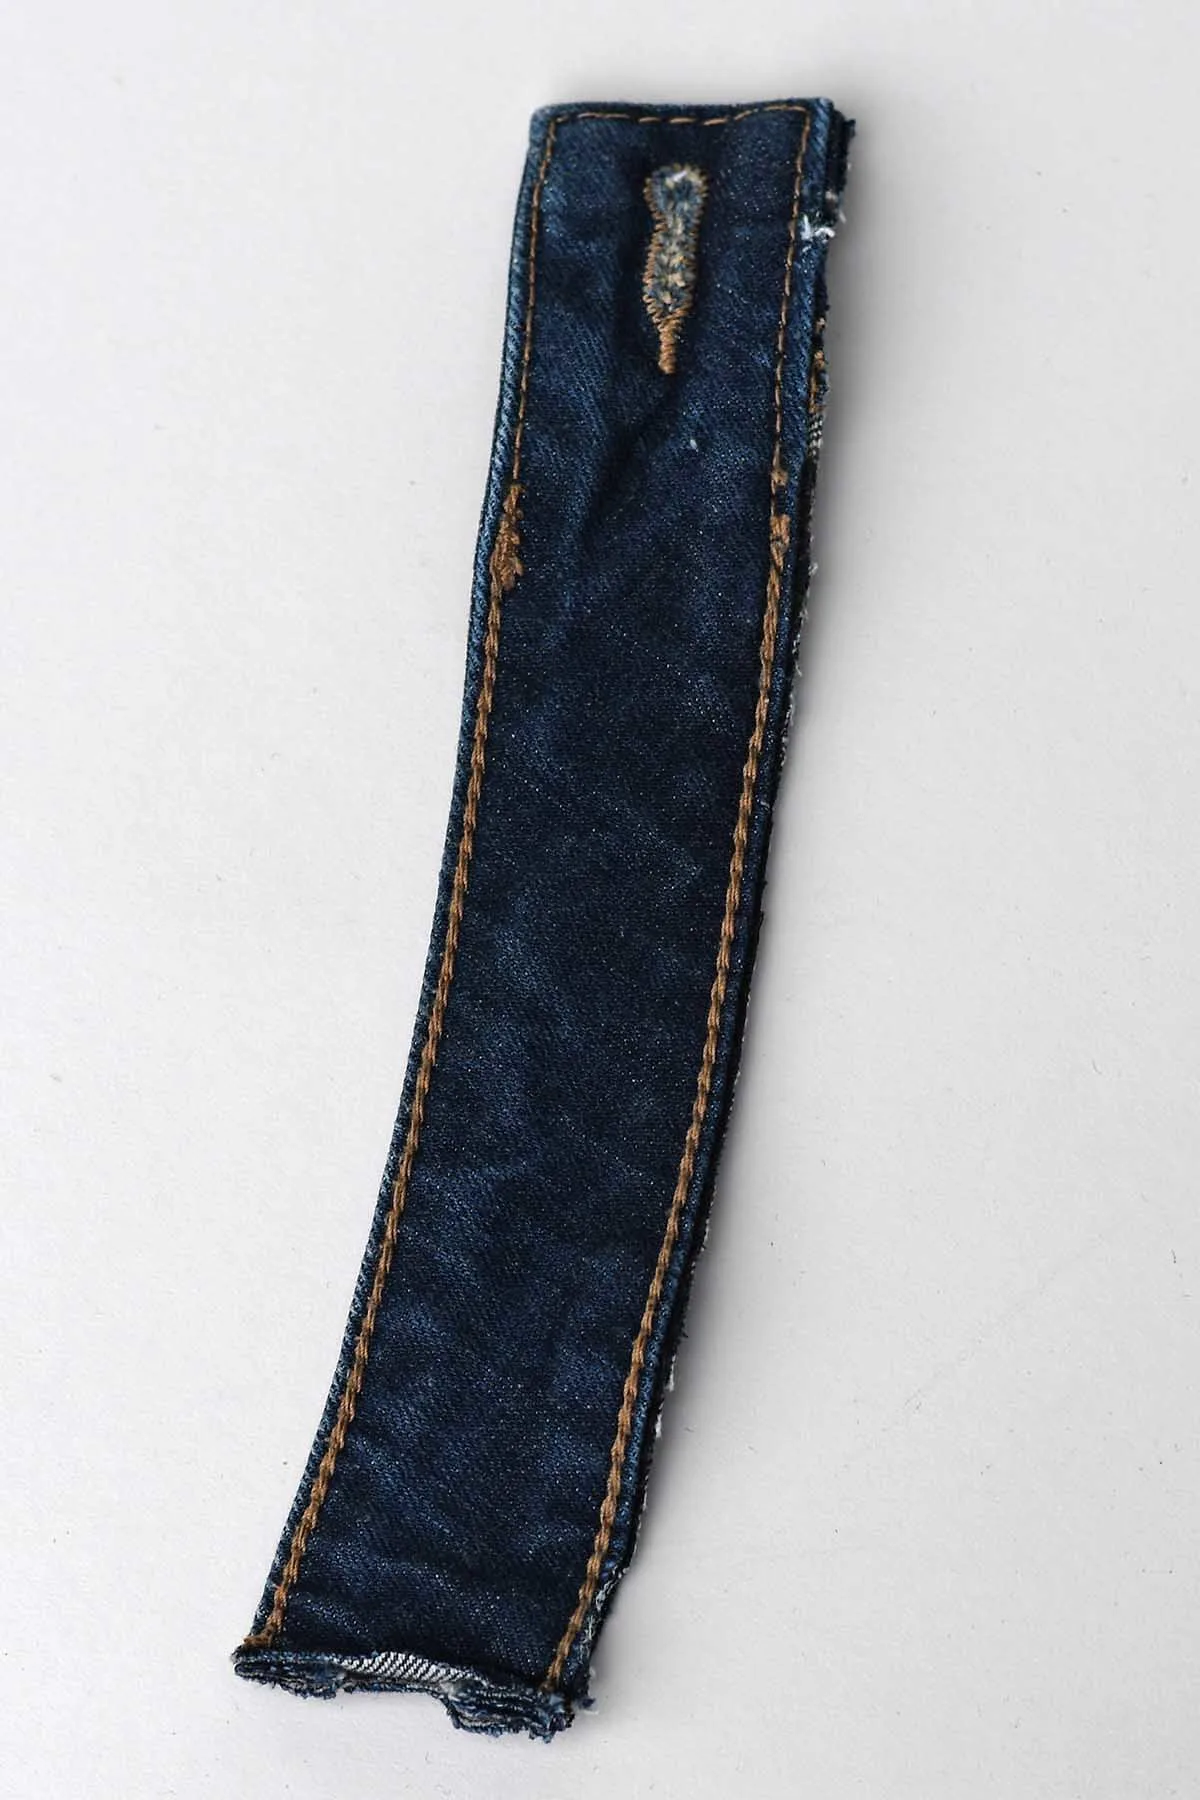
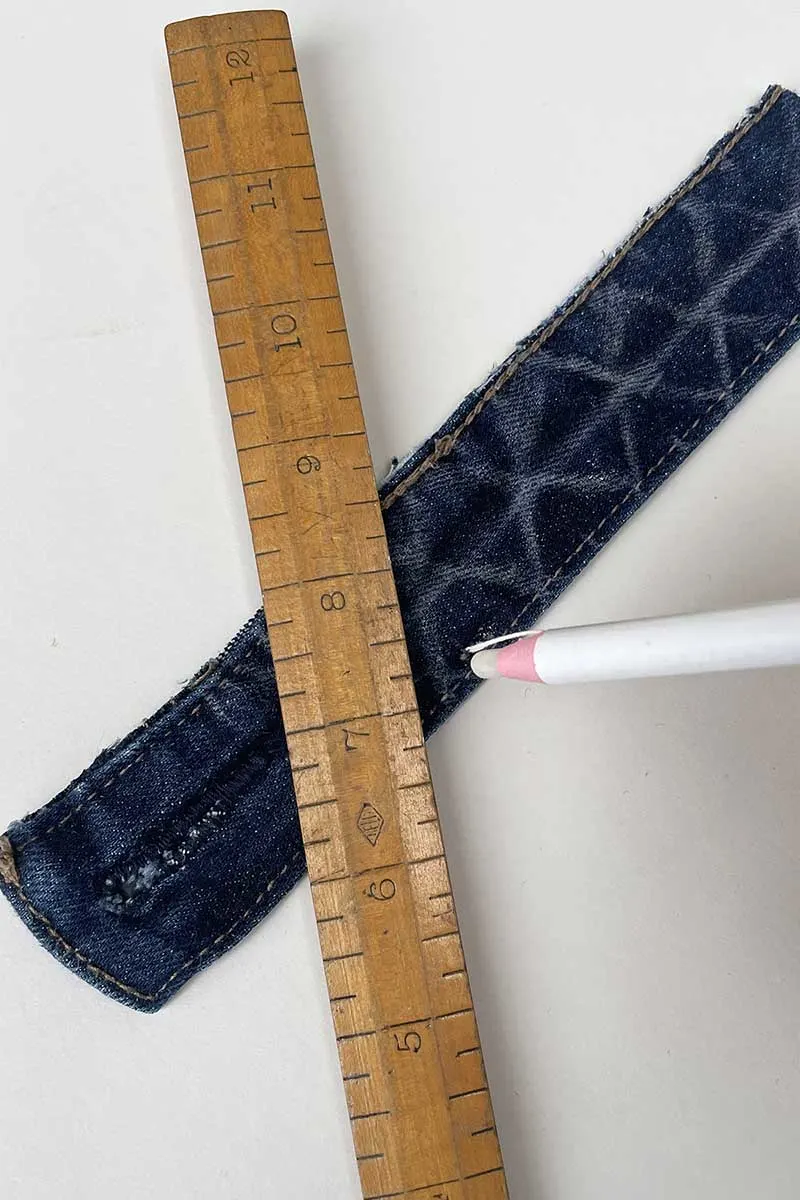
To create these bookmarks, I measured and cut a 20 cm (approximately 8 inches) segment from the waistband, starting from the end with the buttonhole. This provided a neat, symmetrical base for each bookmark.
Marking the Sashiko Design
Use the fabric marker or chalk to lightly draw your Sashiko pattern on one side of the denim strip. Sashiko patterns range from simple geometric shapes to more intricate designs.
For beginners, starting with straight or curved lines might be more manageable. Also, a bookmark has little room for complex Sashiko patterns.
With one bookmark, I went for a classic straight(ish) line of Sashiko stitches. With the other, I drew out a simple diamond pattern to sew.
Stitching The Bookmark
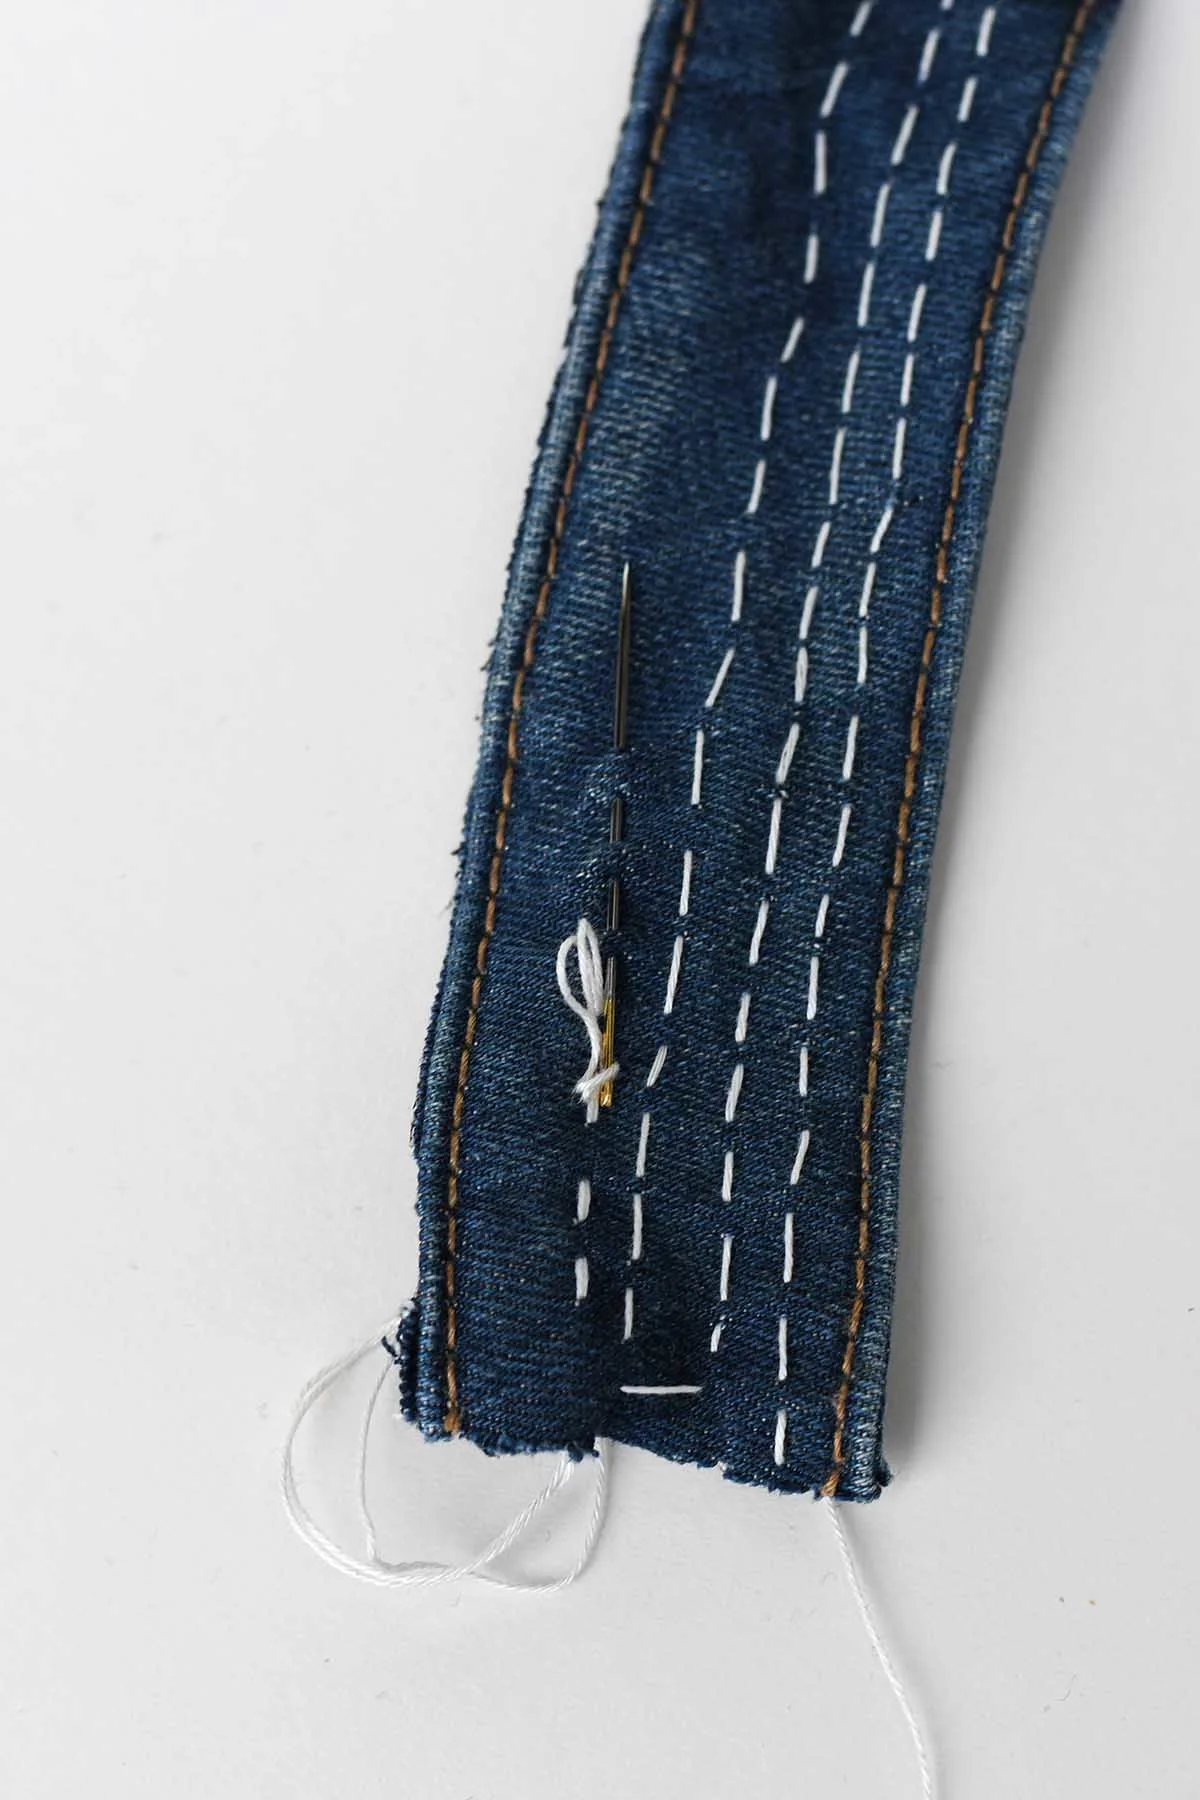
For these bookmarks, I stitched exclusively on the top layer of the waistband, avoiding penetration through to the back layer. This approach is straightforward with the Sashiko running stitch thanks to its simplicity.
However, achieving this might be challenging with more complex embroidery stitches. Therefore, for intricate designs, I suggest working on waistbands that have been seam-ripped open for easier access. Once the embroidery is complete, you can stitch the waistband together if necessary.
Thread your Sashiko needle and start following the pattern you’ve drawn. The key to Sashiko stitching is to maintain even spacing between stitches and the “fabric bridges” (the tiny bits of fabric between each stitch).
Sashiko Tips
- Push the needle through the fabric, pulling the thread through. Then, load several stitches onto the needle before completely pulling it through the fabric. This helps maintain even spacing.
- Keep stitches even: Aim for uniform stitch lengths, typically about 3-5 mm, and small gaps of similar size between them.
- Don’t pull the thread too tight: Sashiko stitching should lie flat against the fabric without puckering.
- Finish off: Once you reach the end of a stitch line or your design, secure the thread on the backside with a knot.
Remember, Sashiko is more about rhythm and uniformity than speed. Take your time and enjoy the process!
Making The Denim Tassel
I added a unique touch by attaching a denim tassel to complement the bookmark’s upcycled denim theme. Creating denim tassels is a straightforward process, akin to crafting denim feathers by fraying the fabric.
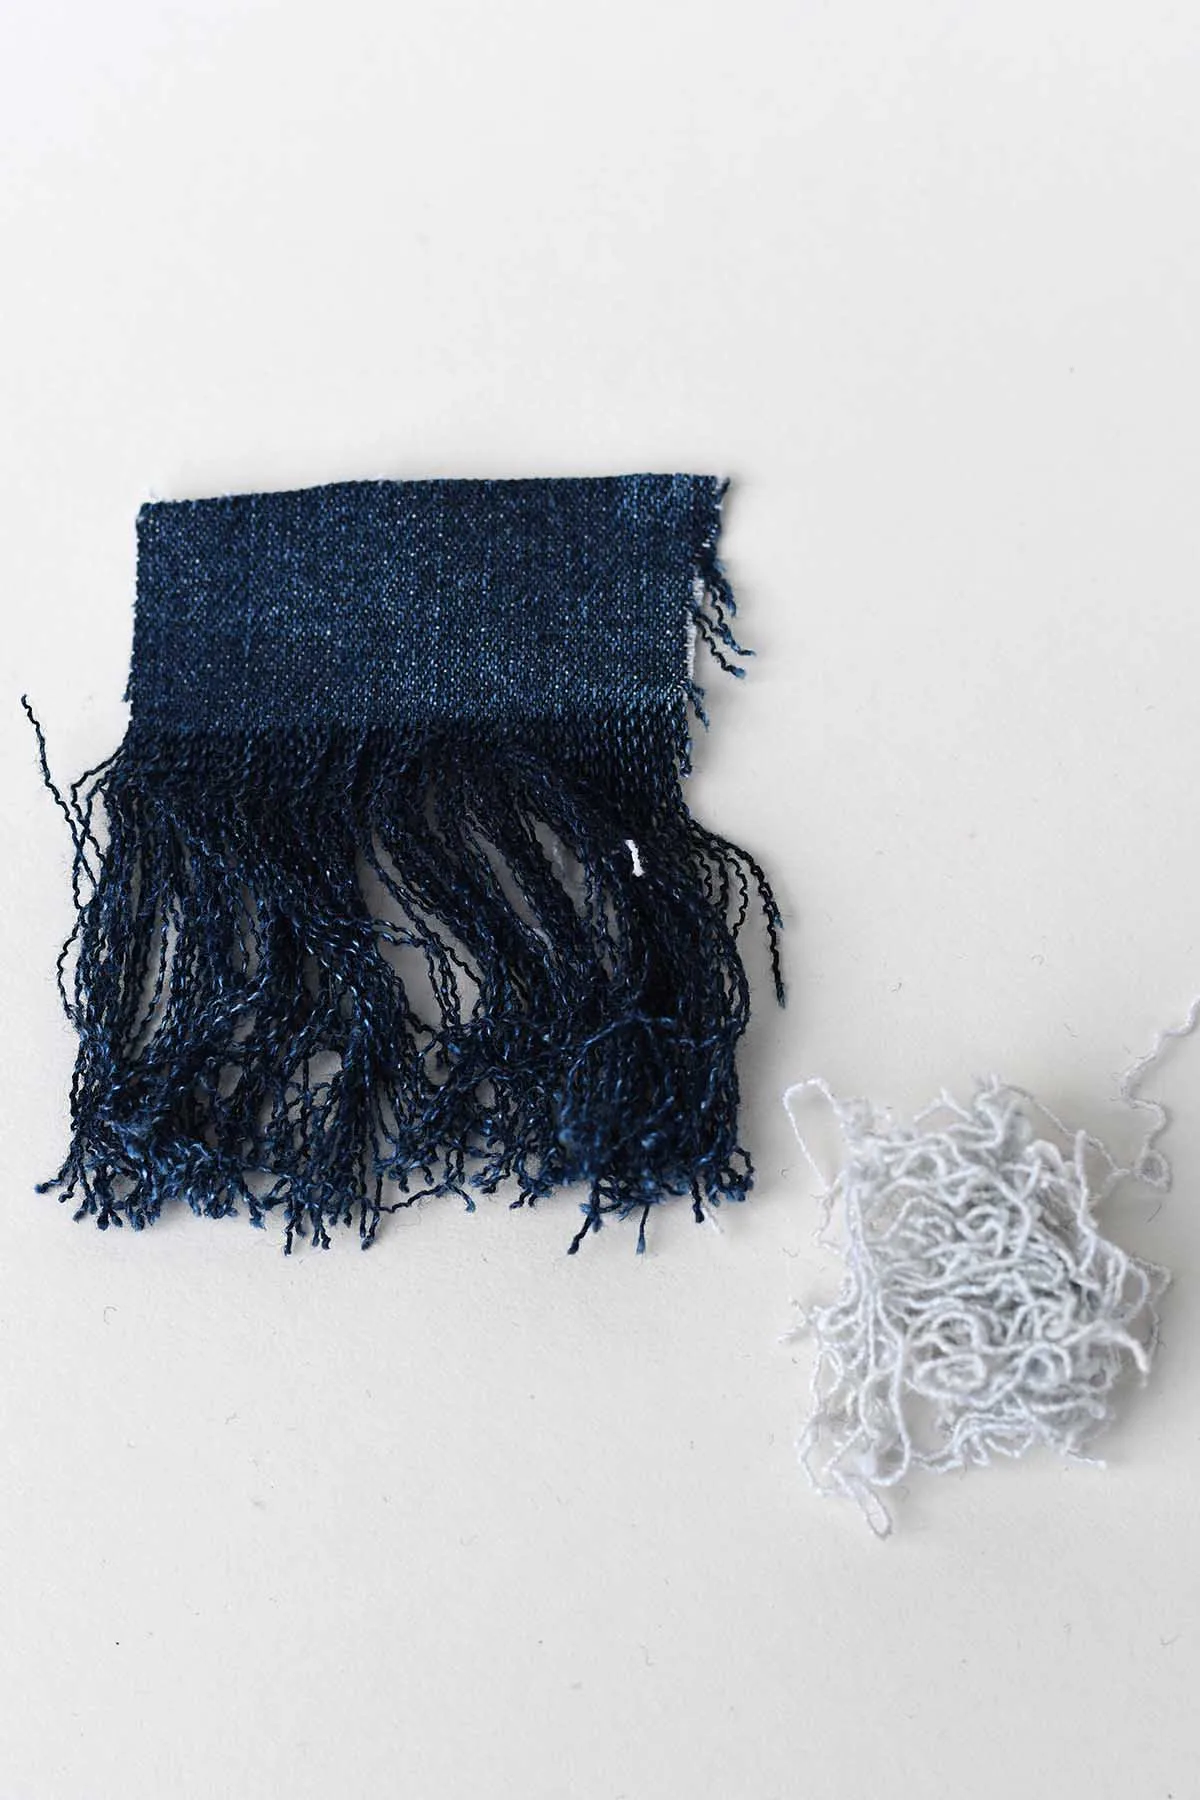
I’ve shared a detailed guide on making denim tassels in another post. The process essentially involves selectively pulling threads from a denim scrap. Removing the white threads results in a chic blue tassel while extracting the blue threads leaves you with a striking white one.
For this particular bookmark, I used a small piece of denim fabric measuring about 8cm (3″) by 5cm (2″). I carefully removed the white threads, leaving approximately a 1.5 cm (1/2″) unfrayed section at the top. This piece was then rolled up to form the tassel, which I secured at the top with thread wrapped tightly around it.
Finishing Off & Tips
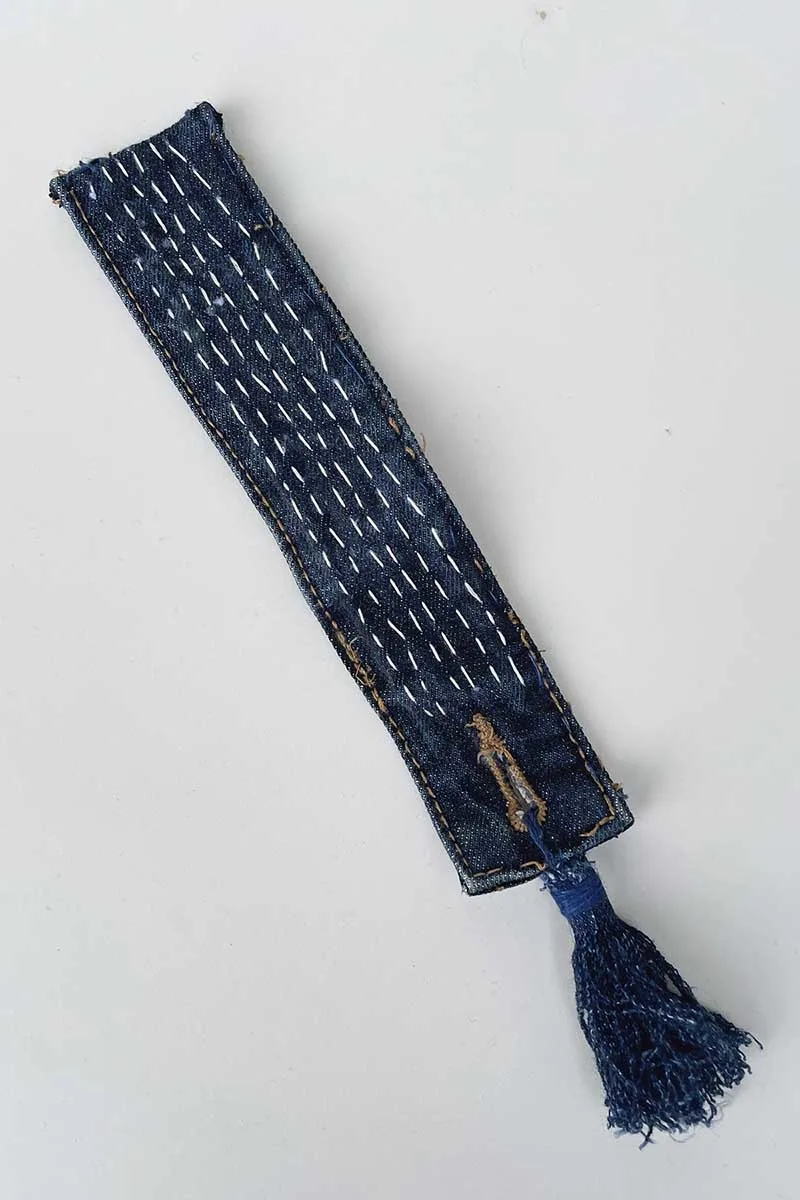
To complete your handmade fabric bookmarks, neatly sew the cut end of the denim waistband closed. For an added touch, attach the tassel to the waistband’s buttonhole end.
Consider adorning your bookmark with additional embellishments like beads or buttons for a more personalised finish.
- Fabric Choice: If the denim is particularly thick, consider using a thimble to protect your fingers.
- Pattern Selection: There are many free Sashiko patterns available online for inspiration.
- Practice: If you’re new to Sashiko, practice on a scrap piece of fabric first to learn the stitch lengths and tension.
Conclusion & Related Posts
There you have it, a step-by-step guide to transforming worn denim into a chic and functional bookmark, complete with a handmade tassel that adds just the right touch of personality.
Whether it’s for you or a gift for a fellow book lover, this project marries the charm of Sashiko stitching with the rugged beauty of denim stylishly and sustainably. Dive into your fabric stash, grab that pair of old jeans, and give them new life as a set of bespoke bookmarks.
You’ll find a lot more unique DIY bookmark ideas here.
Don’t throw away the rest of the denim waistband; you can use it to make cool personalised denim key fobs to match the bookmarks.
You can also turn waistbands into stylish denim bow ties, another great birthday or Father’s Day gift idea.
You’ll find many more denim sewing projects here, and for those looking for something simpler, there are lots of no-sew denim crafts here.
For more ideas and tips on embroidering denim, check out these embroidered hanging jeans pockets and these Halloween denim embroideries.


creativejewishmom/sara
Sunday 31st of March 2024
Fabulous as always! thanks for sharing on craft schooling sunday!
Claire Armstrong
Sunday 31st of March 2024
Thank you so much.
Kristie
Thursday 28th of March 2024
Hey Claire, I love the bookmark. You're being featured again on the Home Matters Link Party tonight at 9 pm. I hope you can drop by. lovemycottage.wpengine.com
Claire Armstrong
Friday 29th of March 2024
Thank you so much for the feature, that's awesome.
Hannah
Sunday 24th of March 2024
Seems like everyone is making bookmarks this week! I love this simple repurposed design. It came out great!
Claire Armstrong
Monday 25th of March 2024
Thank you, I enjoyed making it. It was fun experimenting with the Sashiko stitching.