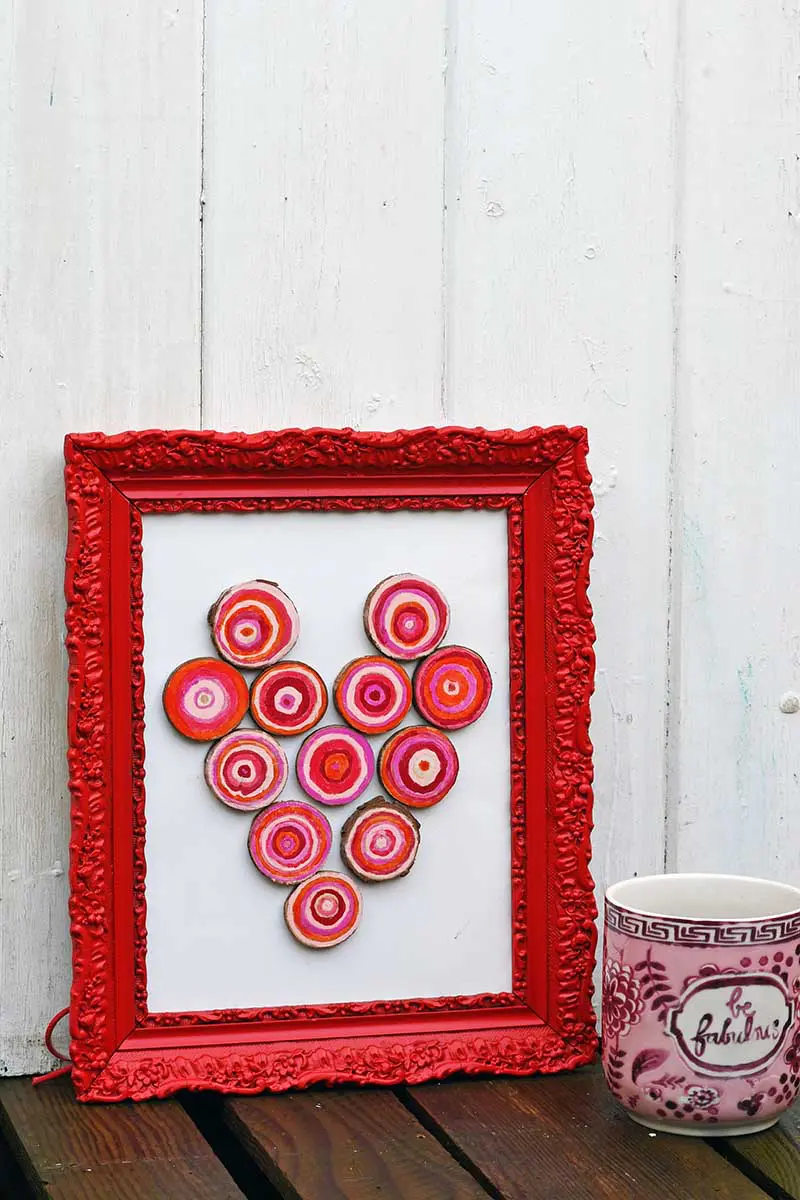
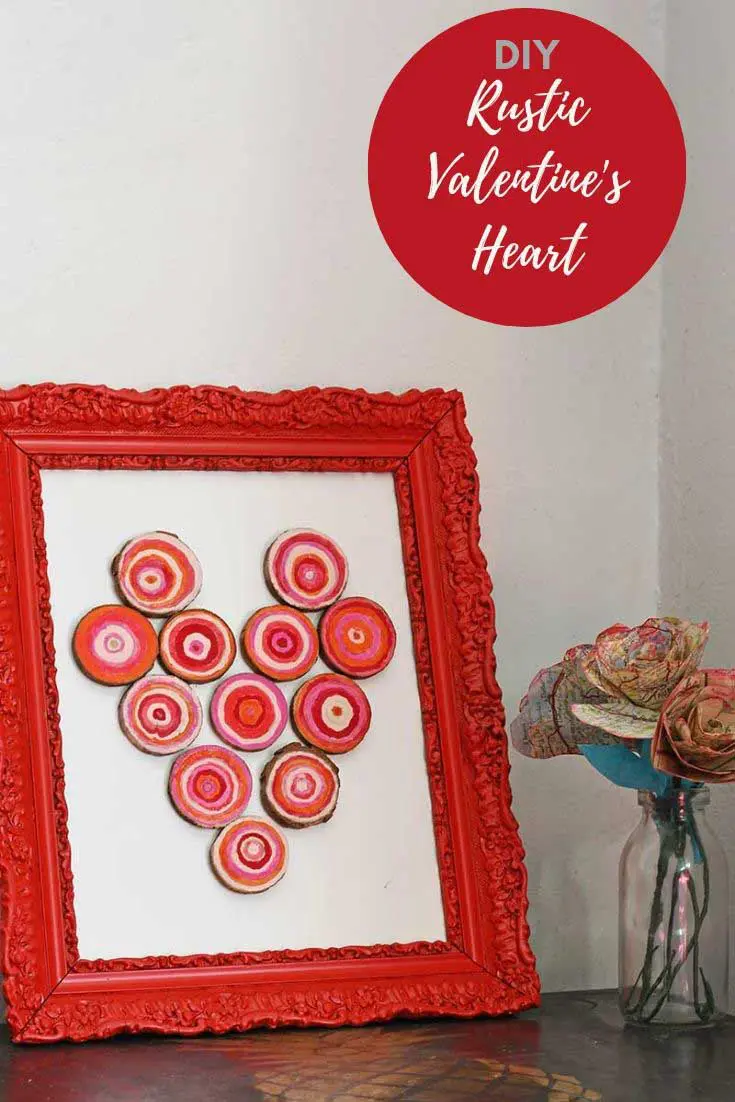
After Christmas, my favourite holiday to craft for is Valentine’s. That probably has something to do with it also being my birthday. This year I have made a cute painted rustic heart decoration with small wood slices.
Wood slices are fun to craft with and come in various sizes. In the past, I’ve made some fun Christmas ornaments with them. One of a Christmas pudding and the other a funky Frida Kahlo ornament.
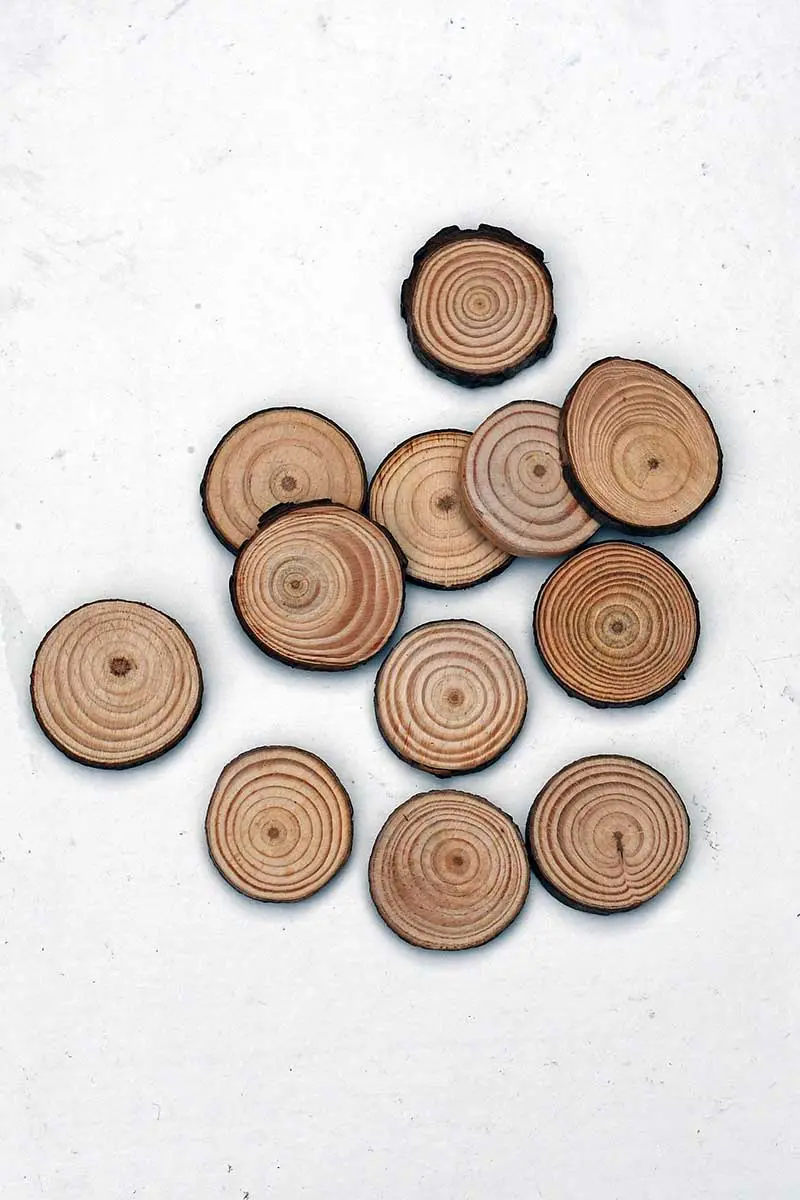
This rustic heart is made up of tiny wood slices. The wood slices were a purchase mistake by a friend of mine. She had ordered them online, hadn’t checked the size, and was expecting much larger wood slices than she got.
Instead of throwing them away, my friend passed them on to me. She knew I would find something extraordinary to make with them. That’s when I got the idea of making Valentine’s rustic heart decorations with them.
Instead of leaving the wood slices natural, I thought it would be lovely to paint them in the colours associated with Valentine’s day. That is reds and pinks.
The painted wood slices look like geode slices and match the felt rug I made from recycled sweaters.
The rustic heart fits so much in with my decor; I will keep it up all year on my gallery wall. Hearts aren’t just for Valentine’s day!
We’re a participant in the Amazon Services LLC Associates Program, an affiliate advertising program designed to provide a means for us to earn fees by linking to Amazon.com and affiliated sites. As an Amazon Associate, I earn from qualifying purchases.
What You Need To Make A Wood Slice Heart
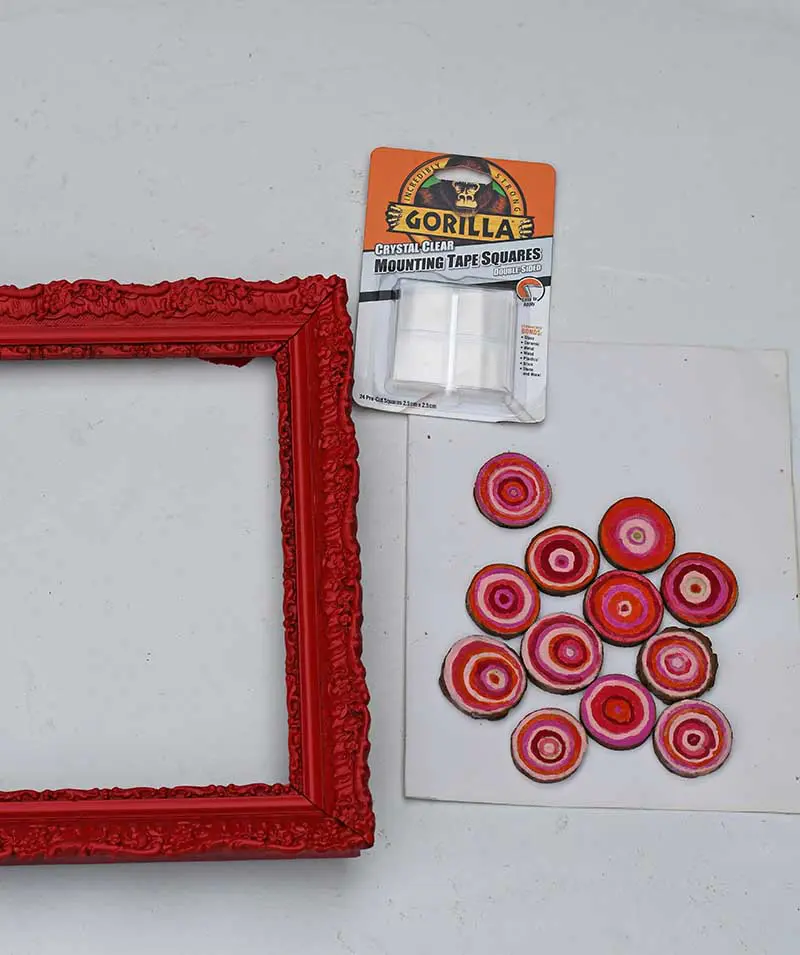
- Small wood slices – I used 12 mini wood slices between 2-3cm in diameter. You can easily buy these cheaply online or in your local craft shops. As these wood slices are small, cutting your own from a branch would be easy.
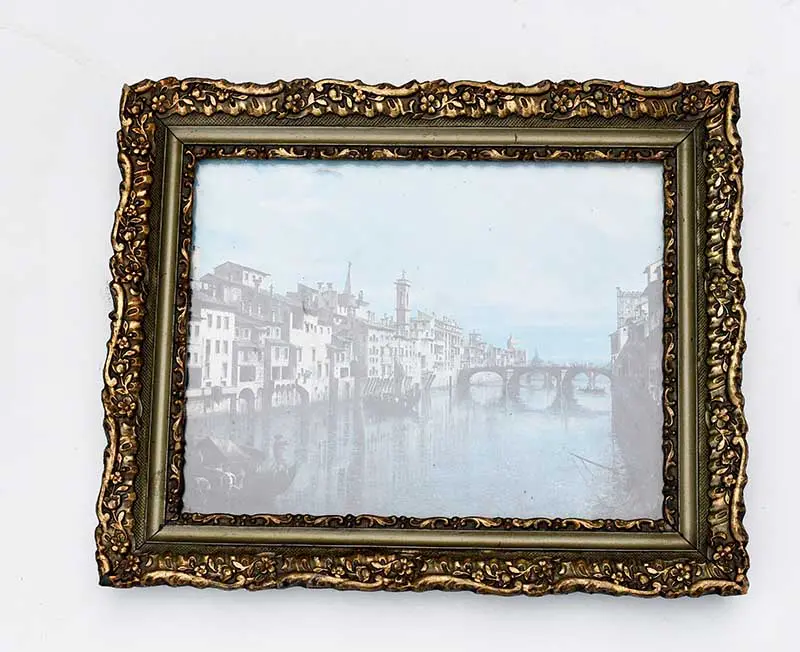
- Old picture frame for upcycling – You can easily find these in your local charity shops. The one I used was 30cm by 40cm.
- Acrylic paint in assorted pinks, reds & white (for mixing)
- Fine paintbrushes
- Gorilla Mounting Tape Squares
- Red Spray Paint
- White card or mounting board
How To Make A Valentine’s Rustic Heart Decoration
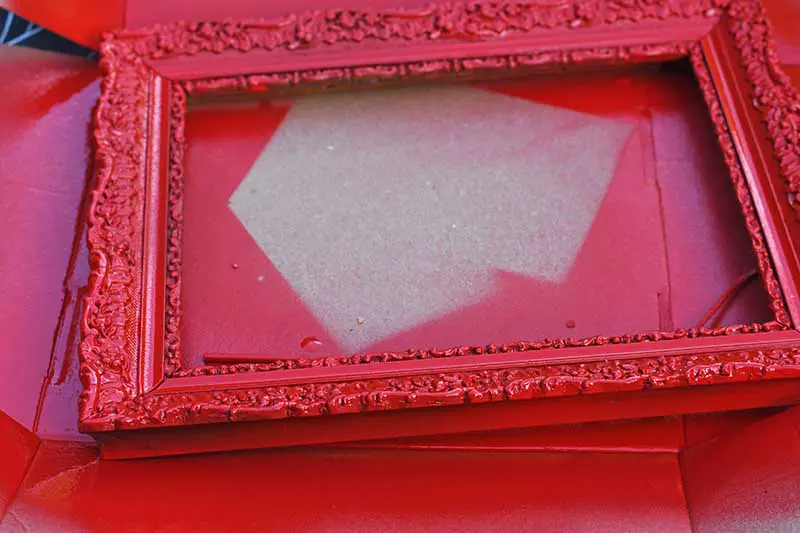
Step 1: Firstly, prepare the frame for mounting the wood slice heart. Remove the old picture and glass, then spray paint the frame red.
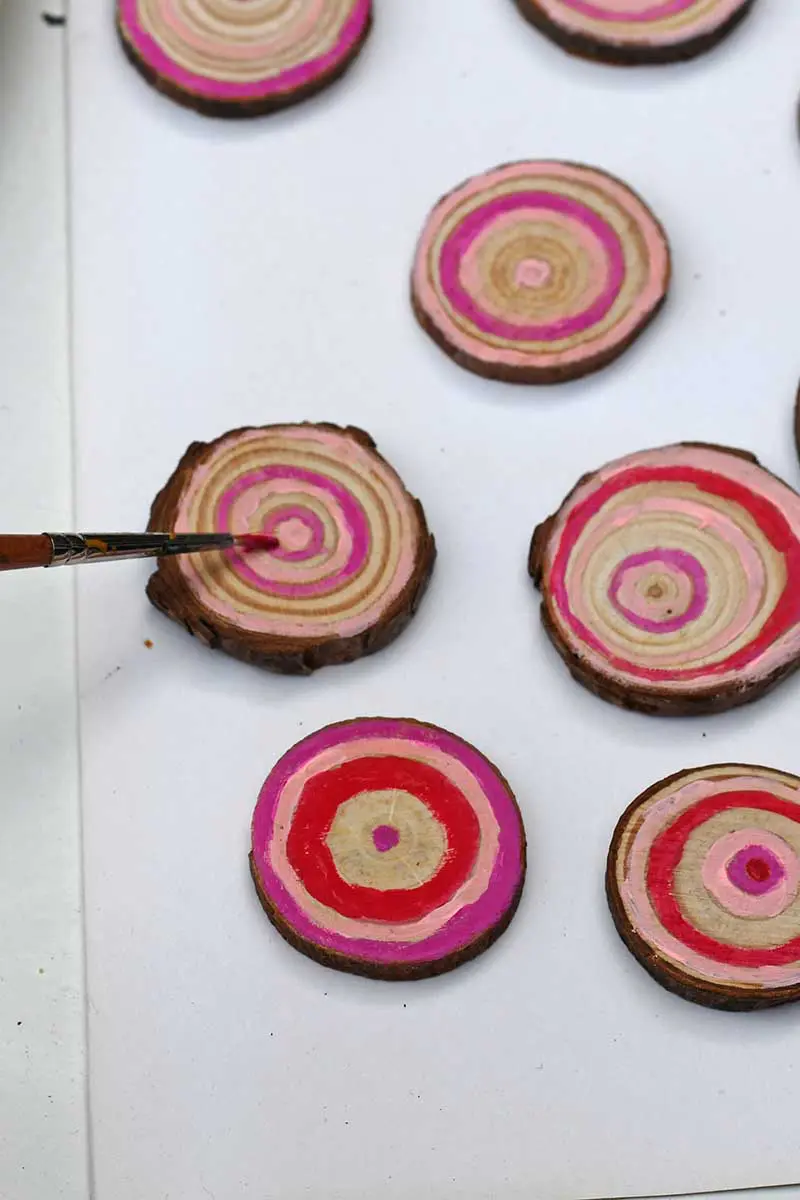
Step 2: Next, paint the wood slices. I painted them in a series of striped rings in various hues of pink and red. I used the natural ring lines on the wood slices as a guide.
Step 3: Cut the white mounting card to fit the picture frame.
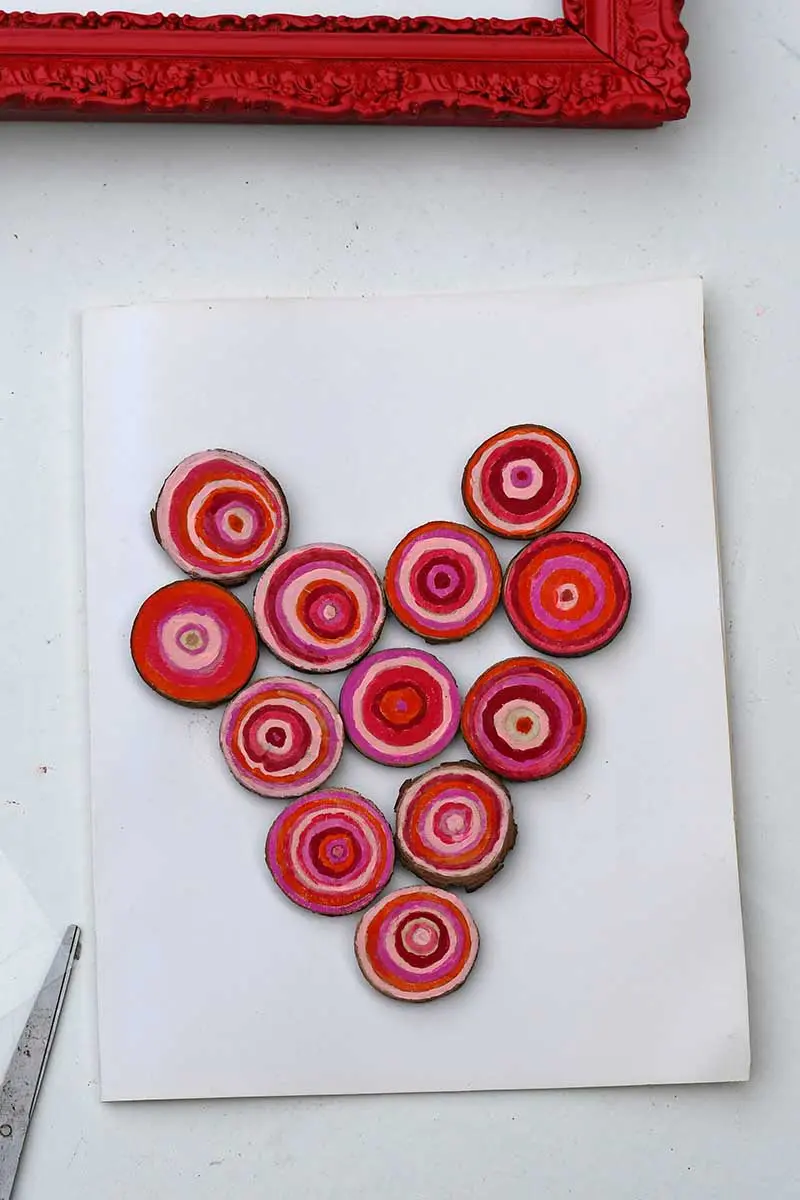
Step 4: Arrange the painted wood slices on the mounting card into a rustic heart shape. Once you are happy with the design, stick each wood slice down using the Gorilla mounting tape squares.
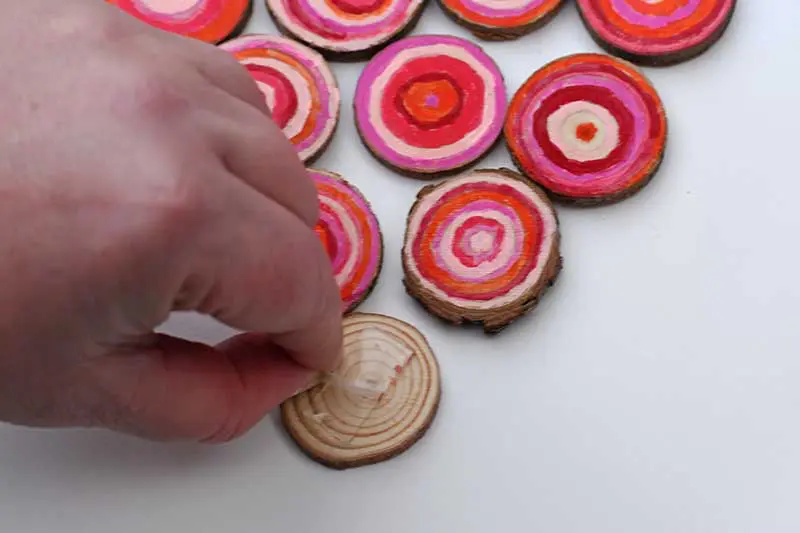
First, cut each tape square in half and stick one to the back of every wood slice. Then, carefully peel the remaining plastic off the tape and stick the wood slice to the white card. I was making sure to keep the rustic heart shape.
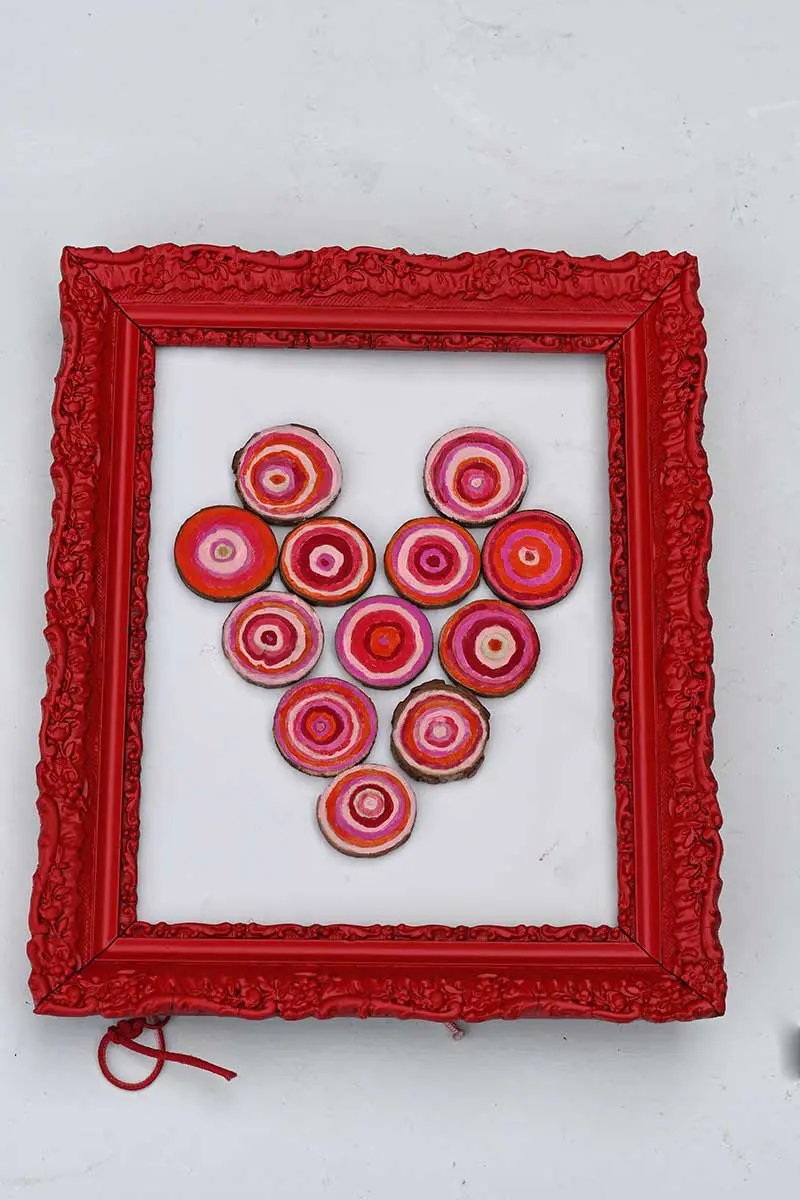
Step 5: Place the mounted heart in the upcycled picture frame to finish this rustic Valentine’s decoration.
This isn’t the first rustic heart I made for Valentine’s day; I made a pine cone flower heart last year.
In the past, I’ve also made Scandi woven hearts out of denim and wool. And I have combined natural elements with felt to create a gorgeous embroidered heart Valentine’s decoration.
I’ve used rustic pallet wood to back a neon Valentine’s heart sign.
I know I’ve said that this rustic heart was Valentine’s day; it will, however, be added to my gallery wall, where it will stay up all year round.

Sandi
Monday 10th of February 2020
I love this. It's on my bucket list
Claire Armstrong
Tuesday 11th of February 2020
Thank you, it was fun to make.
Julie
Sunday 9th of February 2020
Beautiful and a great use of that frame. I have a whole collection of frames I've picked up at charity shops that are waiting for their promised makeover! I love how the ring colours echo your beautiful felt rug.
Claire Armstrong
Monday 10th of February 2020
Thank you, Julie. Funny, it wasn't until I finished the heart that I realized it matched the rug.
Pamela
Friday 7th of February 2020
So unique and beautiful!
Claire Armstrong
Friday 7th of February 2020
Aww, thank you so much.
creativejewishmom/sara
Thursday 6th of February 2020
love it Claire and completely surprised as I just assumed from afar that it was coils of felt scraps! thanks so much for sharing on craft schooling Sunday!
Claire Armstrong
Thursday 6th of February 2020
Thank you, Sara. That has given me an idea!
Donna @ Modern on Monticello
Tuesday 4th of February 2020
I have so many wood slices from the trees in our yard and always looking for creative projects for them. Thanks for sharing a great idea at #HomeMattersParty
Claire Armstrong
Wednesday 5th of February 2020
I love crafting wood slices there are so many wonderful things you can make.