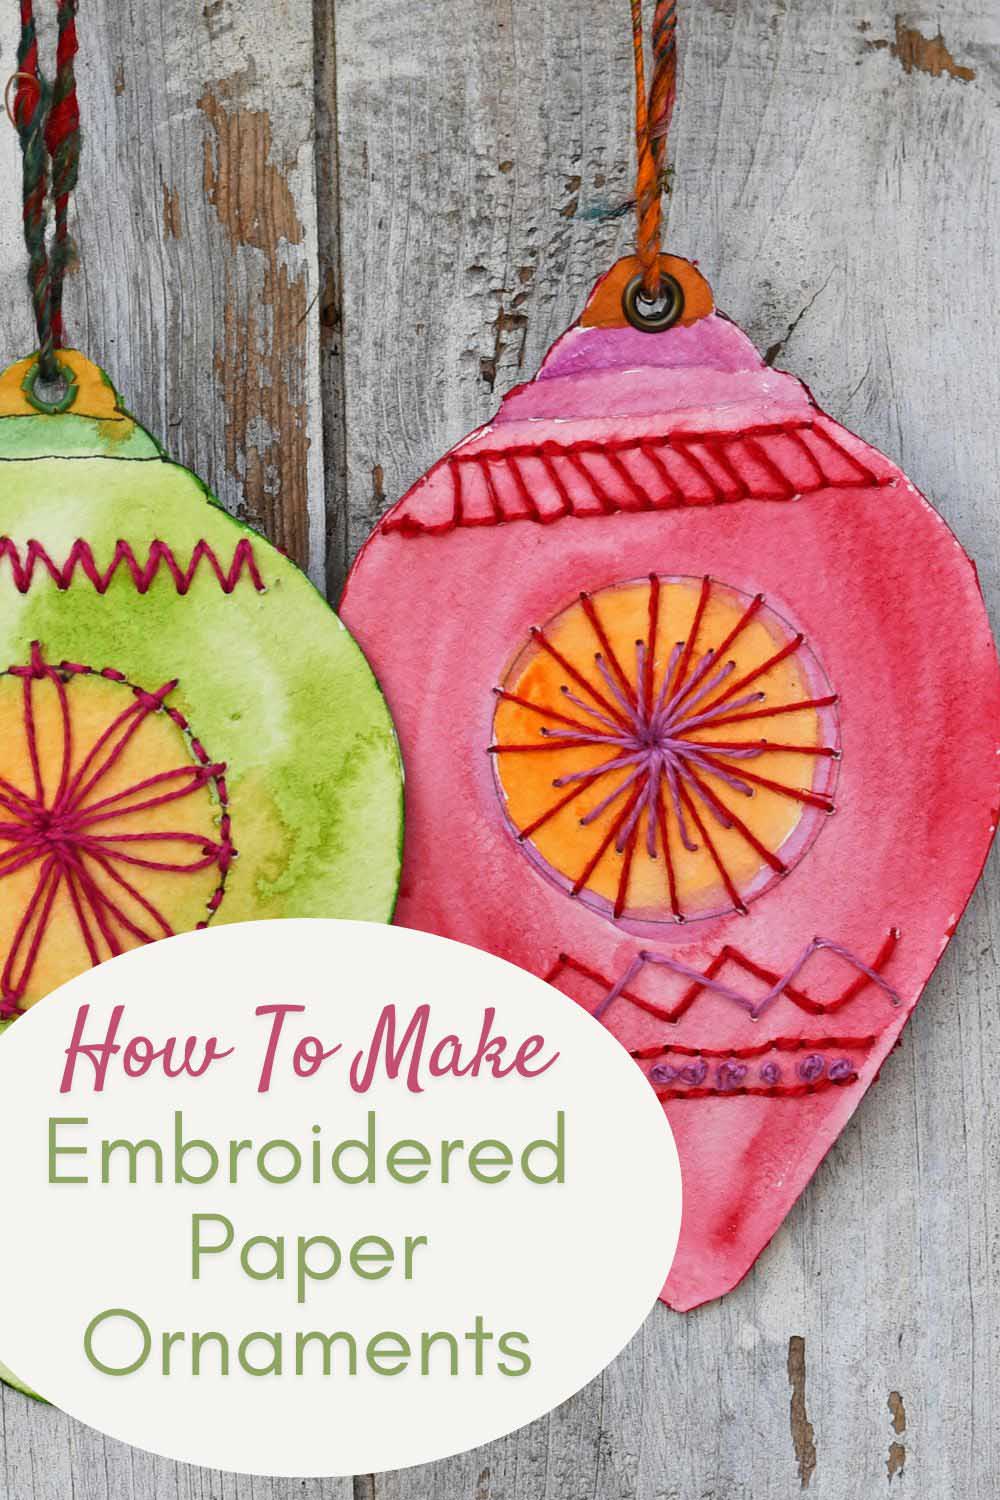
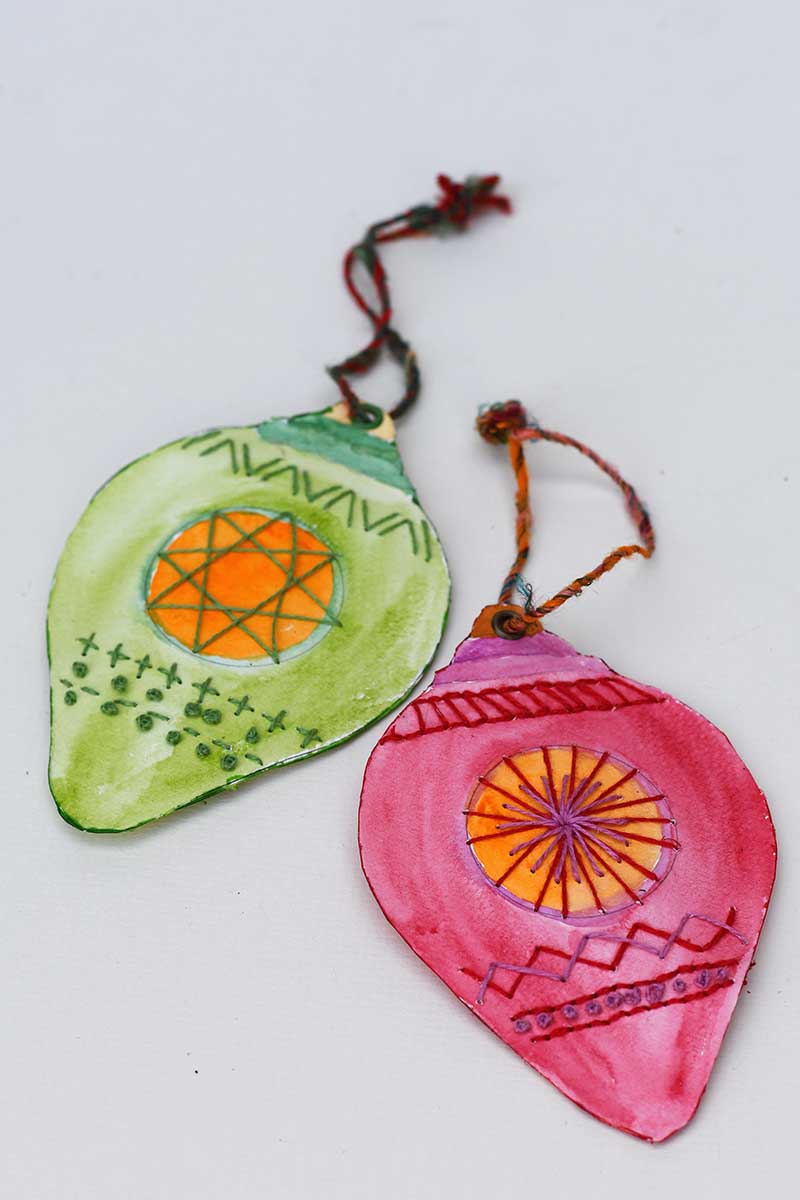
Make stunning paper embroidered baubles for Christmas using watercolour paper and easy embroidery stitches. The free pattern and tutorial are included.
If you’re a fan of unique paper crafts and looking for a fresh holiday decoration idea, these DIY paper embroidered Christmas ornaments are just what you need! They combine the delicate beauty of watercolour paper with the timeless charm of embroidery, offering a modern spin on a retro favourite—the iconic Shiny Brite ornaments. With embroidery thread in contemporary colours, you can create stunning, personalized baubles that stand out on your tree.
What Is Paper Embroidery?
Paper embroidery is a fun and easy craft that involves stitching designs onto heavy paper instead of fabric. It’s a fantastic way to add texture to your paper crafts and make your creations pop. Transferring those skills to paper is easy if you’re familiar with hand embroidery patterns. And if you’re new to embroidery, don’t worry—this tutorial will walk you through everything step-by-step!
You can use all kinds of embroidery stitches on paper, like the simple running stitch, lazy daisy stitch, or even more decorative techniques like French knots. One thing to remember is to work with different types of paper—for this project, we’re using thick watercolour paper, which is sturdy enough to handle stitching without tearing. With my comprehensive paper embroidery tutorial, you’ll find more details and examples of the embroidery stitches you can use on paper.


Materials Needed:
We’re a participant in the Amazon Services LLC Associates Program, an affiliate advertising program designed to provide a means for us to earn fees by linking to Amazon.com and affiliated sites. As an Amazon Associate, I earn from qualifying purchases.
Here’s a list of materials you’ll need to make these watercolour paper embroidered Christmas baubles:
- Watercolour paper
- Embroidery thread
- Embroidery hoop
- Sharp embroidery needles, one for embroidery and one for piercing holes (both the same size)
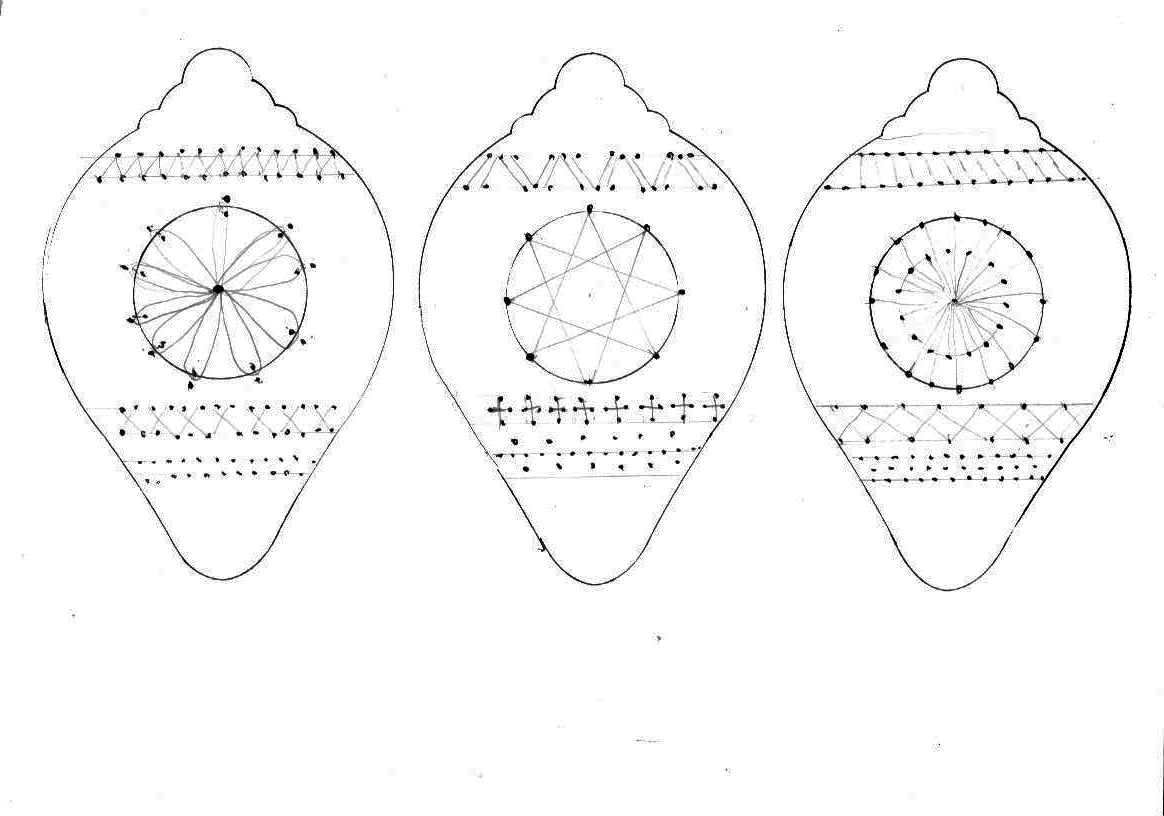
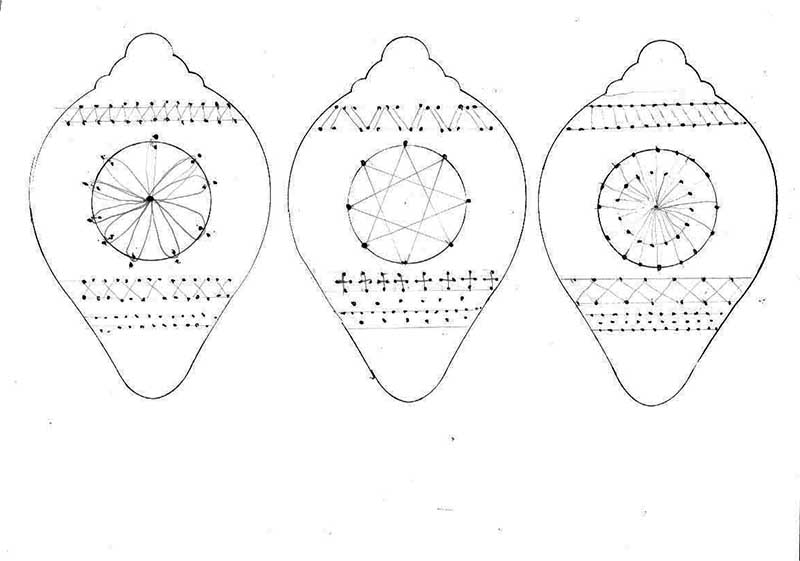
- Free pattern & Embroidery design template for the baubles (download here)
- Watercolour paints and brushes
- Glue
- Wadding for padding
- Clips to hold pieces in place
- Hole punch, eyelets and twine for hanging

DIY Paper Embroidered Ornaments
Draw, Paint, and Hoop the Baubles
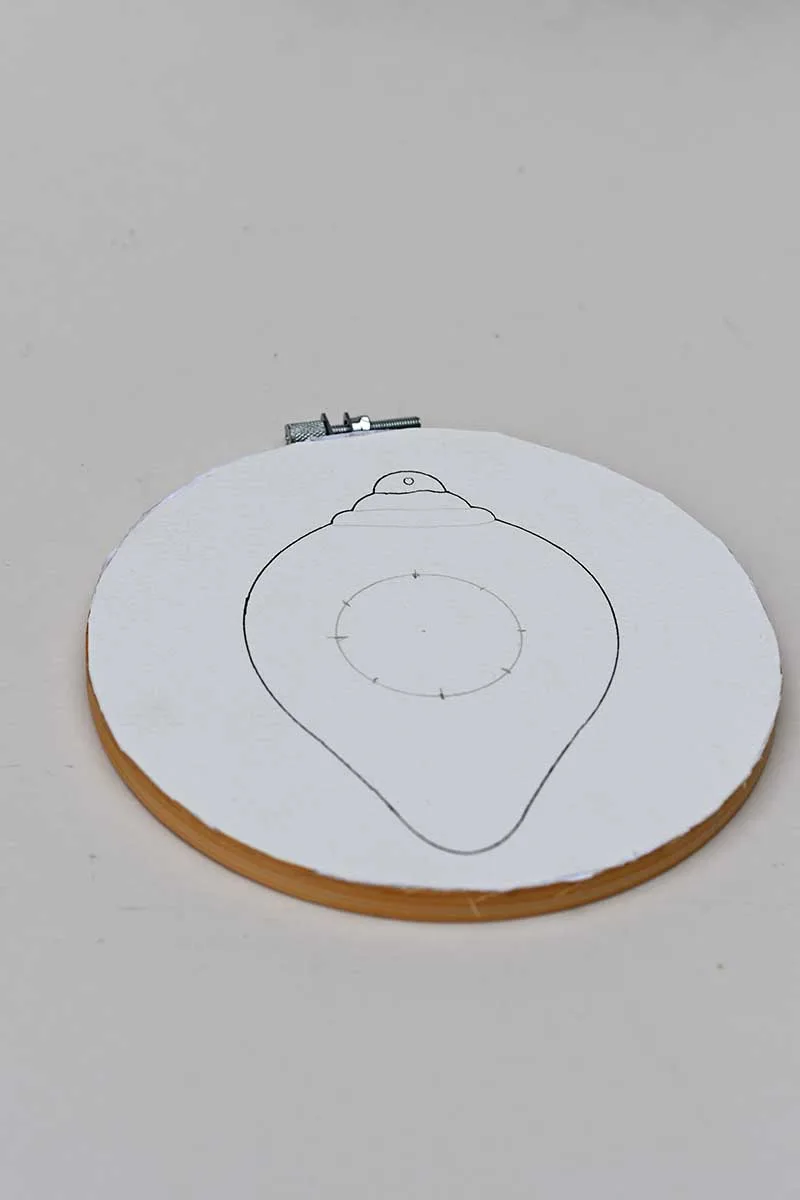
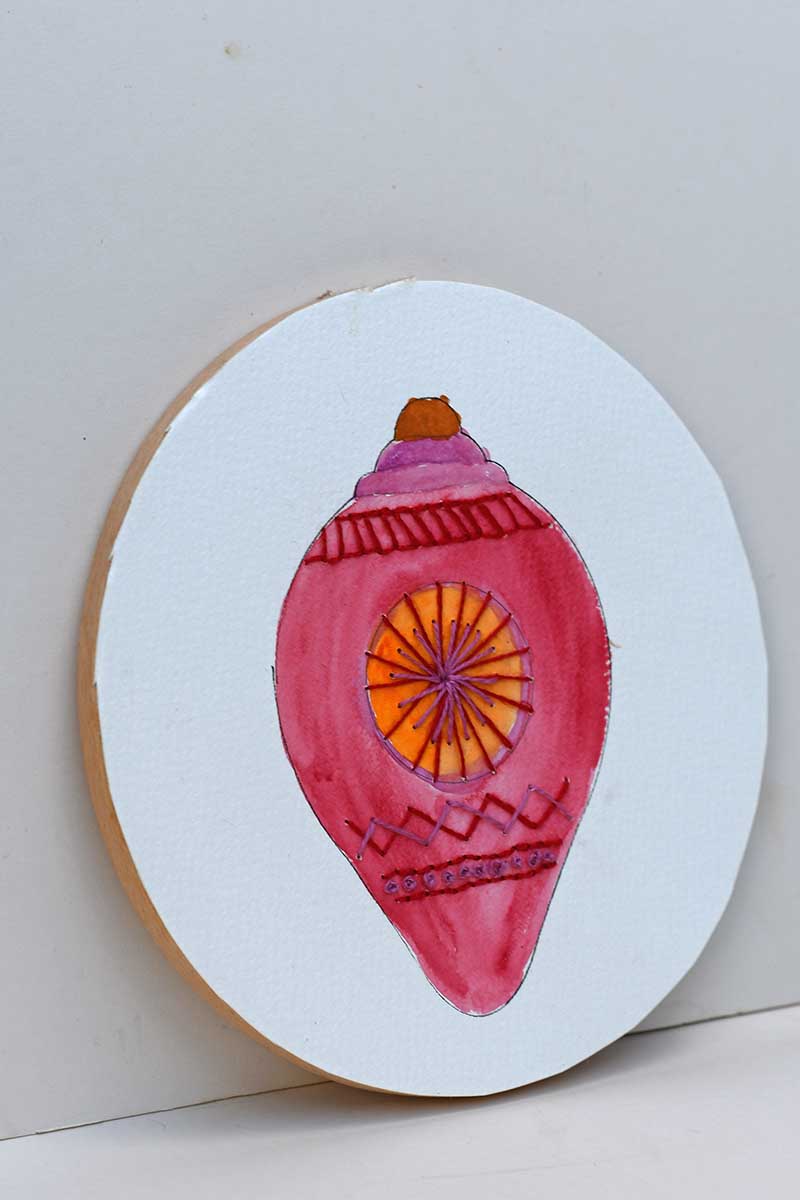
Step 1: To start, trace the free pattern for the bauble shape onto watercolour paper. I chose a retro teardrop design inspired by the classic concave look of Shiny Brite ornaments. Glue the paper to an embroidery hoop to make the embroidery easier.
You can also print on watercolour paper.
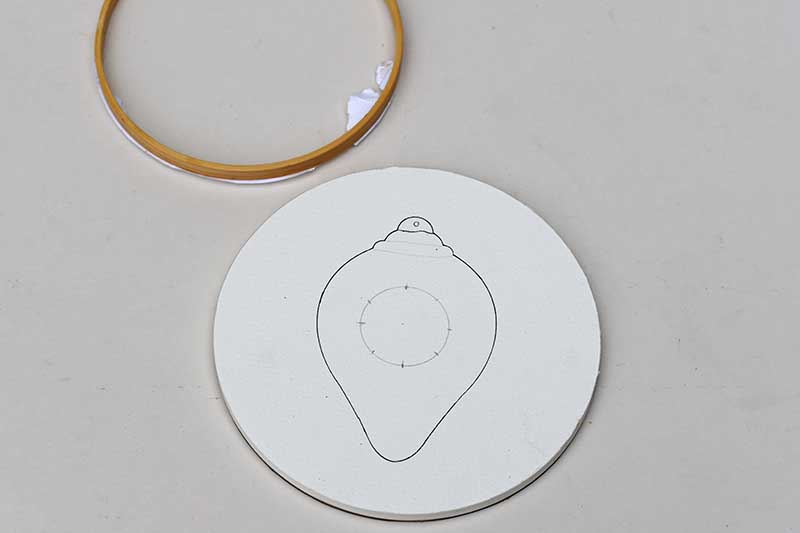


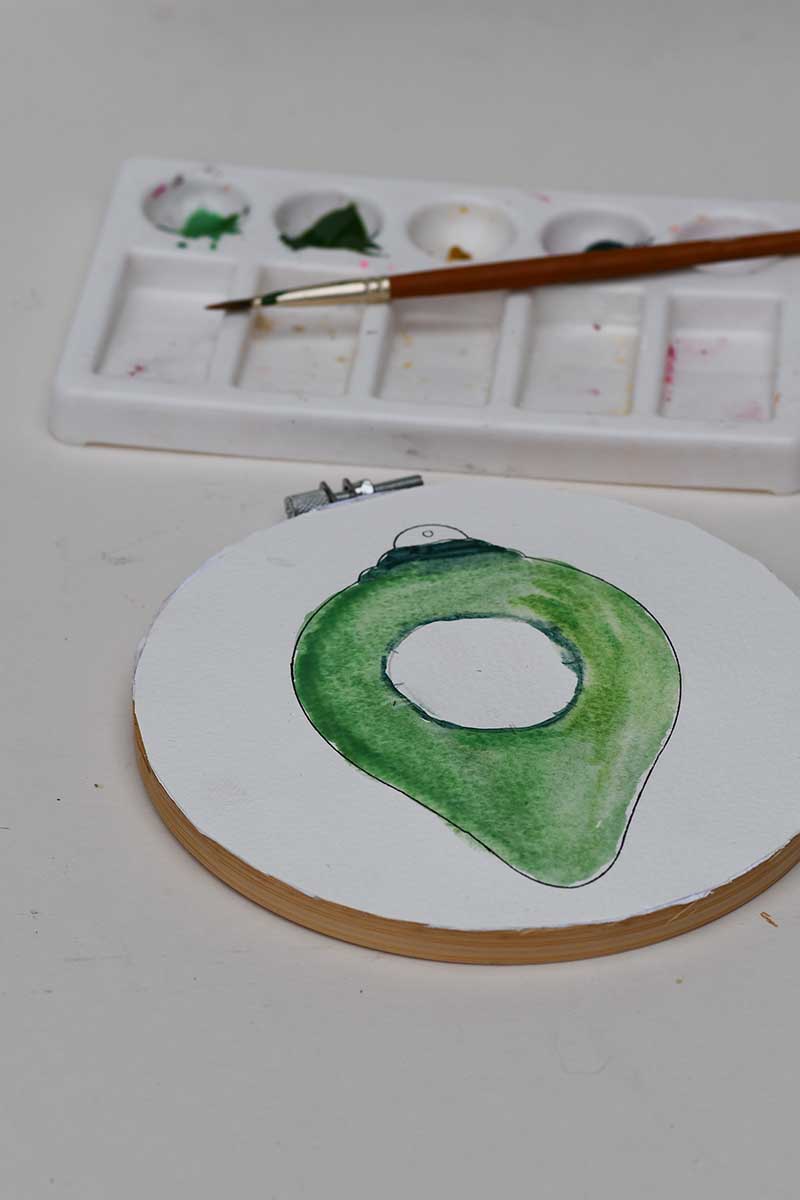
Step 2: Now, it’s time to paint! Choose your favourite festive shades—red, green, or even more modern, like blue or gold. Watercolours work beautifully on heavy paper, creating soft washes of colour that make the ornaments look hand-painted and unique. Once the paint dries, you’re ready for the next step.

Punch Holes for Embroidery
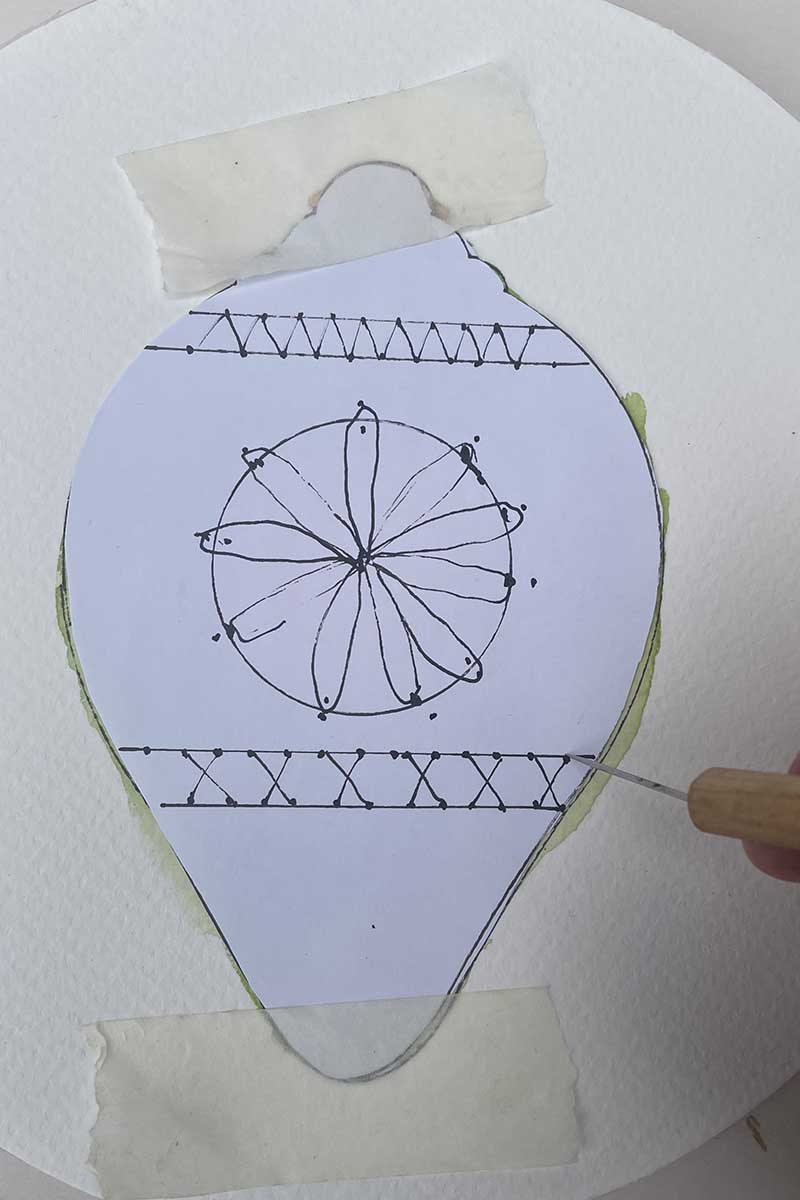
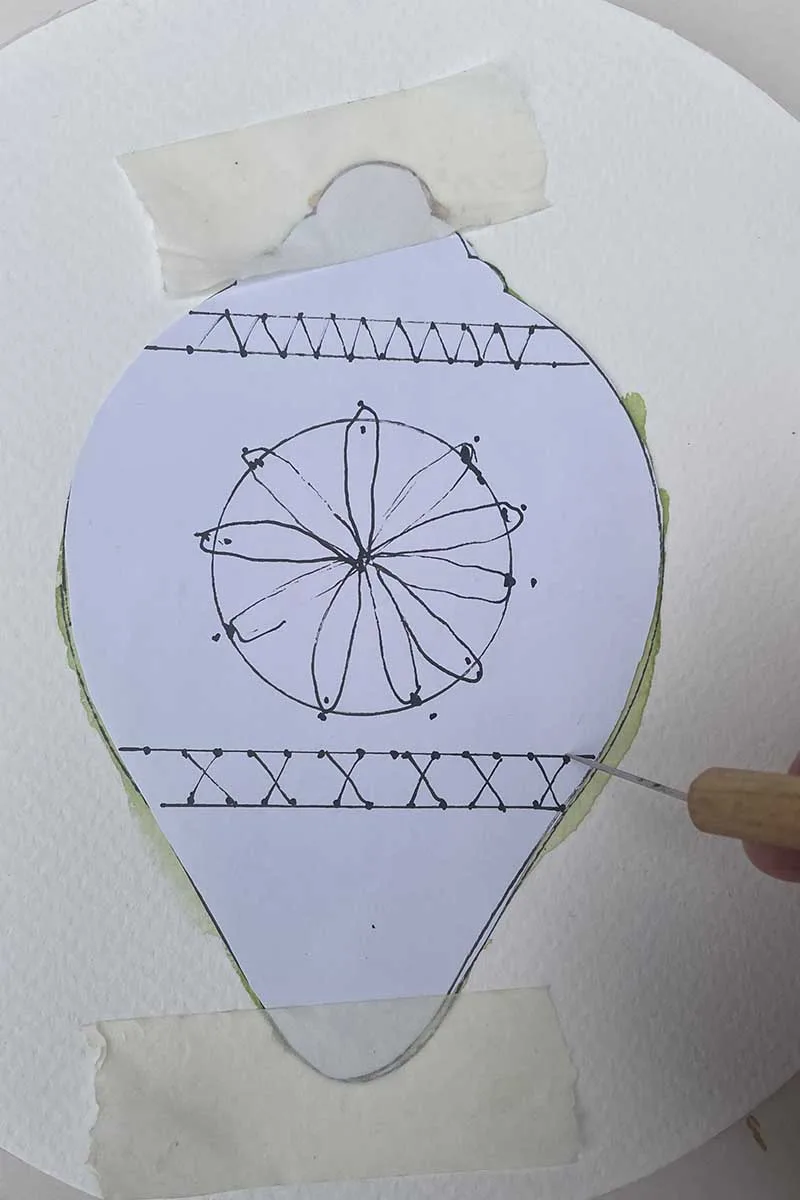
Step 3: It’s time to prepare the paper for stitching. Tape your embroidery design template over the painted bauble, aligning it carefully. Pierce holes along the marked dots on the pattern using a sharp needle. I use a piercing needle the same size as my embroidery needle for consistency.
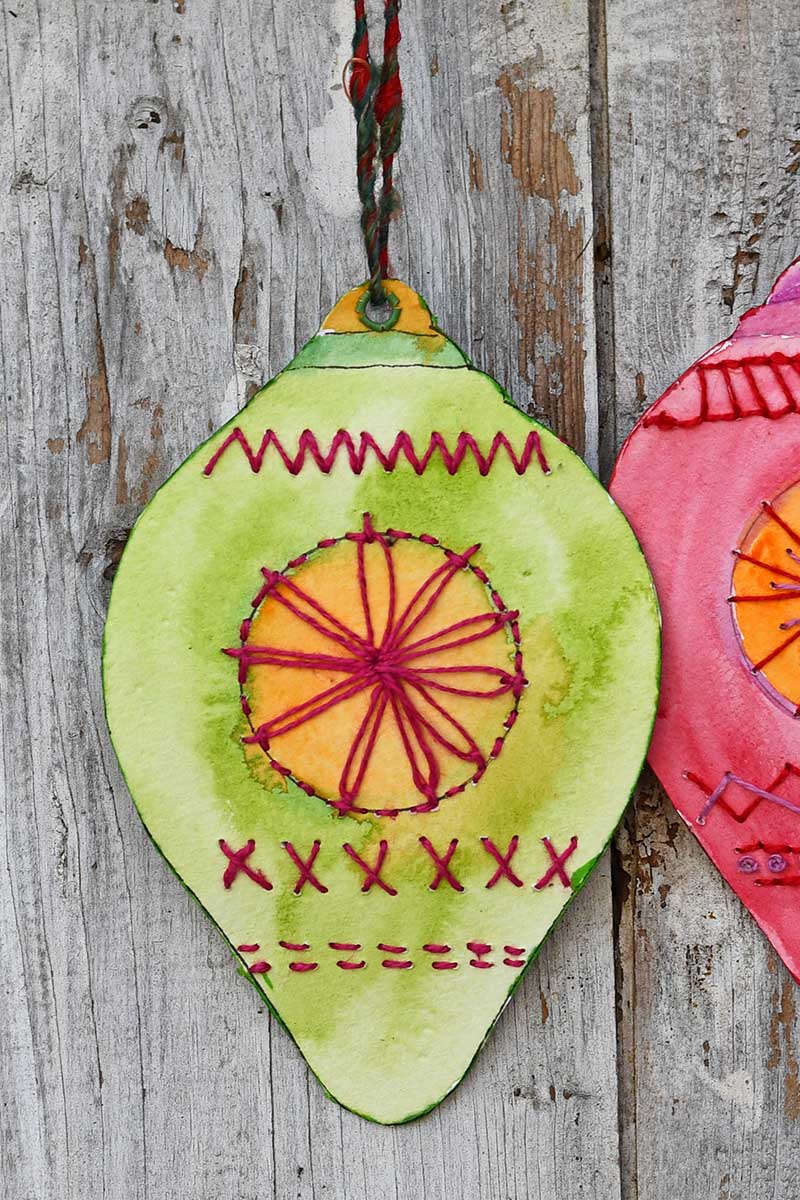
To make the process easier on your hands, you can attach a handle to the needle using balsa wood or an old wine cork for a better grip. For areas where multiple stitches will pass through the same hole—like the centre of a starburst design—I recommend enlarging those holes slightly to accommodate the extra thread.
Stitching The Paper
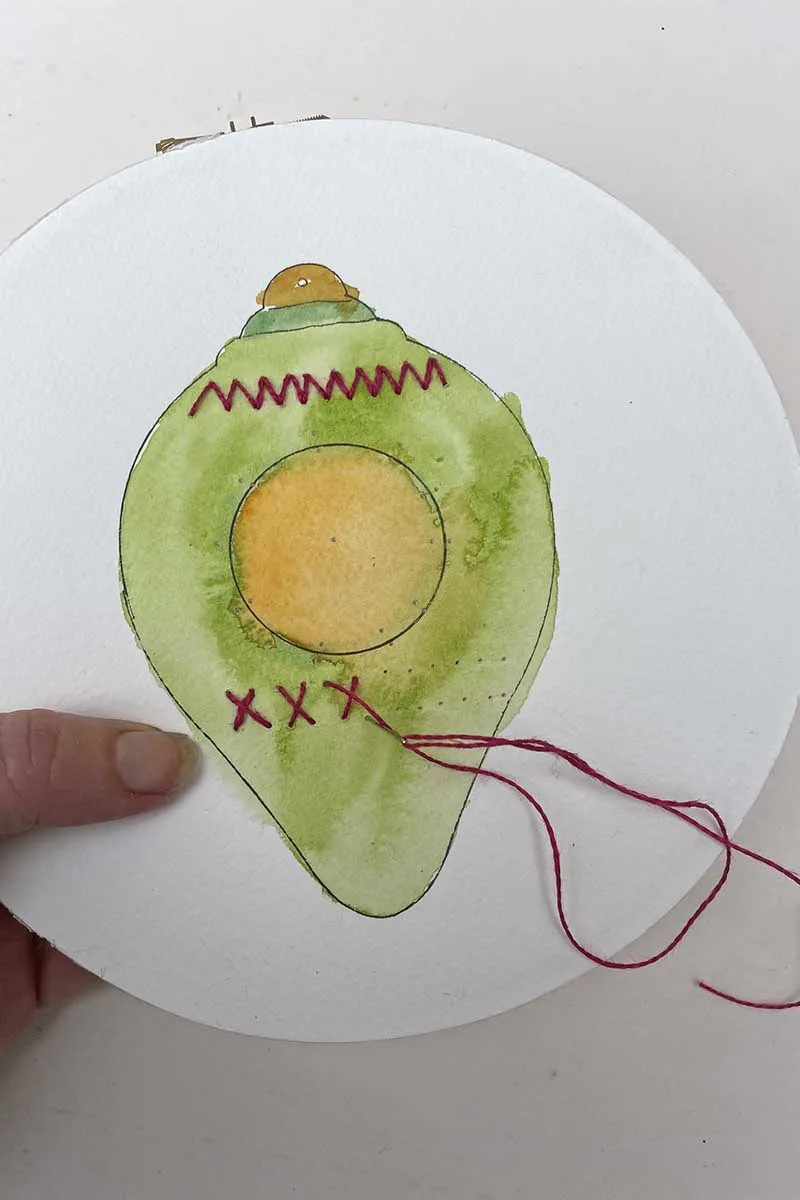
Step 4: With your holes punched, you can start stitching! Thread your sewing needle with embroidery thread and work through the design. You can use a variety of basic stitches here, depending on the look you’re going for. For example, the simple running stitch is great for outlining, while the lazy daisy stitch adds a fun floral touch. You could also experiment with French knots for added texture. (see my paper embroidery post for more details on each of the stitches).
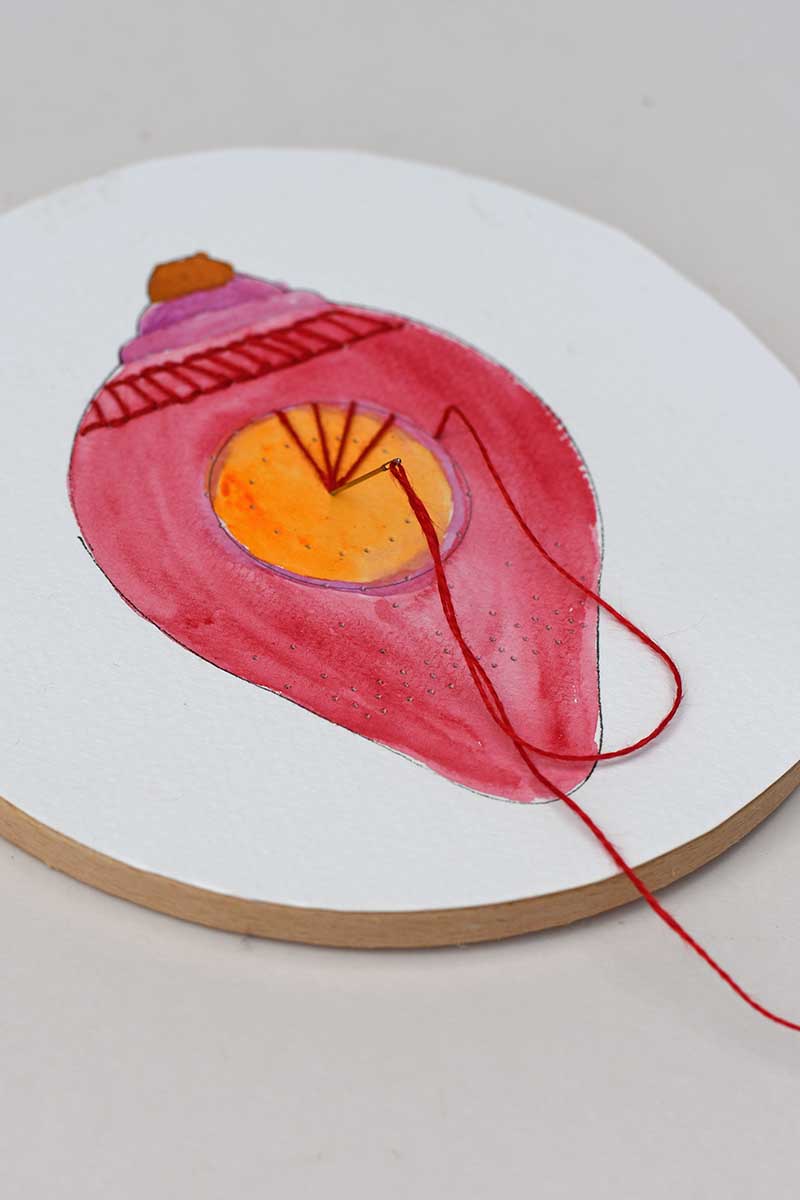
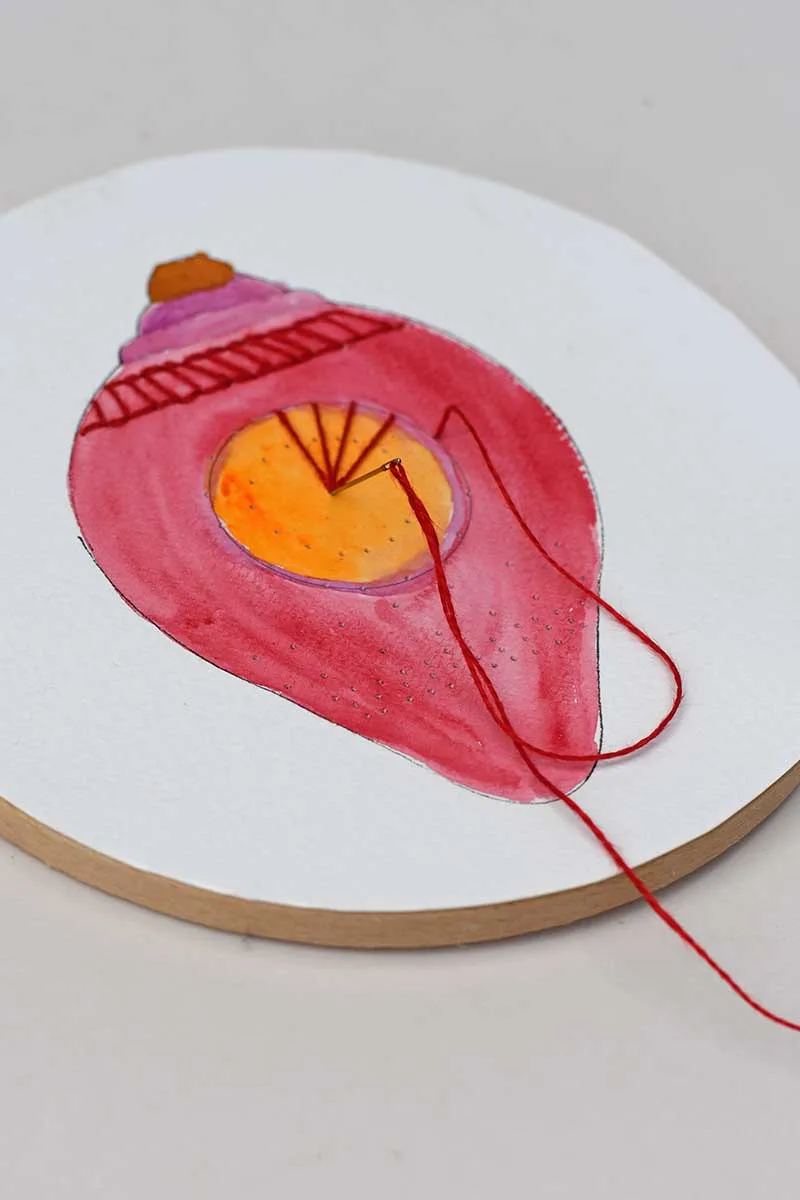
The cool thing about embroidering on paper is that it holds up surprisingly well to the tension of different stitches, giving your ornament a wonderful texture. Just be mindful of how you pull the thread through so you don’t tear the back of the paper. The hoop makes the paper embroidery easier and less likely to tear.


Assemble the Paper Christmas Ornament
Step 5: Cut out your bauble after finishing the hand embroidery pattern. Make a second one for the back—this will help conceal the stitching on the back of the paper and give the ornament a polished look.
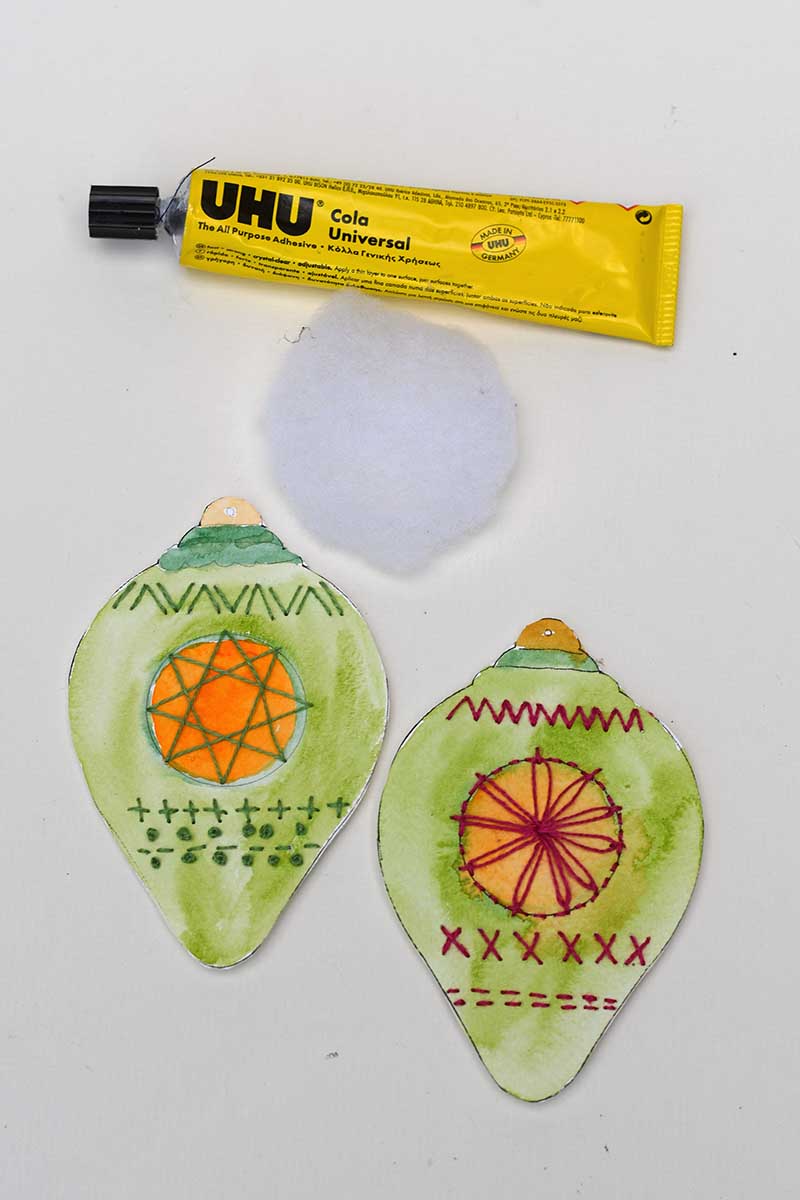

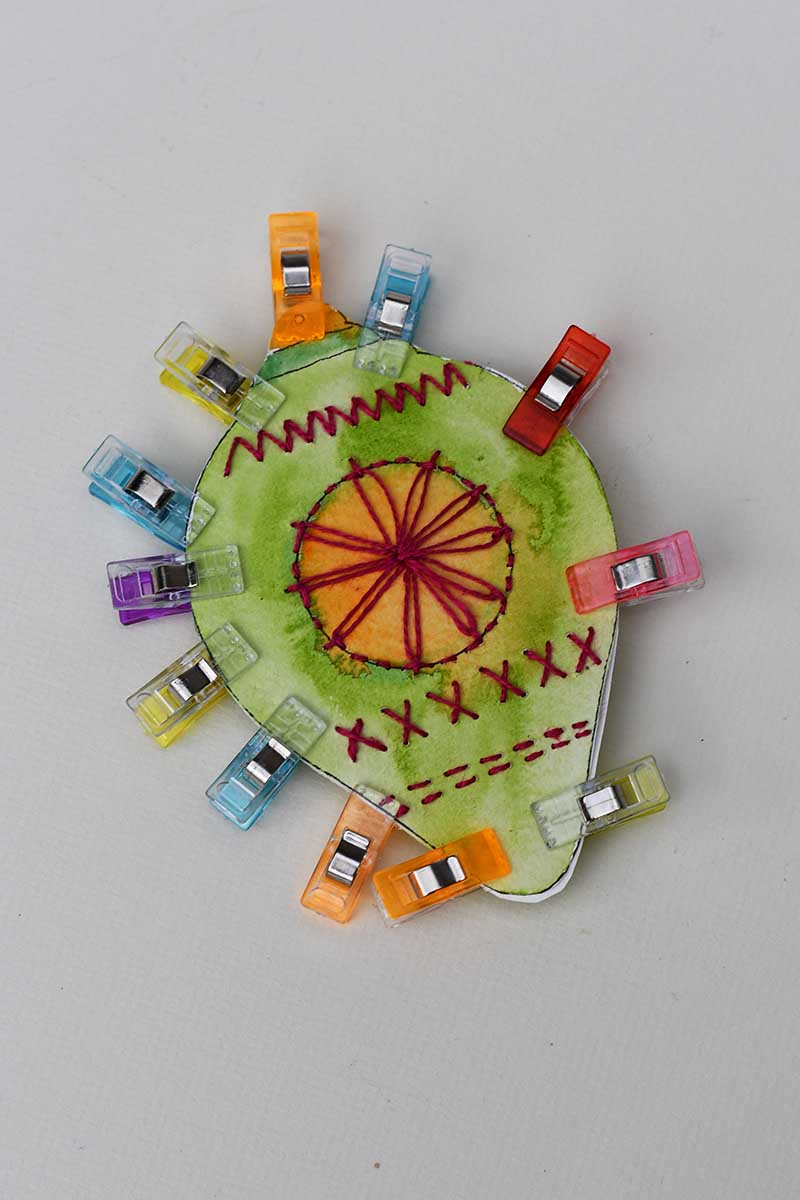
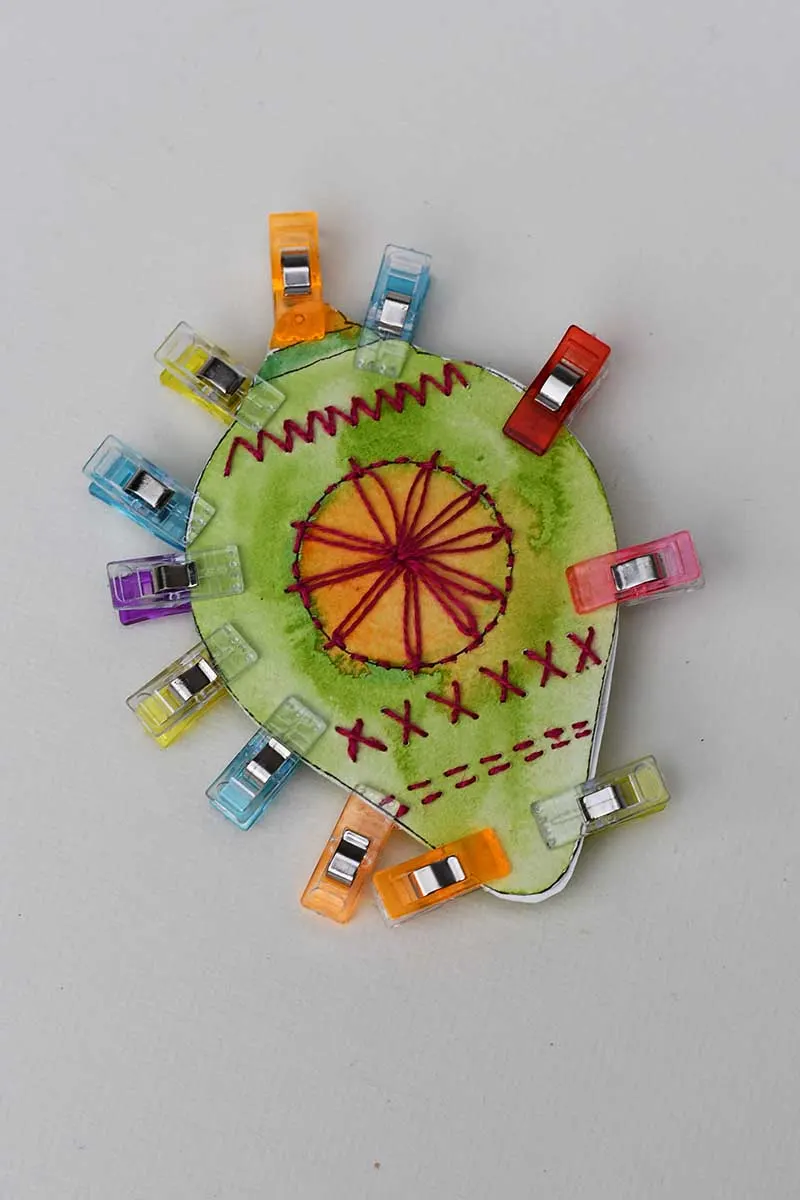
Place a small piece of wadding between the two baubles for extra dimension. Glue them together, holding them in place with clips while the glue dries.
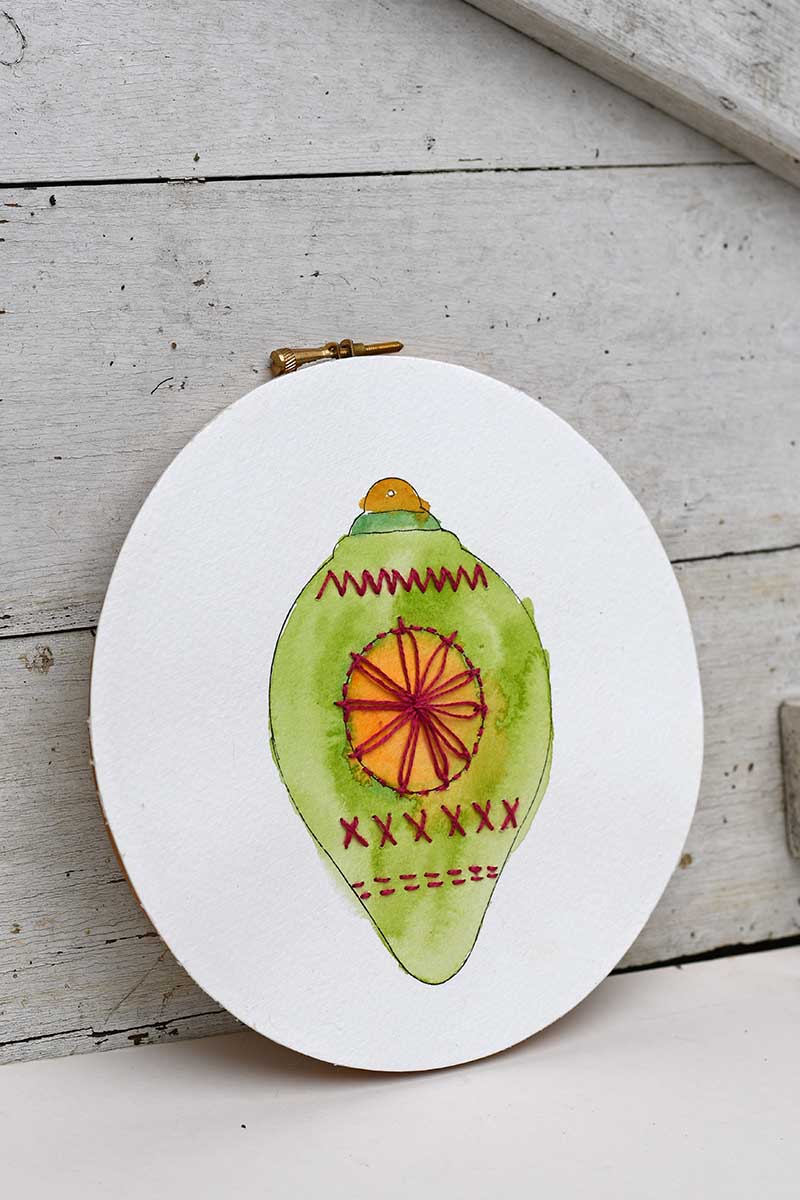
Finishing Touches
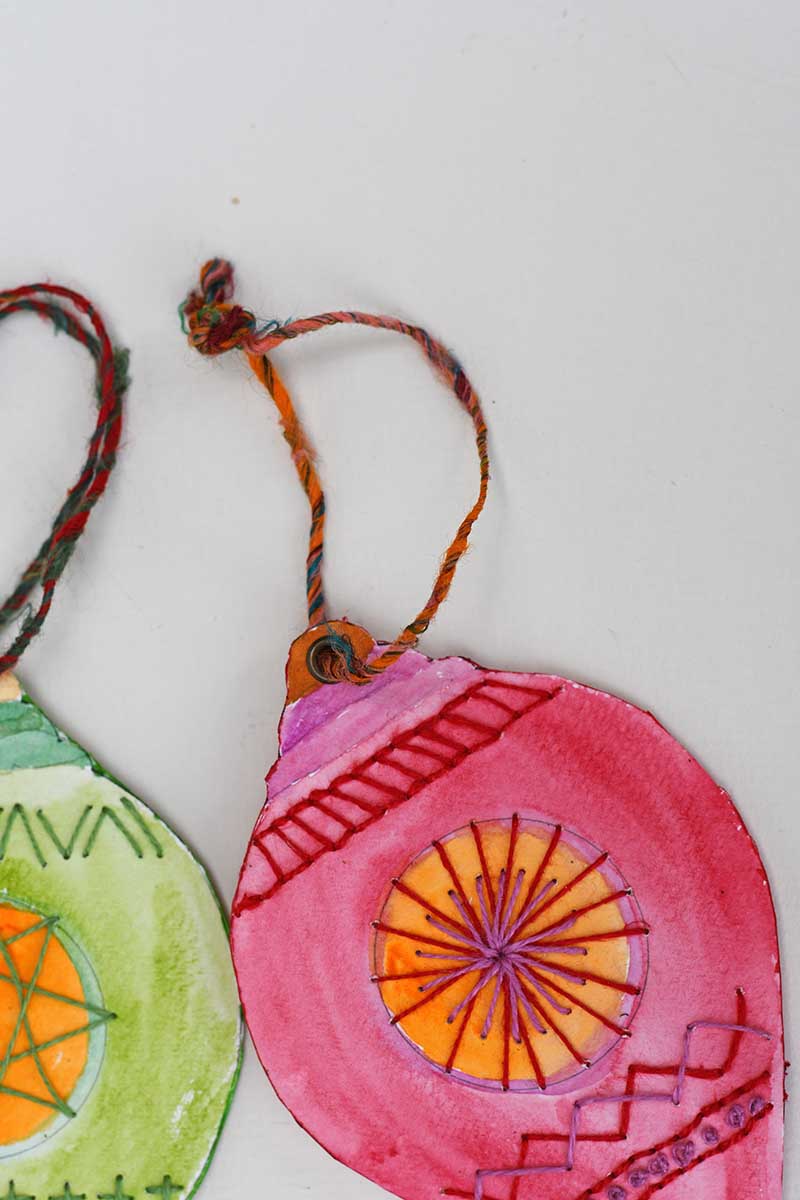
Step 6: Trim any overlapping edges with scissors to give your ornament a clean finish. If you’d like to tidy up the white edges of the paper, run a coloured Sharpie around the edges for a polished look. Punch a hole at the top to complete your ornament, and insert an eyelet for added durability. Thread some ribbon or twine through the hole, and your beautifully handcrafted ornament is ready to hang on the tree!


Further Ideas for Paper Embroidery Projects:
- Personalized Gift Tags
Use smaller versions of your bauble designs to create beautiful, personalized gift tags. Paint them with watercolours and embroider initials or simple designs for a unique finishing touch to any gift. - Greeting Cards
Why not use your paper embroidery skills to create handmade Christmas cards? Embroider simple holiday shapes like stars, trees, or snowflakes onto heavy paper and attach them to the front of a blank card. - Framed Embroidered Art
Instead of ornaments, you can frame your embroidered paper designs to create lovely holiday wall art. Paint a festive scene on watercolour paper and use embroidery stitches to add texture and dimension. - Paper Embroidered Garland
Cut out multiple embroidered shapes—like stars or trees—and string them together to make a festive garland. It’s a fun way to use up any leftover paper scraps! - Seasonal Variations
Switch up the colours and designs to create embroidered decorations for other holidays! Hearts for Valentine’s Day, eggs for Easter, or pumpkins for Halloween are all great ideas to try with paper embroidery.

Other Embroidery & Craft Ideas
I hope you’ve enjoyed making these paper-embroidered Christmas ornaments as much as I have! If you’re hooked on combining stitching with paper, you might want to try stitching on paper using a sewing machine for a different twist—it’s a fun technique that opens up so many creative possibilities.
For more festive inspiration, check out my other Christmas paper craft ideas and Christmas embroidery crafts, perfect for anyone who loves a handmade holiday. And if you’re looking for even more adult Christmas craft ideas, I’ve got plenty of tutorials to keep you busy. If you enjoyed mixing watercolours with embroidery here, you’d love my projects combining watercolour paints with fabric embroidery. And don’t miss my embroidered clay ornaments, which use many of the same stitches and techniques—ideal for adding another handmade touch to your Christmas tree!