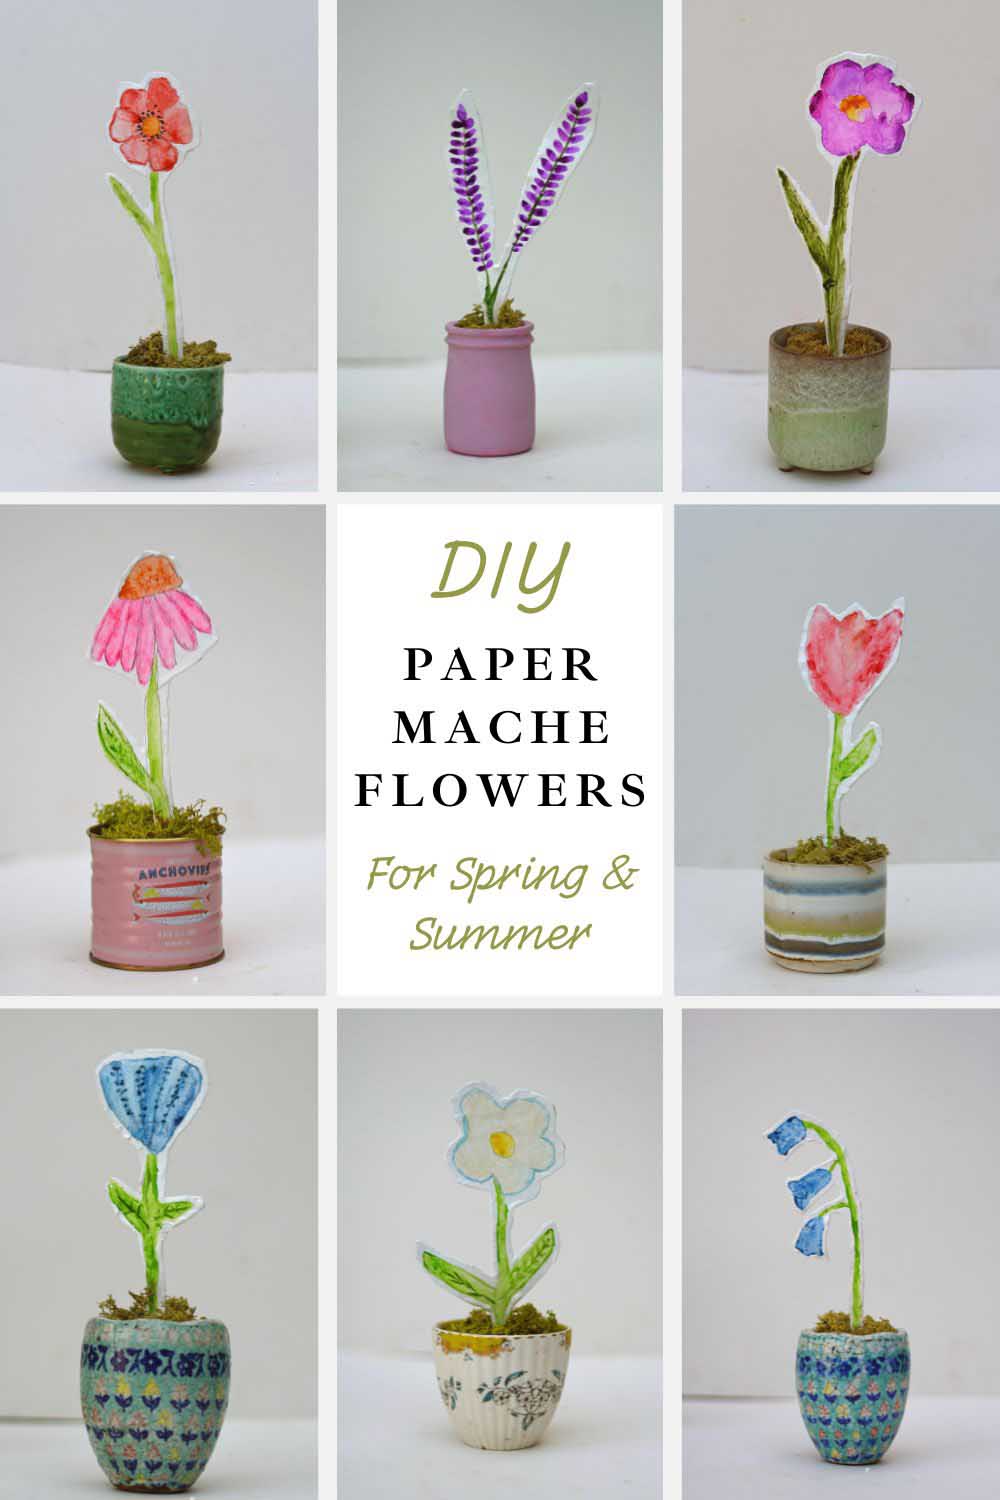
Brighten your home with handmade painted paper mache (papier-mâché) flowers in mini pots—a charming and creative DIY gift idea using scrap cardboard and watercolours.
I’ve been on a flower kick lately—more than usual! After visiting a fabulous flower-themed art exhibition in London, I came home absolutely buzzing with inspiration. I already decorate my home with fabric flowers (you’ve probably seen a few in previous crafts). Still, I wanted something a bit different—something bright, cheerful, and handmade that would last forever.
That’s how I ended up making these colourful painted papier-mâché flowers! They’re such a fun spring or summer craft project—and the best part? They cost next to nothing to make. Apart from a bit of paint and glue, everything I used came from my recycling bin. Think old cereal boxes, tin cans, yoghurt pots, and newspapers. It’s a great way to turn everyday rubbish into something beautiful!
These cheerful little blooms are perfect for anyone who loves flowers but isn’t so great at keeping real ones alive (guilty!). And because they’re potted, they also make charming, everlasting gifts.
We’re a participant in the Amazon Services LLC Associates Program, an affiliate advertising program designed to provide a means for us to earn fees by linking to Amazon.com and affiliated sites. As an Amazon Associate, I earn from qualifying purchases.
What You’ll Need
- Scrap cardboard (I used cereal boxes and other packaging)
- Newspaper strips
- PVA (white) glue and water (50/50 mix)
- Gesso (or white primer paint)
- Watercolour paints
- Emery board or fine sandpaper
- Flower templates (I’ve included mine!)
- Assorted little pots (succulent pots, old tin cans, teacups, painted jars)
- Polystyrene (to secure the flowers in the pots)
- Potting gravel or pebbles
- Decorative moss (I used coloured lichen moss)
The Flower Templates
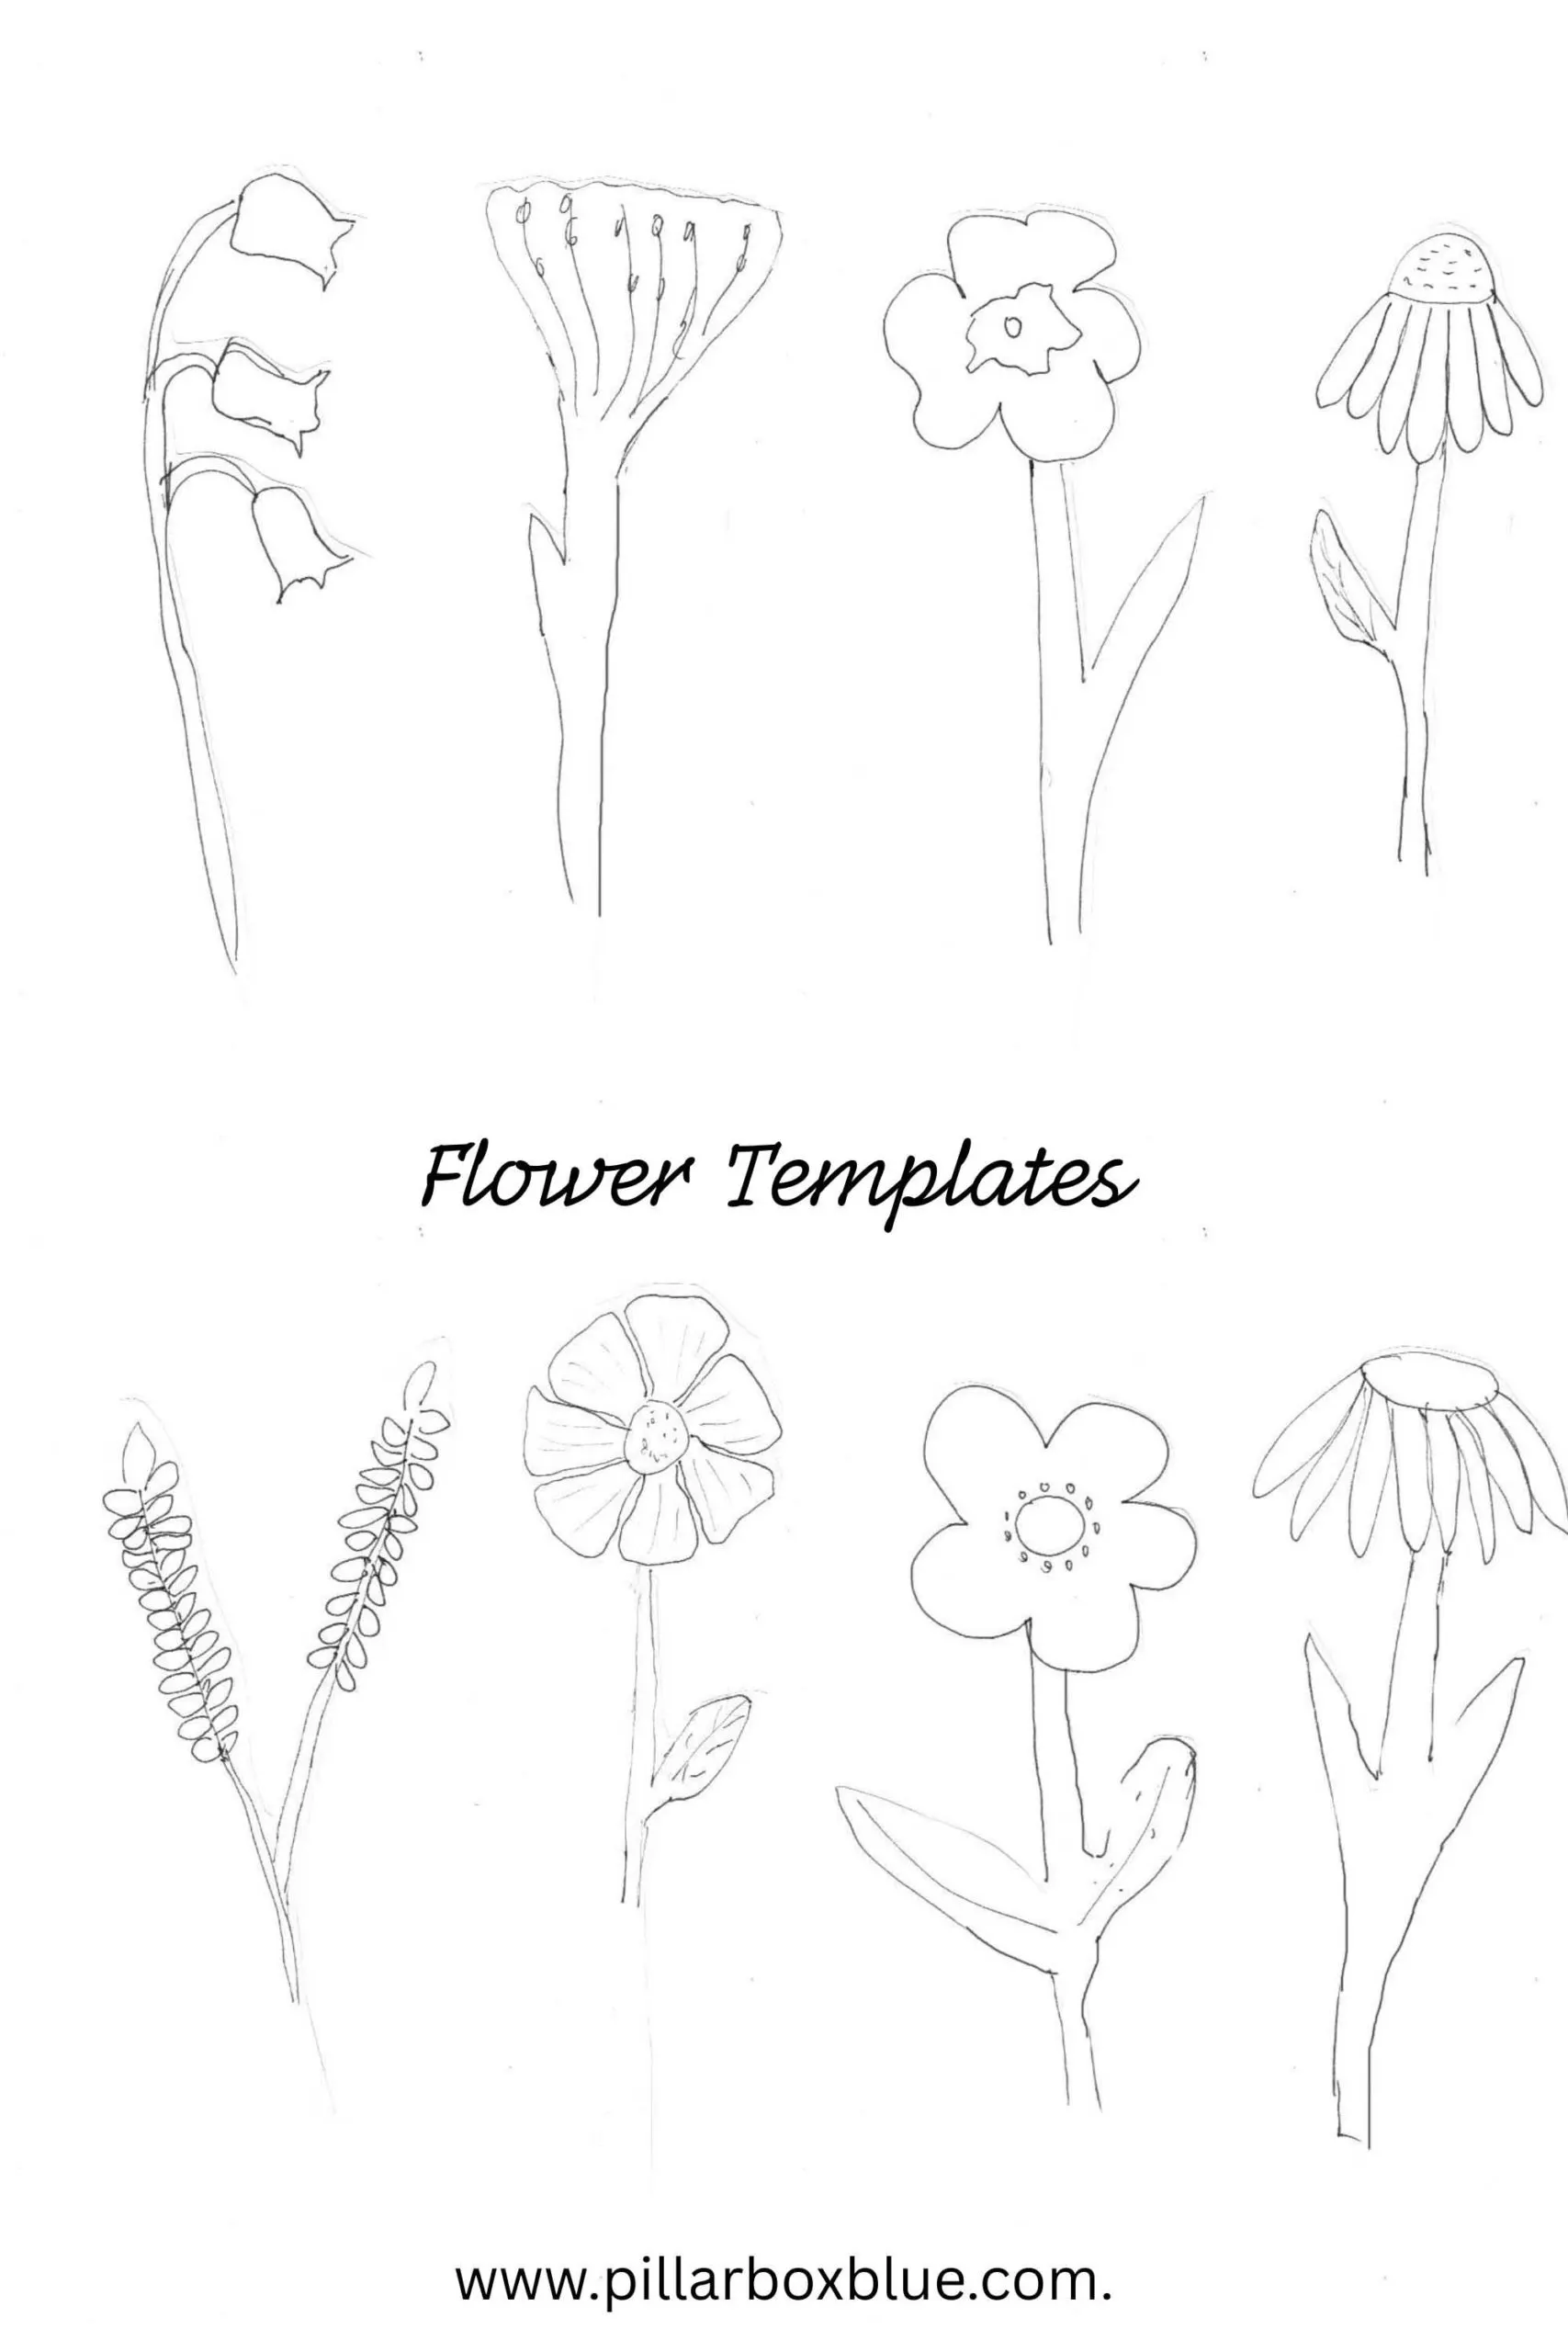
Click on the flower template titles you want. There are two per A4 (letter size) page. You can then print or save the template.
- Bluebell and Cornflower
- Pansy and Echinacea
- Lavender and yellow flower
- Daisy and large Echinacea
- Poppy and Sead Head
How to Make Paper Mache Flowers
Step 1: Print out the flower templates or draw your own. Then, use them to cut flat flower shapes from scrap cardboard. Think tulips, daisies, pansies—any shape that takes your fancy. It’s fun to make lots of paper mache flowers simultaneously.
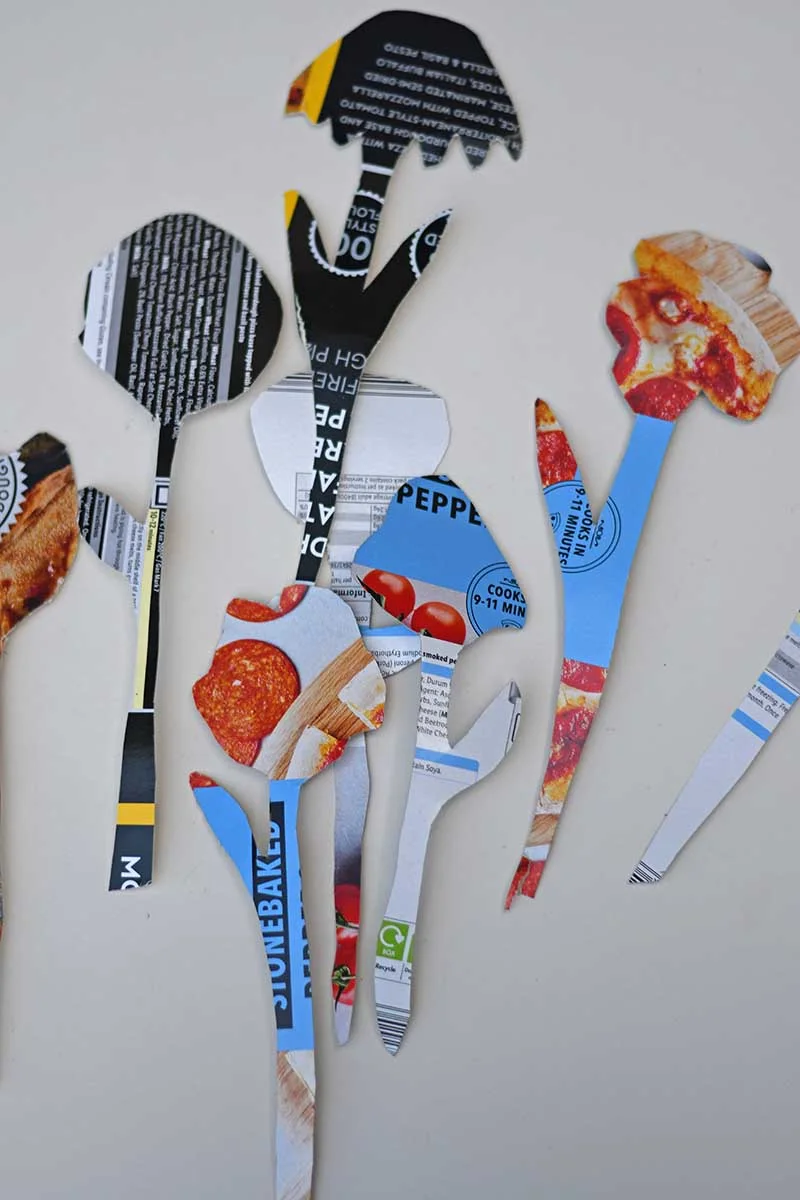
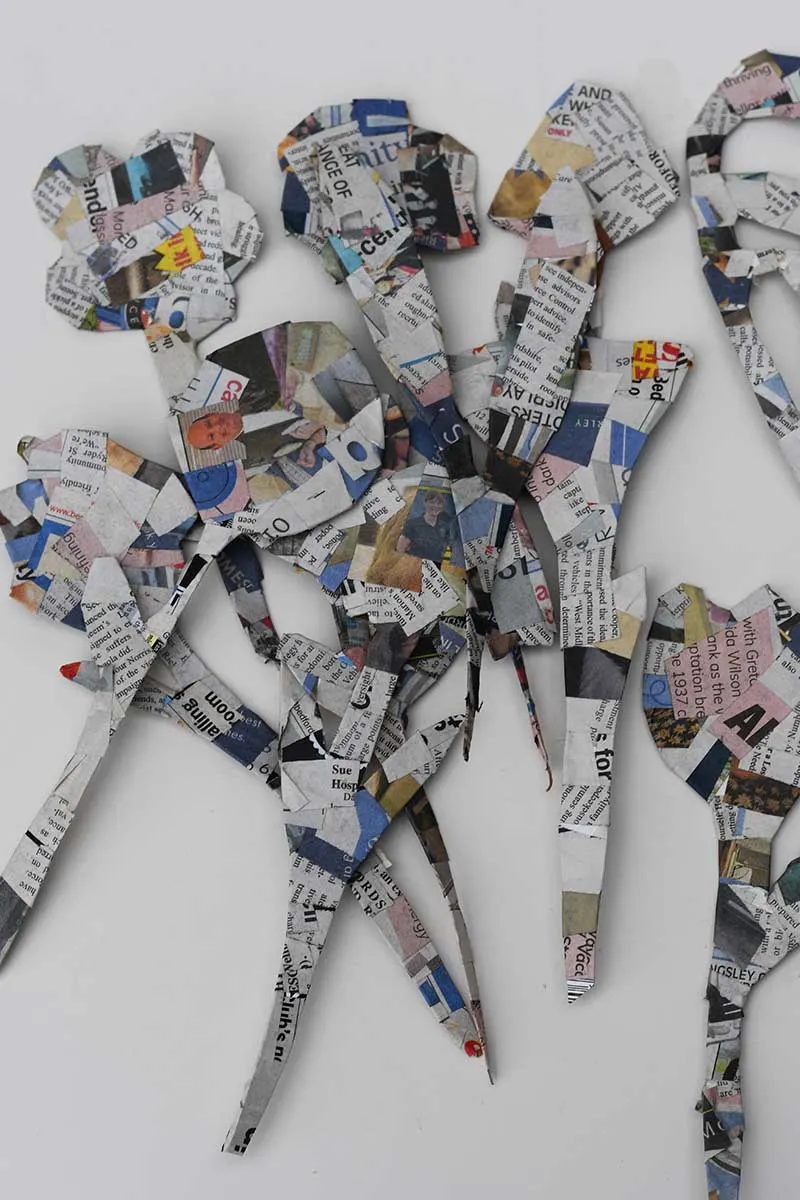
Step 2: Cover both sides of each cardboard flower shape with papier-mâché. To do this, tear up some newspaper into small strips and apply them using white glue and water (about 50/50). Brush the glue mixture onto the cardboard, lay down a newspaper strip, and then brush more glue on top to smooth it. Repeat until the whole surface, front and back, is covered. Leave it to dry thoroughly.
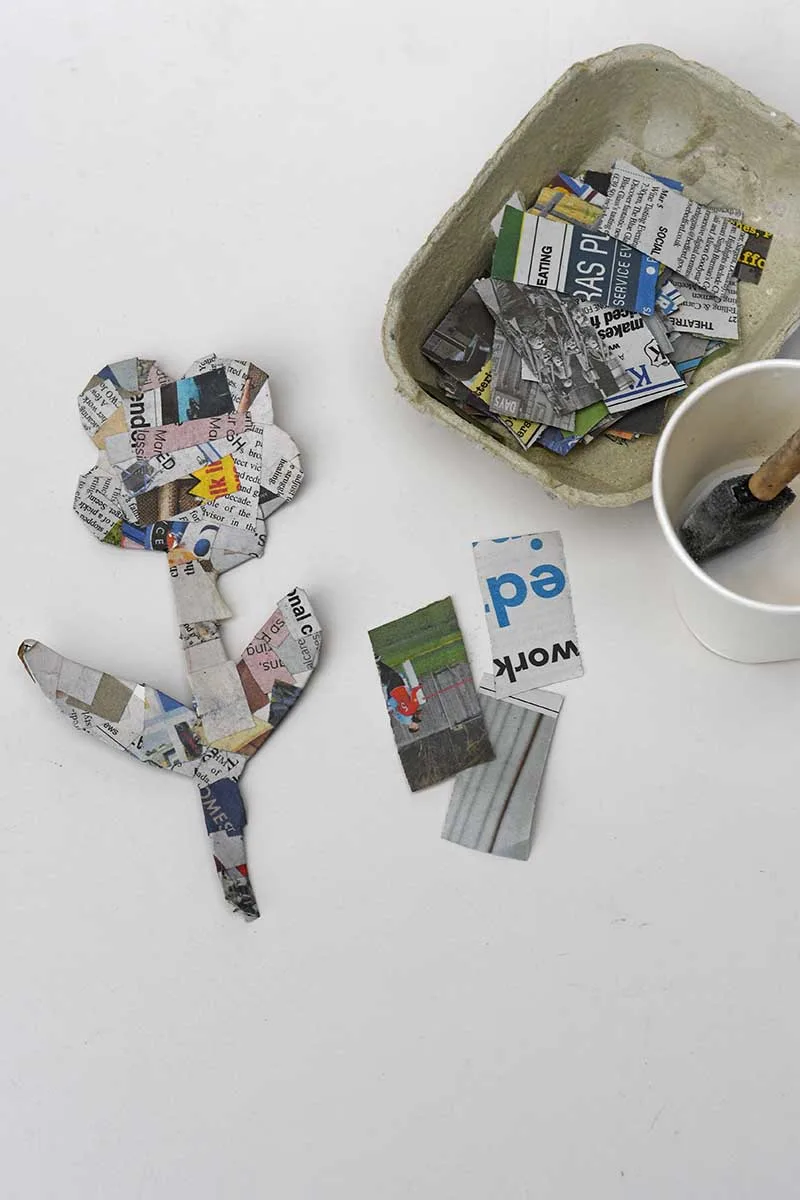
This layer of newspaper will help strengthen and stiffen the cardboard as it dries. Don’t worry if the wet newspaper causes the cardboard to curl or twist slightly—this adds a bit of natural character and movement to the flowers, giving them a more lifelike charm.
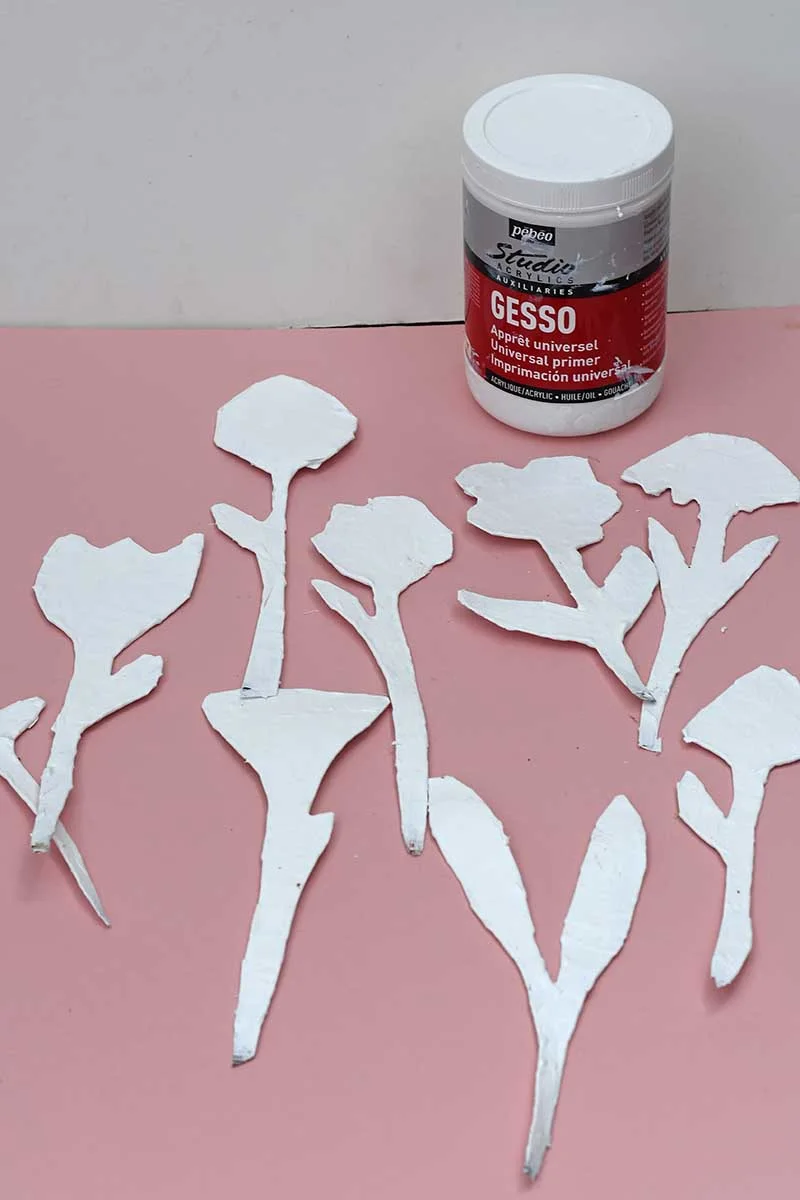
Step 3: Once dry, apply a few coats of Gesso, letting each layer dry completely. The Gesso gives the flowers a lovely, even surface to paint on. I then used an emery board to smooth out large bumps (don’t worry about the little ones!).
Painting the Flowers
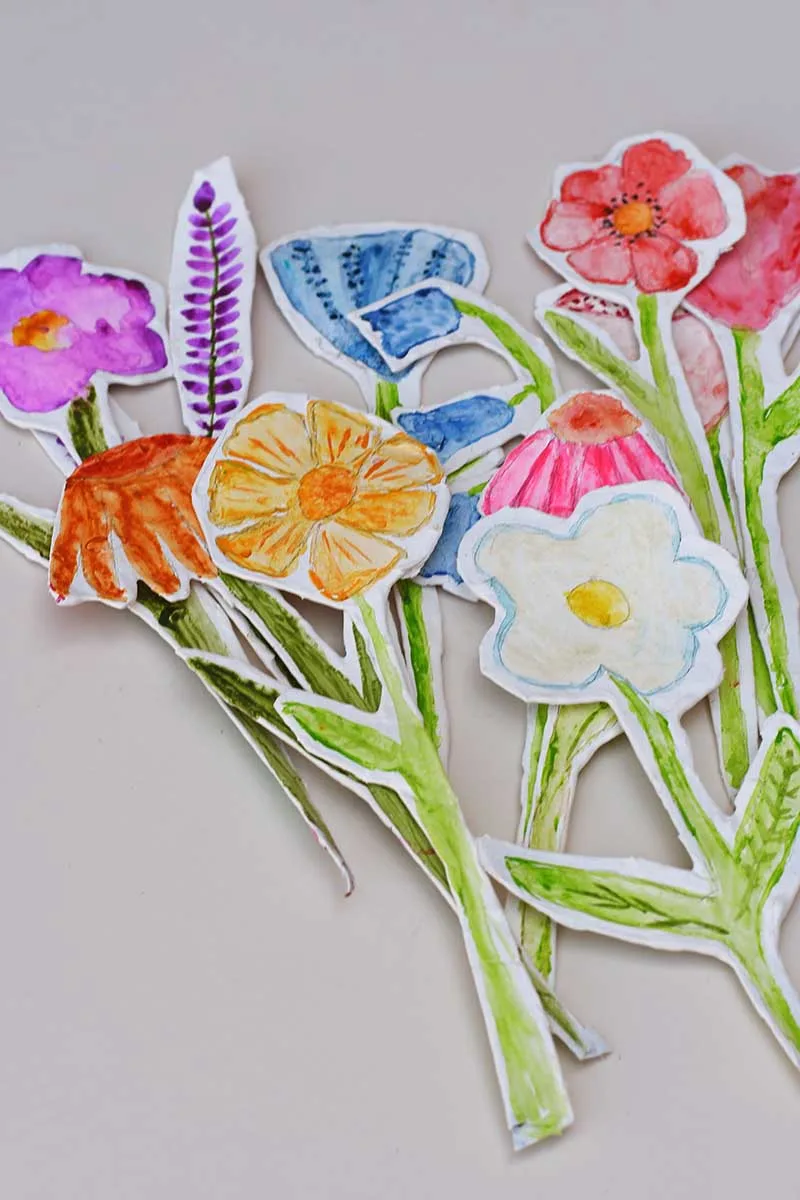
Step 4: Before painting the paper mache flowers directly, I sketched and painted my designs on paper first. This helped me figure out the shapes and colours I wanted to use. I painted various blooms—pansies, tulips, daisies, echinacea, poppies, bluebells, lavender, and even a little seed head.
You don’t need to be an experienced painter for this part. These designs are simple and fun—think of it as colouring in, but with paint instead of pencils. Keep it loose and playful!
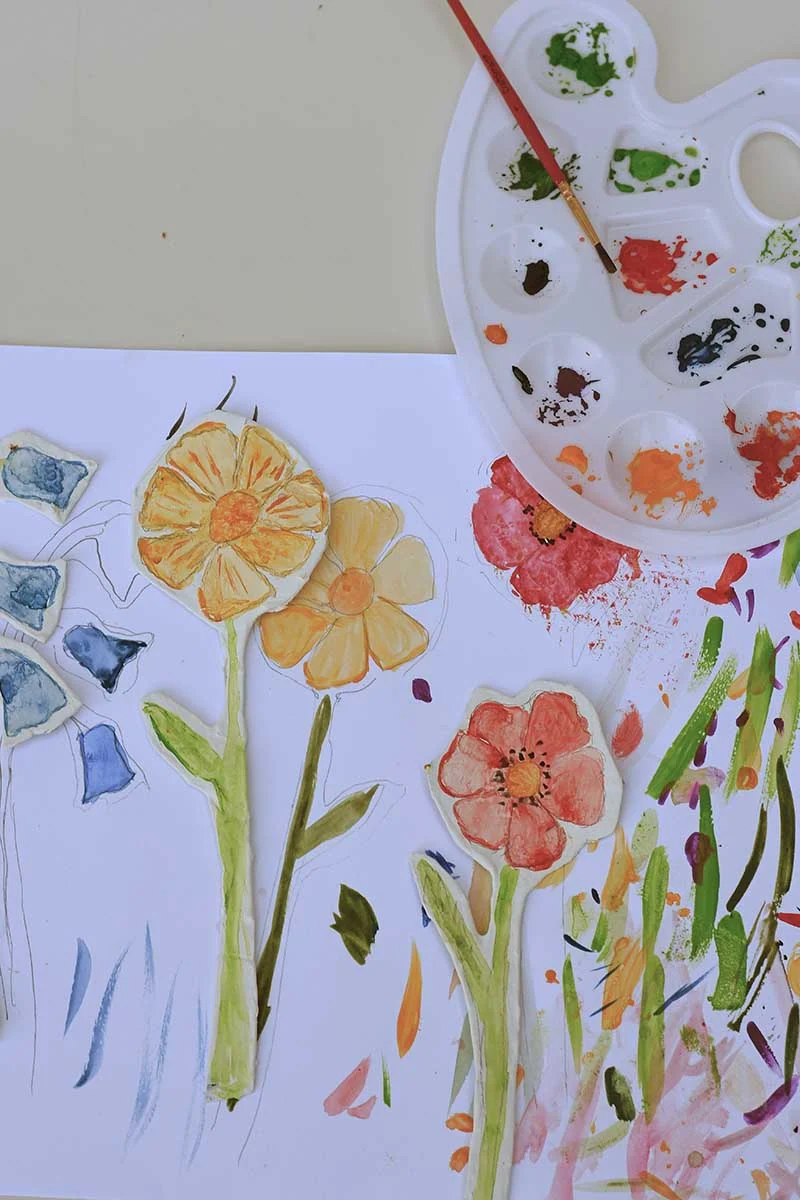
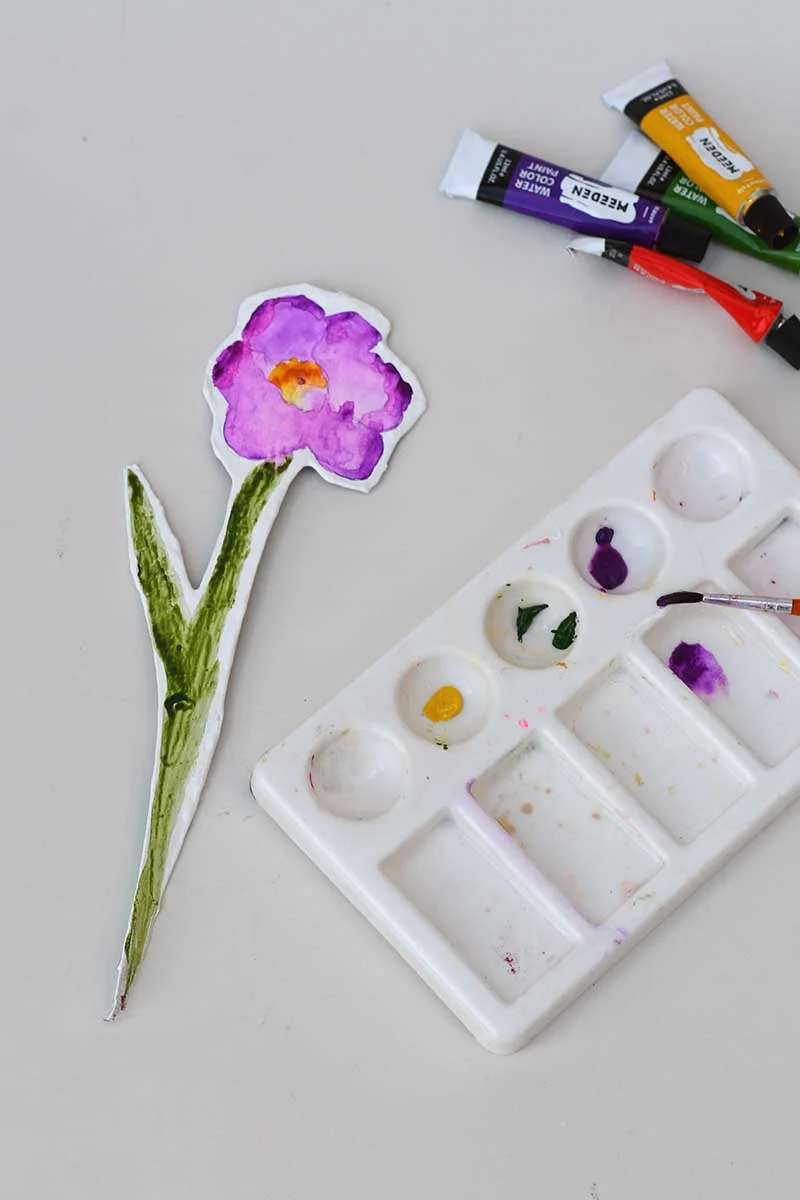
I used watercolours for that soft, dreamy effect. Just a tip: Gesso doesn’t absorb water like proper watercolour paper, so go easy on the water! You still get those beautiful translucent colours—it just behaves a little differently. Have fun painting the flowers whatever colour you want to match your decor. You can even make up your flowers.
Potting the Flowers
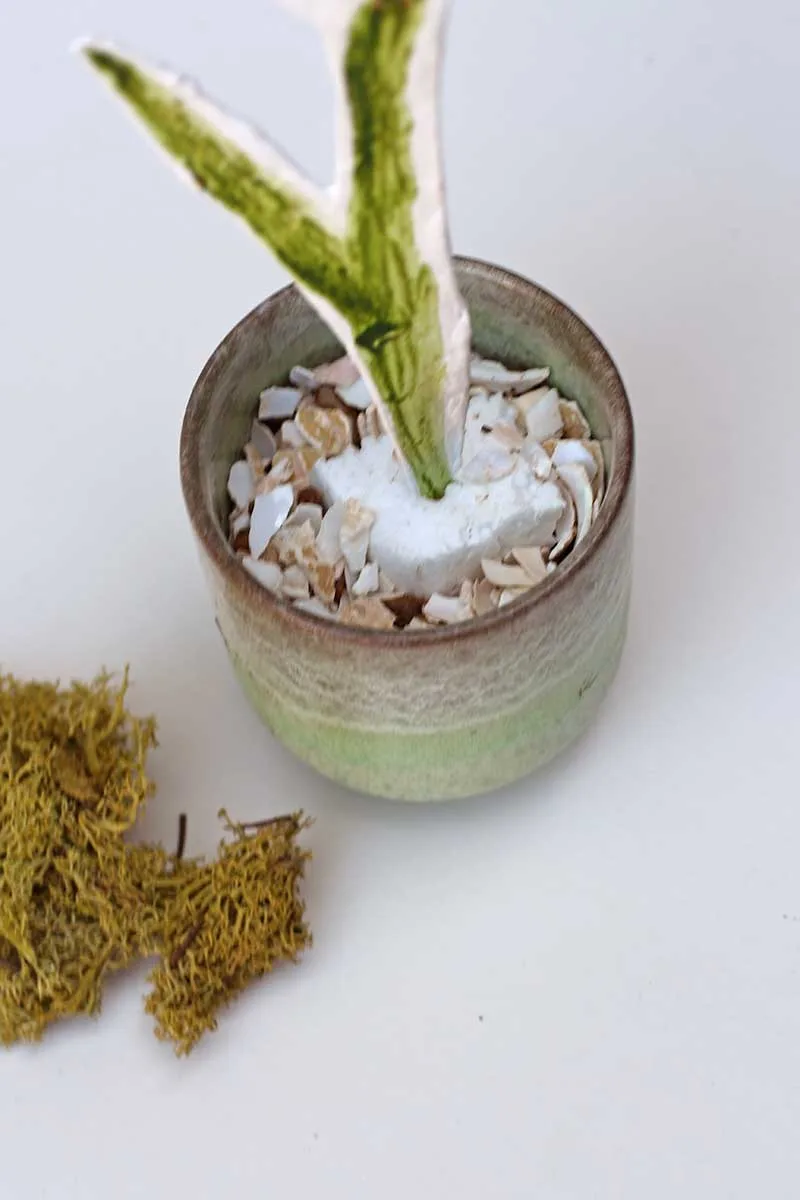
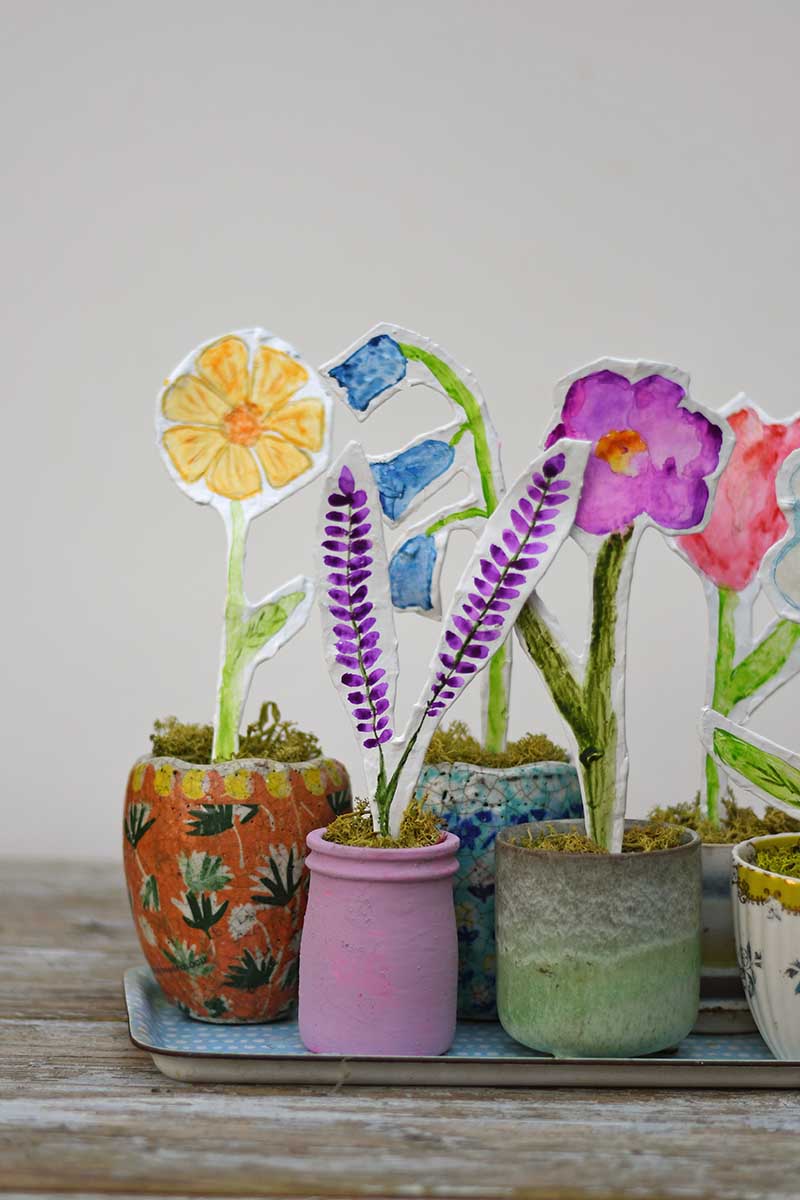
Step 5: Once painted and dry, it’s time to pot them up. I used a mix of containers—tiny succulent pots, small tin cans, an old teacup, and a painted yoghurt jar. Inside each, I added a bit of polystyrene to hold the flower stem, some gravel to wedge it in, and then finished with a layer of coloured lichen moss for that natural look.
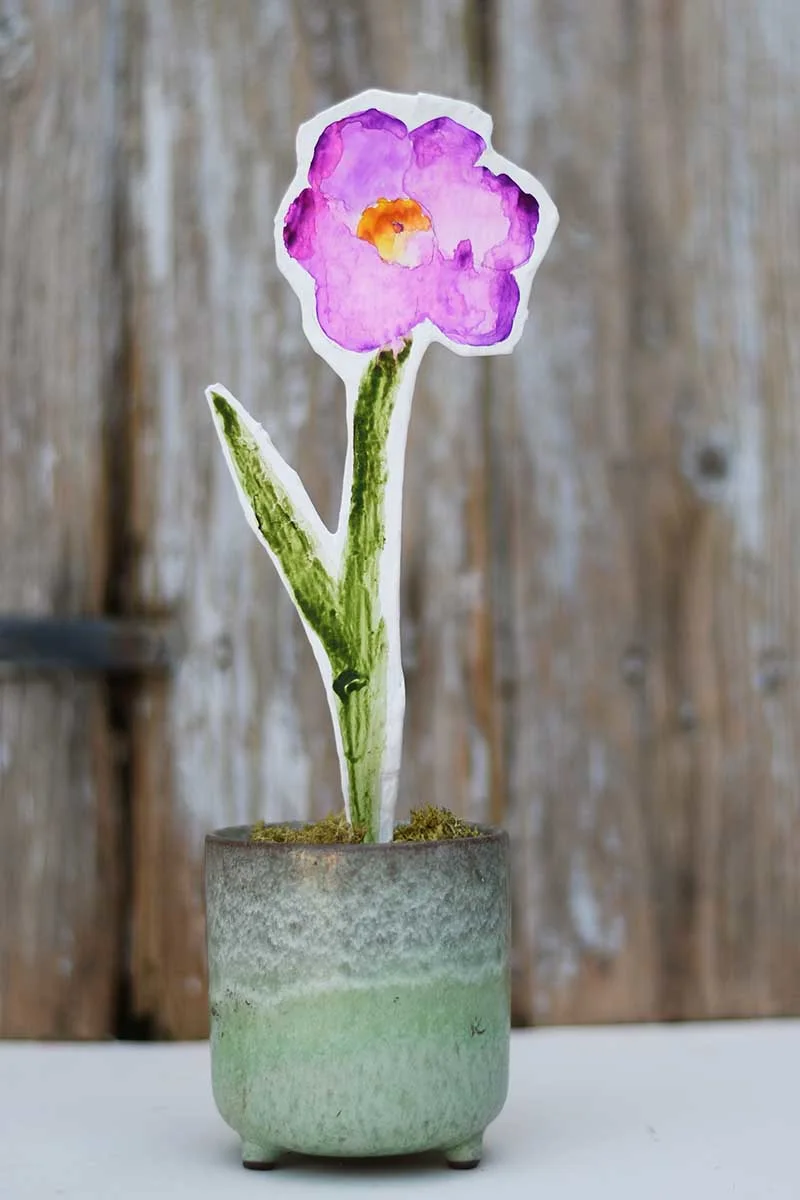
They look so cute lined up on a windowsill or dotted around the house! They would look good potted in one of my Marimekko plastic bottle planters or paper mache teacups.
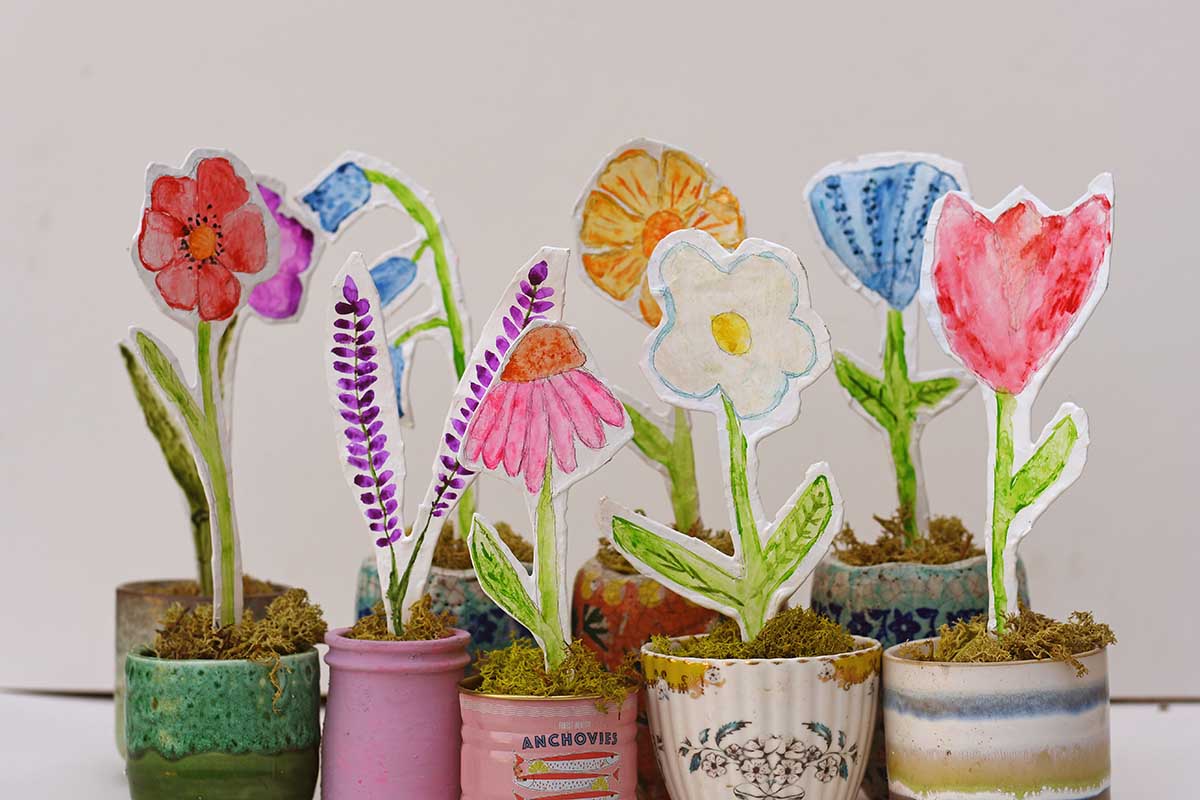
For the daisy flower, I repurposed an old teacup with a broken handle to use as a pot.
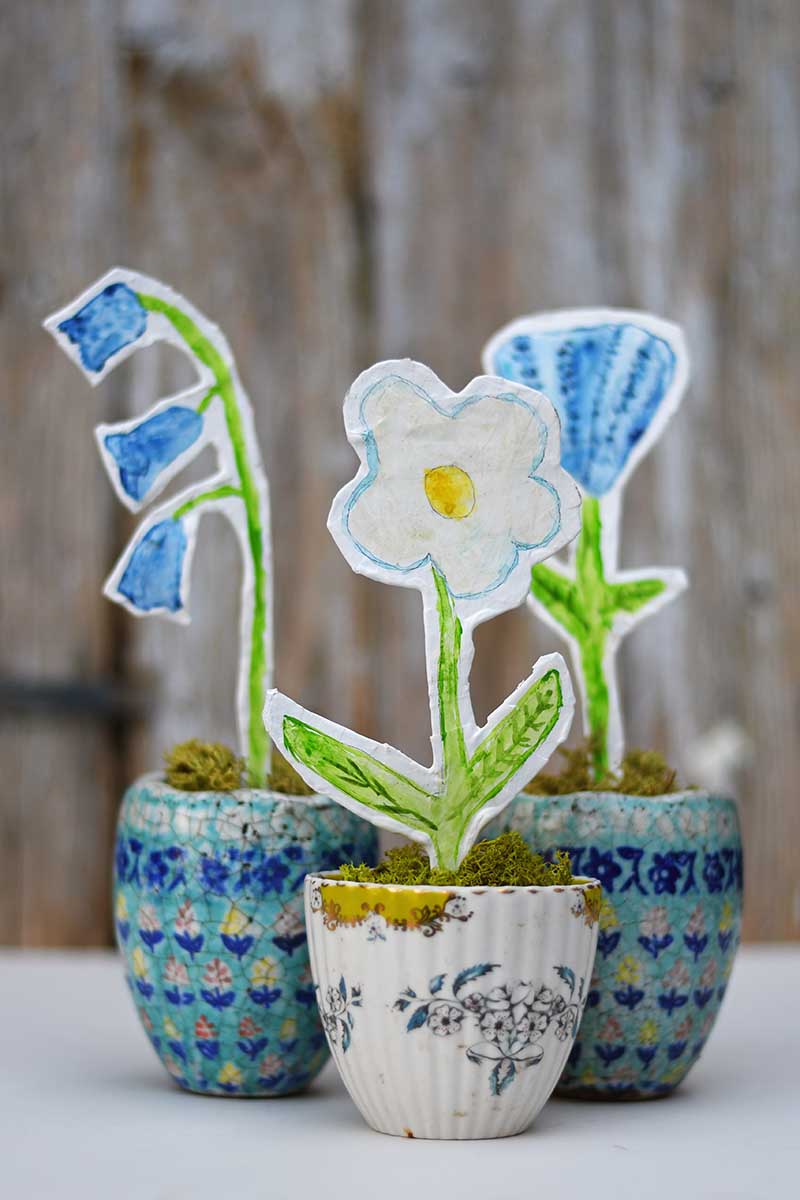
If you prefer, you can place the flowers in an upcycled vase rather than potting them. Each flower would look good in one of these mini decoupaged bud vases.
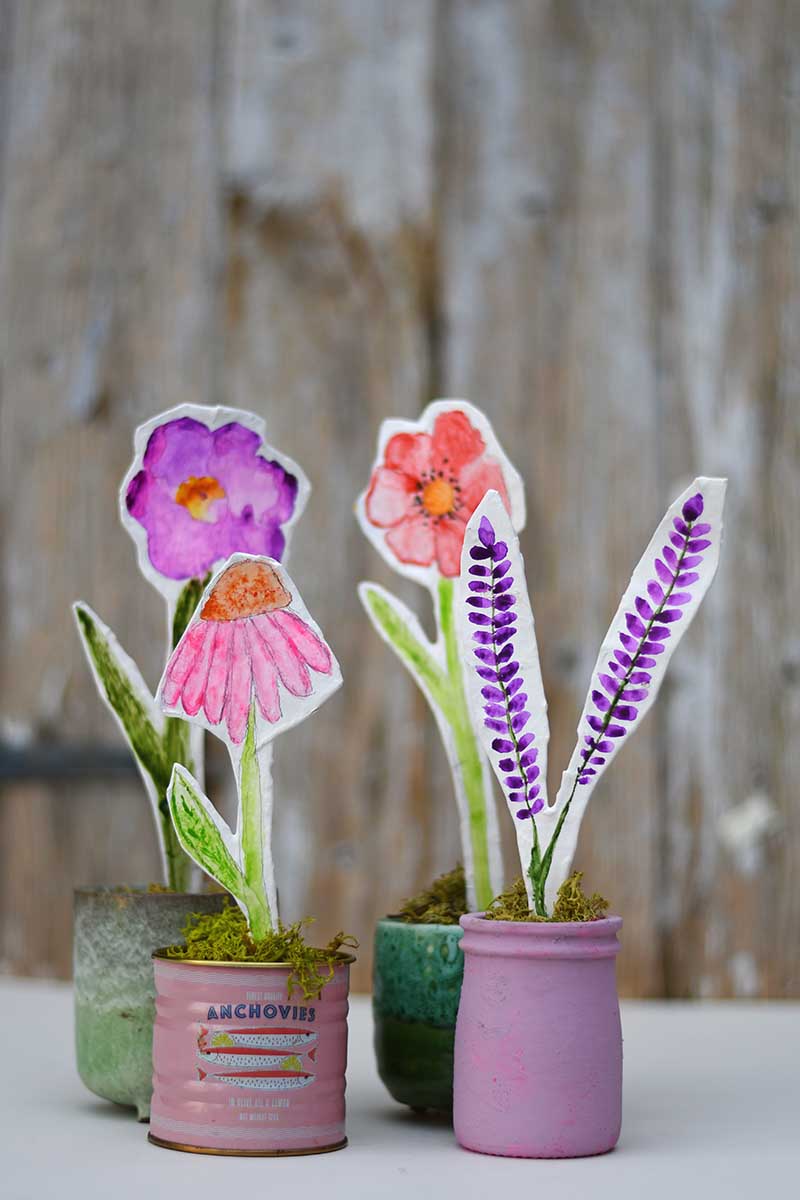
I planted the lavender in a painted yoghurt jar and the echinacea in a small tin.
A Craft for All Ages
This is one of those crafts that’s fun and relaxing no matter your age or skill level. It’s a great one to do with kids, too—prep the papier-mâché flowers in advance so the painting part is ready to go. Due to the drying stages, it takes some time, but it’s super straightforward and worth the wait.
These painted papier-mâché flowers make lovely gifts and are a great way to bring some everlasting spring cheer into your home. I’ve got mine in all sorts of rooms, brightening corners and making me smile every time I walk past.
If you’re looking for more floral inspiration, visit Picturebox Blue for a treasure trove of free, beautiful, vintage flower paintings, especially this collection of wildflower illustrations. There are even tutorials on drawing daffodils and hibiscus flowers if you want to add them to your paper mache flower collection.
Check out these other adult paper mache ideas and tips.
