
How To Make A Stunning Wall Planter From Broken Plates
With our easy-to-follow guide, you can learn how to create a unique mosaic wall planter using broken plates and cups. This DIY project is perfect for upcycling old china into stunning, functional decor for your home or garden.
Why I made this wall planter: When my eldest son accidentally broke my favourite plate while silently screaming on the inside and on the outside, I was calm. I just put the plate to one side. I couldn't bear to throw it away.
My favourite plate was beyond repair, but it was too lovely to throw out. I was determined to find a use for it, and I did with this beautiful mosaic wall planter.
Of course, I used more than one plate for my mosaic wall planter.
Living with 3 teenage boys and being afflicted with the clumsy gene, my broken crockery box soon grew to include a few more plates, chipped bowls and mugs.
I have this quirk: I love to eat off a fancy plate. I don't know why, but not much else is fancy in my house. And the food I eat off them isn't particularly fancy—normally, just a bit of cheese and chutney.
I have quite a collection of fancy plates. Every time I visit Anthropologie, I can't resist buying one of their Lou Rota Plates. I now have the complete set.
DIY Broken Crockery into a Beautiful Mosaic Wall Planter
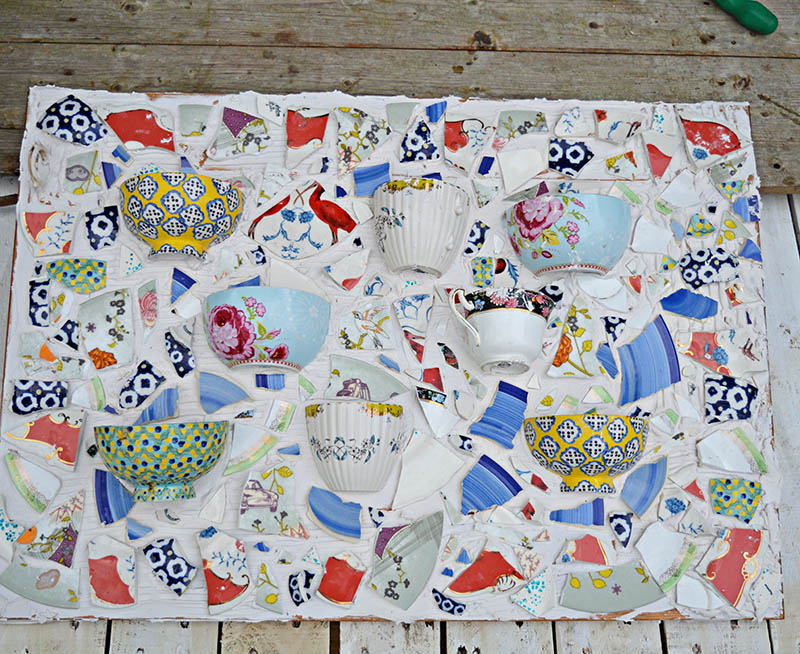
My collection of broken crockery was from my beautiful plates and bowls. Therefore, I didn't design a fancy mosaic pattern for the wall planter, as the broken pieces had pretty patterns and colours on them.
For me, the clever bit of this project was cutting the chipped bowls and mugs in half to use as planters.
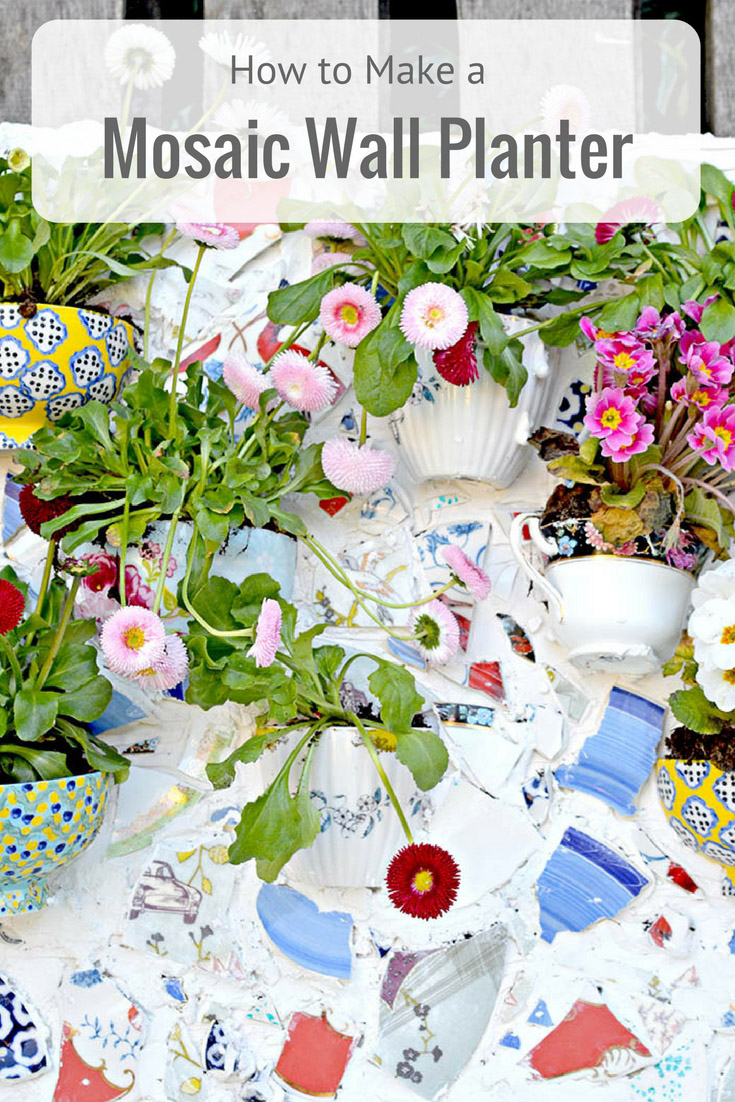
I can't decide whether to have this mosaic wall planter in the garden with bedding plants or to have it inside with succulents. I will just have to carry on collecting another box of broken crockery and make another one.
Materials and Tools
We're a participant in the Amazon Services LLC Associates Program, an affiliate advertising program designed to provide a means for us to earn fees by linking to Amazon.com and affiliated sites. As an Amazon Associate, I earn from qualifying purchases.
The Tools Used
A few specialist tools were needed for this project. Listed are the ones I used.
Any tile cutter will do, if you don't have one perhaps you could borrow one.
- Dremel SM20 circular saw with a Dremel SM540 diamond blade.
- Dremel drill with 3mm diamond drill bit suitable for ceramics
- Hammer
- Tiling grout adhesive spreader.
- Tile nippers
- Sponge
The Other Materials
- Collection of broken or chipped plates, mugs, and bowls.
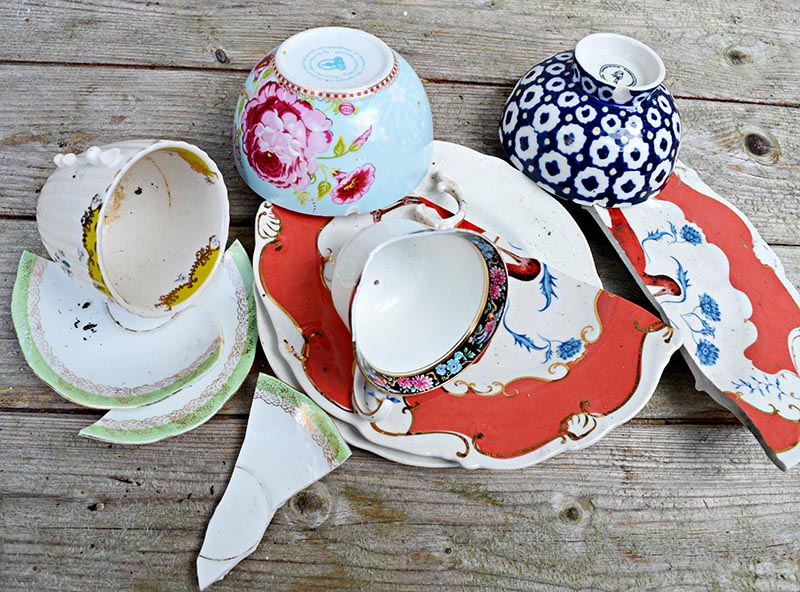
- A piece of wood to mount your mosaic wall planter on. You will want something that is suitable for outside (or it will warp). If you don't have a suitable piece of wood that is treated for outdoor use you can use a concrete backed board. The type that is used when plastering bathrooms. You should find this in your local DIY store.
- Outdoor wood varnish
- White ready mixed tile adhesive and grout.
How To Make A Mosaic Wall Planter
Preparing The Base
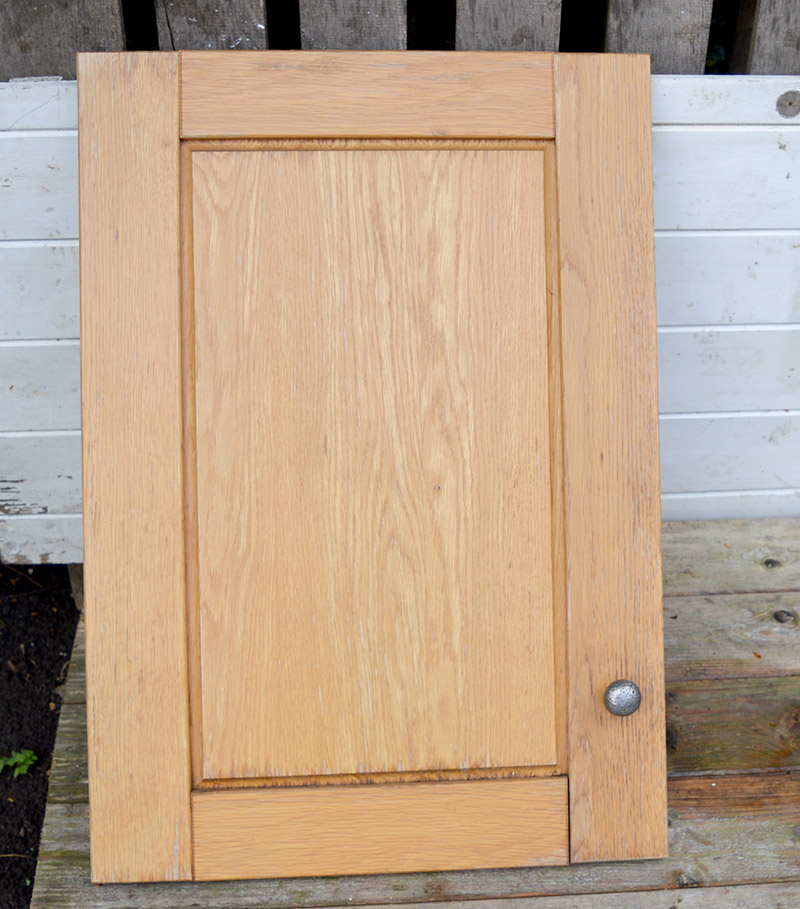
Step 1: First, you must prepare the base you will use for your wall planter. I used an old kitchen cupboard door rescued from a friend's skip (dumpster). The door was solid wood, the right size and had hinges, which I thought would be useful for hanging. To weatherproof the wood, I coated it all over with outdoor marine wood varnish.
Any other solid wood would work well as long as you prepare it for outside use by waterproofing it with a marine-type varnish.
Preparing The China Plates and Crockery
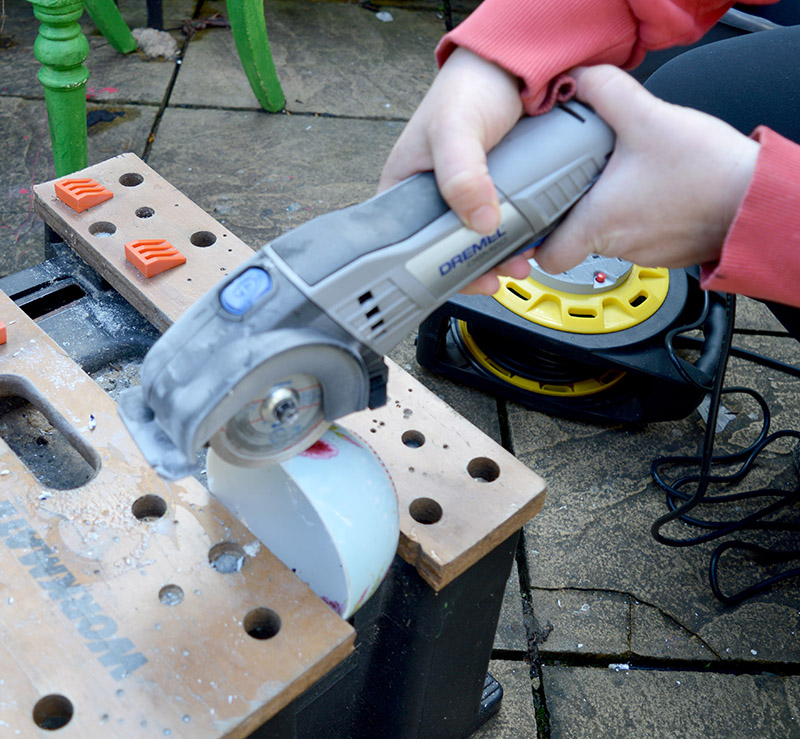
This is where the power tools come in handy. You need something that can be saw and drilled into tiles/porcelain.
Step 2: Next, use a specialist diamond-tip drill bit to drill a couple of holes in the bottom of each bowl and cup. However, if your planter is going to be out of the rain, you may be able to skip this bit.
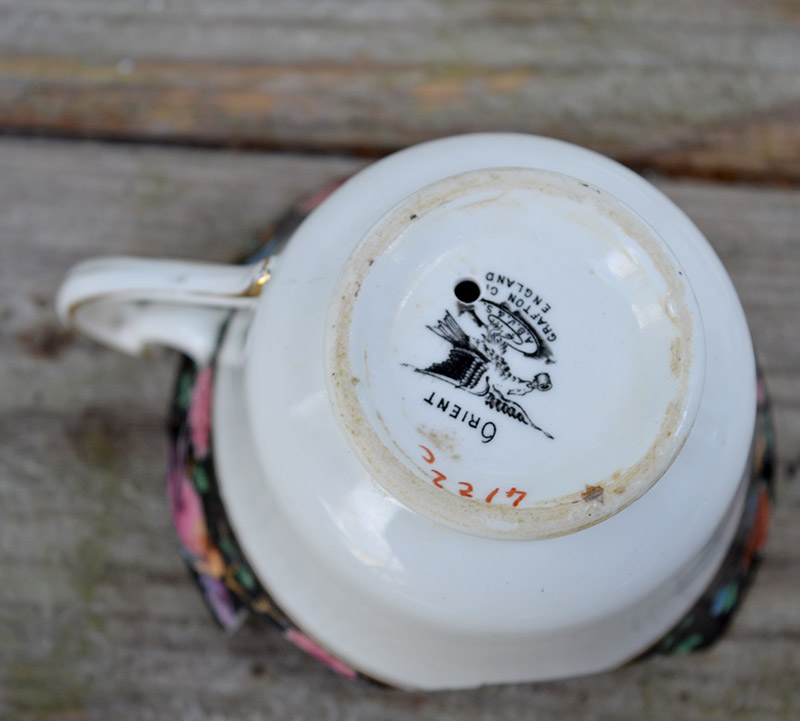
Step 3: Using a Dremel rotary
China will get hot as you cut it with the rotary tool, and it may even glow. It is handy to have a bottle of water to squirt onto the China as you work to cool it down.
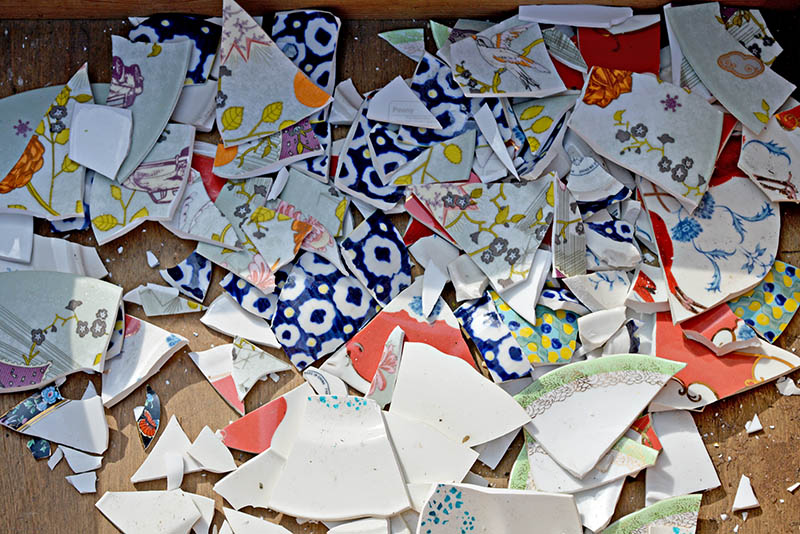
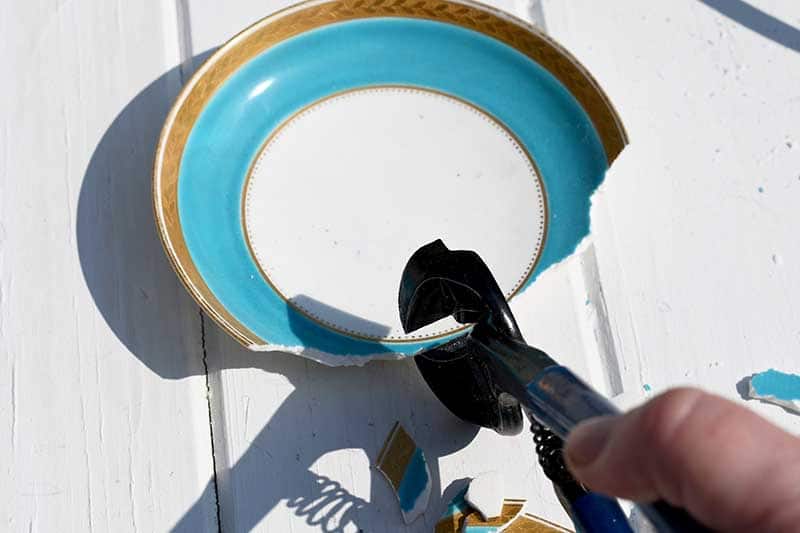
Step 4: Next, place the rest of the crockery in a box and smash it into smaller pieces with a hammer. If you want a piece of crockery in a particular shape and size, use the tile nippers.
Wrapping the crockery in an old towel before smashing it with a hammer will also stop small pieces from flying off.
Making The Broken Plate Mosaic
Step 5: This mosaic piece was spontaneously crafted without a specific design in mind. However, I arranged my bowls on the door and took a photograph to use as a reference. This helped me visualize their placement on the completed mosaic wall planter.
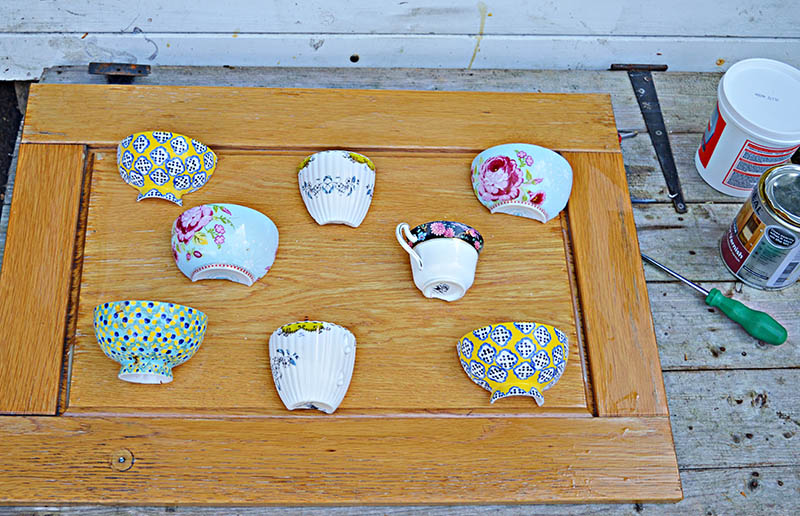
Step 6: This next stage is the fun part. Spread a layer of the ready-mixed adhesive and grout on the door to a thickness of about 3mm. Use the adhesive spreader to ensure that the grout is rippled; this helps when sticking the plates down. Using the photo as a reference, push the cups into the adhesive.
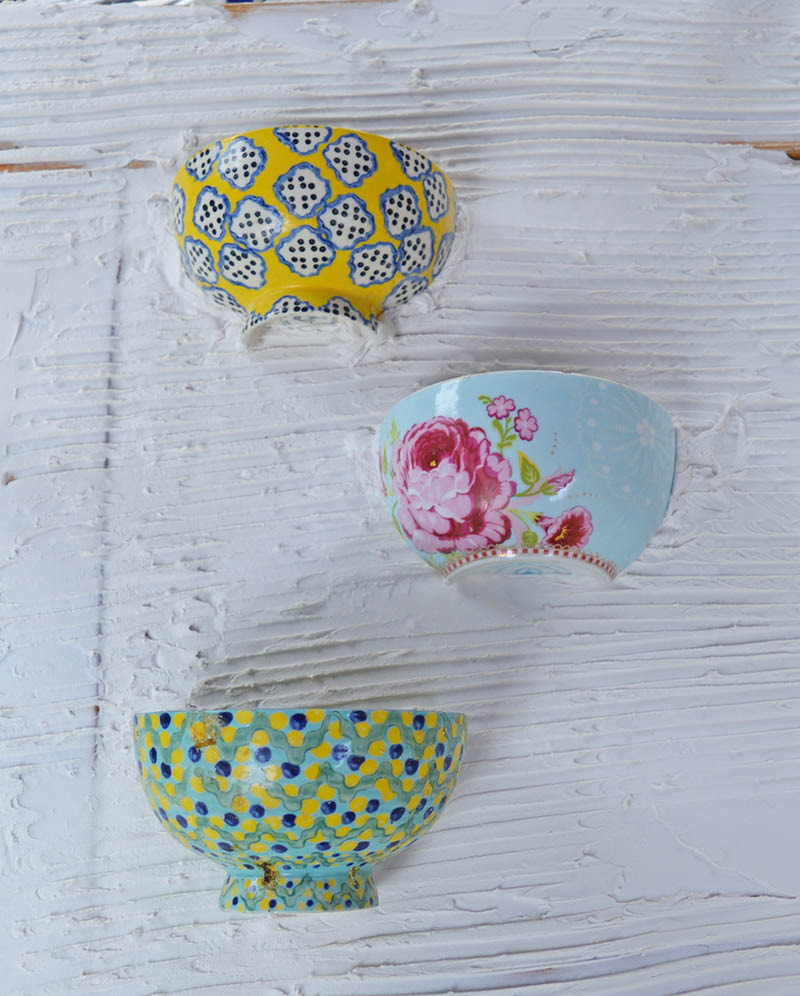
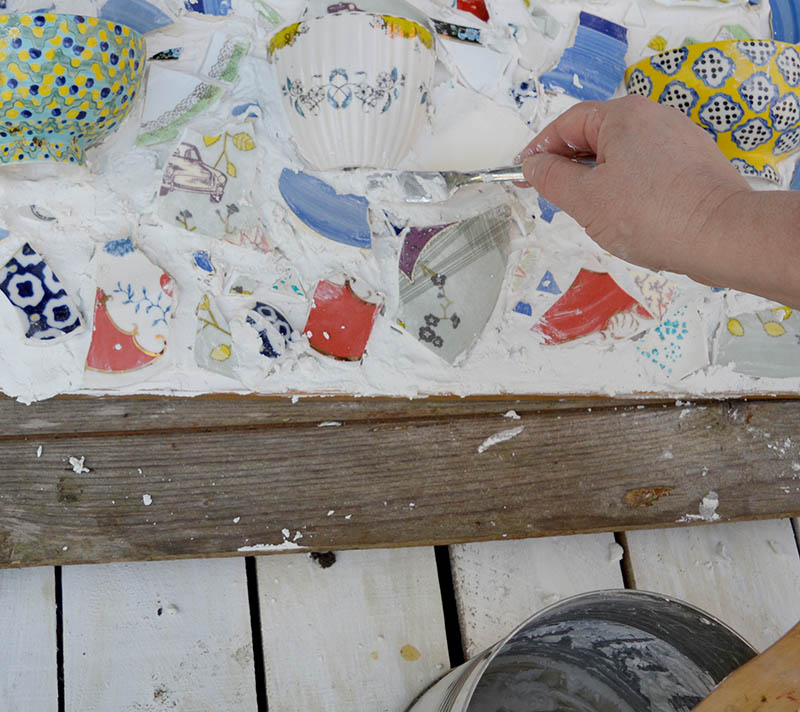
Step 7: Next, stick the broken pieces of crockery around the cups until the whole board is covered. Sometimes it helps to put some of the adhesive mixture onto the broken china and the board. You will need to work quickly as the adhesive will start to set (about 30mins).
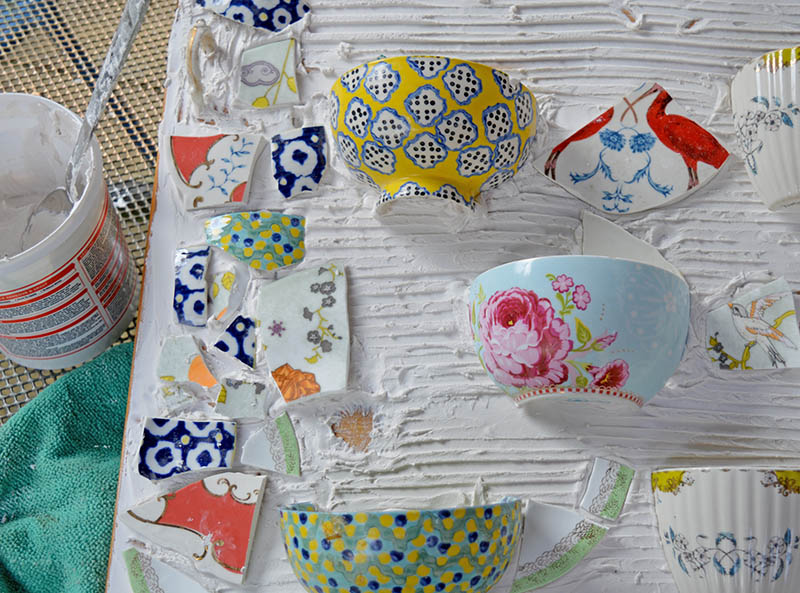
Step 8: Leave the covered mosaic board overnight to dry. Before picking up the board gentle wiggle each piece to ensure it has stuck down firmly. If not just apply some more adhesive to it.
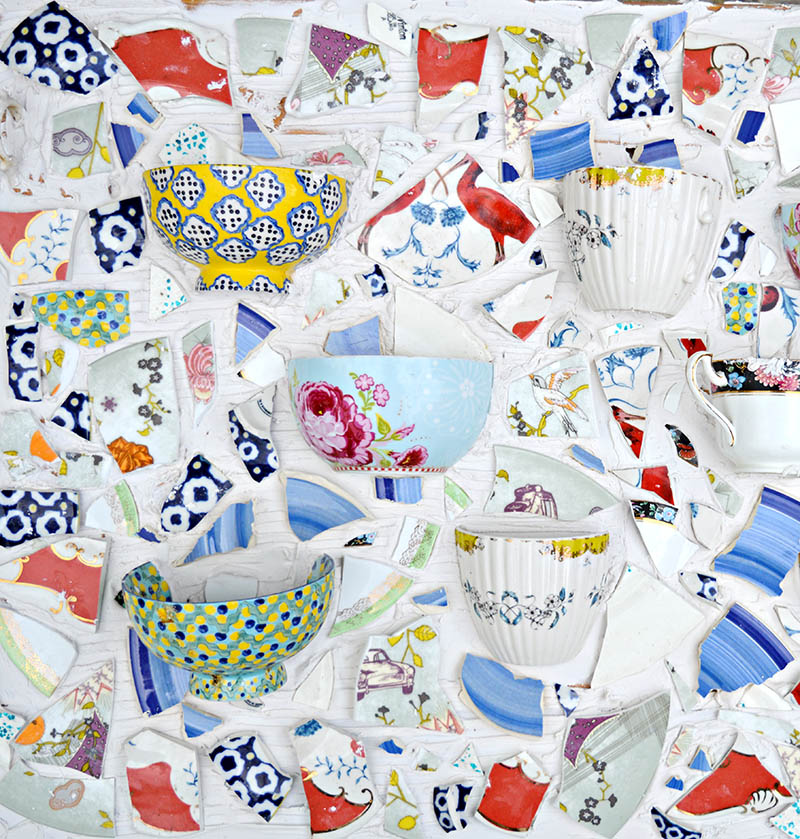
Step 9: Finally, you can leave the mosaic wall planter as is or smooth it out with more grout. However, remember that these are random pieces of ceramics of different thicknesses. Some bits are curved, so you will never get a flat finish like a tiled mosaic.
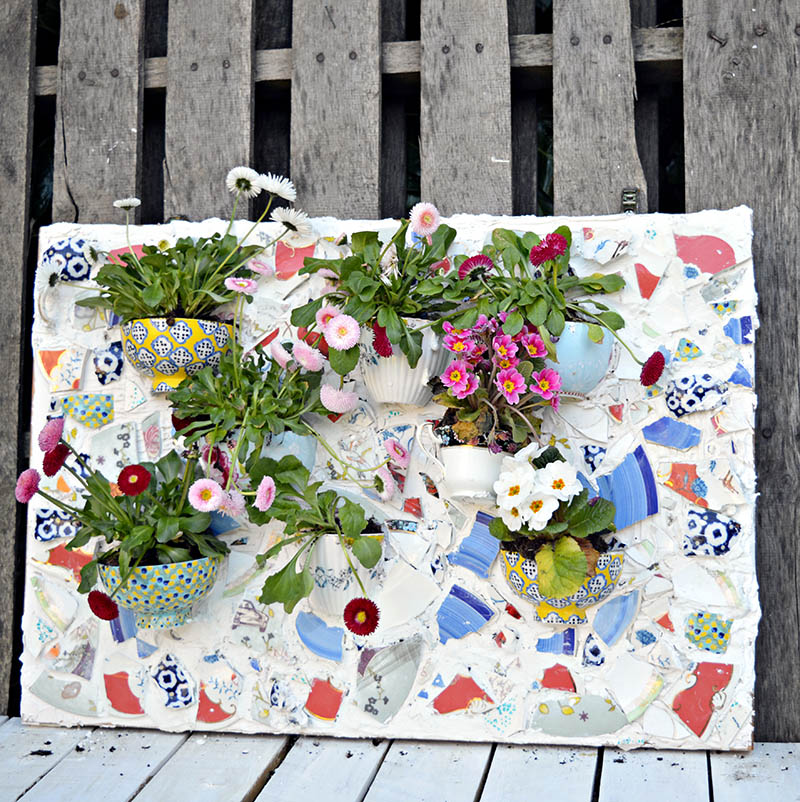
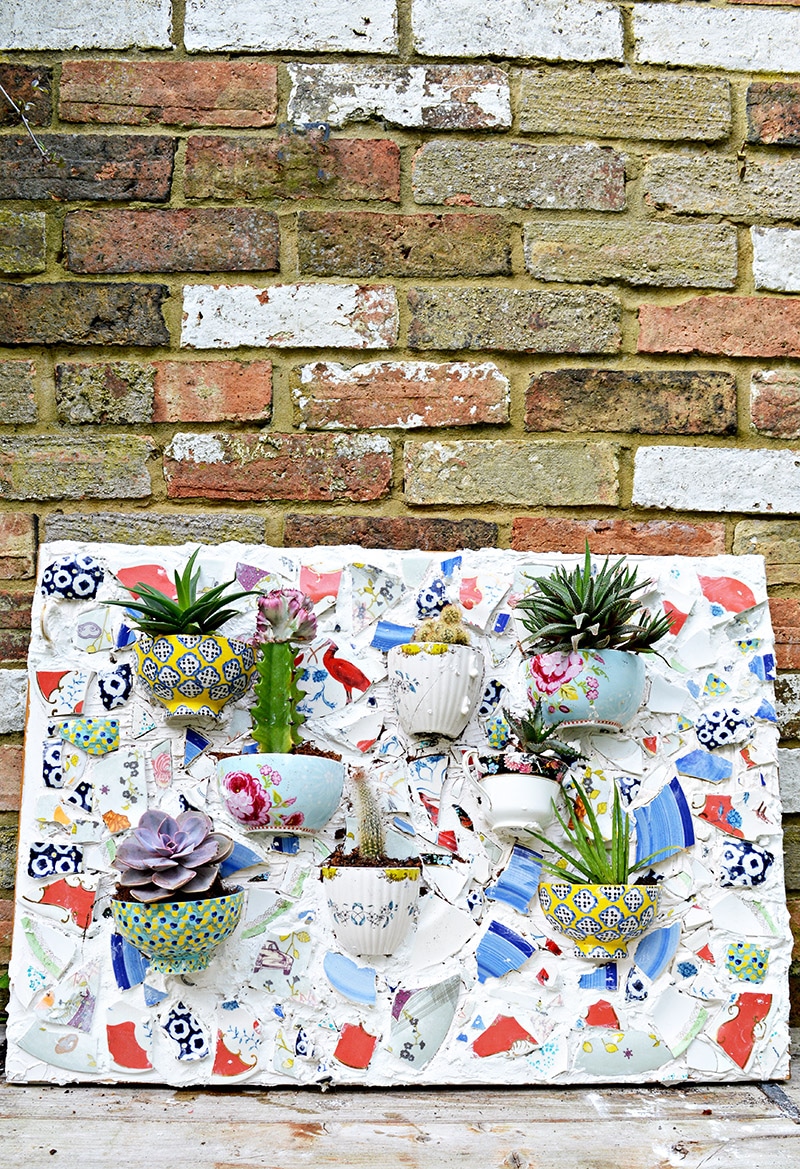
Once fully dried, the mosaic wall planter is ready for planting, either with pretty bedding plants and flowers or succulents and cacti.
You could even have it as a herb planter. In the right kitchen, it could look fantastic.
Other Related Ideas
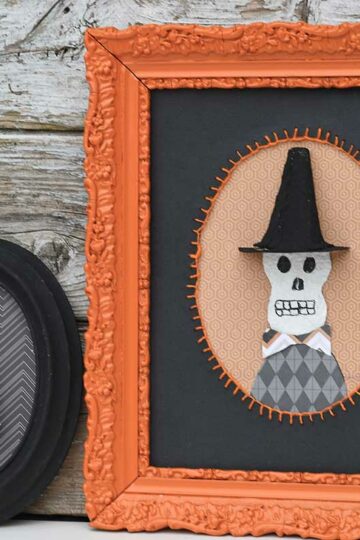
I made a small indoor version of the planter in a picture frame to use as a mosaic wall vase using a teacup and saucer. If you still have some teacups left over, check out these cool teacup crafts.
I love making planters, and here are a few of my other ideas.
- Beautiful Moroccan Planters
- Colourful tin can planters in pallet trough
- Upcycled window herb planter
- Gold crushed tin can DIY planters.
This China upcycle is featured under the letter C in the A to Z of upcycling projects and in the 50 best garden upcycles.
Check out these other adult summer crafts.
I just did a small mosaic planter for next month challenge. You take this to
The next level. Gorgeous!
Thank you Maria ?
Hi Claire! I have some practical questions...how did it hold up when watering the plants and the drainage holes? Does it stain below the cups? How did you hang it?
I've done a table top and a few pots but nothing this in-depth! So beautiful!
Hi Connie, I didn't hang it as I just rested it against my brick wall in the garden. But if I would hang it I would have just drilled some big screws into the wall and hung it from them. It has held up well and there has been no staining below the cups. I just use it for bedding plants at the beginning of the summer. It stays in the garden empty over the winter.
Great idea for using broken dishes and it looks amazing! Love it!
Thank you so much, Linda.
Have you thought about using a darker colored grout? Black grout would really make your ceramic dishes colors POP! A great idea though! I saw one recently for your house numbers in the HGTV magazine. Retail...$215! And no fun but clicking a mouse button! Now, I have 2 great outdoor gardening mosaic projects to try! Thanks!
Thank you, I like the idea of house numbers with a darker coloured grout. I'll have to take a look at that.
Thank you for very informative detailed instructions. I keep searching and reading blogs trying to take the leap into mosaic design. Thank you!
Thank you, stencilling mosaics are a good start.