Inside: A moth and butterfly craft to make paper moths and butterflies with old maps. It includes three different moth wing templates to download for free.
My two favourite materials to upcycle are old jeans and road maps. Last year I made fun faux moths out of denim scraps; this time, I made some fun paper moth and butterfly art using old road maps.
Many of the decorations around my home are reflections of nature. I love the old specimen display cases of butterflies and moths in museums. I wanted to recreate that in my house. It’s cruel and no longer environmentally sound to use natural insect specimens. That is why I create these fun faux alternatives.
Why Map Paper Moths
Despite being constantly handled, folded, and unfolded, many old road maps will last for years. It’s because of the paper they were printed on; this paper is often a kind of linen/cloth paper. The paper’s quality is why old maps are great for crafting.
The maps also add extra interest to a craft and upcycle, especially if you use a map of somewhere particular. By using maps of the right places, you can turn something mundane into something to be treasured. For example, when making personalized map key rings or a map heart ornament.
The patterns on road maps are also exciting and can make interesting map artwork. I thought that they would be perfect for creating a display of faux paper moths. The vintage road maps helped give the map moths a vintage theme.
It’s Fun & Easy To Stitch On Paper
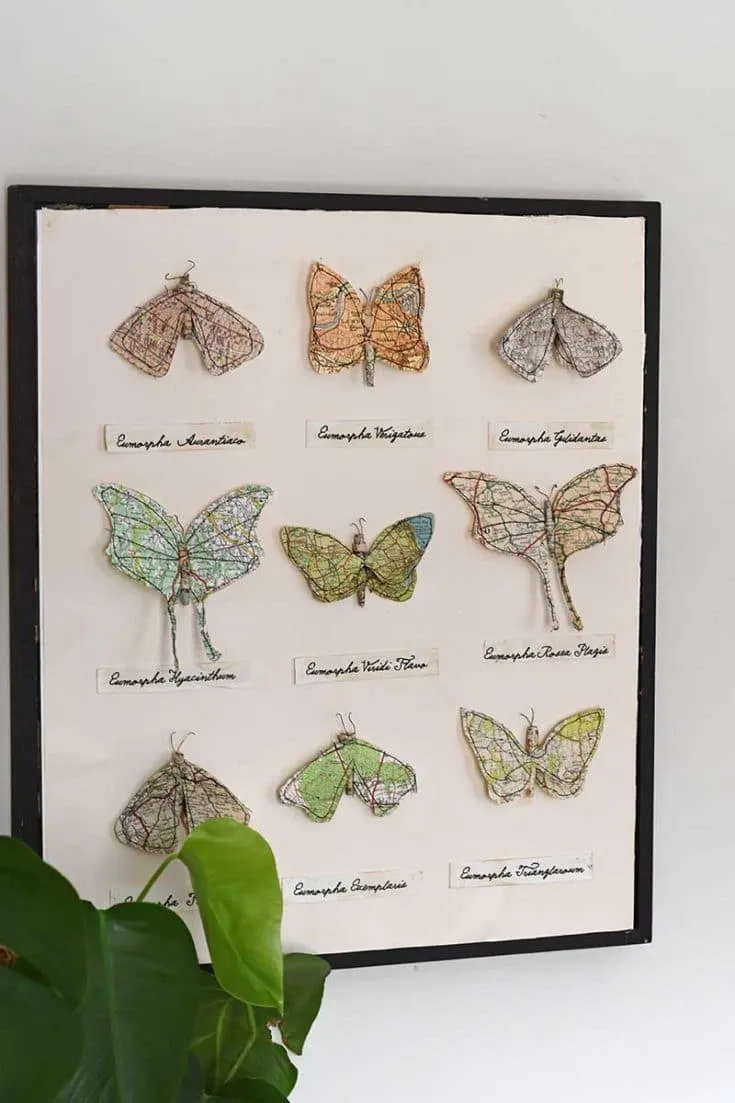
Like with the denim moths, I wanted to create a display of a variety of moths. To achieve this, not only did I use different types of old road maps, but I also designed three different types of paper moths.
Also, I stitched the paper on the sewing machine to add another dimension to the paper moths. The stitches were used to outline the wing shapes and on the larger winged moth to add veins.
Stitching paper on a sewing machine is surprisingly easy and fun. There are some sewing-on-paper tips here.
If you don’t have a sewing machine, skip the stitched paper stage when making the faux moths.
We’re a participant in the Amazon Services LLC Associates Program, an affiliate advertising program designed to provide a means for us to earn fees by linking to Amazon.com and affiliated sites. As an Amazon Associate, I earn from qualifying purchases.
What You Need
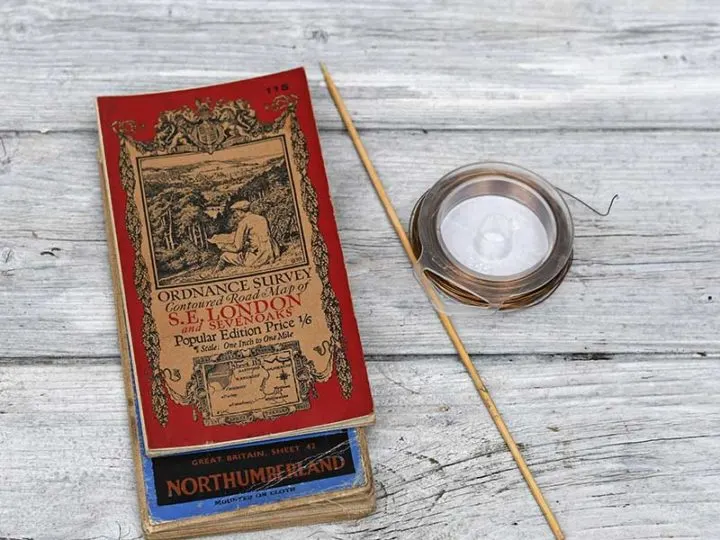
- Old road maps – I’m always picking up road maps from thrift/charity stores; they are often very cheap. I find using road maps cheaper than buying craft paper. My relatives and friends know I love to craft and upcycle old road maps, so they pass on theirs whenever they have a clear-out.
- Wooden skewer
- Craft wire
- Craft glue
- specimen mounting pins
- Sewing machine and thread
- Ruler and scissors
How To Make Paper Moths
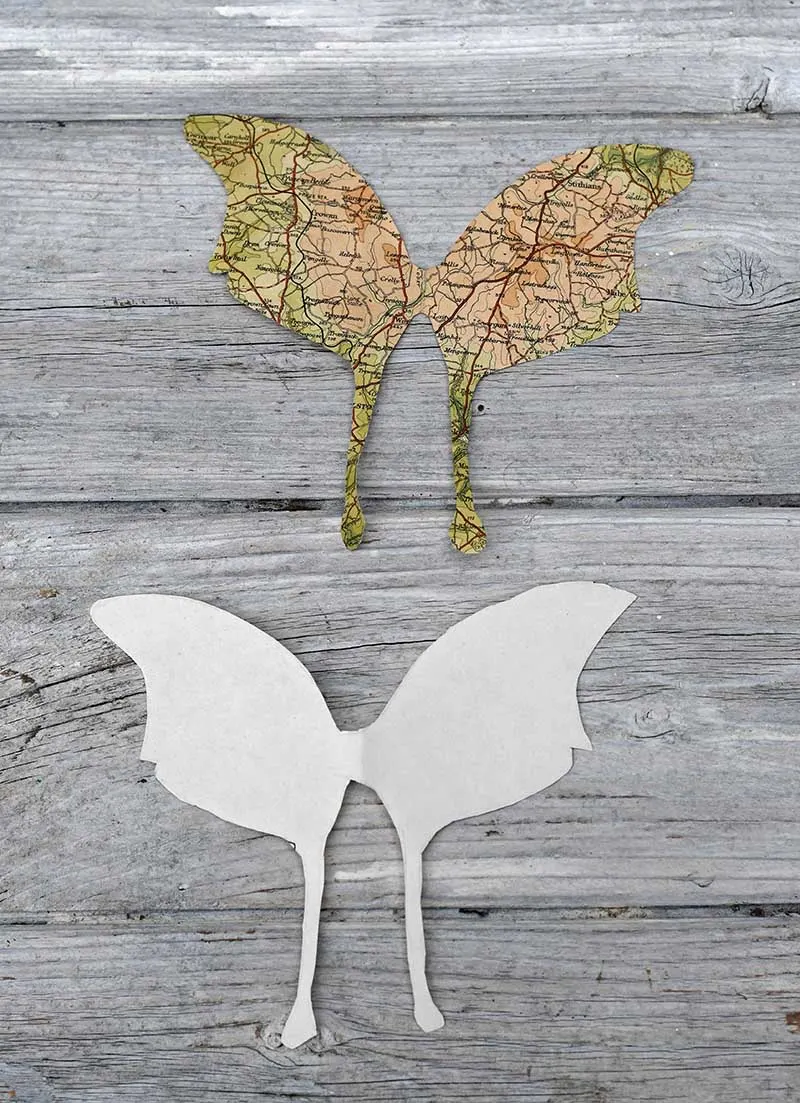
Step 1: First, decide what type of paper moth to make. There are three different designs; you can download the wing templates here. Two moth designs have double wings; the larger moth has just one set of wings.
The Free Moth Wing Templates
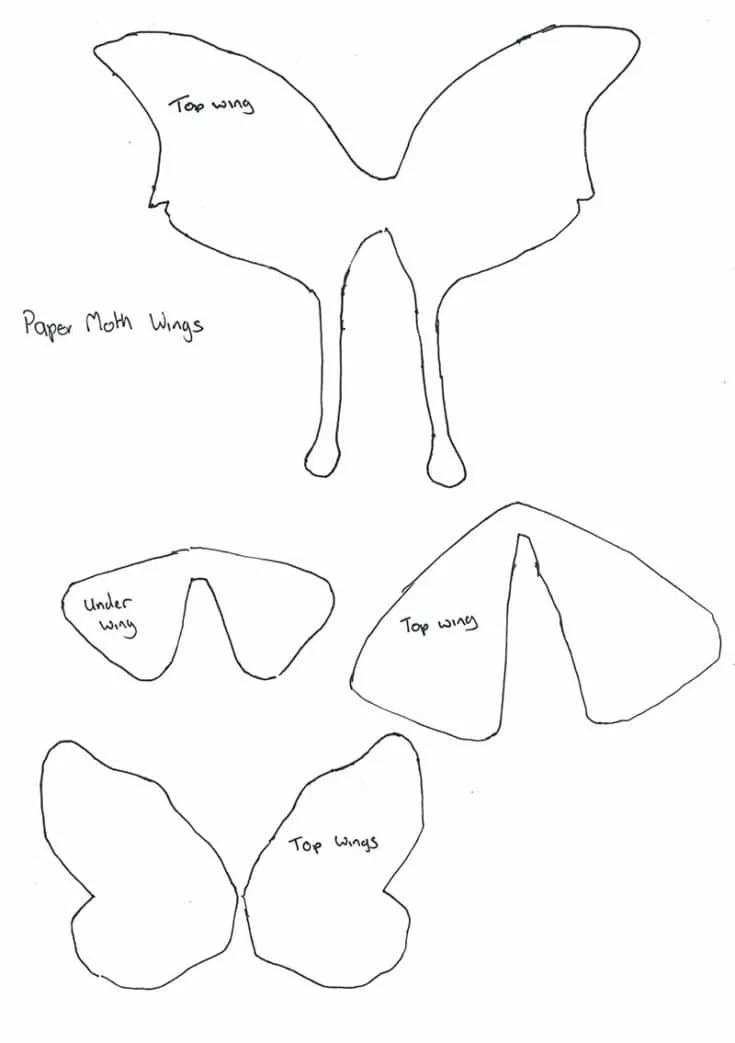
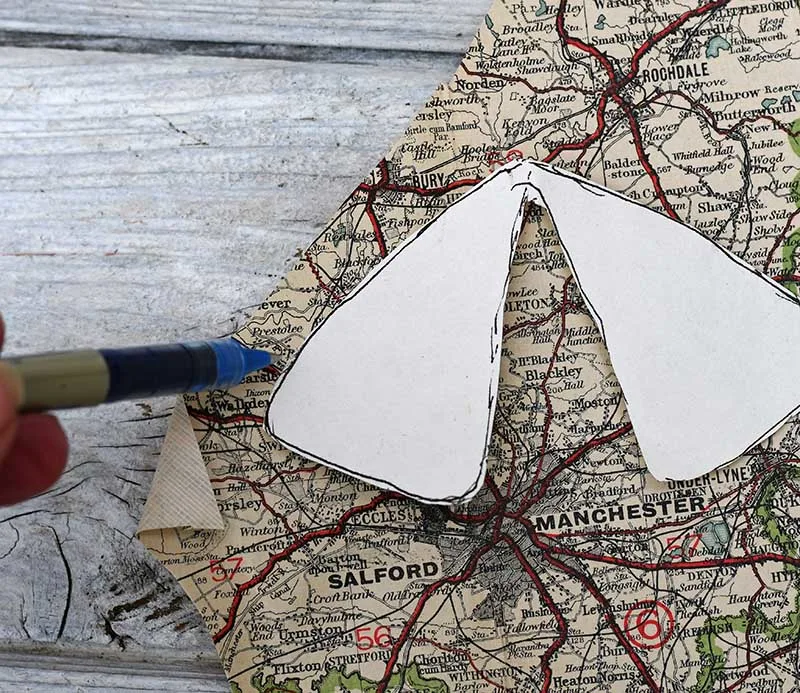
Step 2. Next, draw around the wing template on the road map and cut them out. You might want to place the template over a location that is special to you on the map. This will give this craft even more meaning and sentimental value.
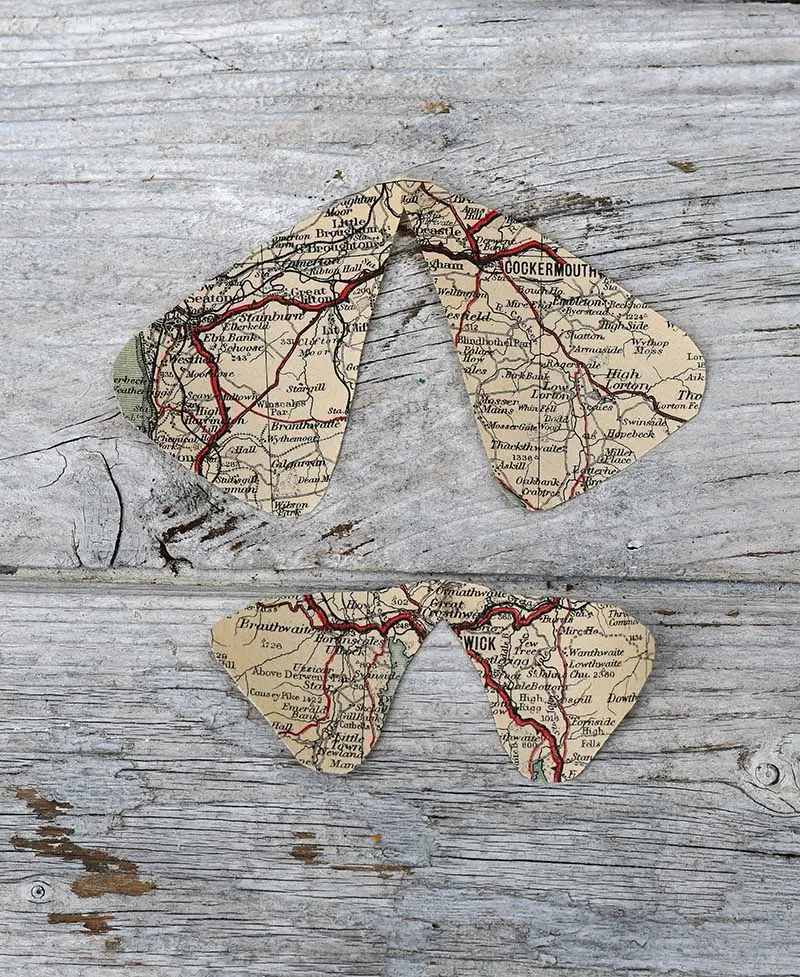
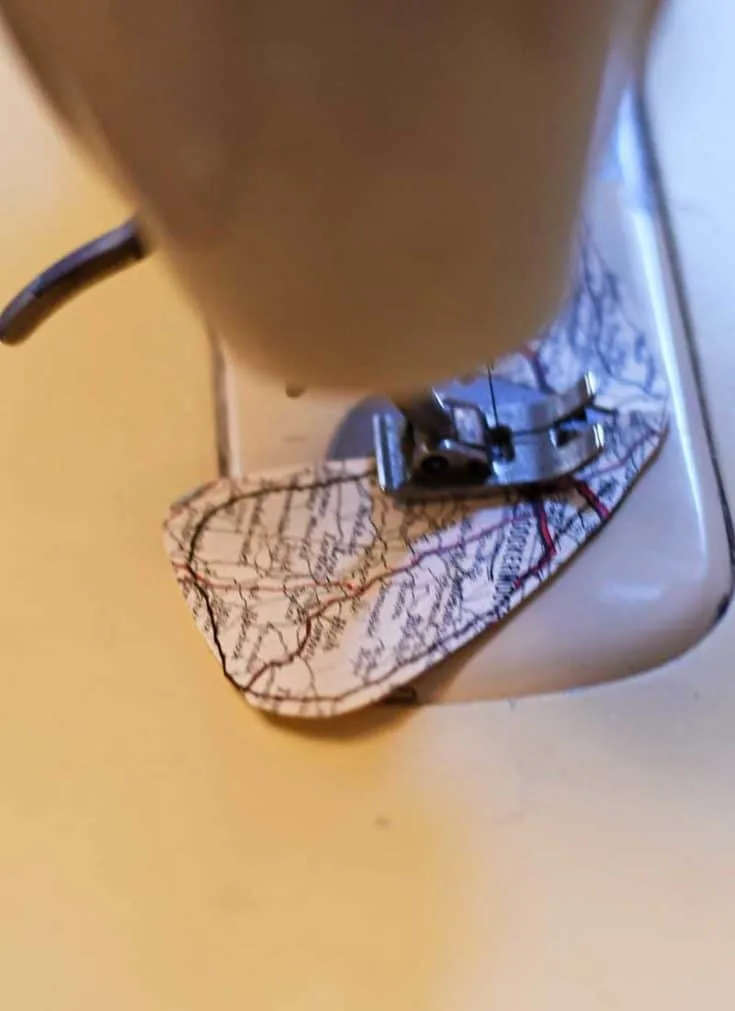
Step 3: Next, stitch the moth wings on the sewing machine. For the smaller wing, I just stitched an outline around the edge of the map wing. With the large moth wing, I also sewed some veins into the body of the wings.
If you don’t have a sewing machine, you can miss out on this stage; it is purely decorative. With the right paper, you can hand stitch as I did with my embroidered paper dictionary art.
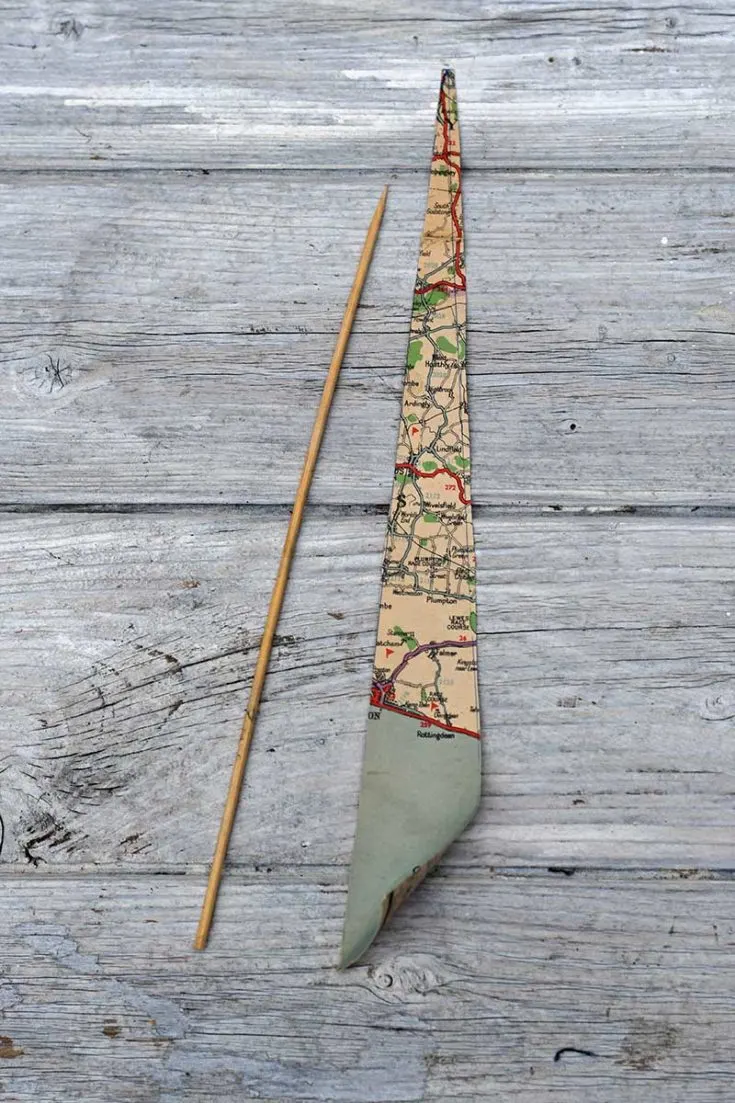
Step 4: Next, make the body of the moths. The body is made the same way you would make a paper bead. First, cut a long triangle-shaped strip of the map. The strip should be about 4cm wide at the base and 30cm long.
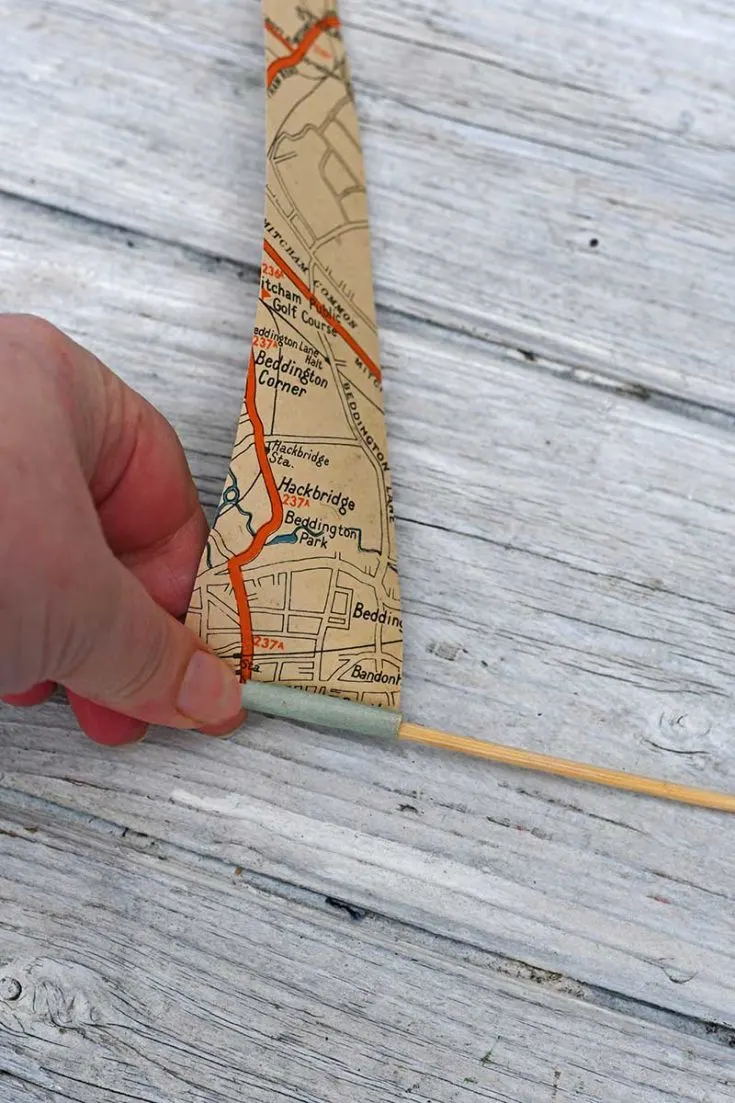
Start by wrapping the wide end of the map strip around the wooden skewer. Then continue covering the rest of the strip around the skewer and secure it with glue.
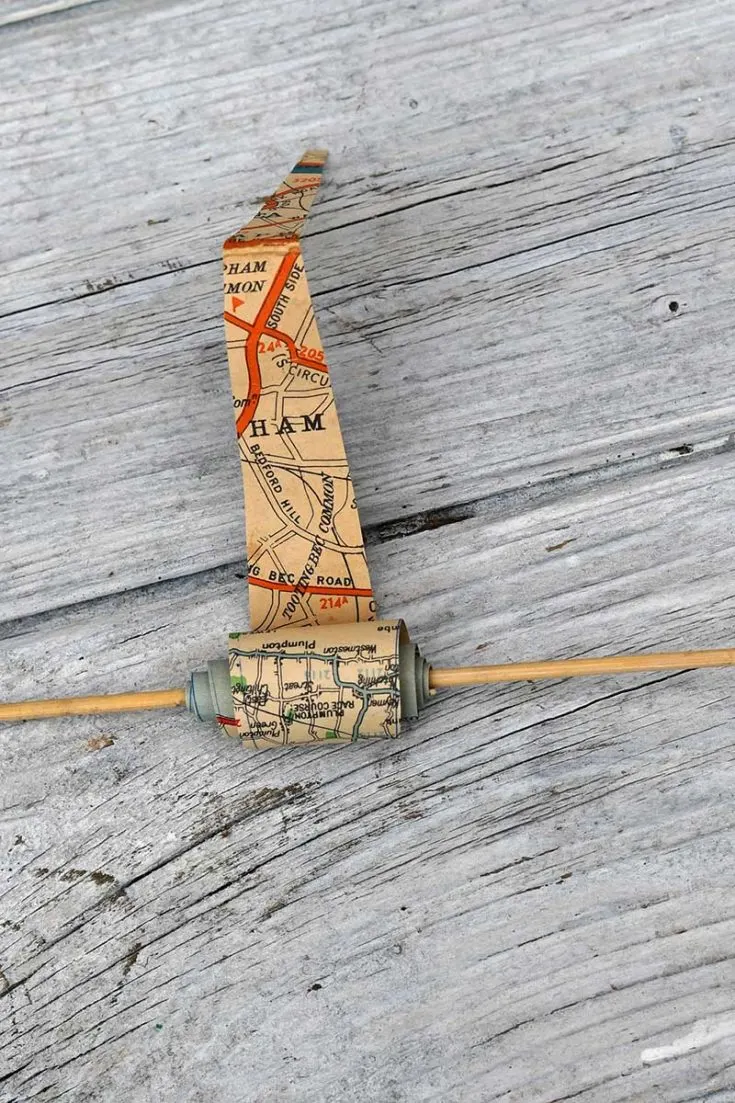
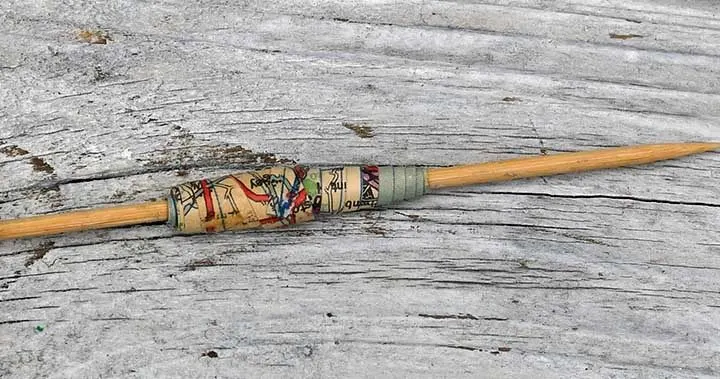
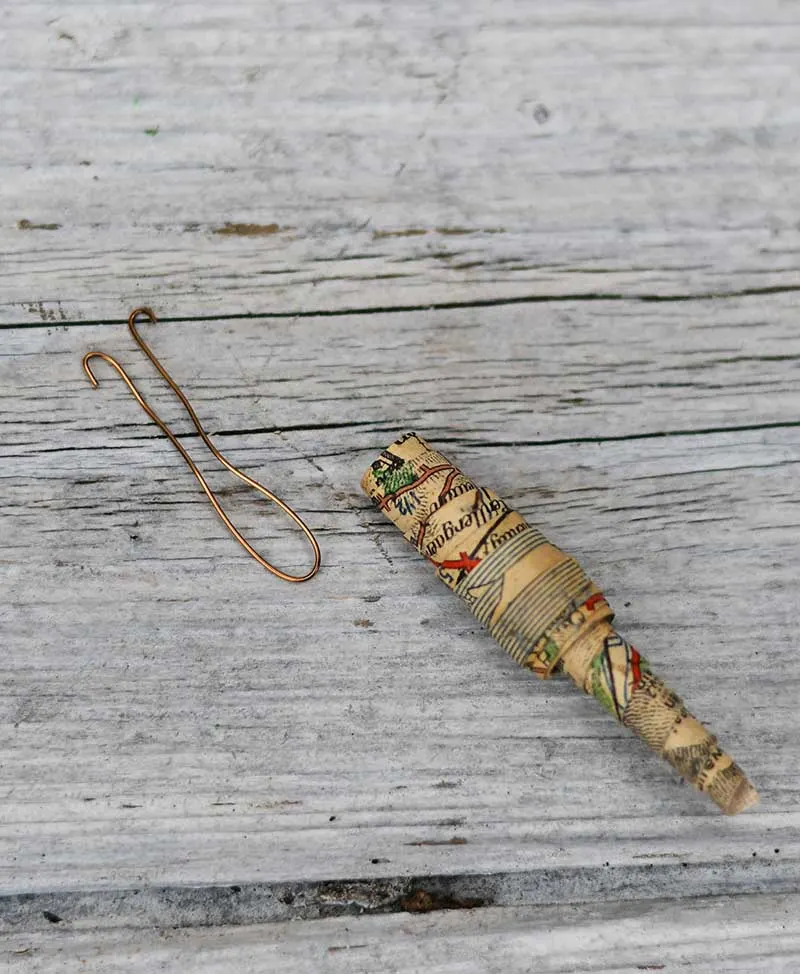
Step 5: Once the map bead (moth body) has dried, remove it from the wooden skewer. Then make some moth feelers by cutting a small length of craft wire, folding it in half, and placing it inside the map bead.
Step 6: Finally, glue the map paper moth wings to the map body. With the two wing moths, I glued the underwings first, followed by the top wings. You might want to use a peg to keep the wings in place whilst the glue dries.
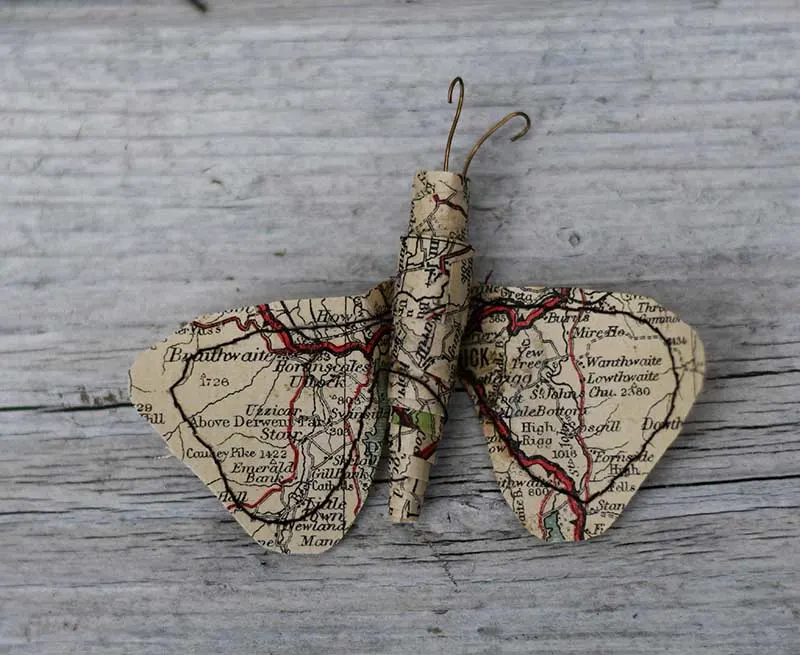
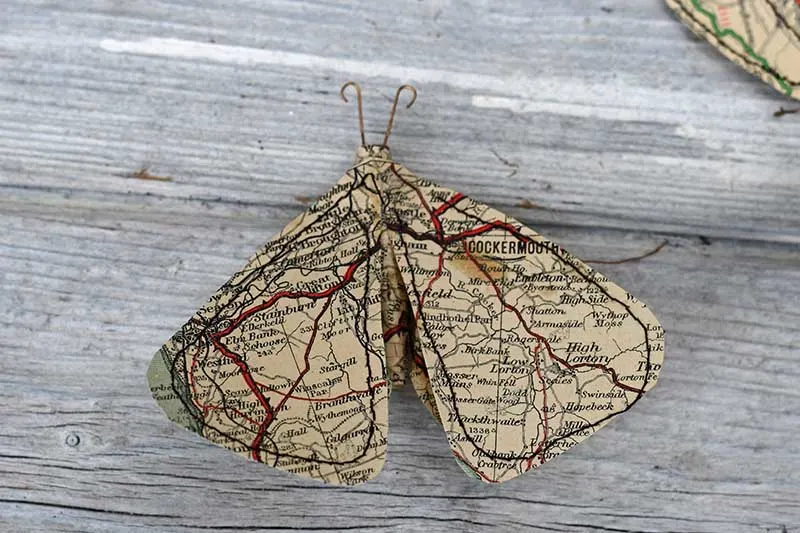
This moth craft used old road maps, but other vintage papers would look good, like old book pages and patterned paper. Another fun option is to make these faux moths with hand-painted watercolour paper.
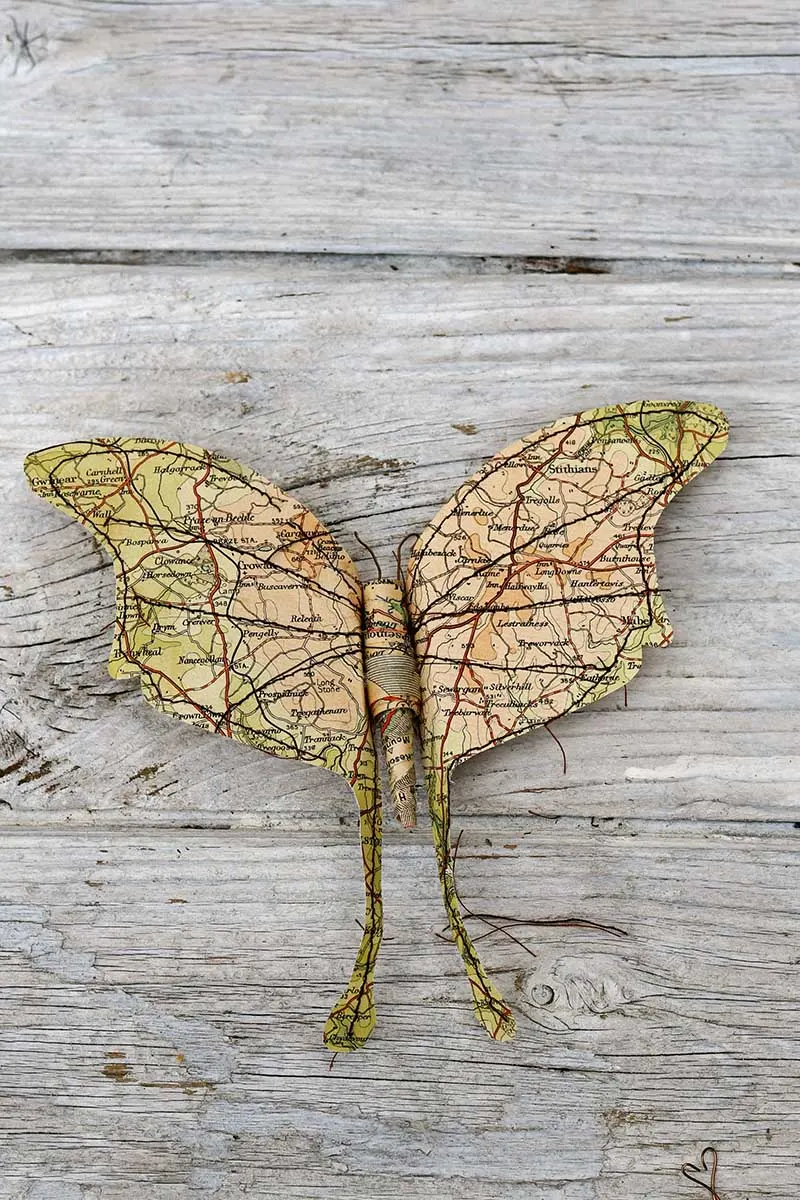
How To Display Moth Crafts
I enjoyed making these paper moths and made a variety of them in the three designs using different road maps.
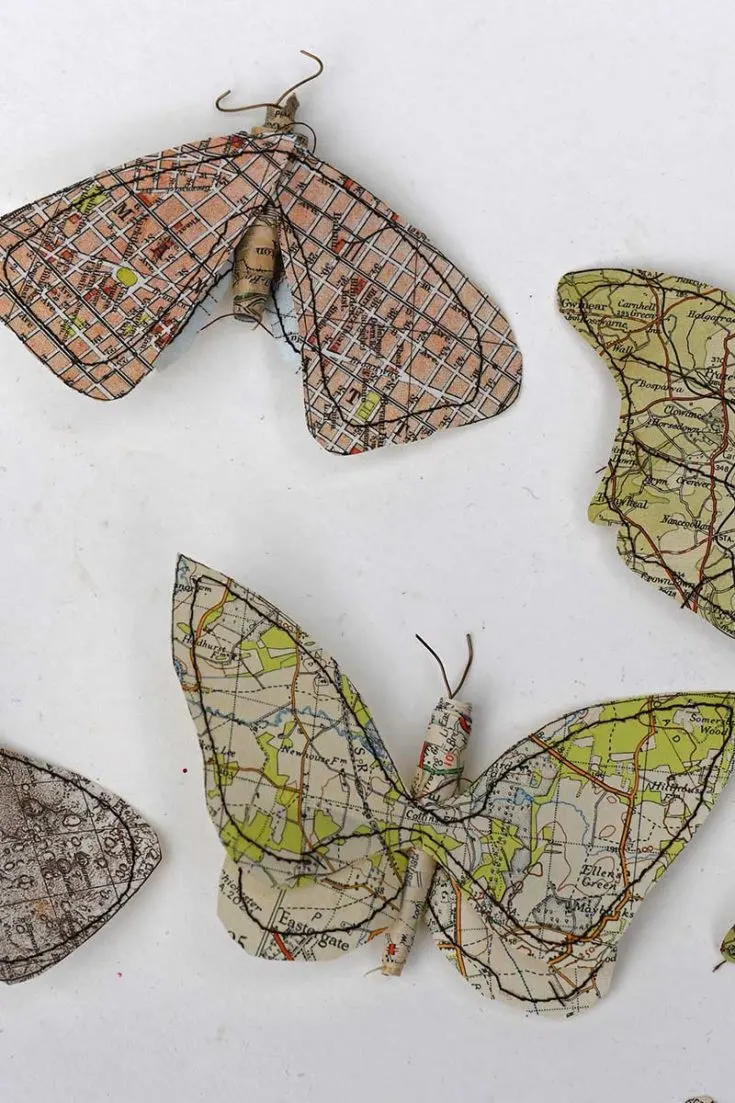
I displayed some of them the same way I did my denim moths, using a foam-backed frame and insect specimen pins. Then I gave the moths false Latin names to add to the fun. You can download these for free on my denim moth post.
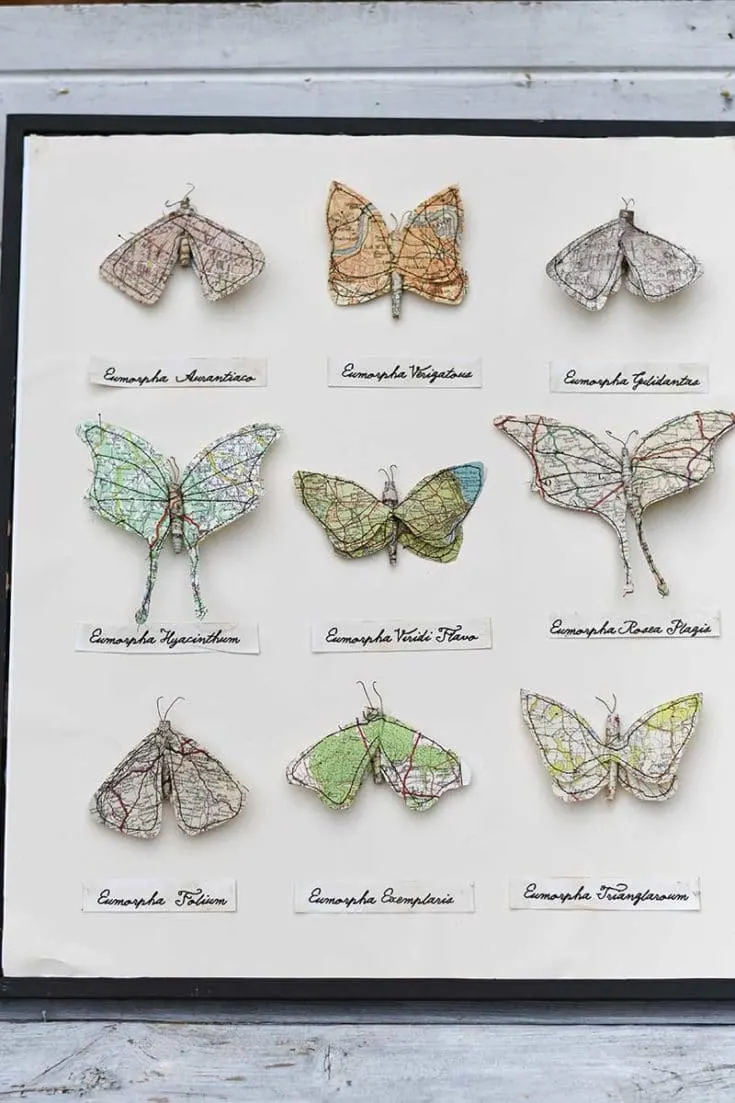
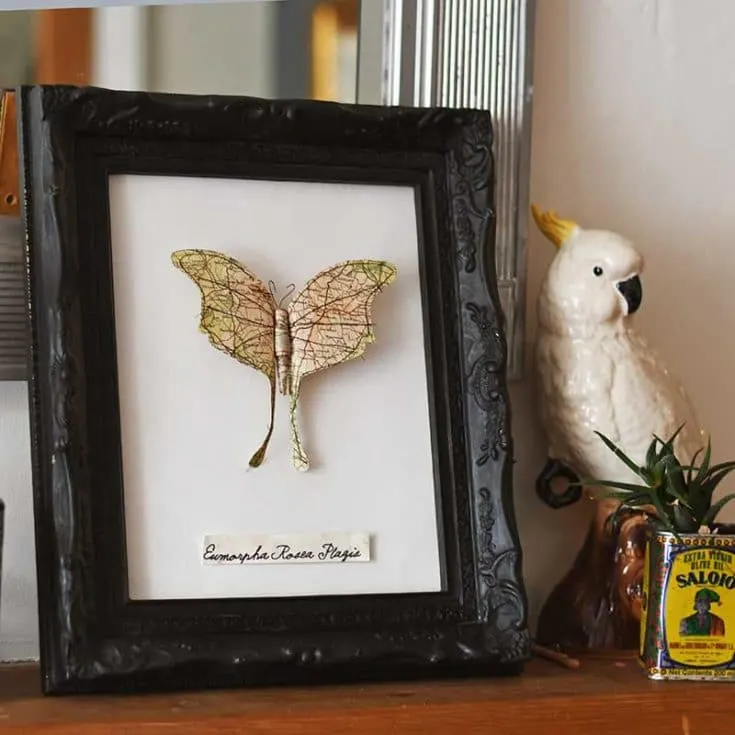
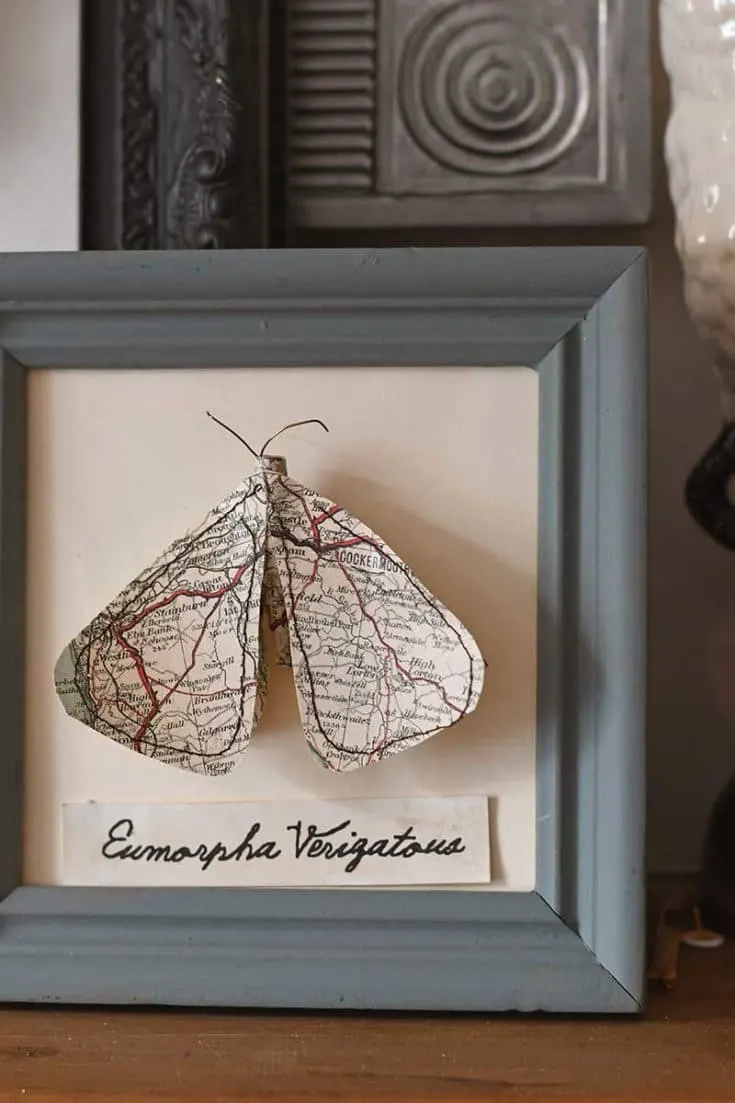
Another alternative to the shadow box idea is to frame these faux moths in individual frames. A map moth of somewhere special in a frame would make a lovely personalized gift, just like these framed map seashells.
If you like these upcycled map moths, you should check out my collection of repurposed map crafts and DIYs. This includes other stitched map crafts, such as the map heart treat bags. Check out these map mason jars too.
There are more adult butterfly craft ideas here and you’ll find a paper moth corner bookmark DIY here.
If you don’t have any road maps, you can download and use some great vintage maps for crafting here. Also, if you want some authentic vintage images of moths and butterflies, you’ll find them on Pictureboxblue.
Another excellent use for old road maps is to make this easy personalized map art.

Teri
Tuesday 4th of October 2022
These are gorgeous! I can’t wait to make them with my tweens!!! Thank you!
Claire Armstrong
Wednesday 5th of October 2022
Thank you, they are fun to make and a fun decoration too. I have quite a few dotted around my house.
Angela
Sunday 25th of April 2021
I love these. Your creativity is amazing!
I did enjoy insect collecting as a kid. But this is even better!
I was thinking about how I could use all those individual maps of each park from a trip to Disneyland a few years ago.
Claire Armstrong
Sunday 25th of April 2021
Thank you so much, I love the idea of using Disneyland maps.
Kerryanne
Friday 23rd of April 2021
These are so unique Claire and I'm thinking of all the ways I could use them! Thank you for sharing your map paper moths DIY at Create, Bake, grow & Gather this week. I'm delighted to be featuring them at the party tonight and pinning too. Hugs, Kerryanne
Claire Armstrong
Saturday 24th of April 2021
Thank you so much and I look forward to seeing the feature.
Beverly
Thursday 22nd of April 2021
What a clever idea. Love it. Congratulations, you are being featured at Thursday Favorite Things. I hope you stop by. https://www.eclecticredbarn.com/2021/04/thursday-favorite-things-party_22.html Hugs, Bev
Claire Armstrong
Saturday 24th of April 2021
That's awesome, thank you so much.
LydiaF
Wednesday 21st of April 2021
Oooh how lovely are these? I'm not sure if I like the collection or the individually framed moths better, but either way, they're very attractive! Thanks for sharing with us at Creatively Crafty #ccbg :)
Claire Armstrong
Thursday 22nd of April 2021
Thank you, Lydia. I can’t decide between the two either!