I love old maps and love to decorate with them. Recently I made some
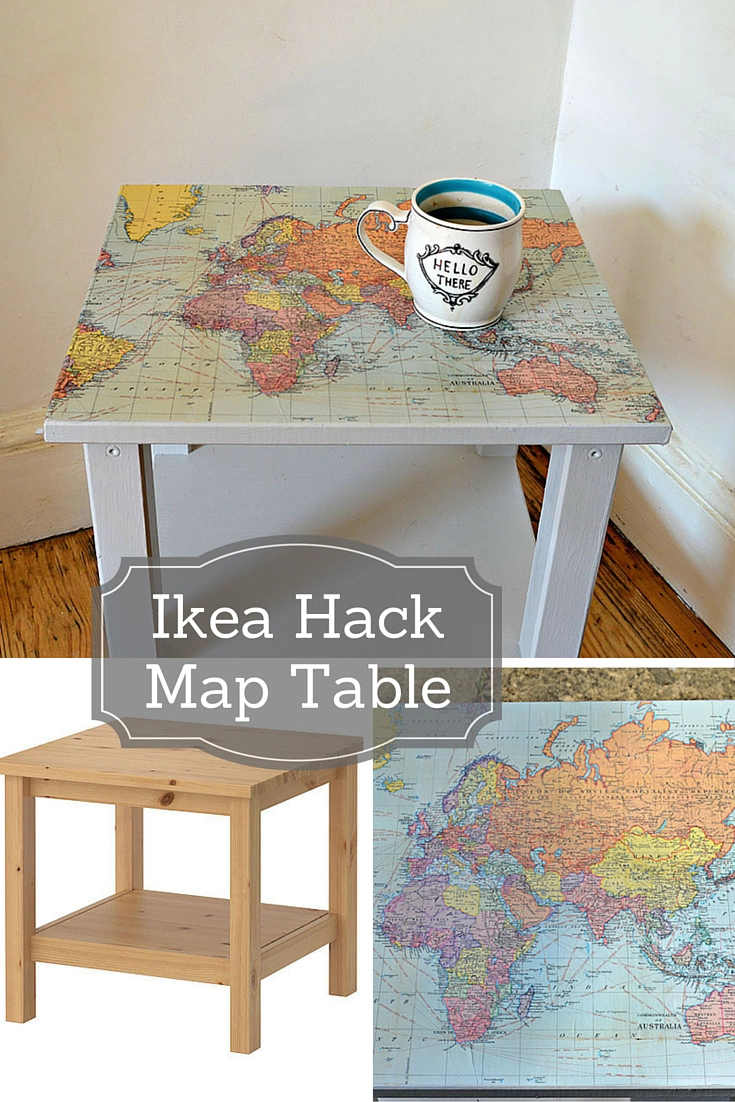
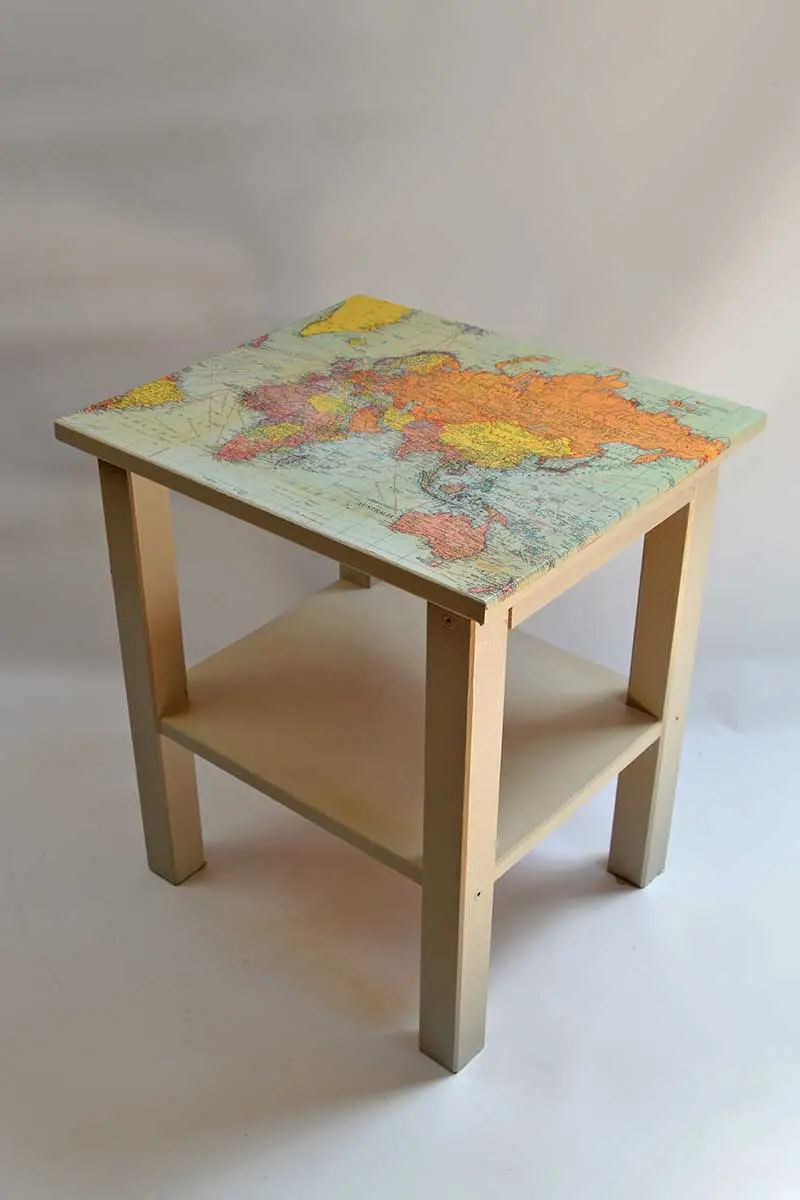
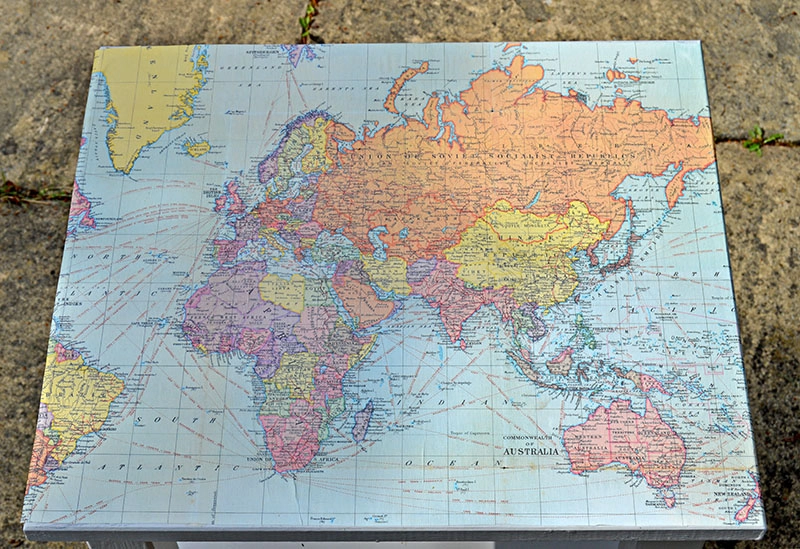
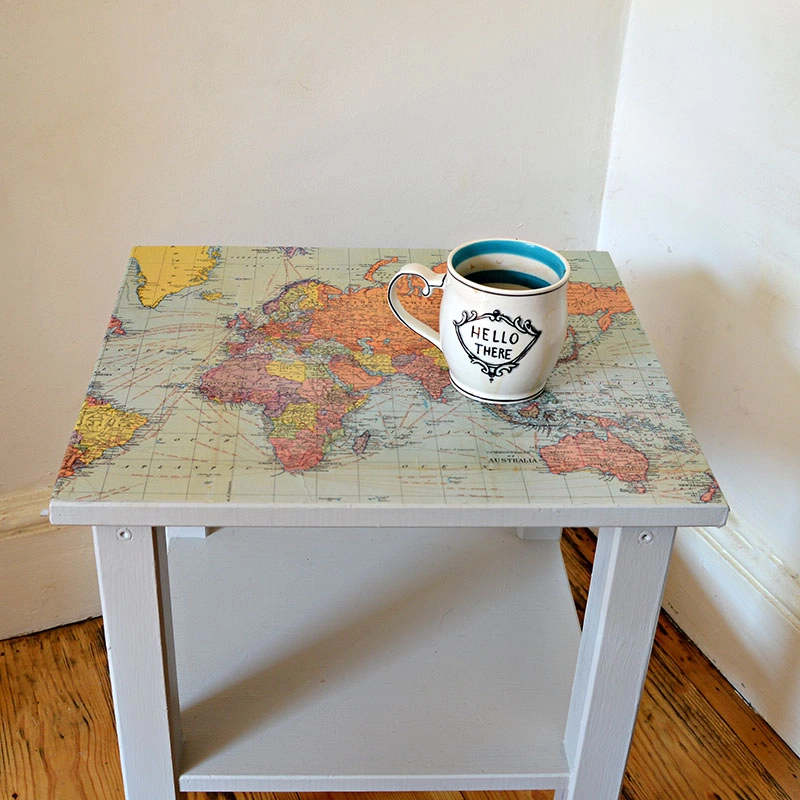
The vintage world map transformed a generic and rather dull old IKEA side table into something rather more interesting to look at. As a family, we love to travel and have a bit of a wanderlust theme for our decor.
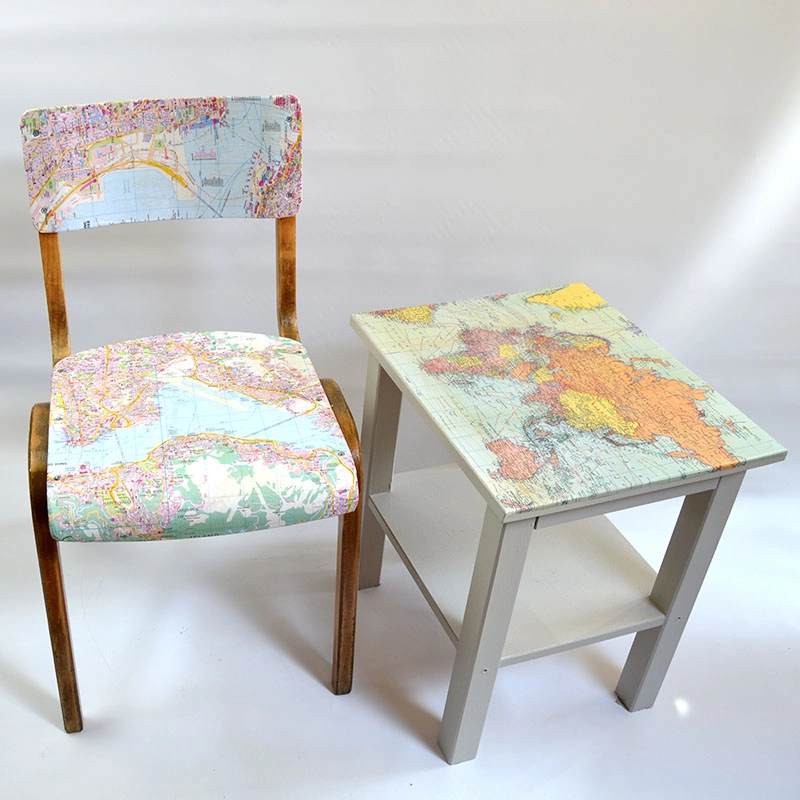
I work on a world map desk and have printed personalized map pillows on my sofa. Also, as I sit here writing this post, I’m currently sitting on one of the map chairs I make (the Norway one, to be more precise).
Every time I visit a flea market, I look for vintage maps and have quite a collection.
A map is one of my favourite souvenirs when I visit somewhere new. I use old maps if I can find them, but I like tourist maps too and even use them in my upcycles, like with my map table mats.
A Simple but effective IKEA Hack – Map Table
This was a straightforward and affordable map table hack as I used world map gift wrap for the tabletop. The world map gift wrap I used is readily available in many bookstores and gift shops worldwide and online.
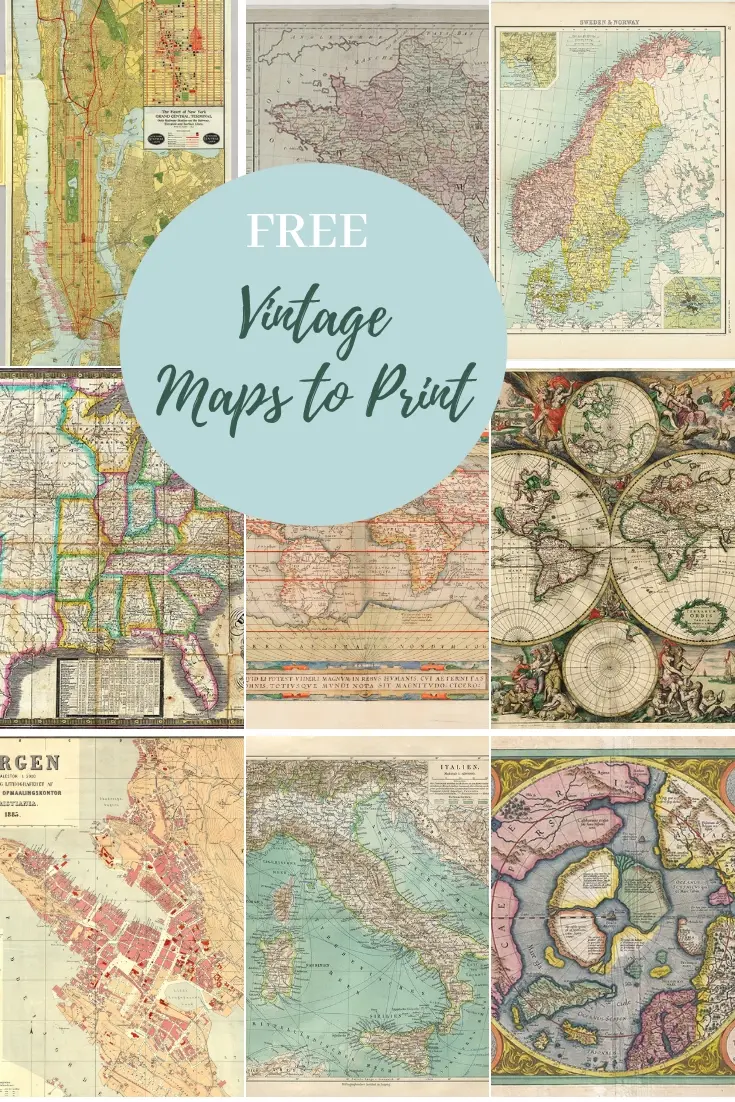
However, if you can’t find the exact gift wrap or want a different old world map, you can find them here.
This is one of my many IKEA map hacks; I’ve also made a denim world map floor cushion from an IKEA Ursula cushion cover. I’ve also done an IKEA clock hack with maps.
We’re a participant in the Amazon Services LLC Associates Program, an affiliate advertising program designed to provide a means for us to earn fees by linking to Amazon.com and affiliated sites. As an Amazon Associate, I earn from qualifying purchases.
What You Need To Make a Map Table
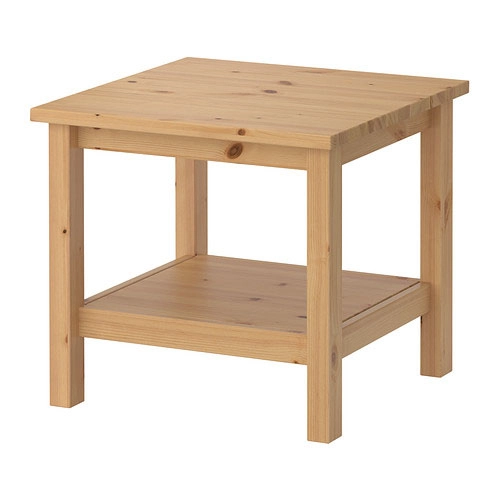
Old Table – the table used here was an IKEA Hemnes table. But any small side table would do. Such as the IKEA Lack table, or you might have one already in your home that you want to transform.
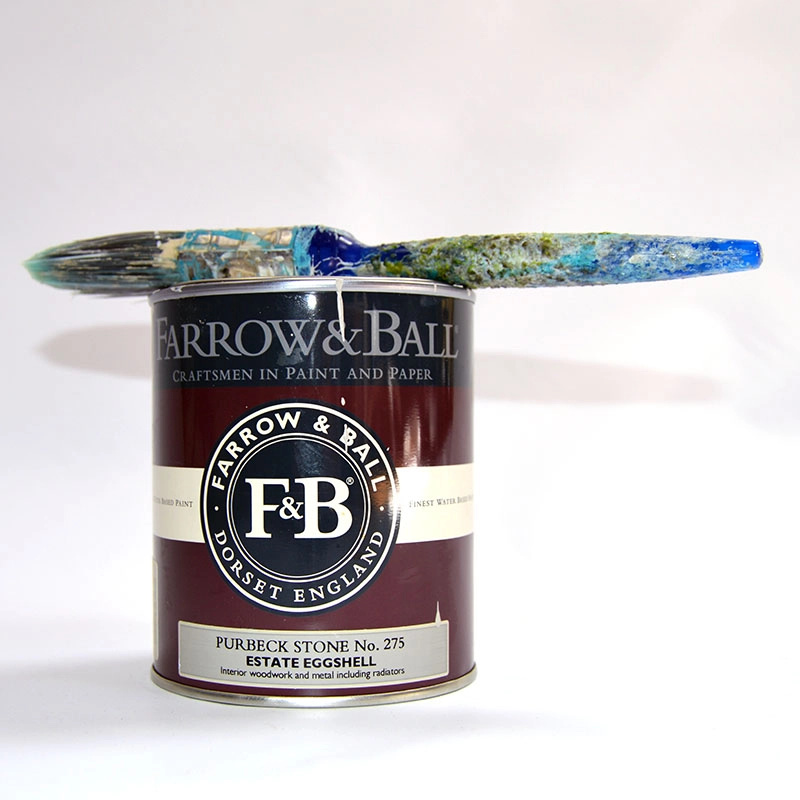
- Grey chalk paint – If you use chalk paint, minimal woodwork preparation is needed. I also felt that the paint colour complemented the map I used.
- Cavallini World Map Giftwrap
- Paintbrushes
- Mod Podge
- Acrylic varnish
- Craft knife
How to Make a Map Table
Step 1: The first thing you need to do is to clean and paint the side table in the desired colour. If you use chalk paint, there is no need to sand and prep the table first.
Step 2: Next, carefully measure the top of the table. Then, roll out your Map and cut out the section you need using these measurements. If you use a downloaded map, you can print
Step 3: When the paint is thoroughly dried. Cover the tabletop with a layer of Mod Podge glue. Then, leave it to dry slightly for about 1-2 minutes so that it feels tacky to the touch.
Step 4: Carefully place the cut-out map on the glue-covered table. Then, gently squeeze out any air bubbles using a ruler or credit card.
Step 5: Next, brush a layer of Mod Podge over the top of the map, and leave it to dry overnight. This will act as a protective varnish.
Step 6: Finally, I suggest further protecting the table so that you cover it with another layer of waterproof glue or varnish. This will help protect the map from drink spills and coffee cup ring marks.
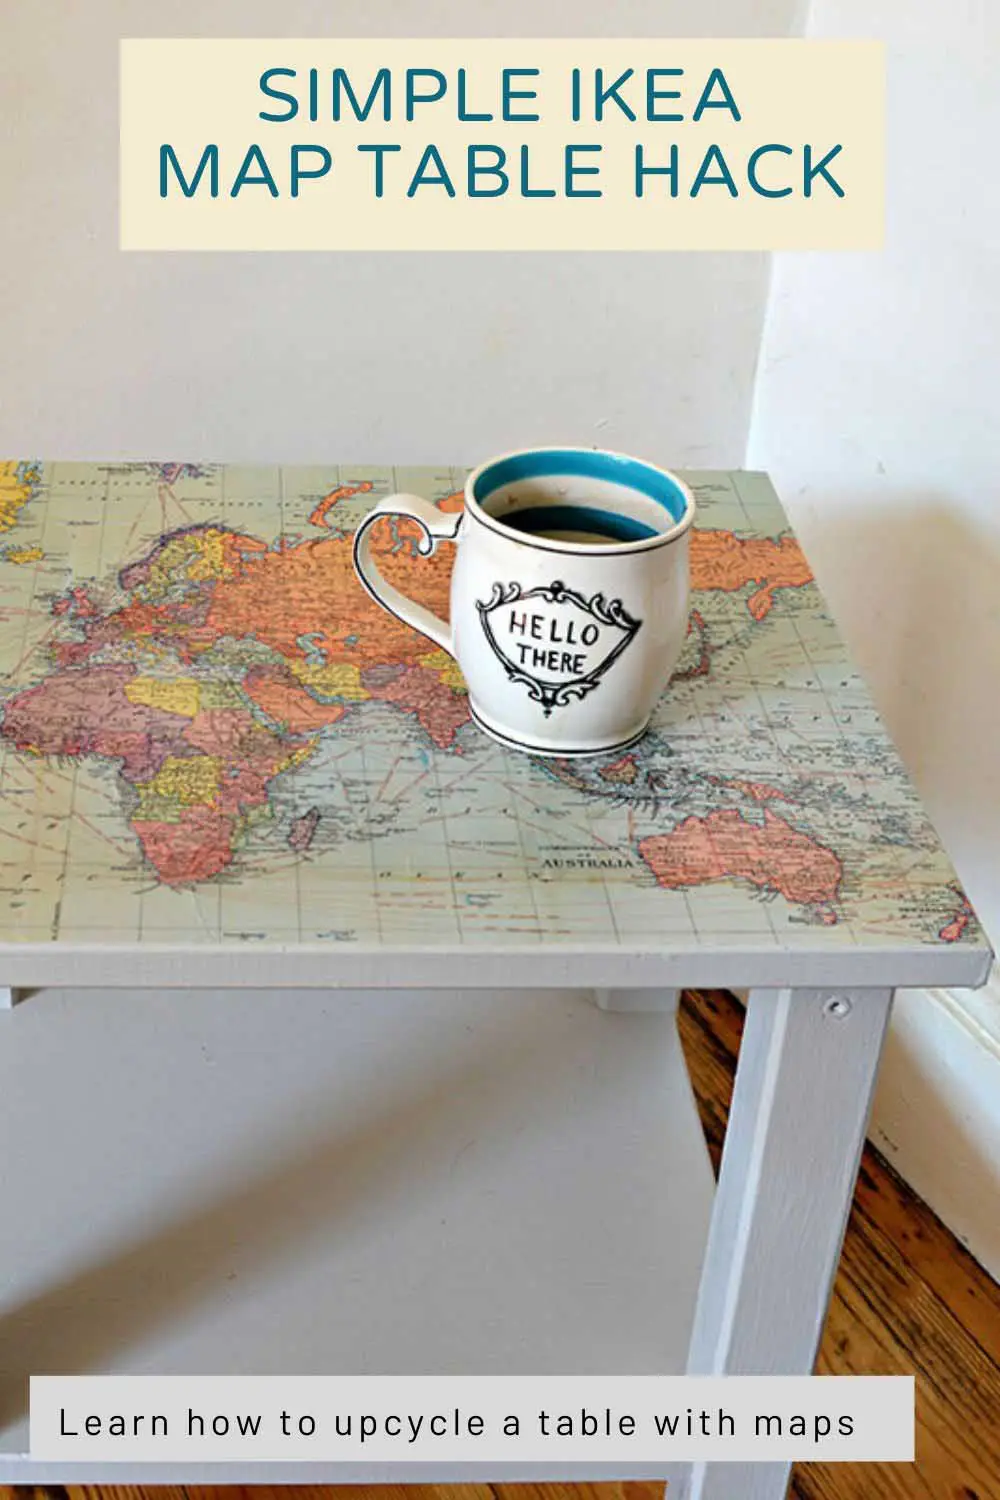
IKEA Map Table Hack
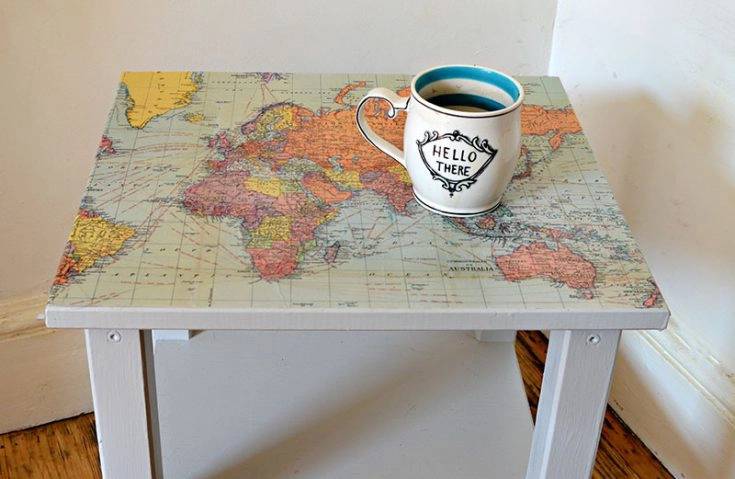
Learn how to upcycle an old side table with a world map to give it a completely new look and make it a talking point.
Materials
- Old side table
- Grey Chalk Paint
- World Map Giftwrap
- Mod Podge
Tools
- Paint brushes
- Glue brush
- Scissors
Instructions
- Firstly, paint the table with chalk paint. No need to paint the top as this will be covered with the map.
- Measure the tabletop and cut the map to fit the top.
- Cover the tabletop in Mod Podge.
- Carefully, lay the map onto the top of the table. Use a credit card to squeeze out any air bubbles as you lay the map down.
- Cover the map with another layer of Mod Podge to act as a varnish.
- Optionally, once the Mod Podge has dried add another waterproof varnish to protect the table from spills.
Recommended Products
As an Amazon Associate and member of other affiliate programs, I earn from qualifying purchases.
IKEA Map Table Hack – Using Image Transfer
The decoupage IKEA map table hack is really that simple and works well. However, there is another way to print a map onto a tabletop.
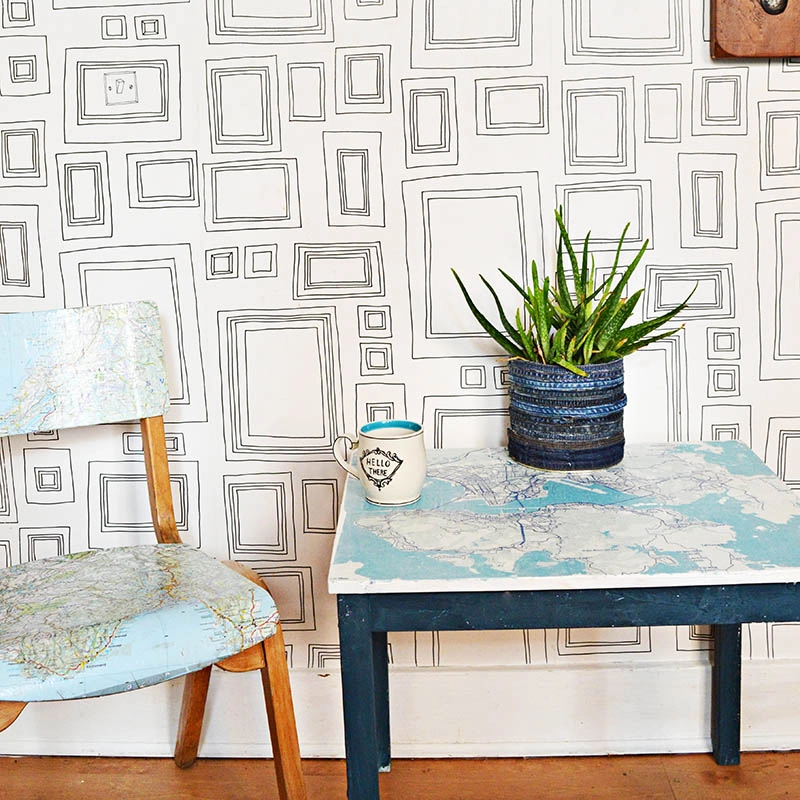
This other method still uses Mod Podge but this time as an image transfer. I used this method to hack the kid’s IKEA table in the playroom with a map of my favourite city Hong Kong.
I used Map
I love my map tables, but I think the vintage world map is my favourite. I love looking at the map while having my morning coffee and planning my next trip.
Collection of large free maps to download. World maps, country maps & popular cities.
If you liked this post, you will also like some of my other decoupage projects and map DIYs and crafts:
Upcycled Hemnes Dresser Ideas
Simple Ikea Moppe Map Hack
Easy Map Place Mats
Upcycled Map Magnetic Board and Pins
Brilliant Vintage Map Suitcase


B
Monday 27th of July 2020
Hi! I've saved this to my DIY pinterest board ages ago and finally got around to doing it today, yay!
The map I used is on thicker textured paper and after spreading modge podge on the surface of the table, it began to wrinkle. I tried using a ruler to iron them out toward the edges but it didn't help much. I then added a layer of modge podge on the top thinking it would make it more pliable and easier to smooth out but it made it worse. I ran into other issues like the modge drying too quickly and then I couldn't lift and reposition the map without having to start all over. Help! Any tips?
Claire Armstrong
Monday 27th of July 2020
Sorry, you are having difficulties with wrinkles. I would not have applied the top layer of Mod Podge until the paper had dried. Another method to dry is to spray the paper with an acrylic sealer before Mod Podging to the table. Wait until the sealer has dried first and use a roller to smooth out any air bubbles. I hope that helps.
Jason Holland
Saturday 22nd of June 2019
Do you have a link to the chair project you mentioned? Thanks
Claire Armstrong
Saturday 22nd of June 2019
The link is in the first paragraph just click on the coloured highlighted text.
Tim
Tuesday 26th of March 2019
I think "gallery wrapped" edges (like that which is done to painting canvases), rather than the flat table-top only covering would improve the final product even more.
Claire Armstrong
Tuesday 26th of March 2019
Thank you. I might consider that next time.
Paul
Tuesday 27th of March 2018
Claire- Thank you for this tutorial. We have a 243x 110cm dining table that I'd like to do this with. Would you suggest using Mapbox for a table this big? Also, the edges of the table are heavily rounded (think conference table). How would you suggest working with rounded edges? I really want to do this, but I'm a bit intimidated by the project. I'd love to hear your thoughts.
Claire Armstrong
Tuesday 27th of March 2018
For a table that big I would suggest using map wallpaper. If you google you should find a company that will deliver map wallpaper to you. Some have pre printed designs with others they can print you a map of anywhere you want. I’ve done a post on how to wallpaper a table https://www.pillarboxblue.com/wallpaper-decoupage-table-top/. A rounded edge won’t be easy, Before pasting the paper I suggest you lay it on to the table and cut to size. Then paste and stick. Good luck with it, I’d love to see a photo when you are finished.
Wonderful Free Printable Vintage Maps To Download - Pillar Box Blue
Monday 19th of February 2018
[…] how a decoupaged vintage map can transform the mundane into something awesome, such as with my map table IKEA hack. Vintage maps can also be used for printing onto wood and other surfaces too. The maps I […]