Paint a wicker basket to make it more festive and part of your Christmas decorations.
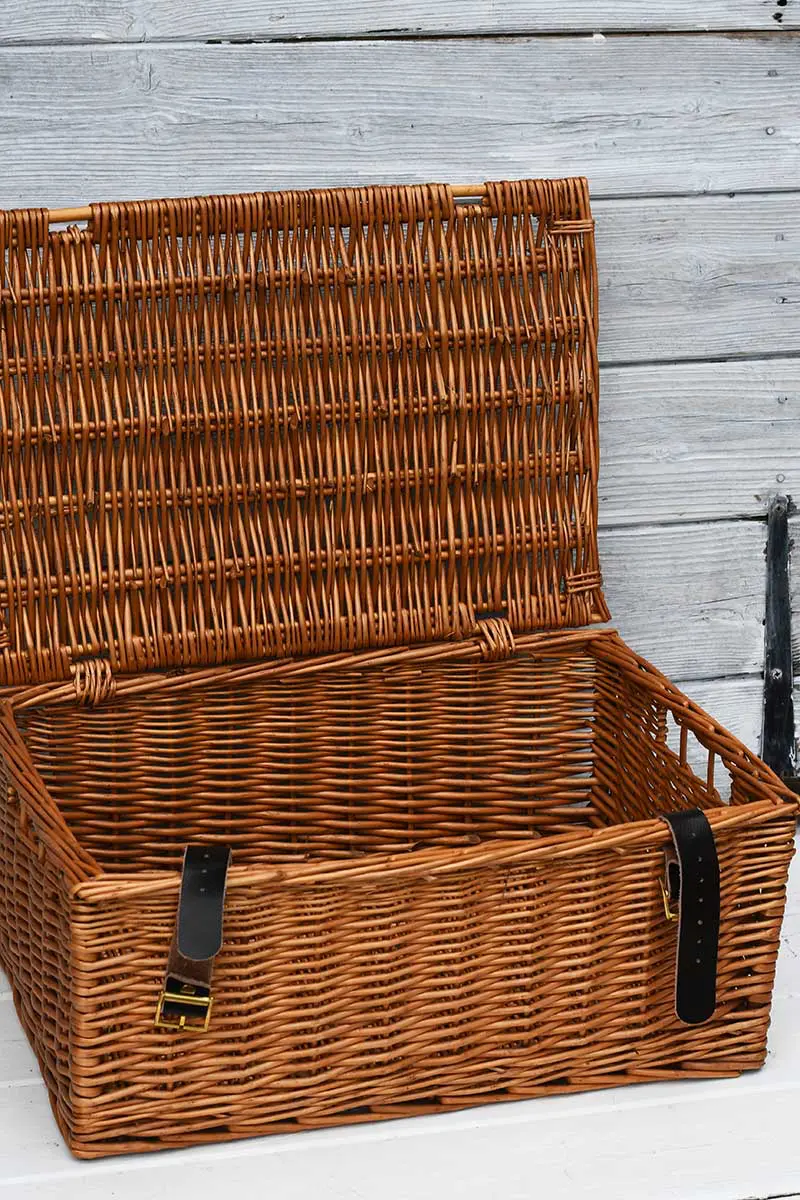
Last Christmas eve at 10pm there was an unexpected knock at the door. It wasn’t Santa, but still someone bearing gifts. My son received a lovely hamper from one of his customers. It was full of wonderful posh Christmas food, goodies and wine.
After all the food and wine had been eaten and guzzled, Elliot gave me the empty basket. For a 21-year-old young man, wicker isn’t really his style.
The wicker hamper basket has been handy for craft storage. As it tends to hang around in my living room, I’ve decided to give it a festive upgrade.
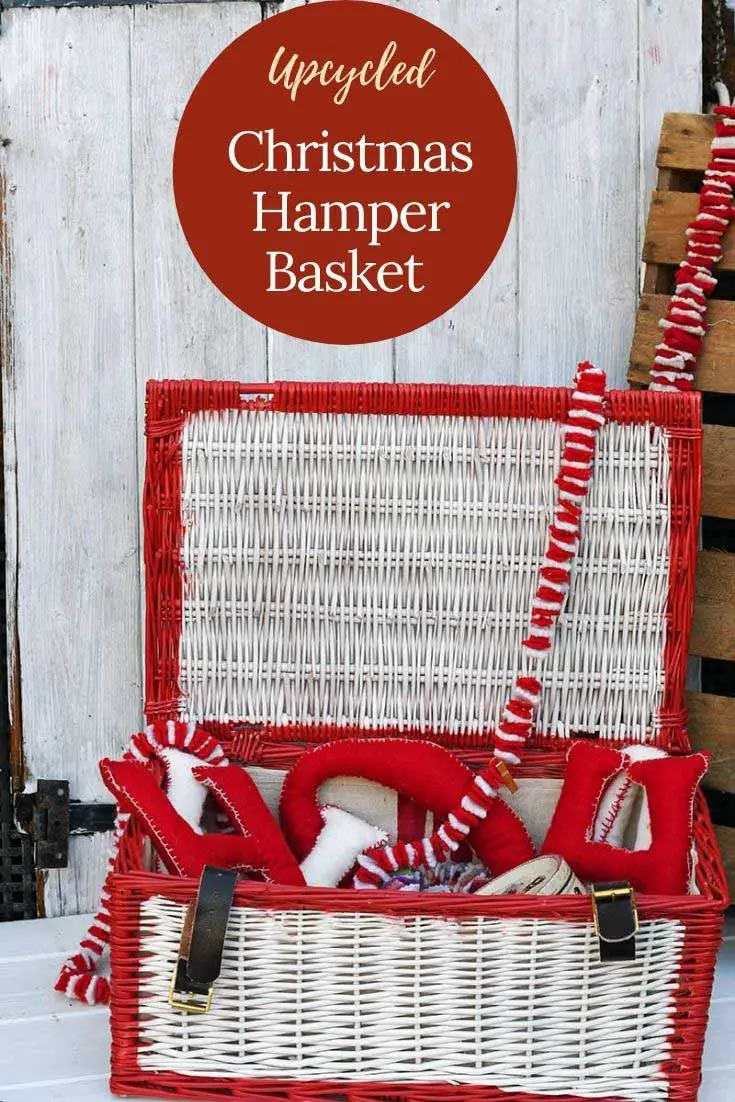
I’ve upcycled the wicker basket for Christmas. Not only can it be part of my Christmas decor, but it will be good for storing my Christmas ornaments.
I painted the outside of the baskte in festive colours and the lined the inside with drop cloth. The cloth was painted to look like old French kitchen linen.
I’m hoping that we get another surprise hamper delivery this Christmas eve, fingers crossed.
We’re a participant in the Amazon Services LLC Associates Program, an affiliate advertising program designed to provide a means for us to earn fees by linking to Amazon.com and affiliated sites. As an Amazon Associate, I earn from qualifying purchases.
What You Need To Paint A Wicker Basket
- An old wicker basket, hamper, or picnic basket style.
- Montana Gold spray paints in red and shock cream
- Red acrylic paint
- Thick paper
- Craft paper cutting knife
- Small paintbrush
- Red sharpie
- Drop cloth
- Masking or washi tape in different thicknesses
- Newspaper and scrap cardboard
- Superglue
How To Upcycle A Wicker Basket For Christmas
Painting the Basket
1.. First, rub-down the basket to make sure is clean and dust-free. A vacuum with a small brush nozzle helps get rid of all dust. Remove any leather straps.
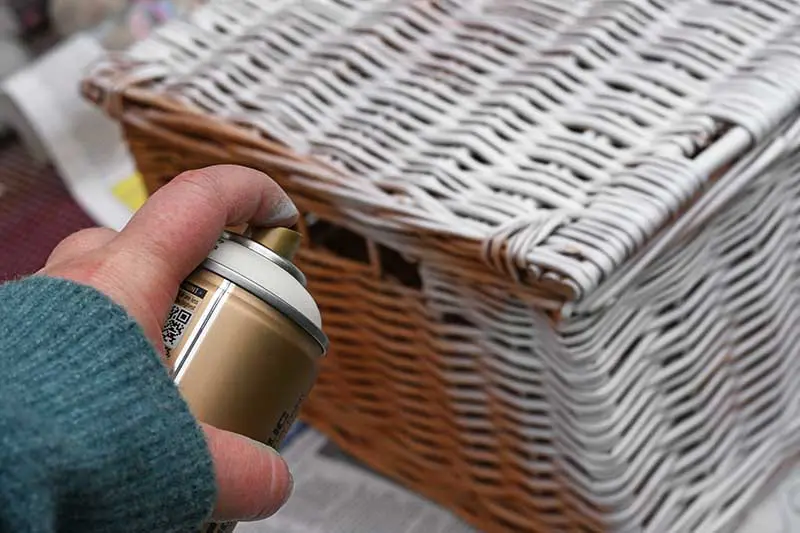
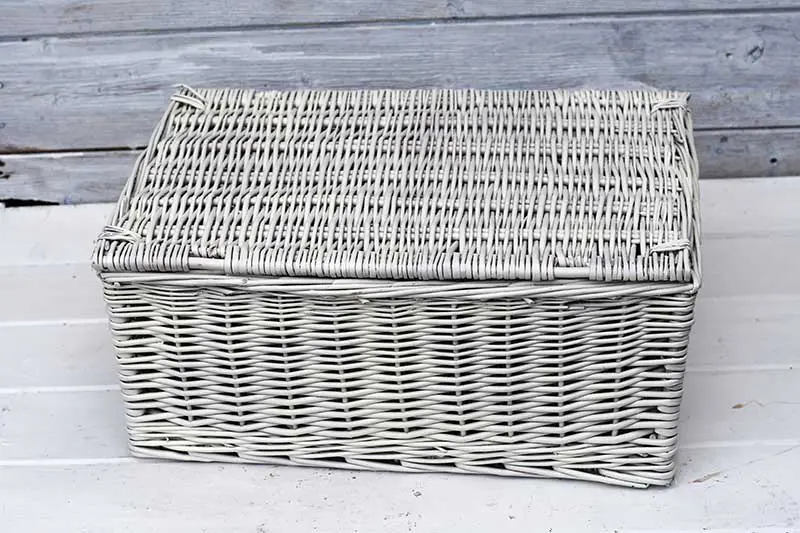
2. Then, spray paint the whole basket, inside and out with white spray paint. This may take a couple of coats to ensure all the wicker has been covered.
Remember to spray paint in a well-ventilated area. I do all my painting in the garden.
3. Next, cover the basket with newspaper and masking tape. Make sure that a 3cm border around the edges of the white basket is left uncovered. Cover both the inside and outside of the basket.
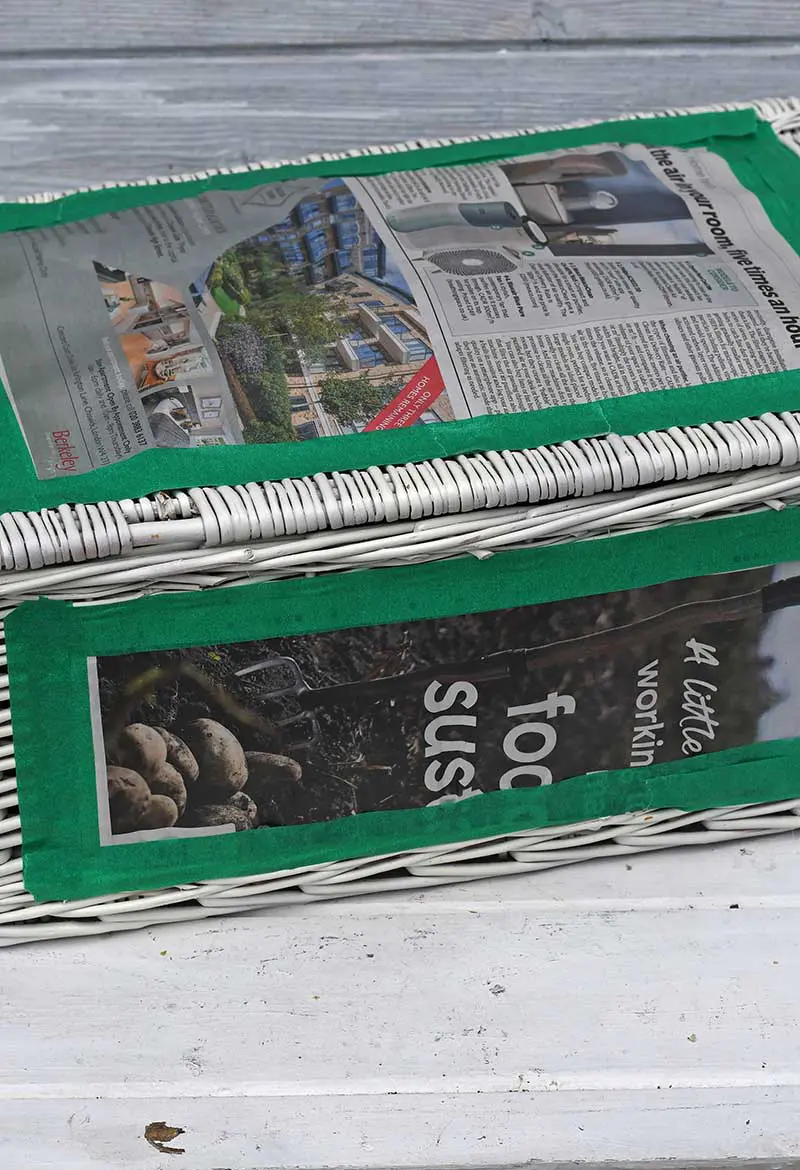
4. Next, spray paint the exposed wicker red. Once the paint has dried remove the paper and masking tape. You will be left with a two-tone painted wicker basket.
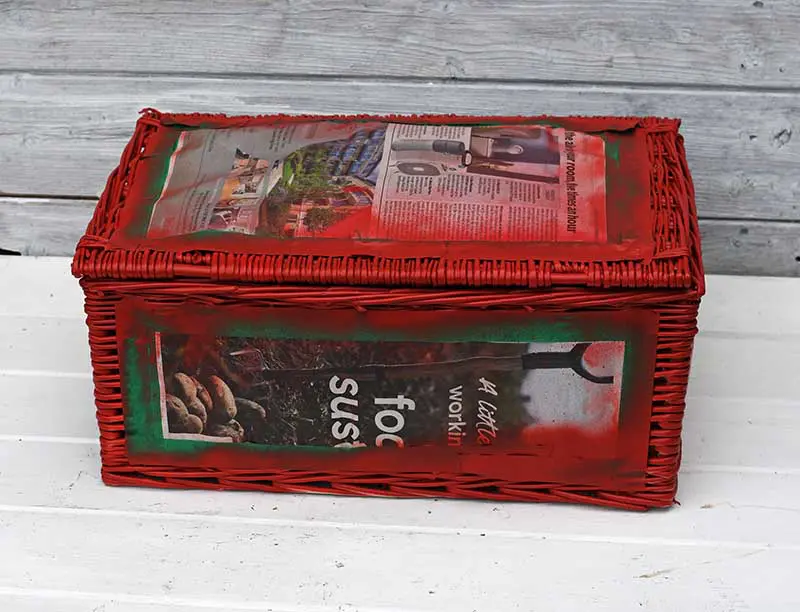
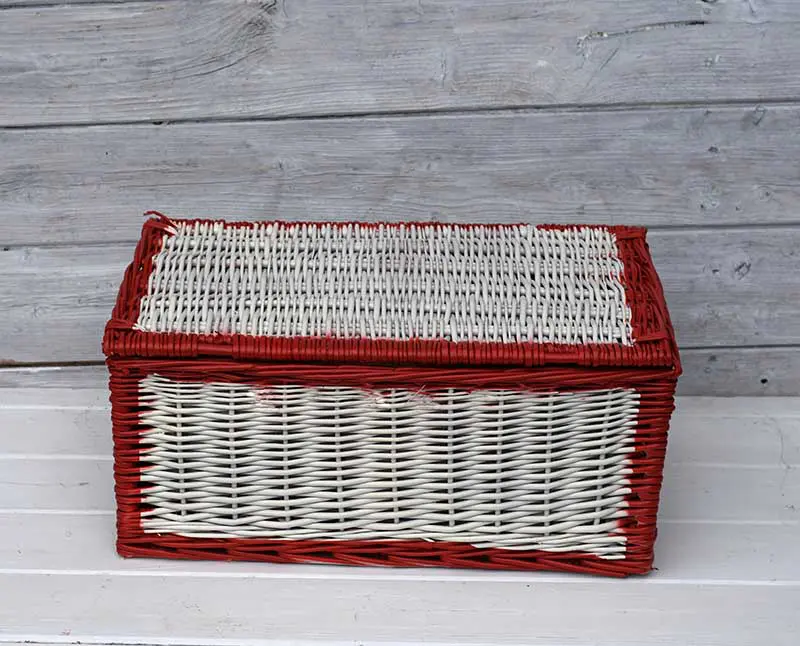
5. Next, make a number stencil. Print out the number 25 onto thick paper and then use a paper-knife to cut out the number. You can download the number I used here.
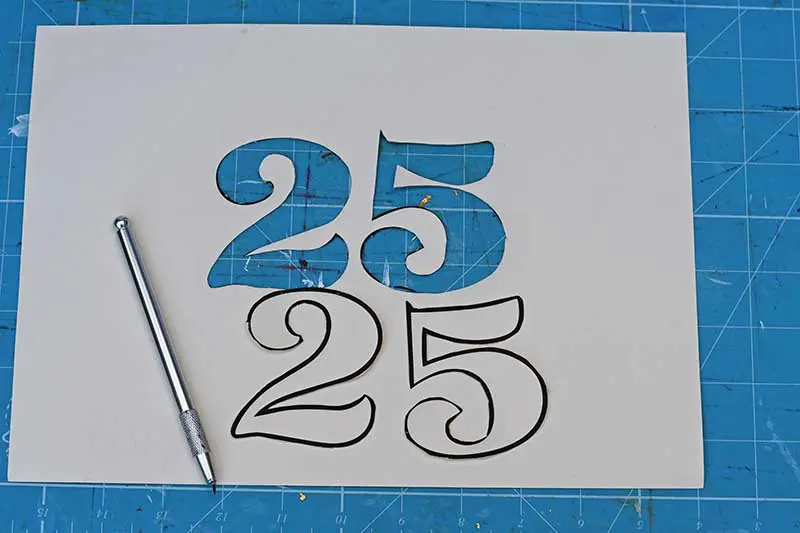
6. Next, place the stencil on the top of the painted wicker basket in the center. Then using a red sharpie, draw the number onto the top of the basket.
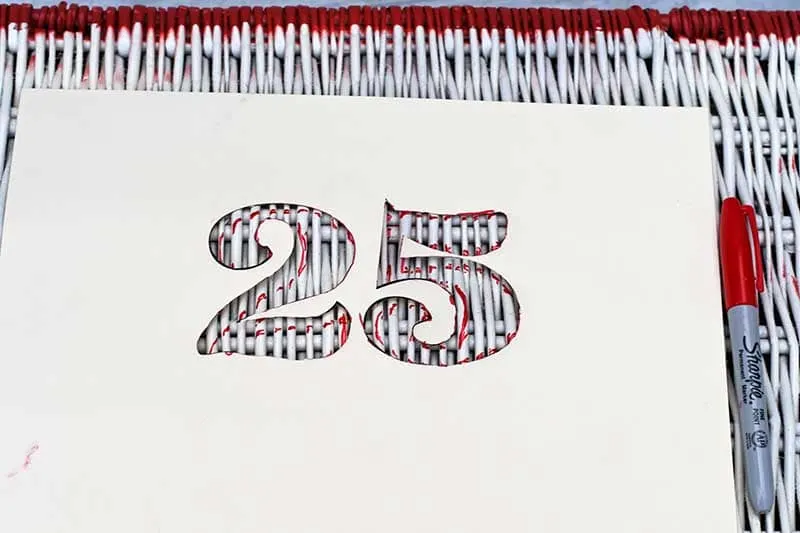
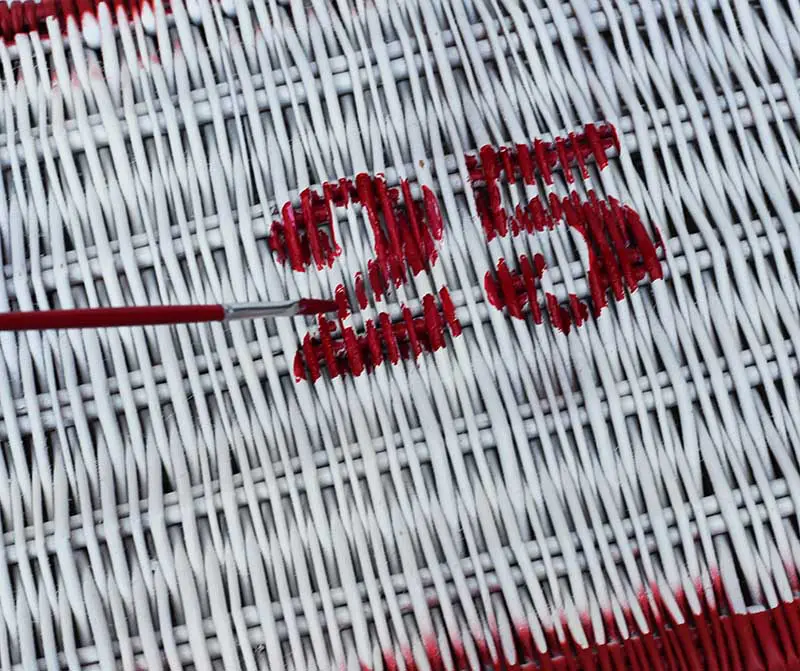
7. Remove the stencil. Then, paint the outlined number 25 with red acrylic paint and a small brush. I painted the number this way rather than dabbing through the stencil as it can be difficult to paint the uneven wicker. A small brush will help you paint the round edges of the wicker.
Lining the Wicker Basket With Fabric
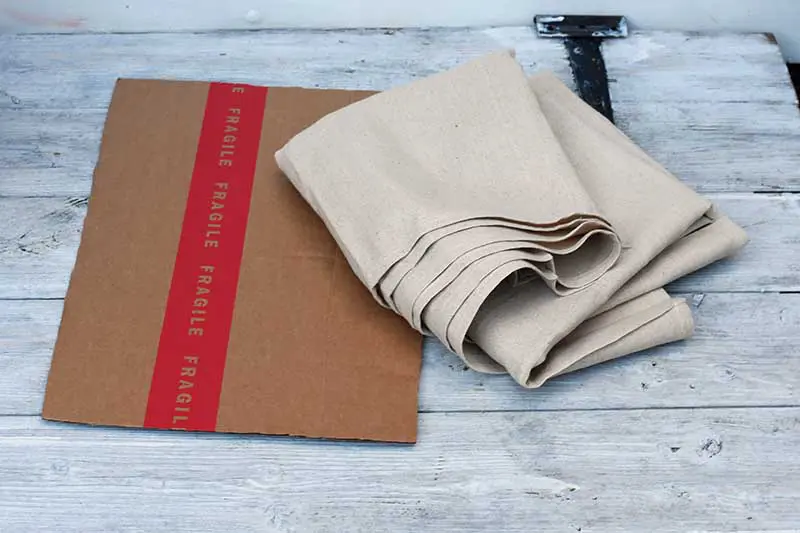
8. First, make a cardboard base for the inside of the basket. I just used some cardboard packaging and cut it to fit loosely in the base of the hamper.
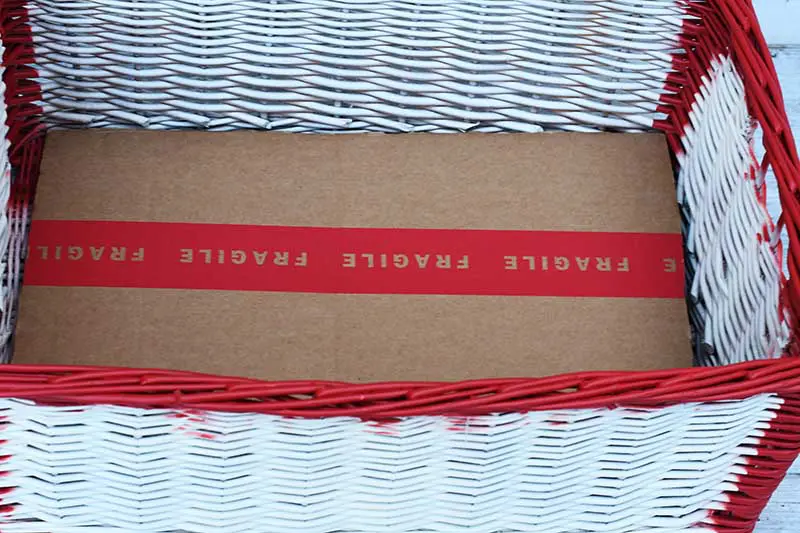
9. Next, cover the cardboard in a drop cloth. Cut a piece of drop cloth that is about 6cm longer and 6cm wider than the cardboard. Wrap it around the cardboard and then glue the excess cloth to the back (underside).
10. Then, tape washi tapes of various widths to the drop cloth. You want to create a center stripe pattern, similar to those found on vintage French tea towels.
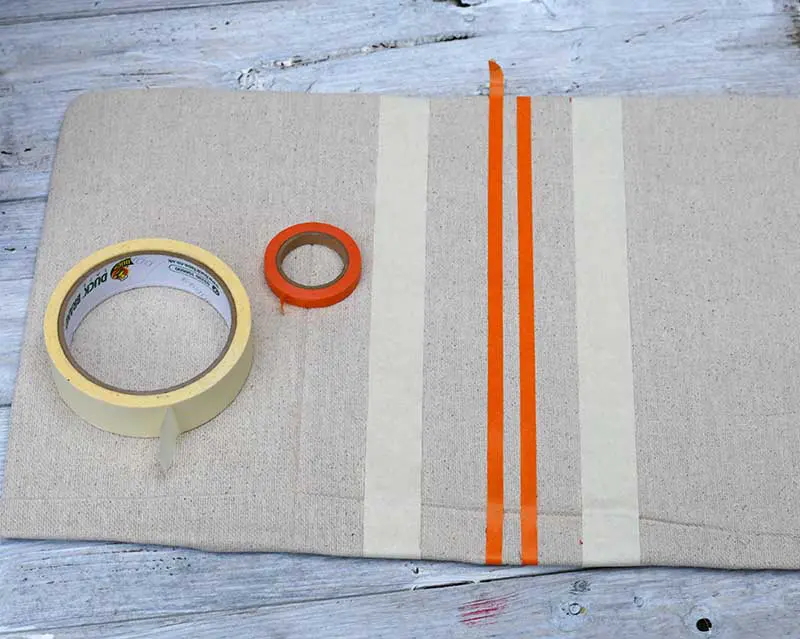
11. Then, using a brush, paint stripes onto the drop cloth. I used the same red acrylic paint that was used for the number on the top of the basket.
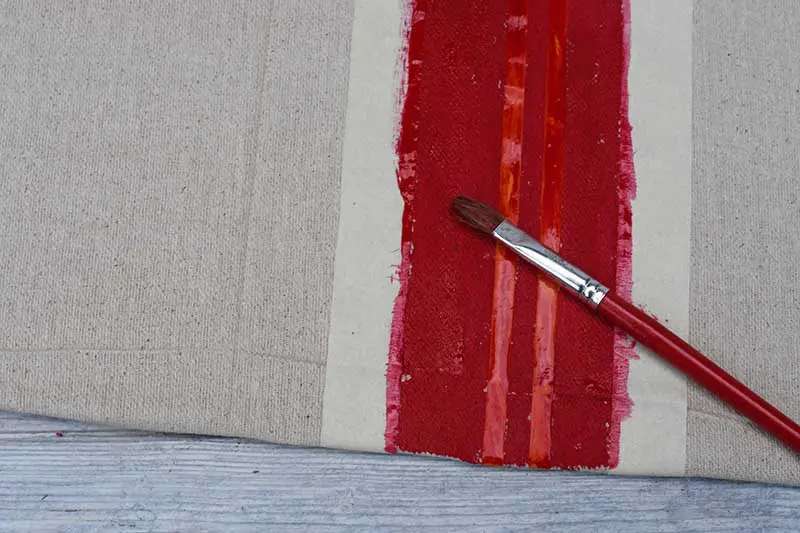
12. Next, cut the drop cloth to fit the inside sides of the basket. As I did with my upcycled map suitcase. However, before securing the cloth in place paint some red stripes onto it. Make sure that the stripes will match up with those of the base.
Secure the drop cloth to the top inside edges of the wicker basket using superglue. Then, simply place the painted drop cloth base inside the basket.
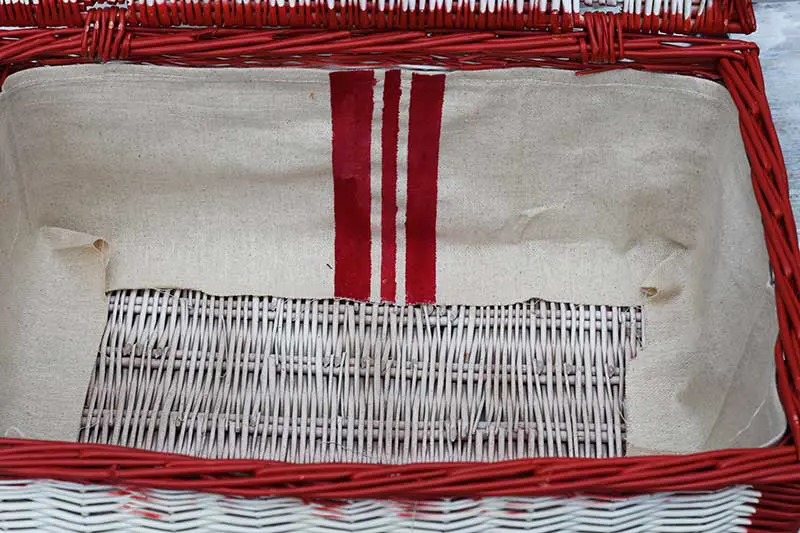
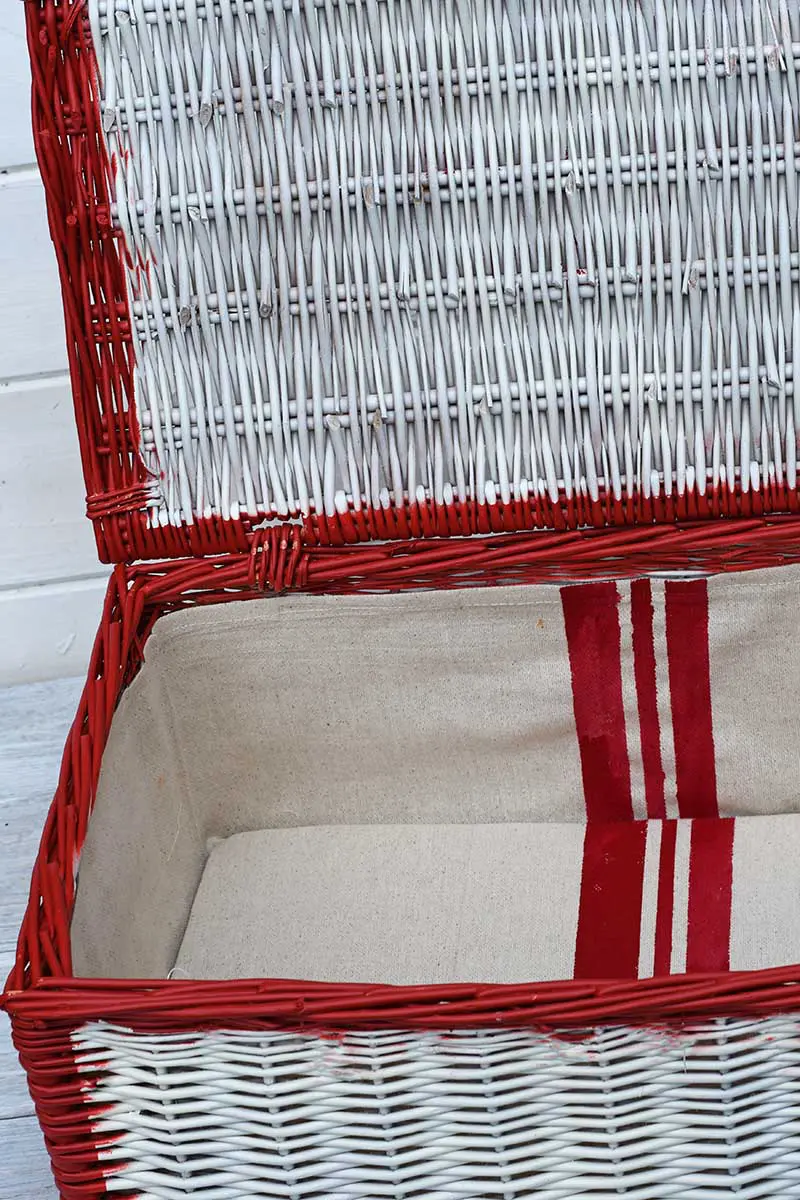
To finish off, put the leather straps back onto the basket.
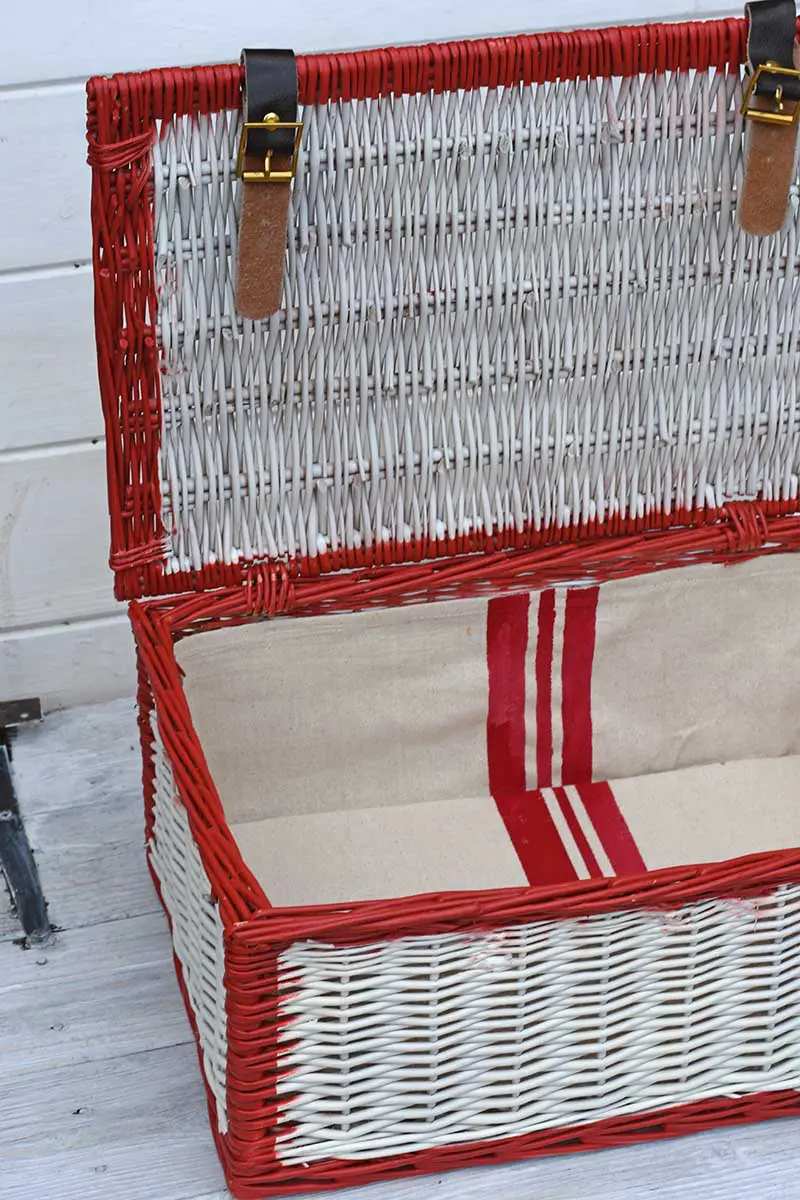
I’m very pleased with how the painting and lining of the wicker basket turned out. It definitely has a much more festive feel. Not only will it be handy for Christmas storage but the basket can actually become part of my decorations.
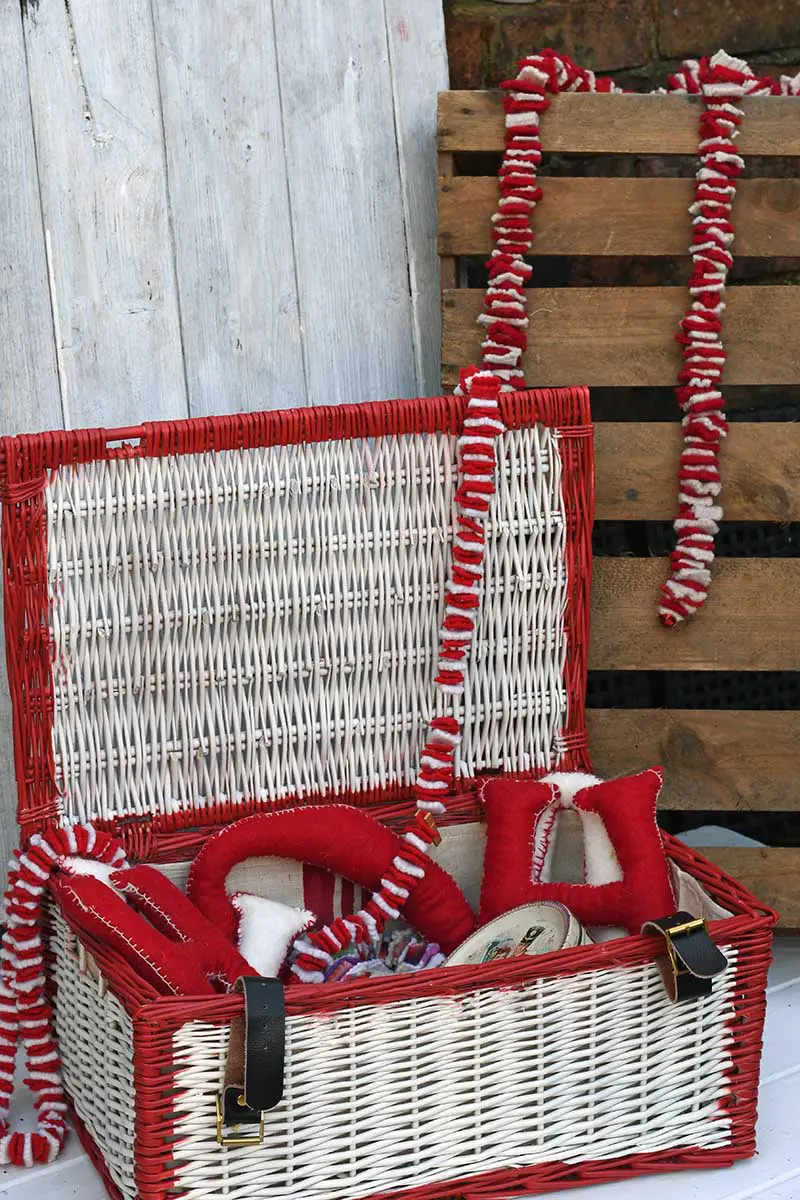
By the way, there are tutorials for the upcycled felt garlands and the giant felt letters on the blog.
If you are looking for more fun upcycled storage ideas, check out my fun painted suitcase shoe boxes, upcycled denim storage boxes, and personalized storage ottoman.
For more upcycled storage ides visit the DIYideacenter.


Ann
Monday 30th of November 2020
It's always amazing how paint can transform a piece. Thank you for sharing at Party In Your PJ's.
Claire Armstrong
Monday 30th of November 2020
Thank you, yes the magic of paint!
Susan Schneider
Wednesday 18th of November 2020
A wonderful re-use-upcycle! So classic and attractive!
Claire Armstrong
Wednesday 18th of November 2020
Thank you, so much. I do like having it on display now especially at this time of year.