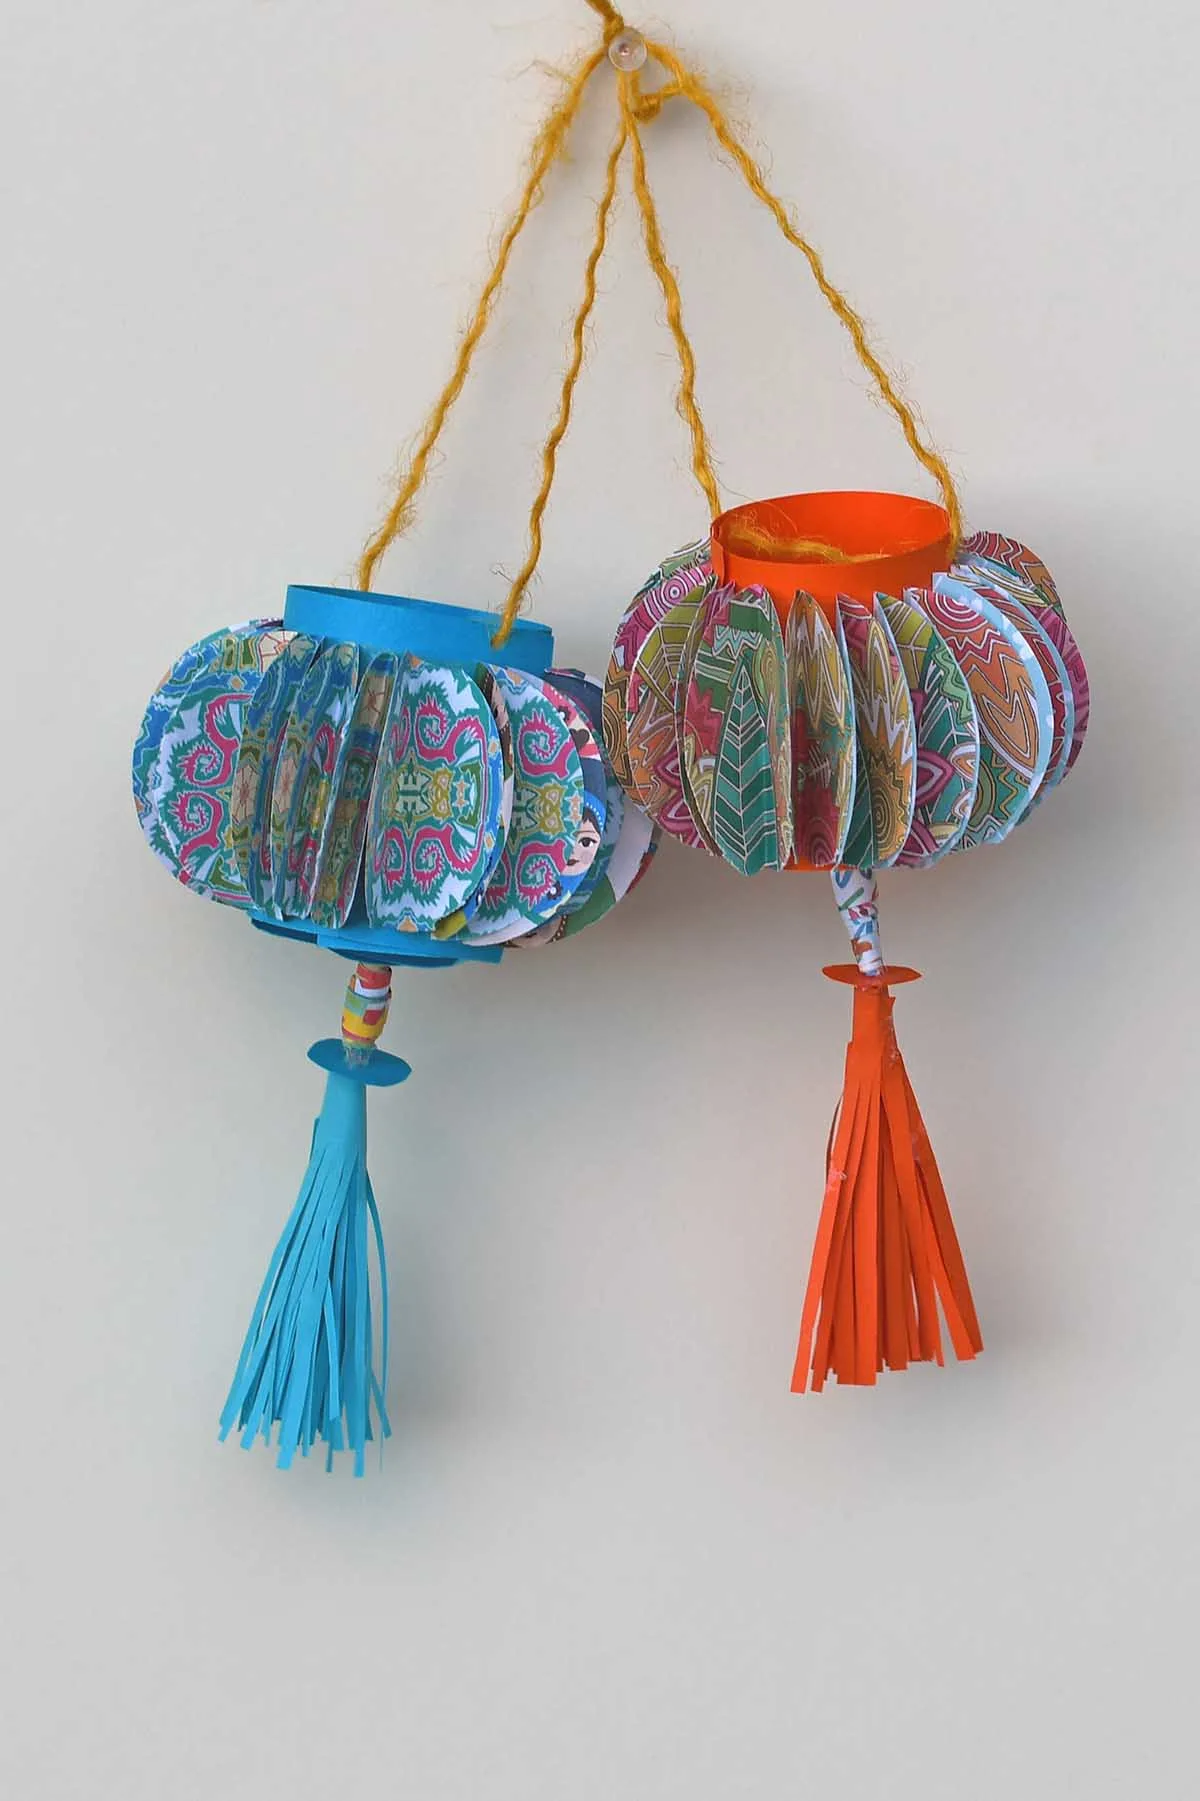
Are you looking for a fun, affordable way to add a splash of colour and culture to your celebrations? Making your own beautiful DIY paper lanterns is a great project, perfect for occasions like the Chinese Lunar New Year, birthday parties, or bringing some colourful lanterns into your home.
Creating Chinese paper lanterns is not just about crafting something beautiful; it’s about immersing yourself in a cultural tradition. These lanterns have been a staple in Lunar New Year celebrations, symbolizing bright futures and the hope that the new year brings. Plus, it’s an excellent way to recycle materials like old book pages, maps, or colourful sheets of paper.
This paper home decor craft is not just for Chinese New Year; the lanterns would look fabulous as a fun decoration. I keep my lanterns up all year round.
They can also fit in small LED tealight inside of the lantern if you want to illuminate them.
We’re a participant in the Amazon Services LLC Associates Program, an affiliate advertising program designed to provide a means for us to earn fees by linking to Amazon.com and affiliated sites. As an Amazon Associate, I earn from qualifying purchases.
Materials Needed
- Sheets of colourful patterned paper or alternatives (old book pages, maps). You’ll need a piece of paper about letter size, which should be normal-weight paper.
- Card stock (for the structure). One sheet of paper will be enough for each paper lantern craft.
- Paper for the tassel and paper bead. (can be the same as the patterned paper, or origami paper works well)
- Wooden skewer
- Hot glue gun / or glue dots
- Double-sided sticky tape
- XL Round Punch (approx 5cm)
- Twine
- Scissors
- LED tea lights (optional)
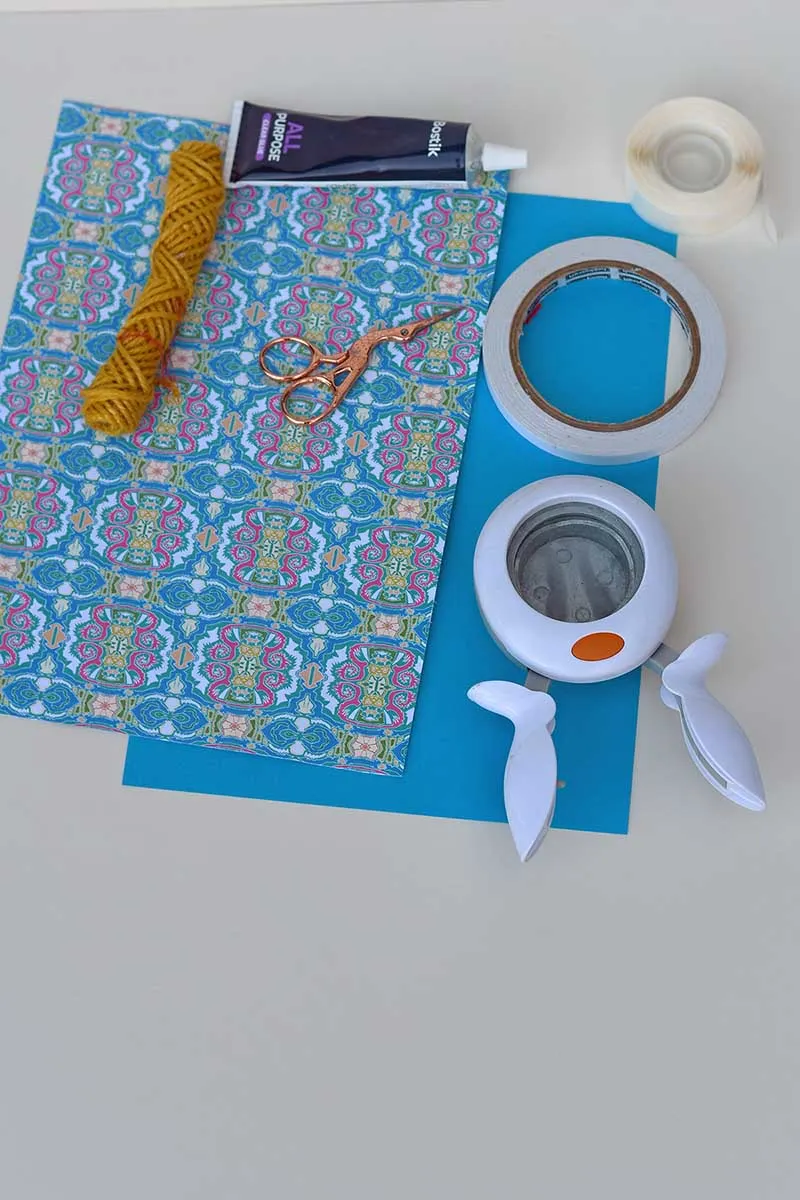
How To Make Paper Lanterns
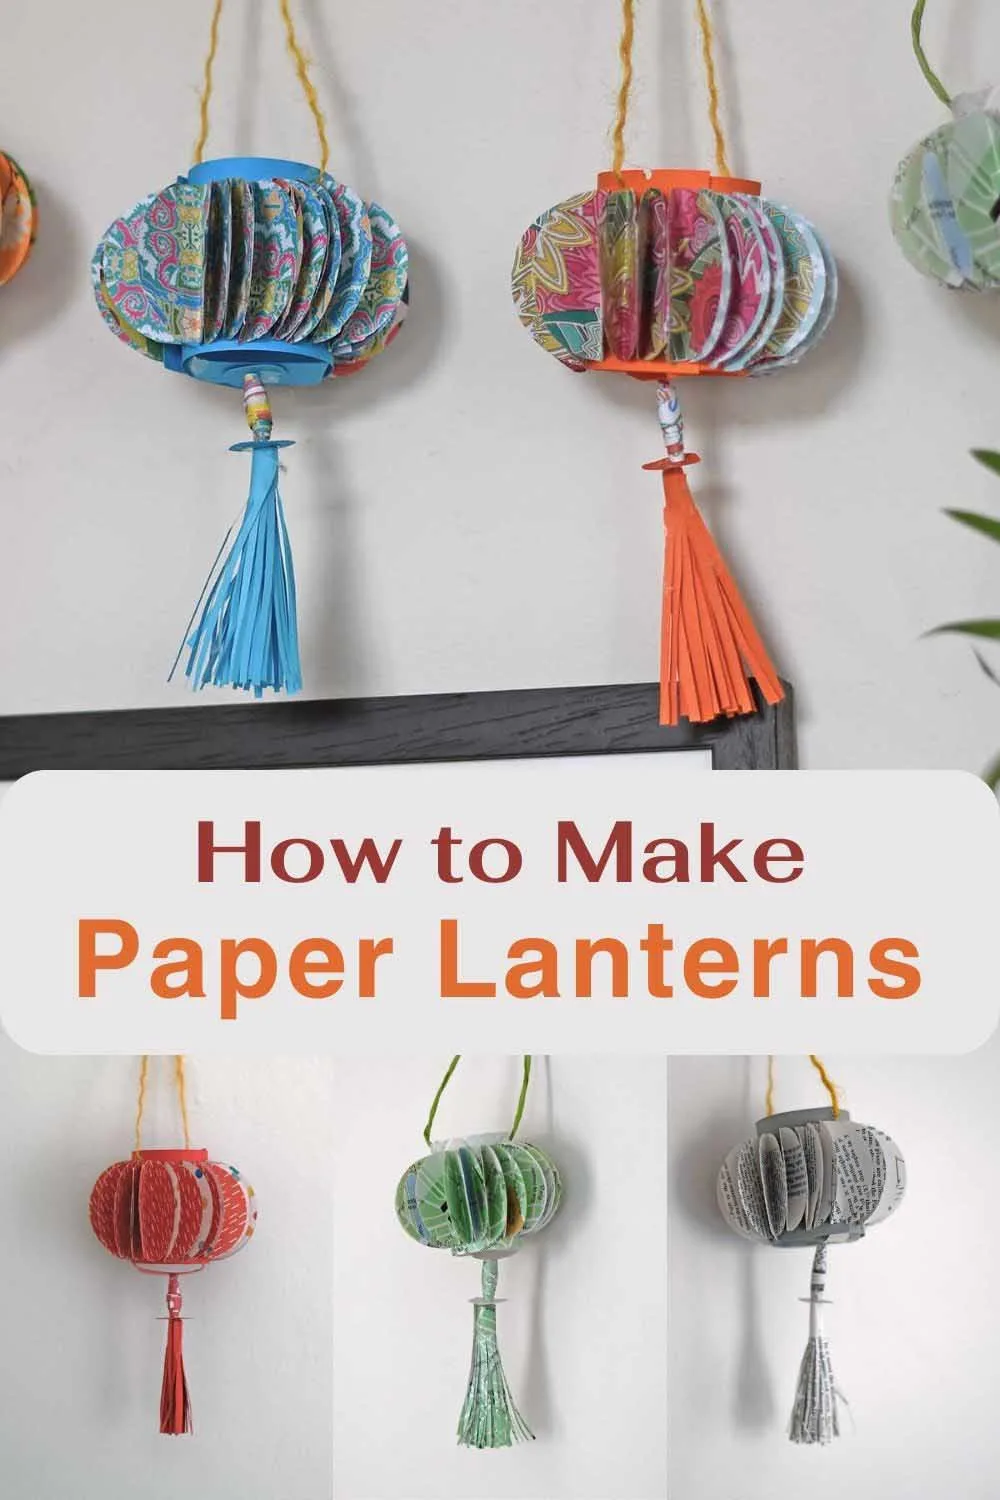
These Chinese lanterns are a bit more decorative than your typical paper lantern crafts; they have a lovely hanging paper tassel decoration. I will divide the tutorial into two parts: first, the basic lantern structure, and the second, the tassel decoration.
Making the Main Structure
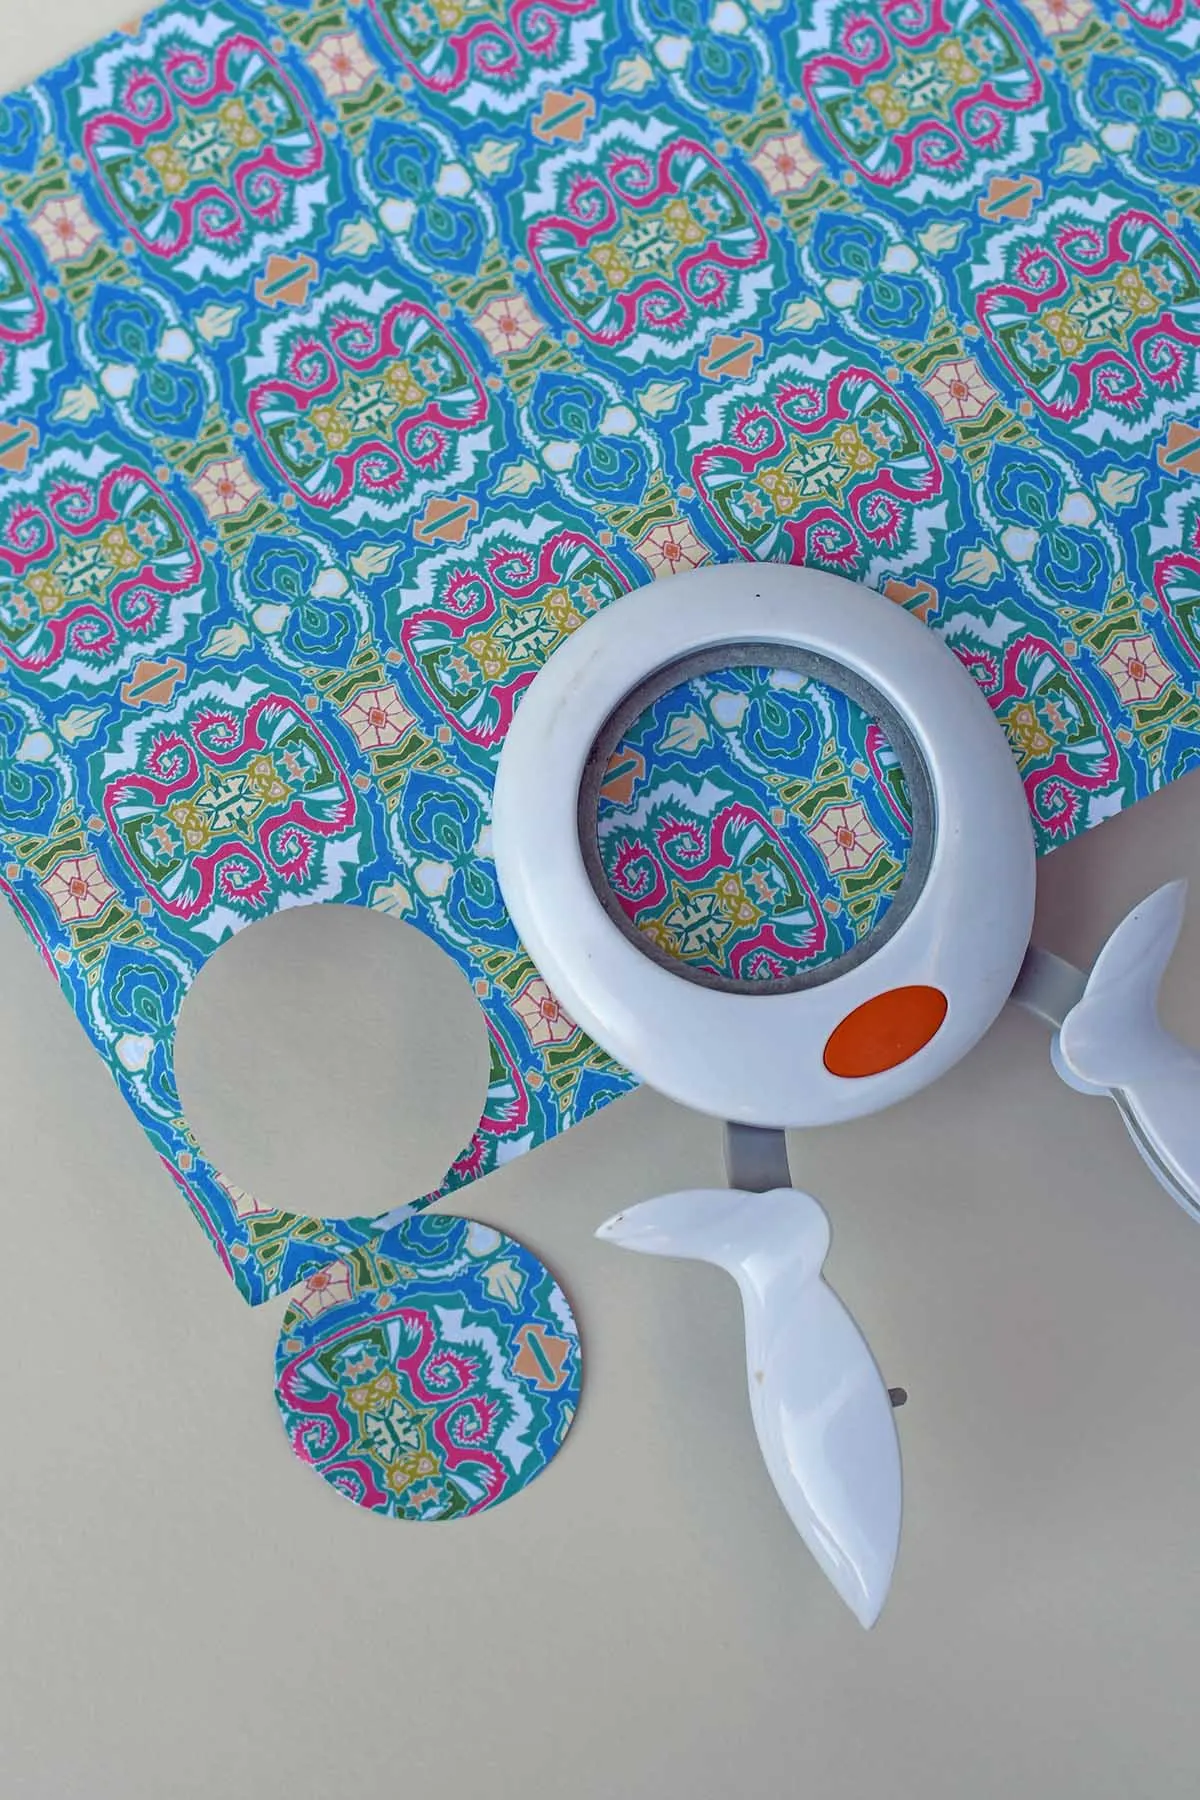
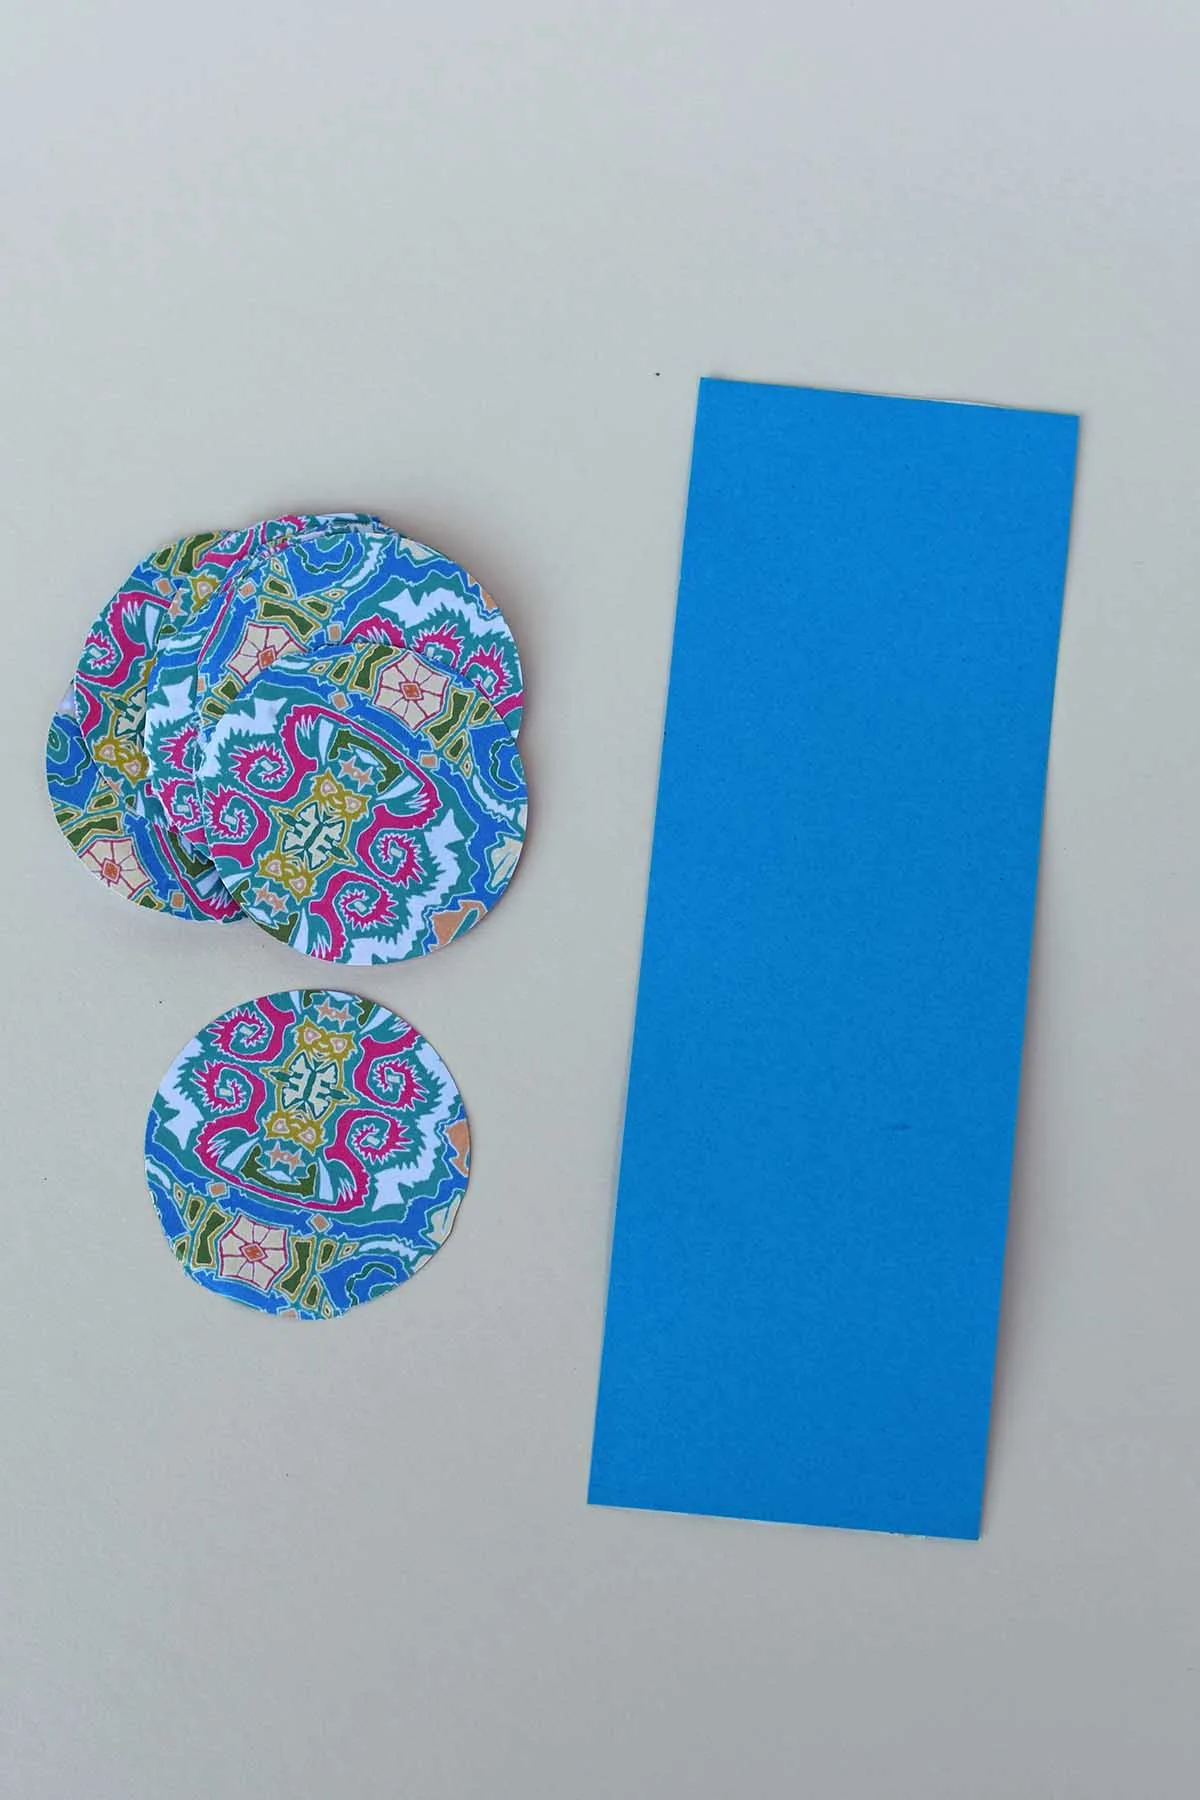
Step 1: Begin by selecting your decorative patterned paper. You don’t want this paper to be too heavy. Book pages, old maps and patterned paper from magazines work well. Use the punch to cut about 20 discs from the paper.
Step 2: Cut the card stock paper into wide strips for the main body of the lantern, about 6 x18cm (2.5″ x 7″). Cover the side of the card stock with long strips of double-sided sticky tape. Leave the top and bottom edges tape-free.
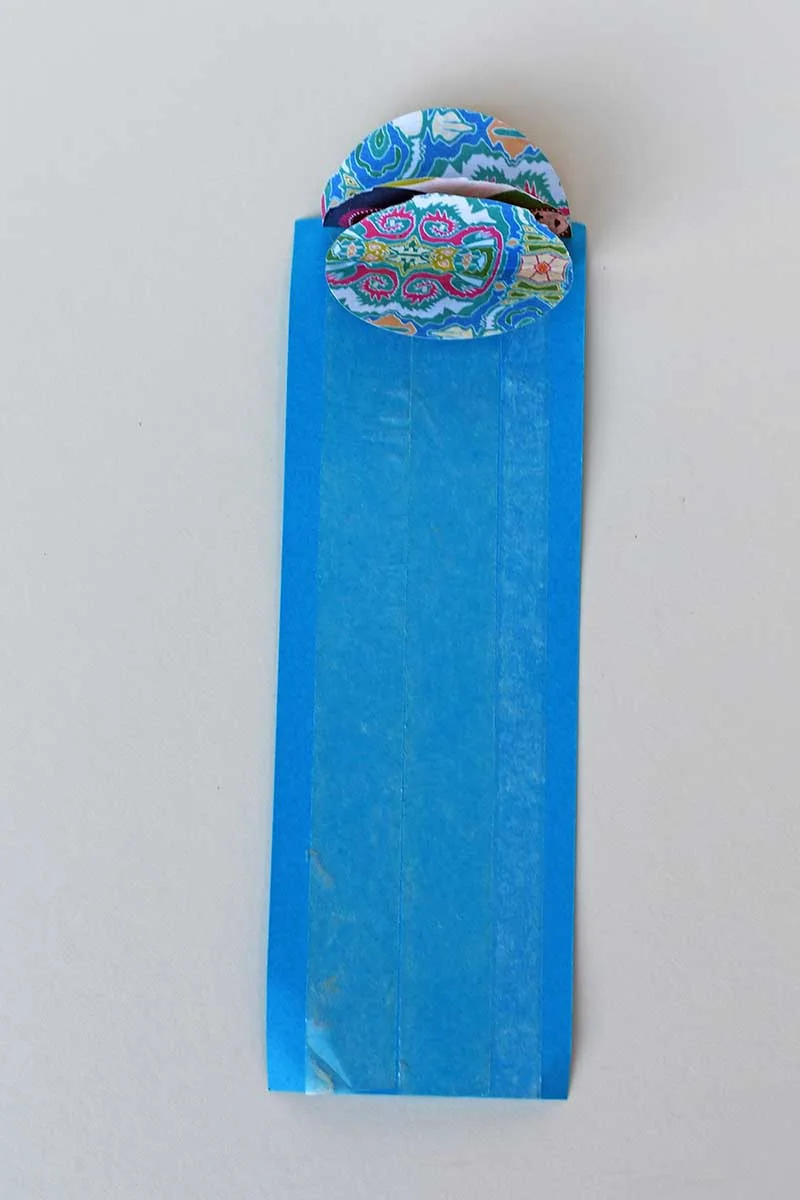
Step 3: Fold the paper disc in half. If the patterned paper you have chosen is only printed on one side, then make sure this print is on the inside of the folded circles.
Then, stick the folded paper circles to the double-sided tape. Space them evenly about 7mm apart, leaving the last 2cm (1″) of paper and the end free. Ensure that only the folded edge of the paper circles touches the sticky tape.
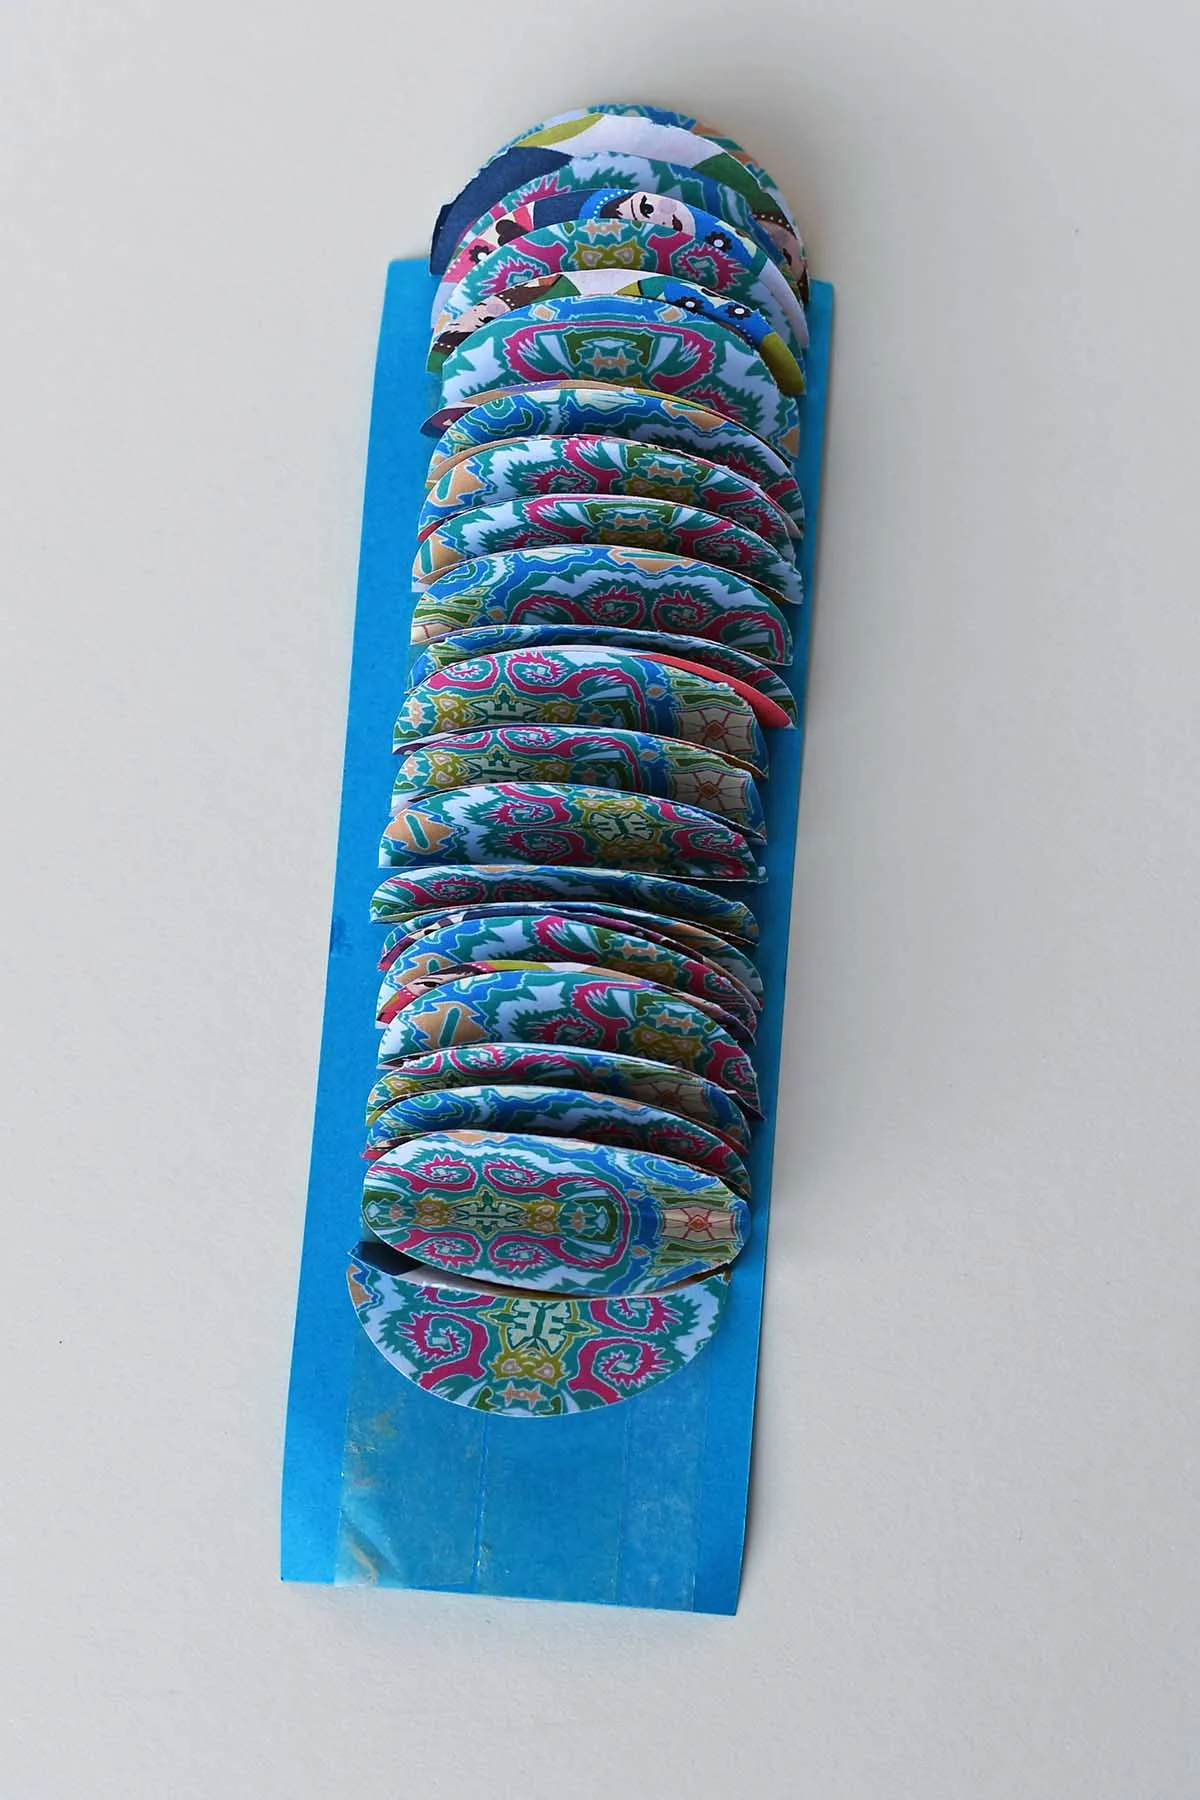
Step 4: To complete the lantern body, roll the cardstock up. The overlapping double-sided sticky tape should be enough to keep it in place. But I temporarily add a paper clip to ensure good contact with the tape.
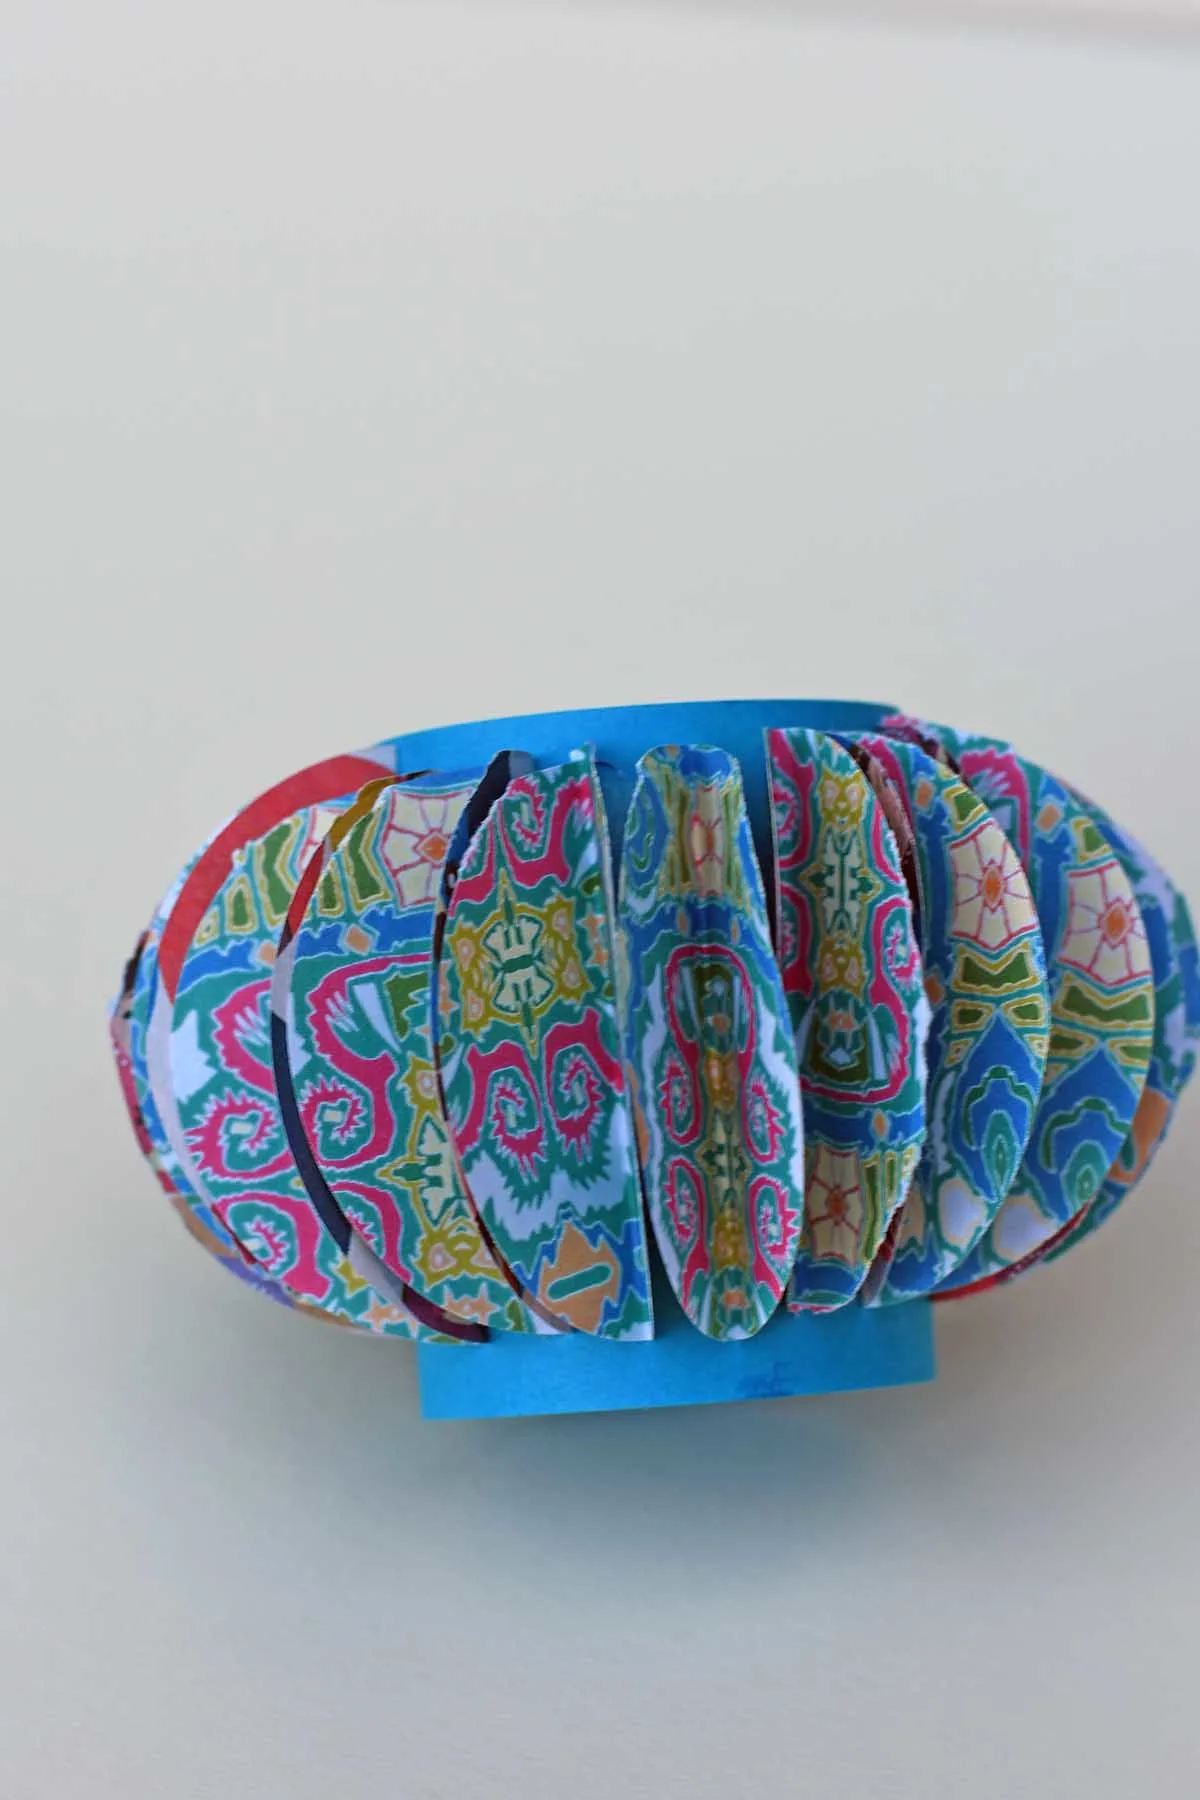
Making the Paper Tassel Decoration
Step 5: Cut a strip of lightweight paper about 6 x 15 cm (2.5″x 6″). Add a thin strip of double-sided tape to the top of the long edge. Then using scissors, fringe the paper up to the tape by cutting slits into it.
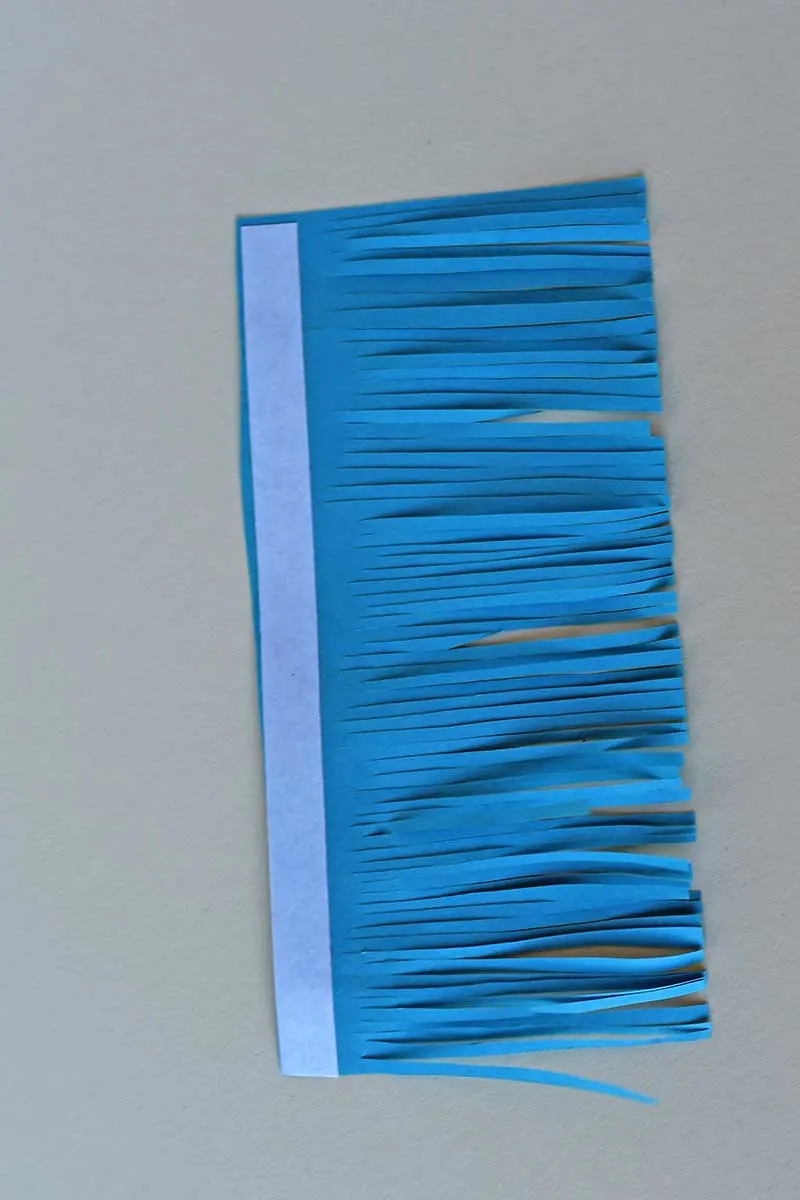
Step 6: Then roll up the paper to form a tassel. The double-sided sticky tape will hold it together.
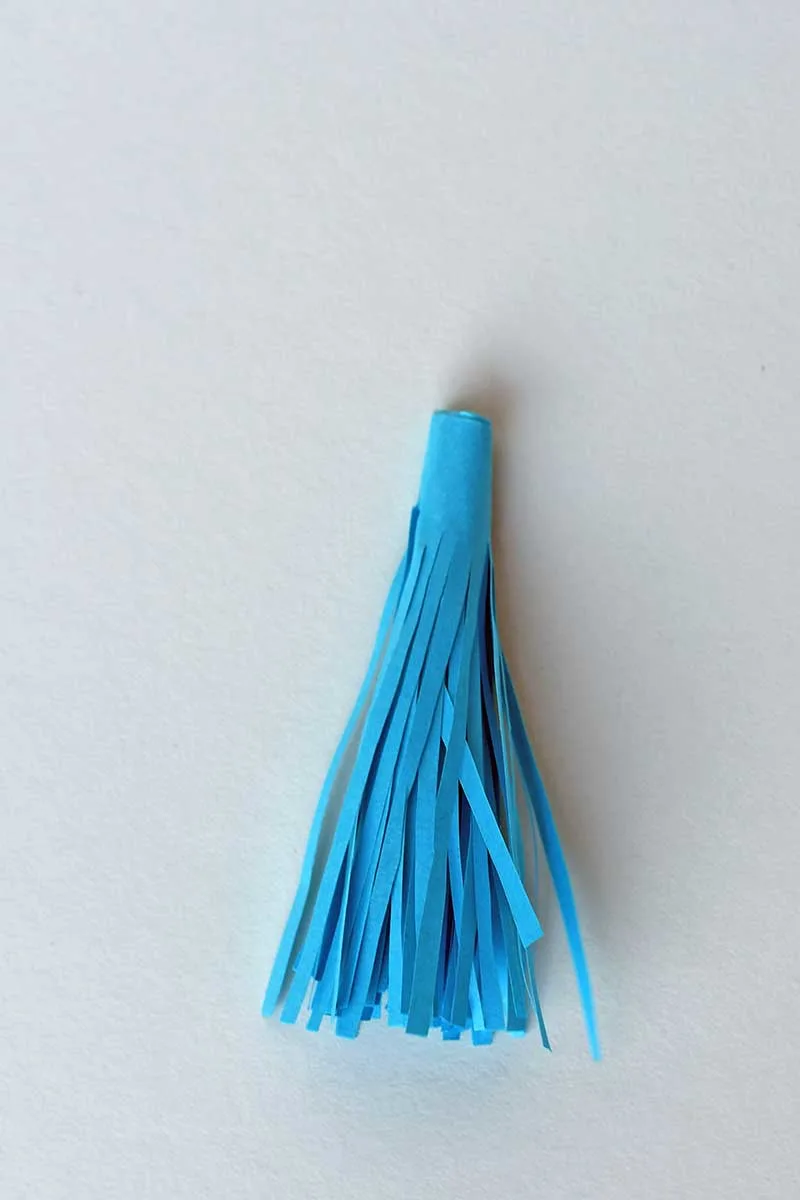
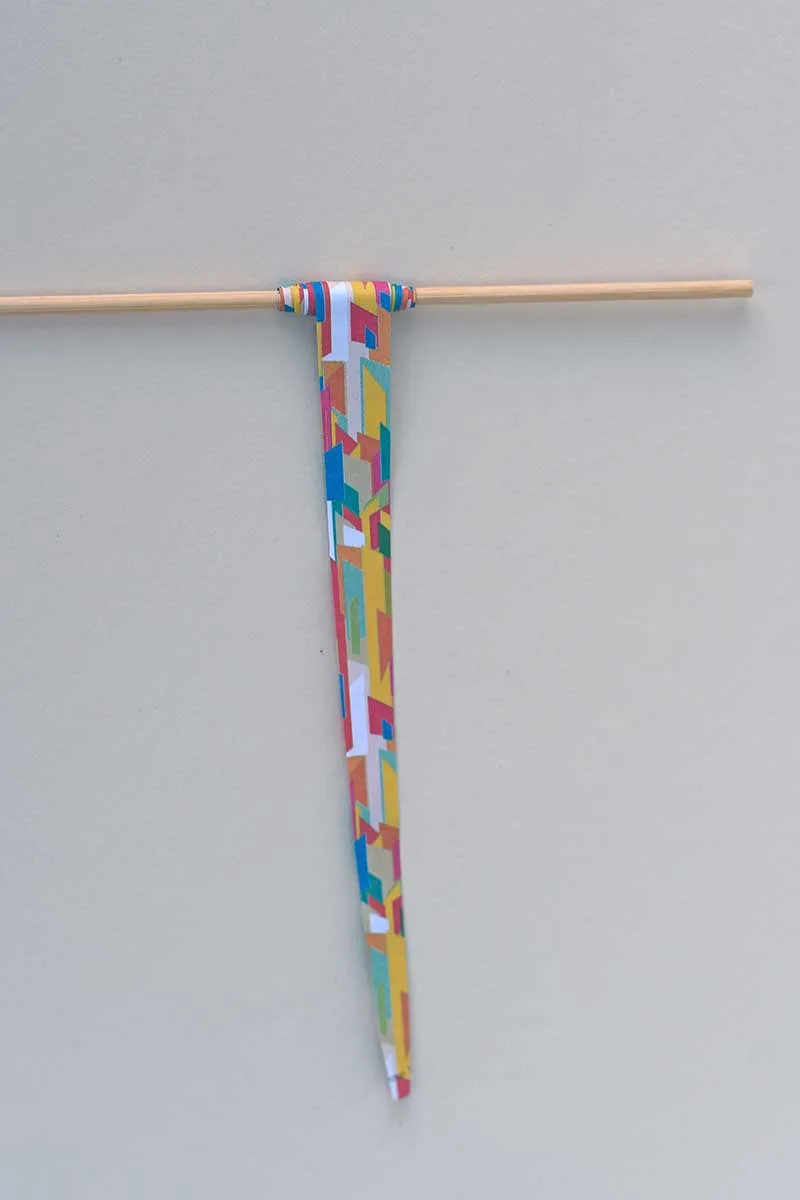
Step 7: Make a paper bead ( you’ll find more details with this paper bead tutorial). Cut a long triangle strip of paper about 20cm long and 1.5 cm wide at the base.
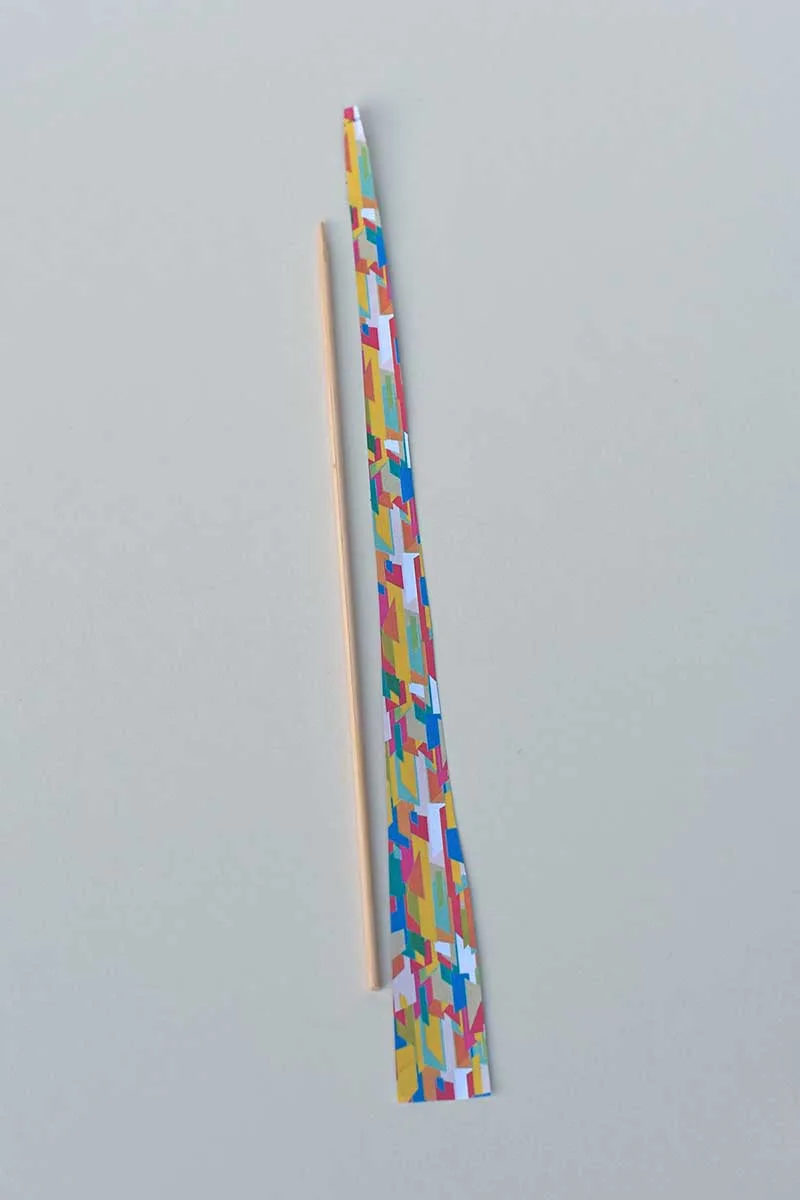
Start with the paper’s fat end and wrap it tightly around a wooden skewer. Carry on wrapping the paper around the stick and then secure the end with a dab of glue. Then, slide the bead off the stick.
Assembling the Paper Lanterns
Step 8: Cut a small strip of the same card stock you used for the lantern body about 1cm wide. Secure this to the bottom of the paper lantern using hot glue or glue dots. This paper shelf will attach the tassel to the lantern but can also hold an LED tealight.
At the same time, cut two small round discs (1cm) of card stock.
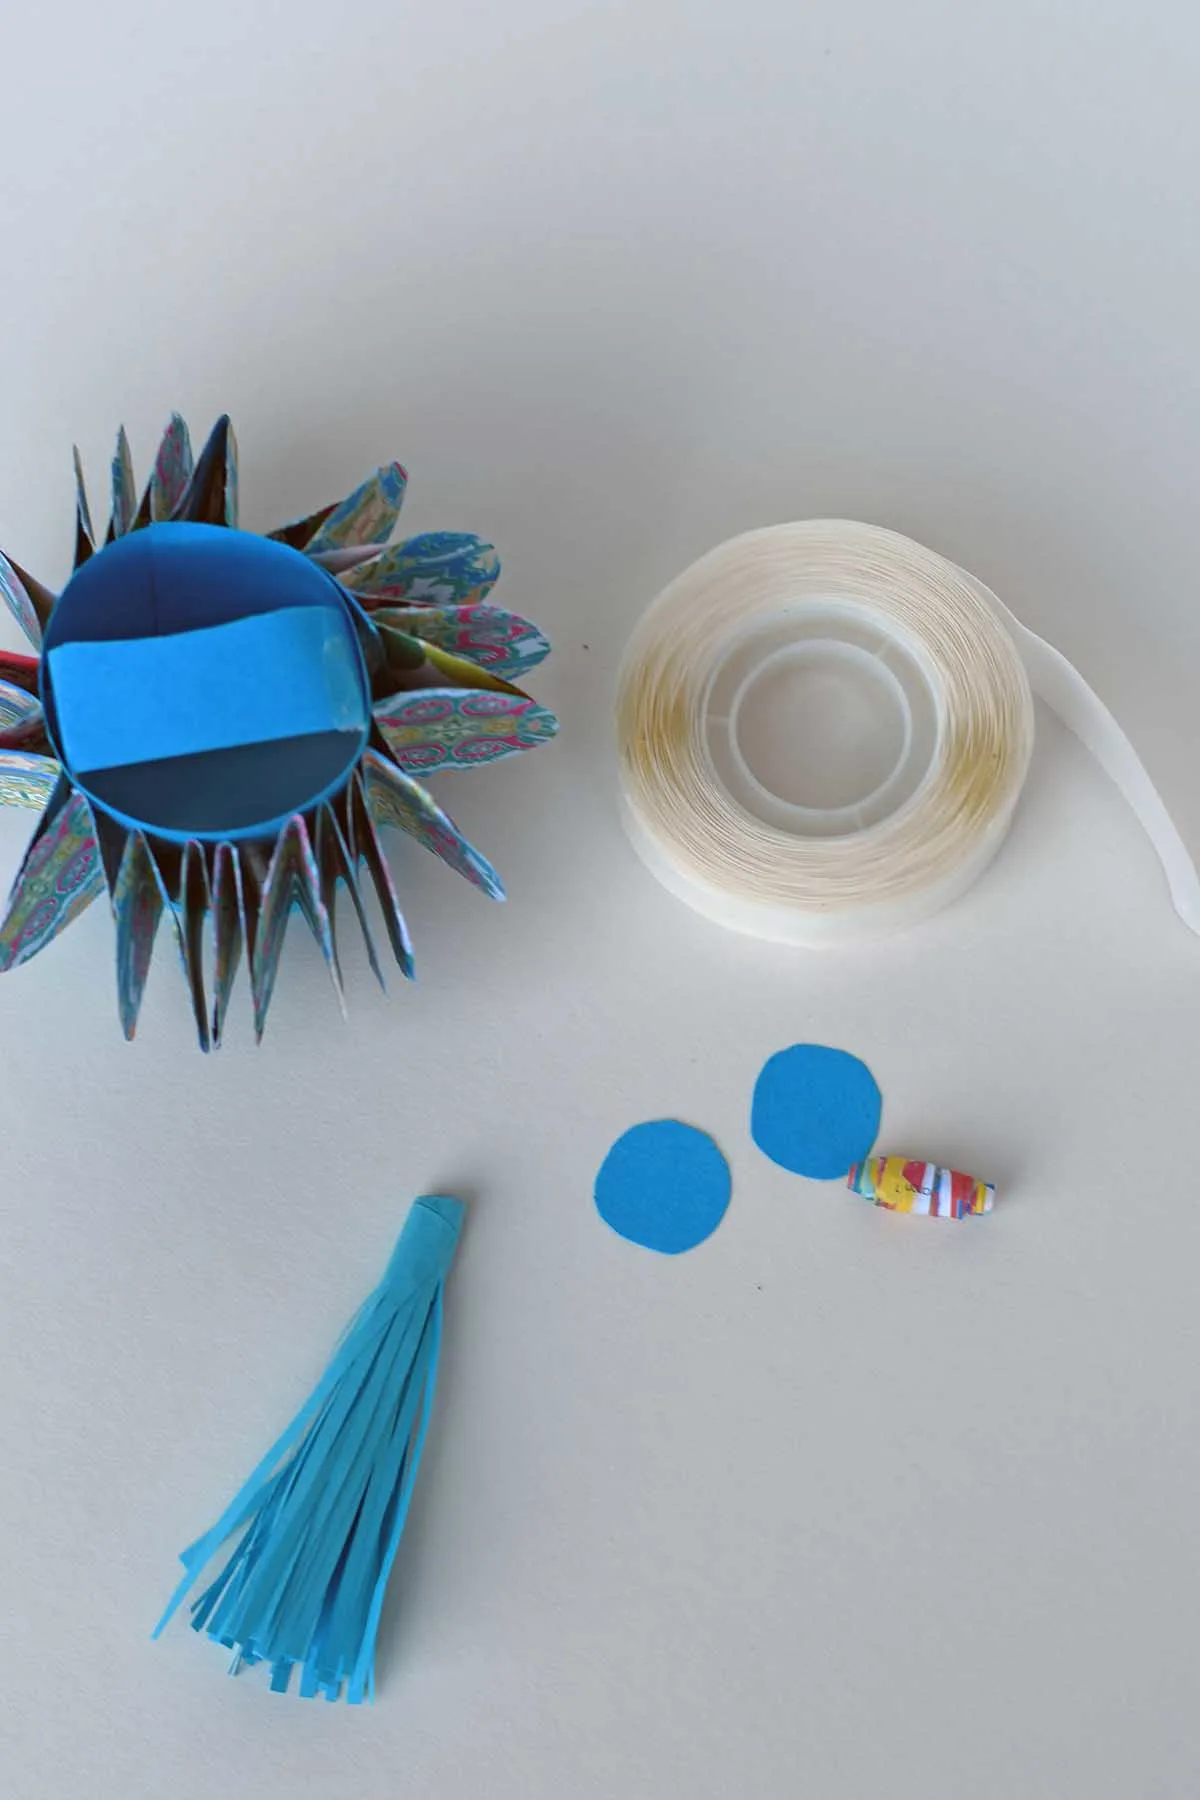
Step 9: Using glue dots (or hot glue), stick one of the small discs to the top of the tassel, then add the paper bead. Then, glue the other disc to the top of the paper bead and stick it to the bottom of the lantern.
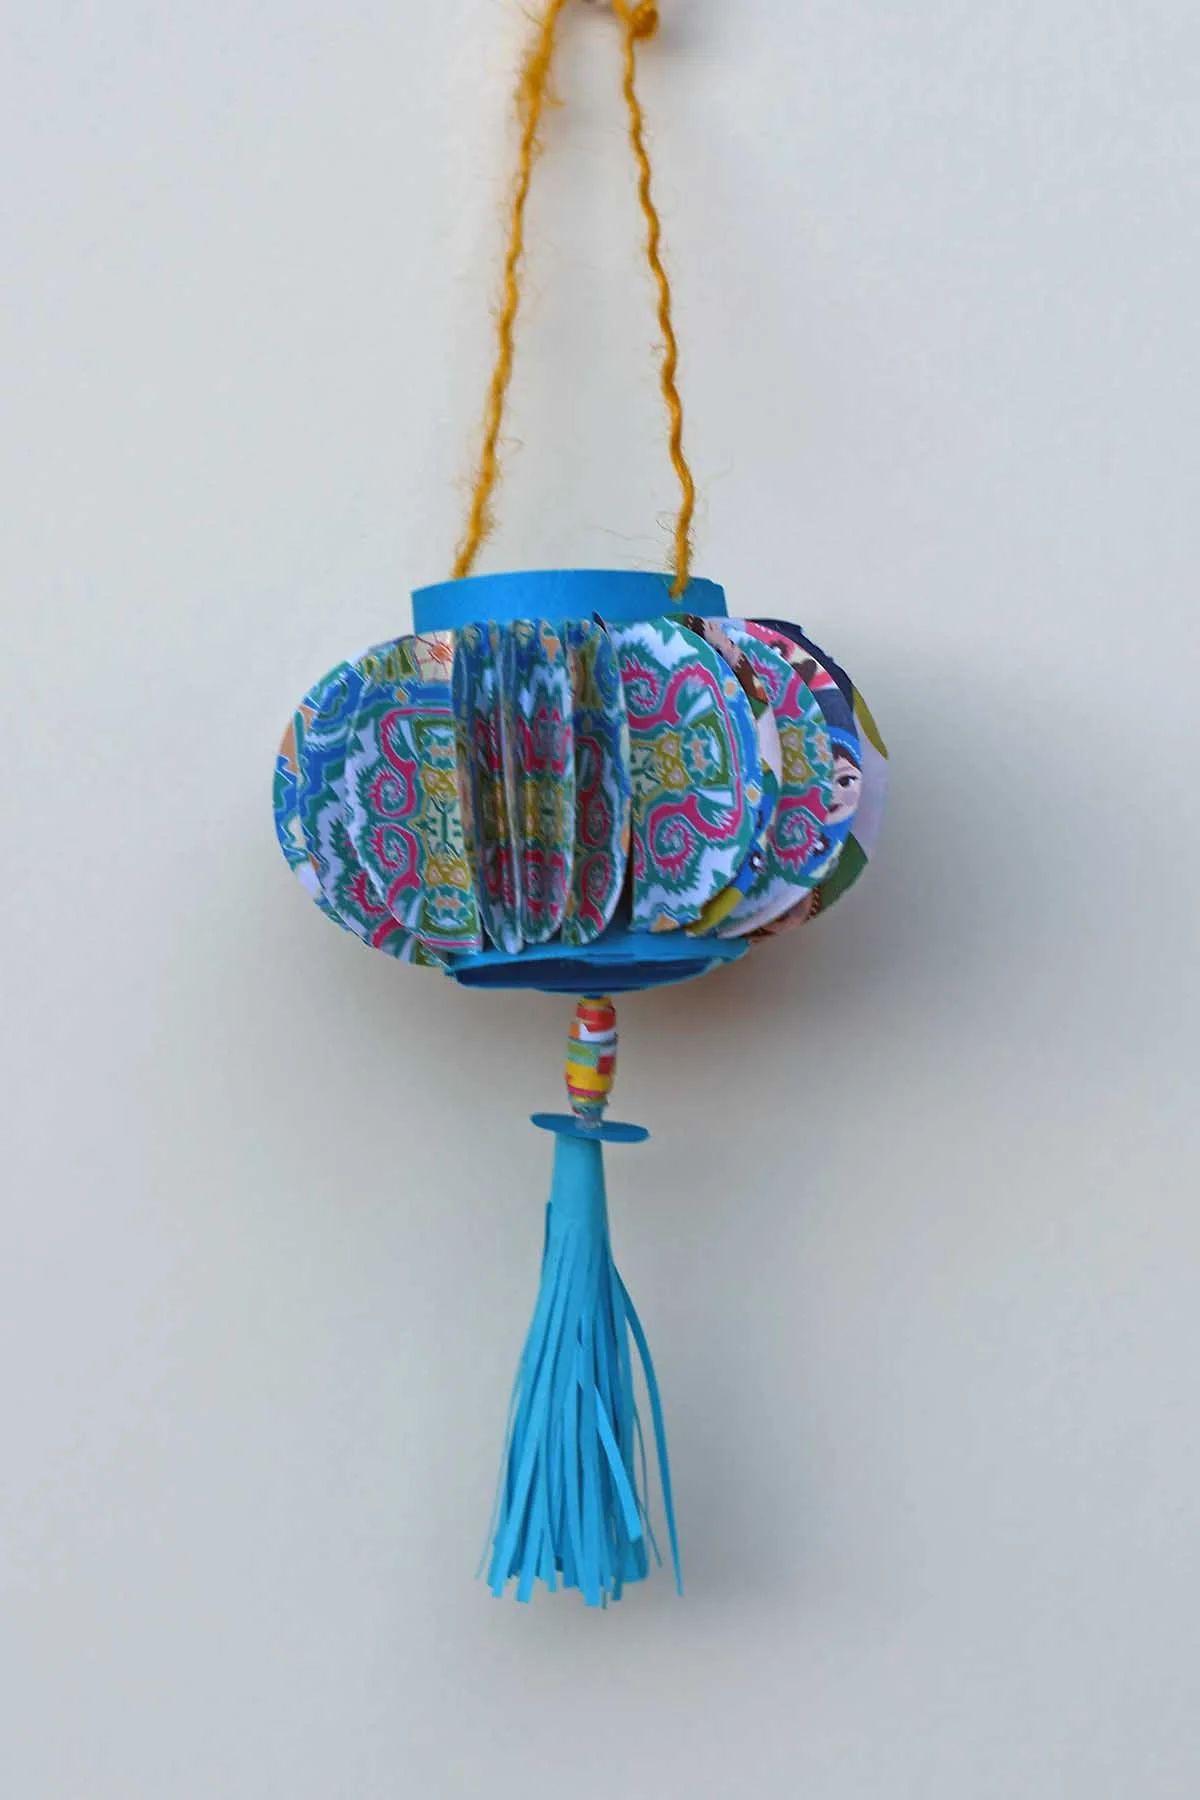
To finish off, punch two holes into the top of the lantern and add twine for hanging.
More Paper Lantern Ideas
These unique paper lanterns are enchanting! They stand out with their decorative flair, a delightful twist on the traditional Chinese paper lantern designs.
It was such a joy rummaging through my collection of craft papers and creating a series of these lanterns to assemble into a charming decorative garland.
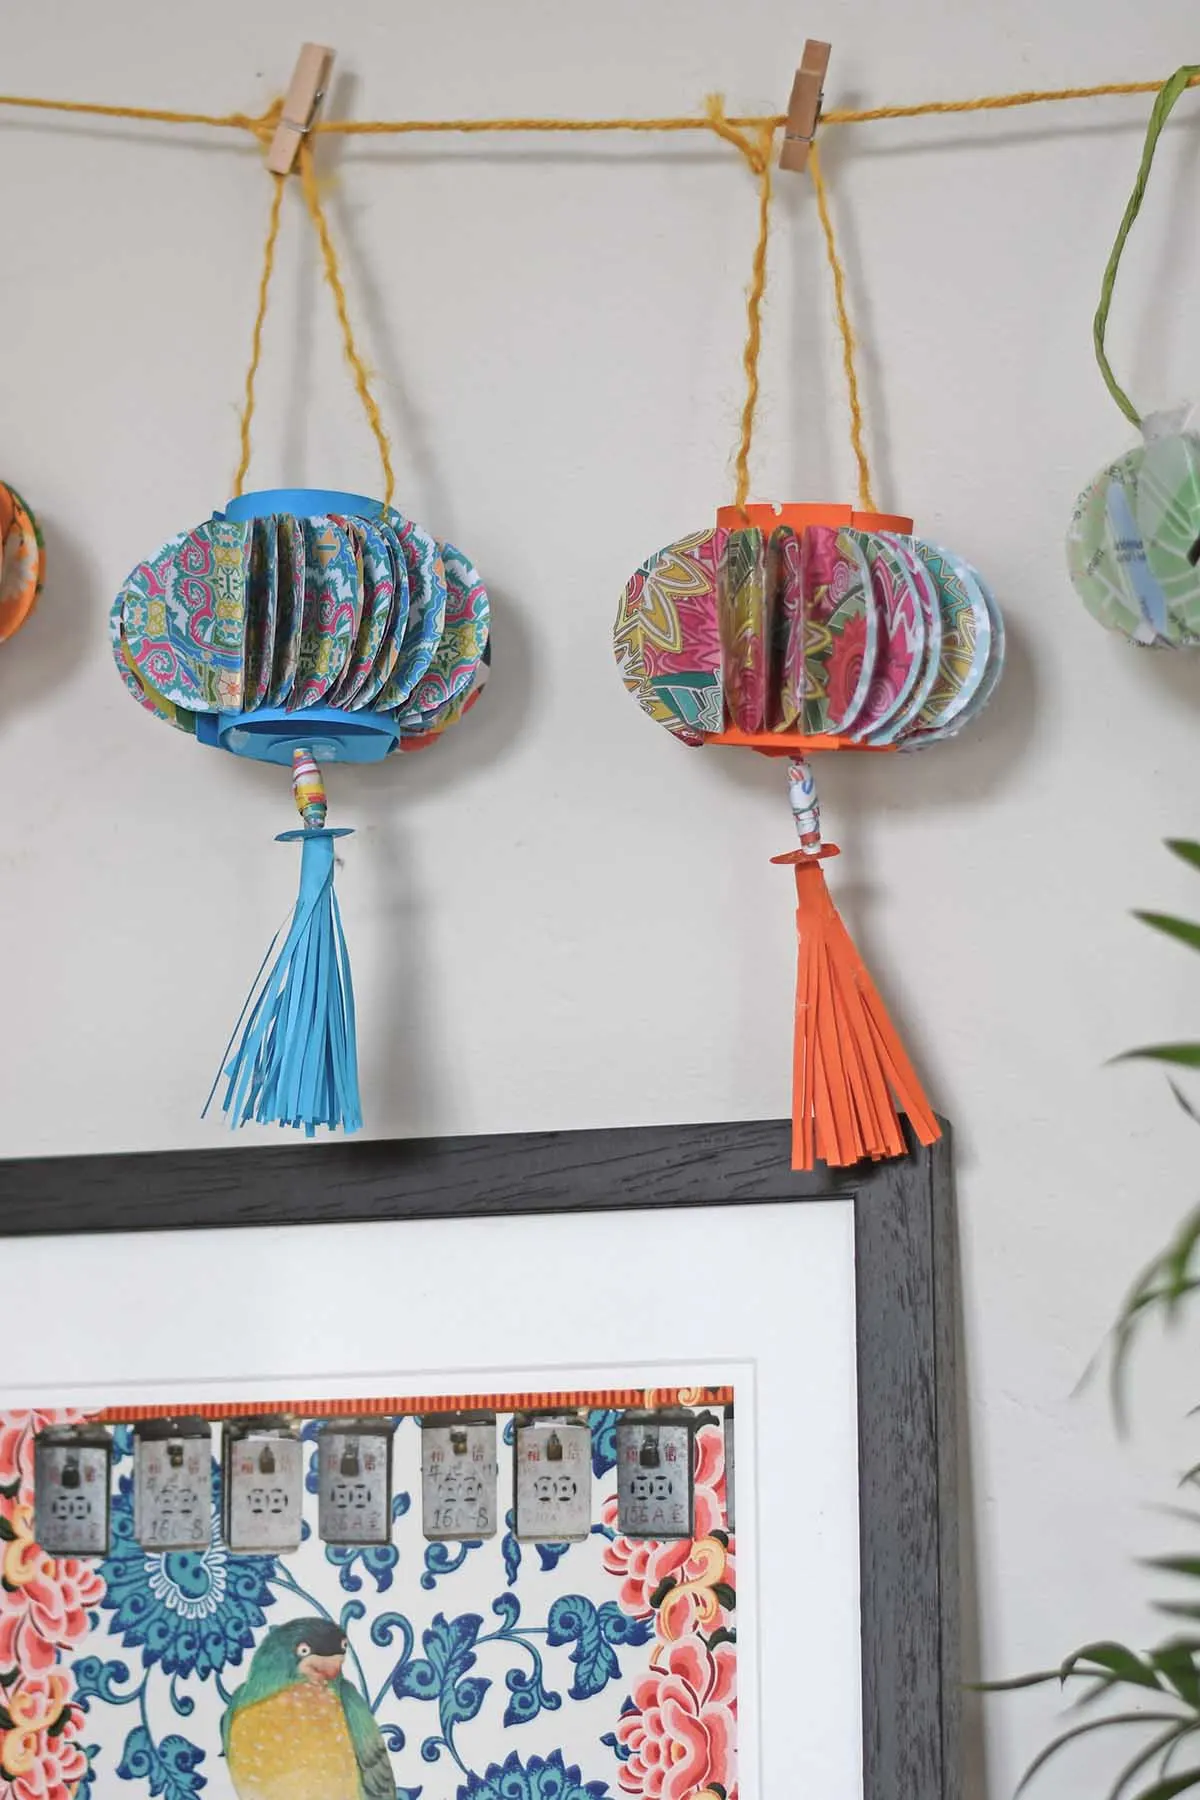
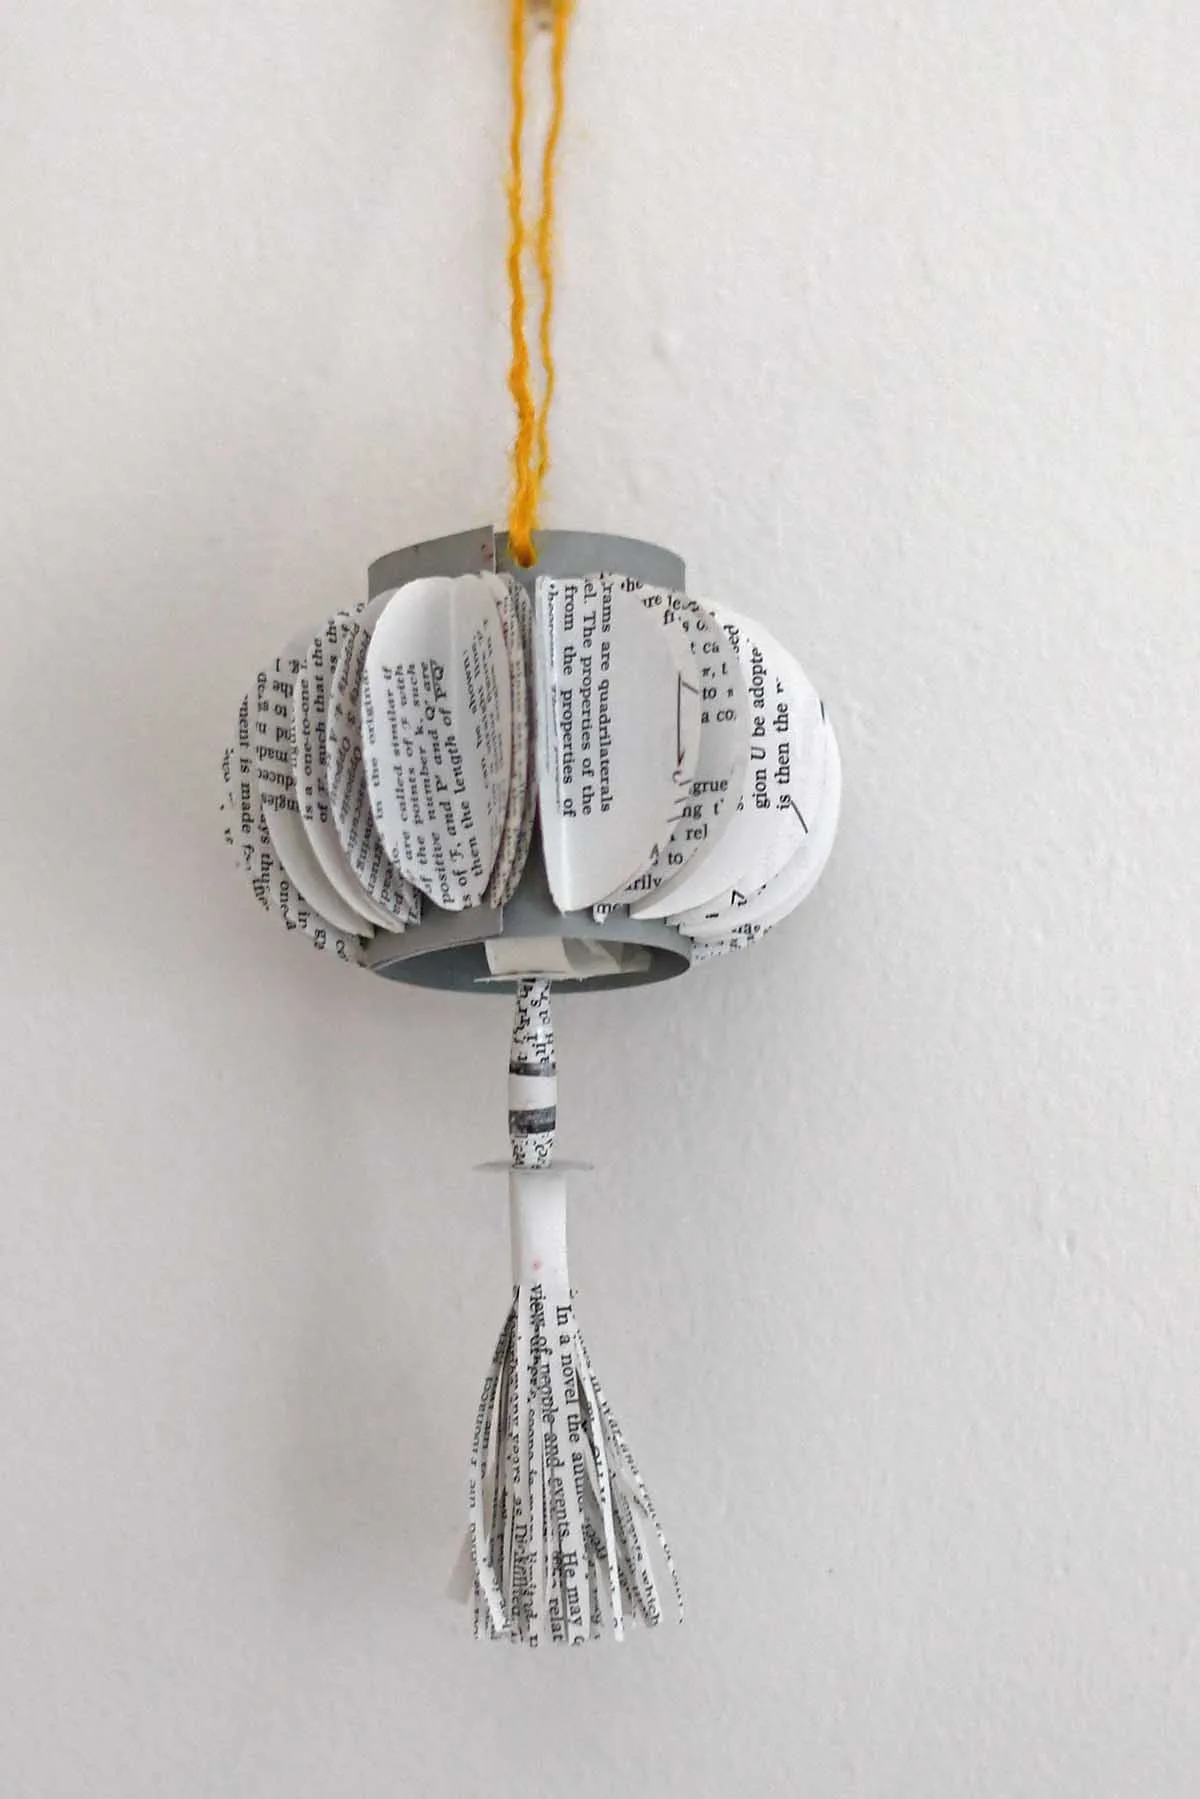
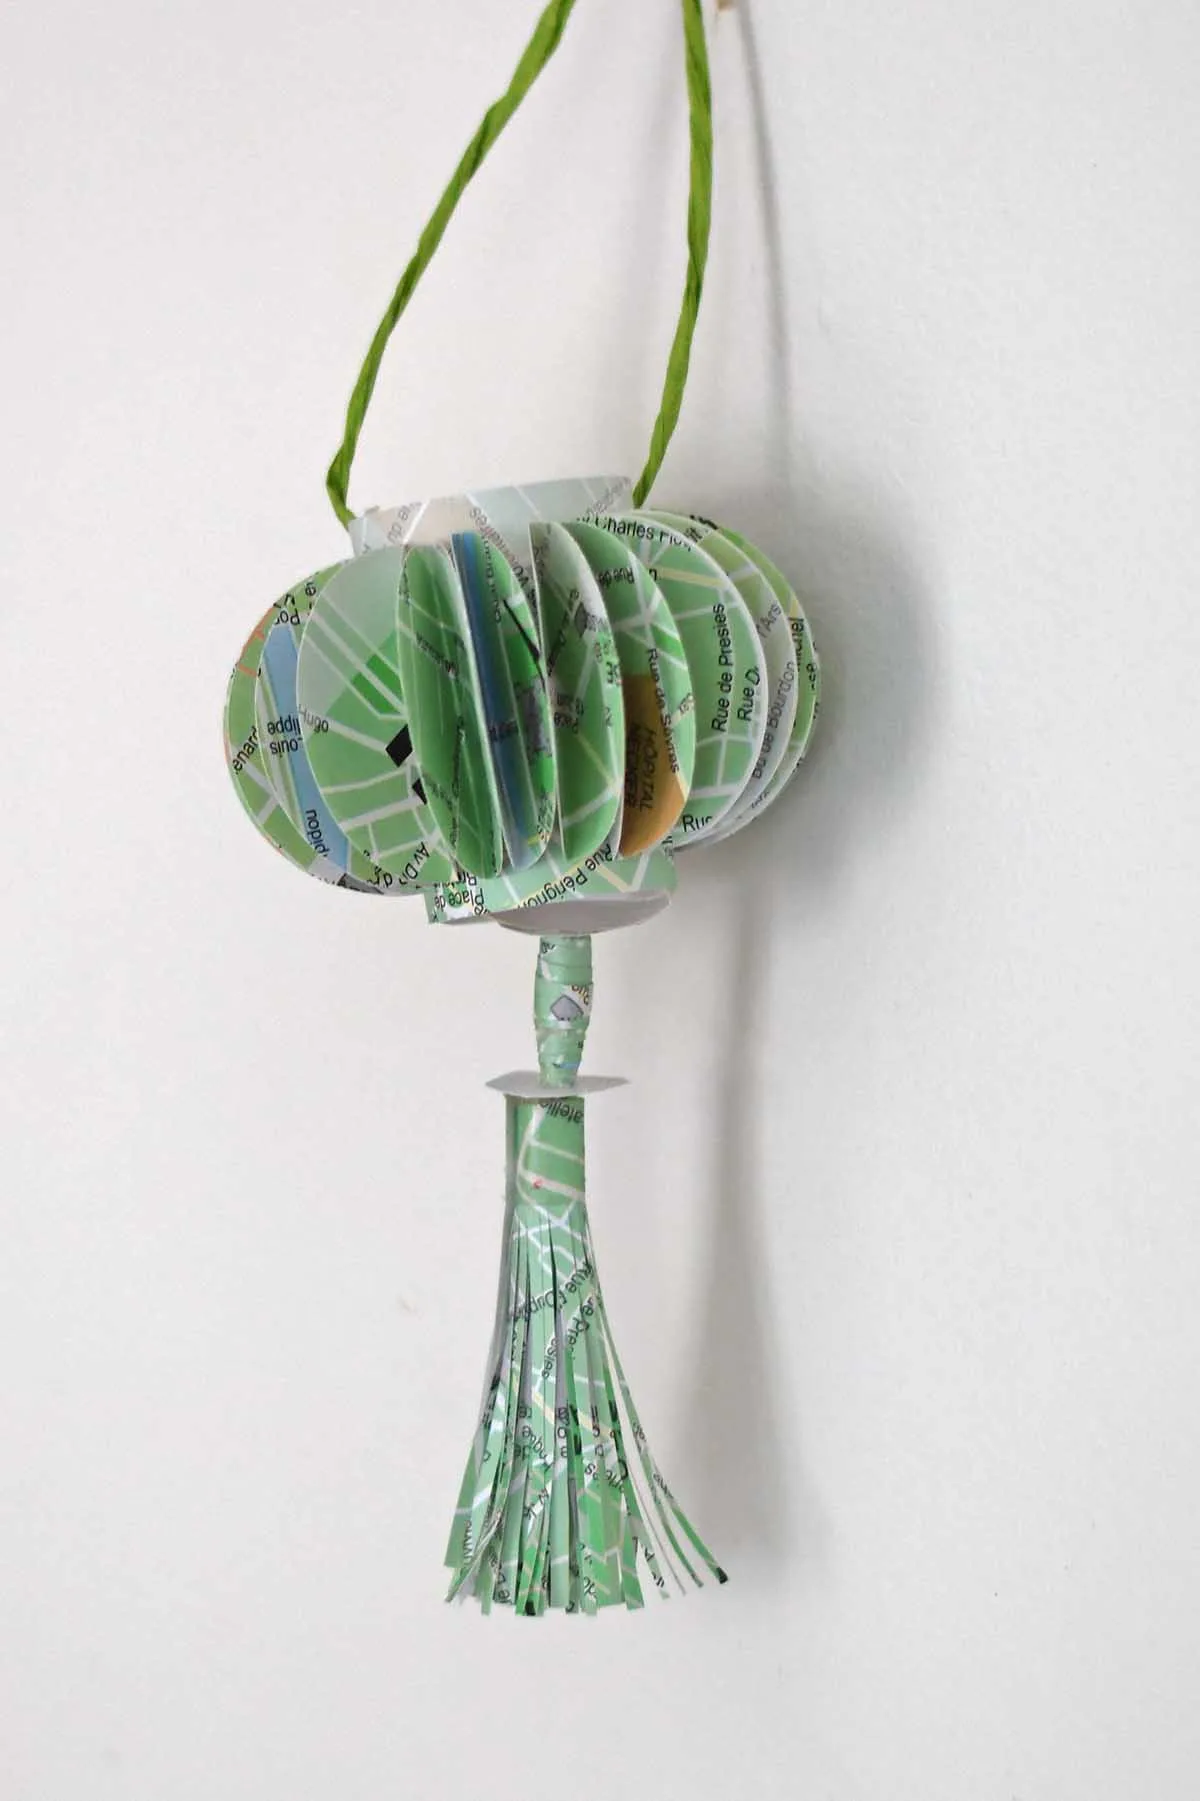
Whether you choose vibrant colours for a festive look or more subdued tones for a softer ambience, these lanterns are sure to add a unique charm to your decor. You could make these paper lanterns out of old book pages and old road maps for a more eco-friendly choice.
Check out this free printable if you are looking for more traditional Chinese Paper lantern templates. You might also like the Map luminary bags and these DIY tea light lanterns. You’ll find many more free paper lantern ideas and templates here.
And if you are looking for more Chinese New Year decoration ideas, check out these free dragon pictures as it is the Year of the Dragon next.
Don’t forget to check out more fun adult craft ideas here.

Julie
Sunday 21st of January 2024
Your lanterns are beautiful, I especially like the bright colourful ones.
Claire Armstrong
Monday 22nd of January 2024
Thank you, I had fun going through my paper stash looking for colourful pattered paper for the lanterns.
New Upcycle Ideas 711 - Funky Junk InteriorsFunky Junk Interiors
Saturday 20th of January 2024
[…] Paper lanterns by Pillar Box Blue […]
creativejewishmom/sara
Friday 19th of January 2024
Love this, I will be using this idea without a doubt! thanks so much for sharing on craft schooling sunday, great to see you!
Claire Armstrong
Saturday 20th of January 2024
Thank you so much, they are fun to make. I've now got a whole garland full.