This farmyard-themed hen and duck embroidery is a fun, easy decoration to make for a spring mantle. These cute embroidered figures will go with the denim bunnies I made last week.
The spring embroidery is very simple, with no complicated stitches. Anyone should be able to do it. Also, most materials are repurposed, making it an affordable spring craft.
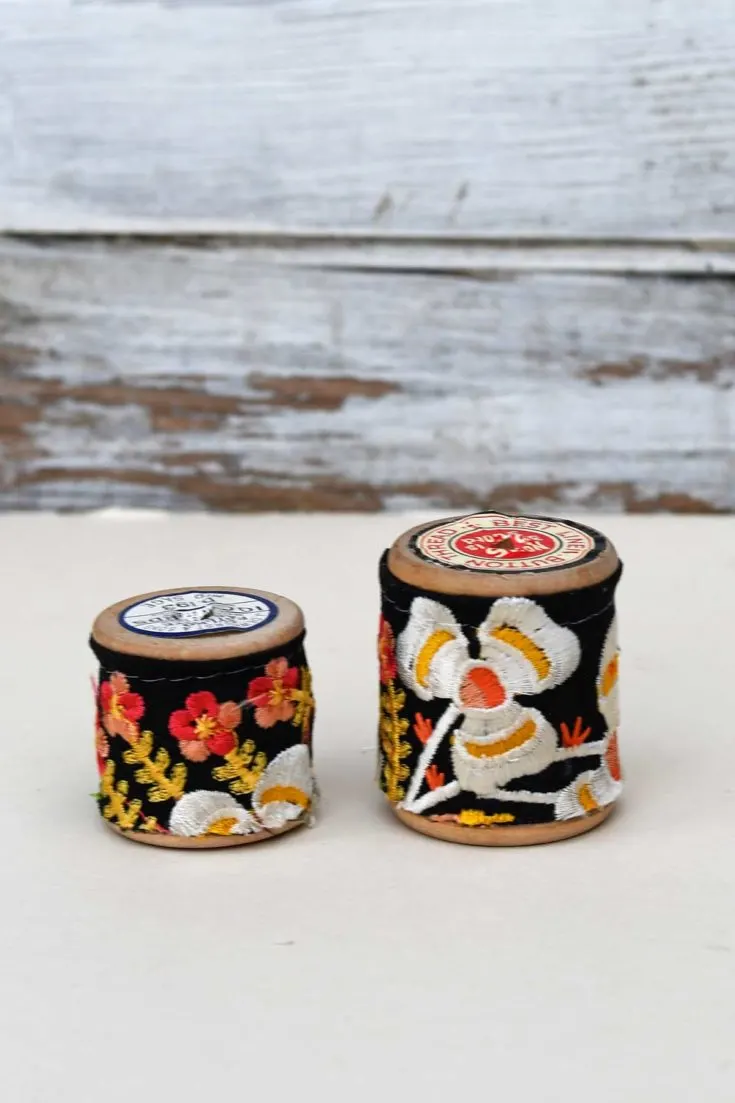
To keep with the vintage feel of the duck embroidery, I used an old wooden cotton reel to display them. I decorated the reels with floral ribbon to add to the spring feel.
We’re a participant in the Amazon Services LLC Associates Program, an affiliate advertising program designed to provide a means for us to earn fees by linking to Amazon.com and affiliated sites. As an Amazon Associate, I earn from qualifying purchases.
(There is a printable how-to card for this craft at the end of the post.)
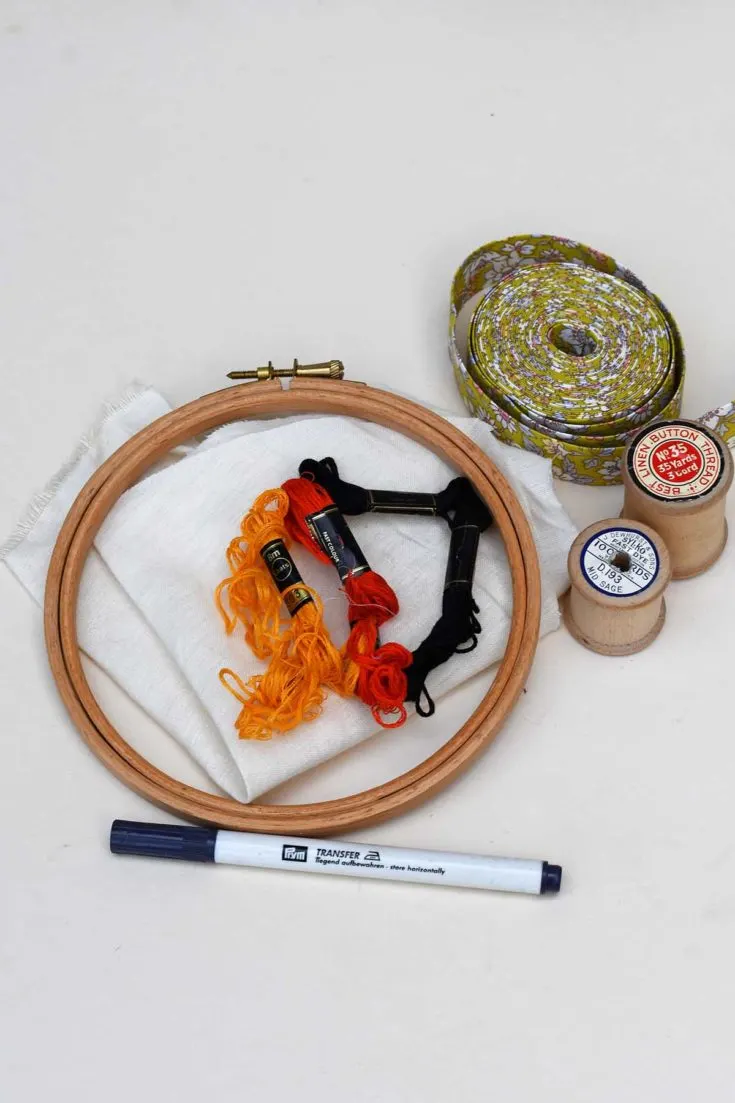
What You Need For Easter Embroidery
- Linen/cotton fabric in a creamy white colour. You will need a piece about 20cm squared for each embroidery. I repurposed some old tea towel linen fabric. It should be fine if the material can be easily embroidered and isn’t too stiff.
- Embroidery thread in black, red/orange and bright yellow
- Embroidery needles
- Iron-on embroidery transfer pen
- Embroidery hoop (about 12cm)
- Wooden spools
- Floral Jacquard ribbon
- Fiberfill – You only need a minimal amount; I use the filling from old pillows.
- Wooden Skewer
- Glue and white tack
- Tracing paper
- Iron
How To Make The Hen and Duck Embroidery
Step 1: First, download and print the free simple duck and hen embroidery patterns.
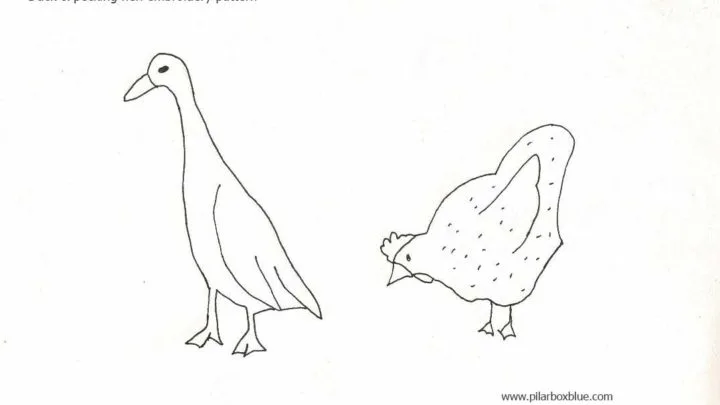
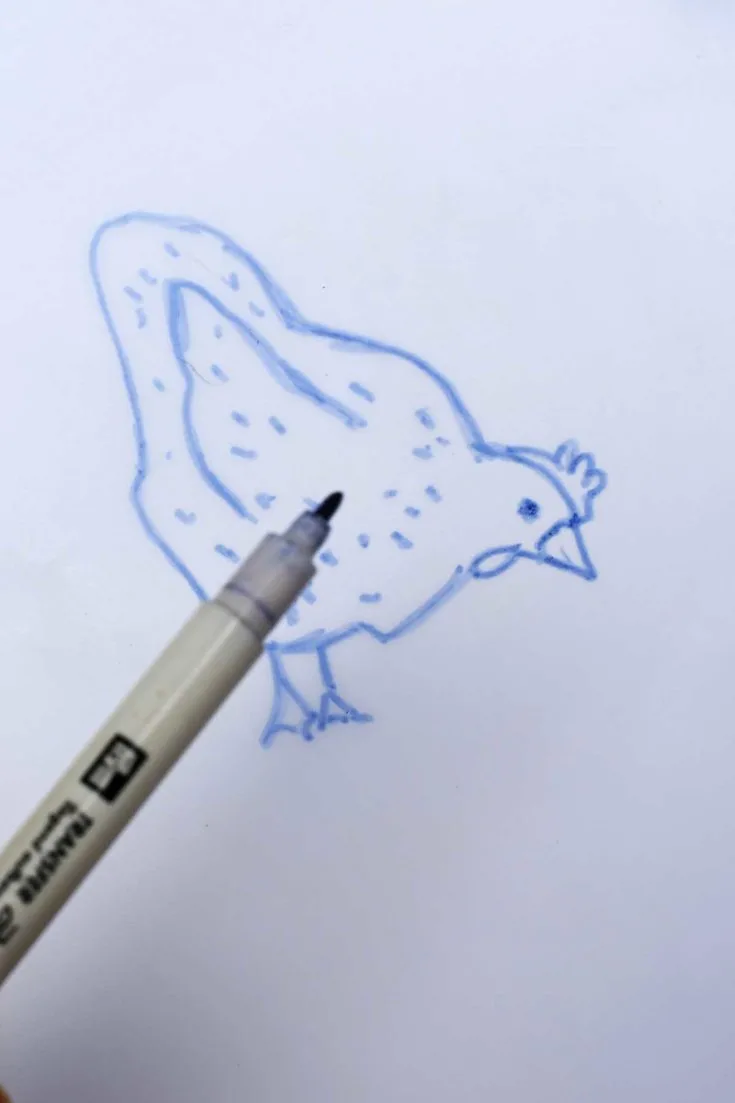
Step 2: Using the transfer pen, draw around the pattern onto tracing paper. Remember that with the tracing paper, you will get a mirror image. If you don’t want a mirror image, go over the image on the back of the tracing paper with the iron-on transfer pen.
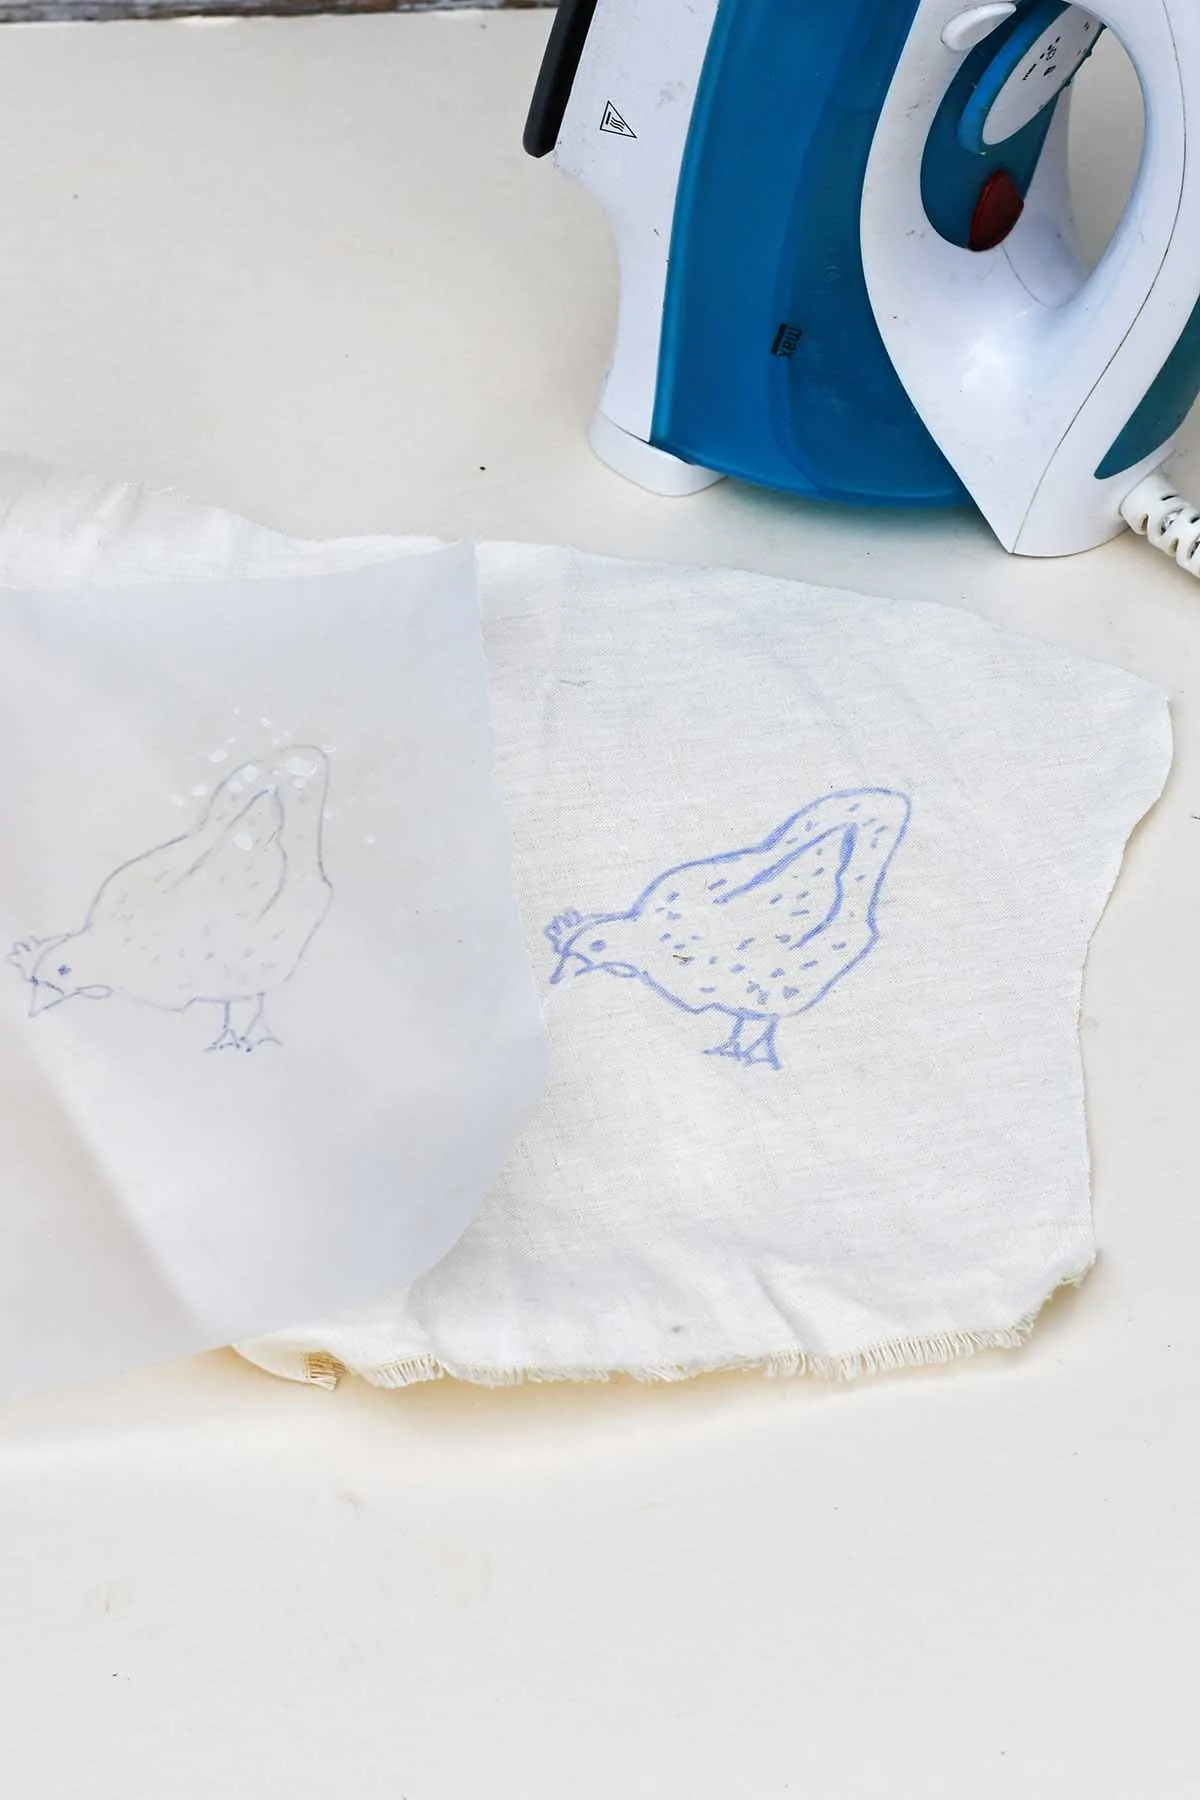
Step 3: Place the tracing paper face down onto the linen fabric. The transfer ink should be touching the material. Next, apply a hot iron to the linen for about 20 seconds. For the exact time, check the instructions with the transfer pen. Make sure the steam function is turned off.
When you lift the tracing paper, the spring embroidery pattern should have transferred to the fabric.
Step 4: Next, place the fabric in the embroidery hoop. Then, thread a needle with three strands of black embroidery thread. Following the pattern lines, stitch around the hen or duck. Use a simple running stitch.
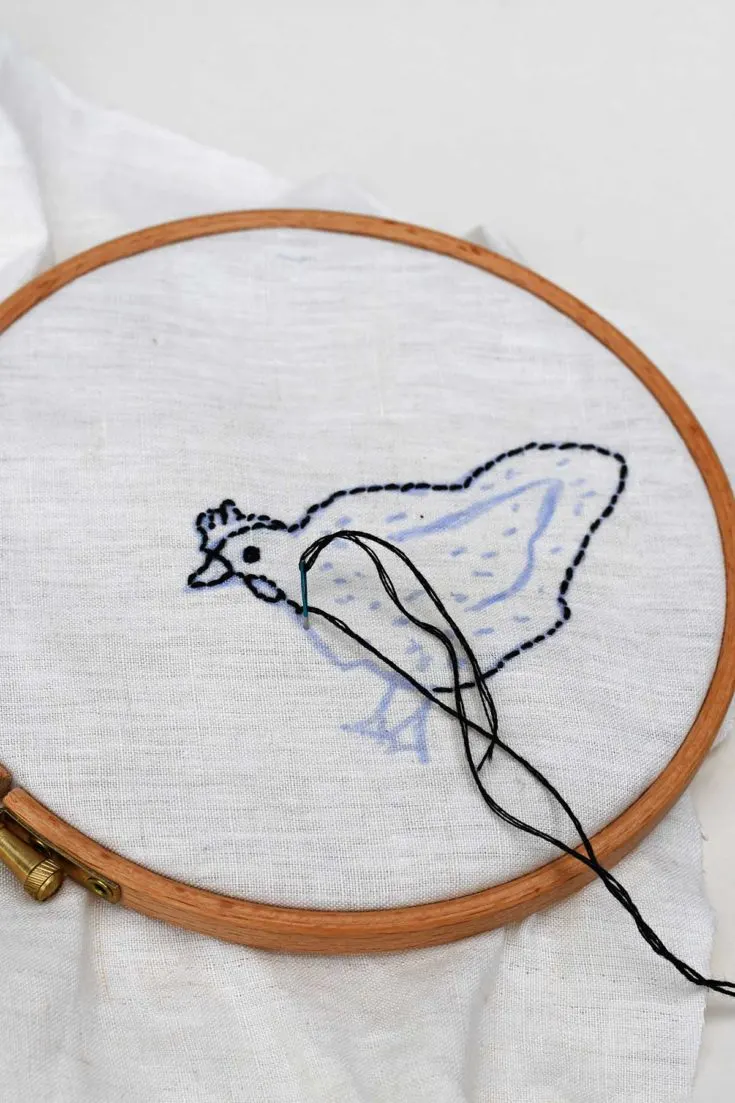
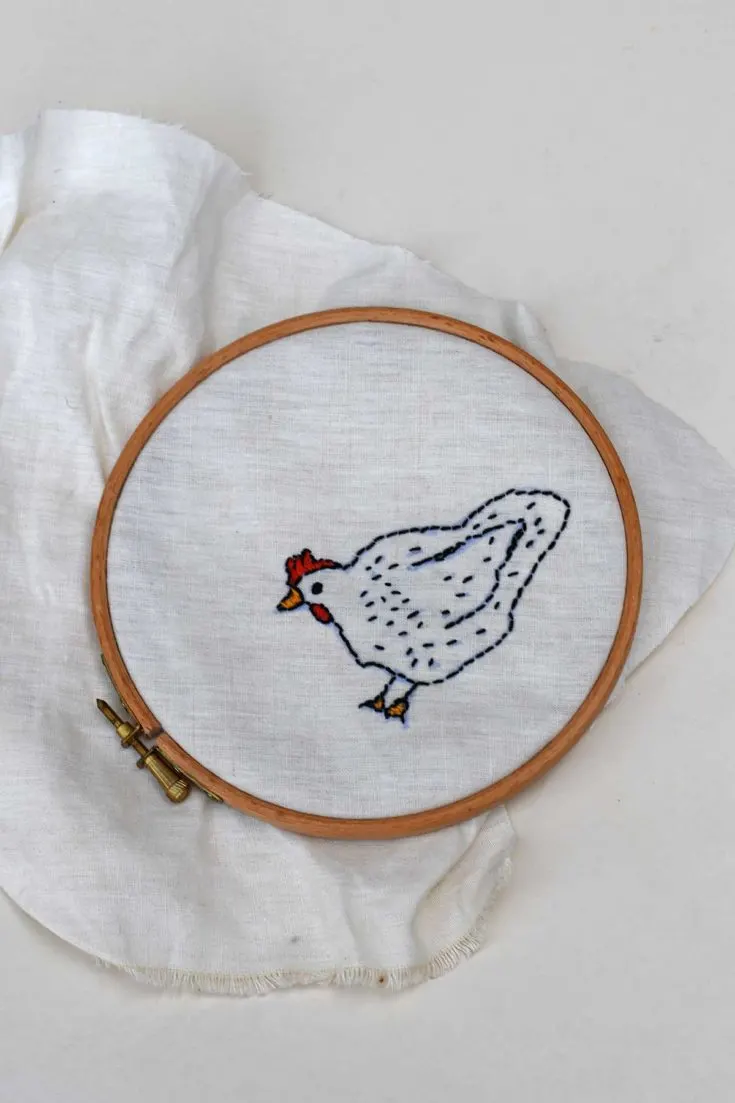
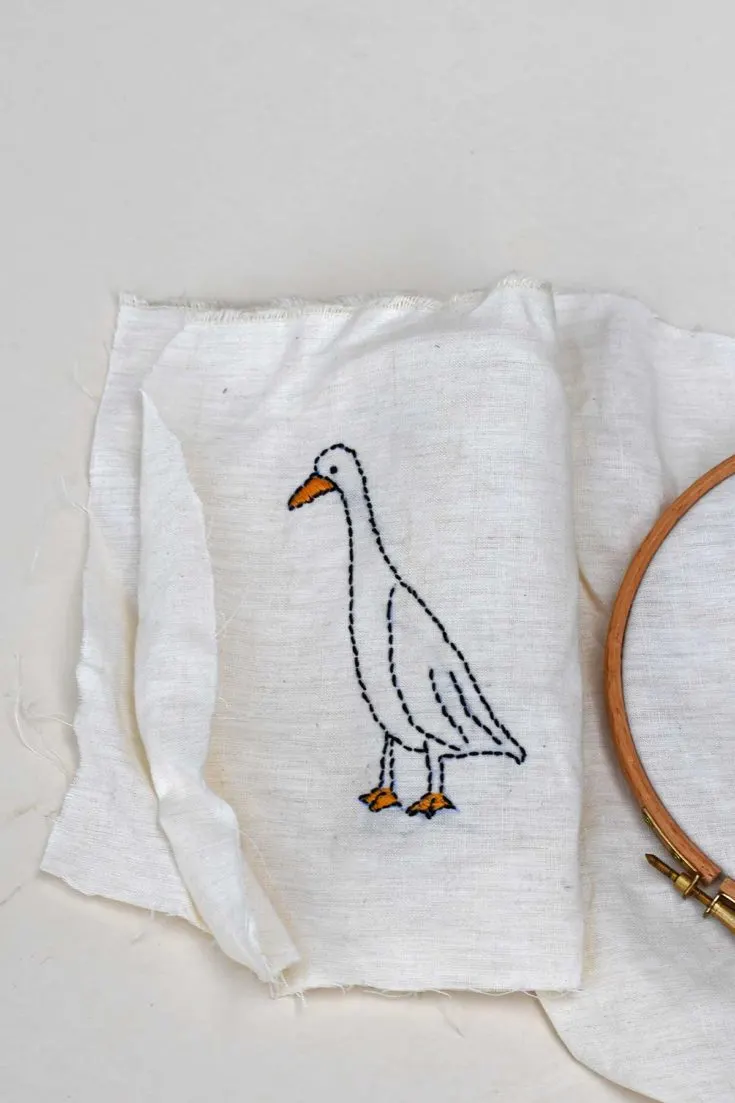
Step 5: Next, embroider the coloured bits on the embroidery design. That’s red for the hen’s comb, yellow for the feet and beak for both farm animals.
The blue pattern lines from the transfer pen will fade over time. However, the blue ink will quickly disappear if you wet the fabric.
Making the Spring Embroidered Figures
Step 7: Next, remove the embroidery from the hoop. Then pin a plain piece of fabric on top of the embroidery. Stitch both bits of fabric together around the hen or duck, leaving a margin of about 5mm. Also, leave a small gap at the bottom of each figure for stuffing.
Then cut away any excess fabric from the figures.
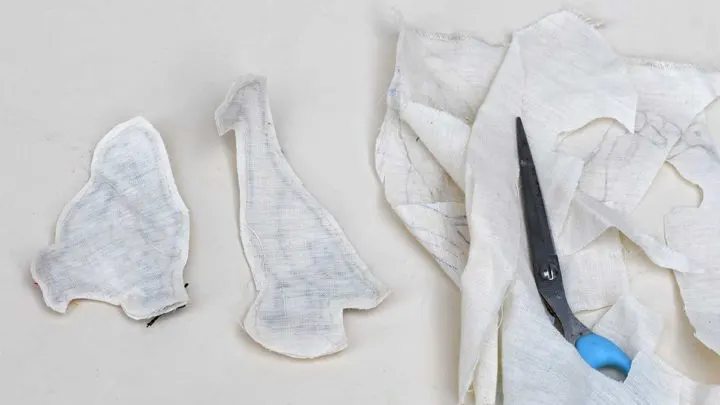
Step 8: Next, using the gap at the base of the farm animal, turn the fabric right side out.
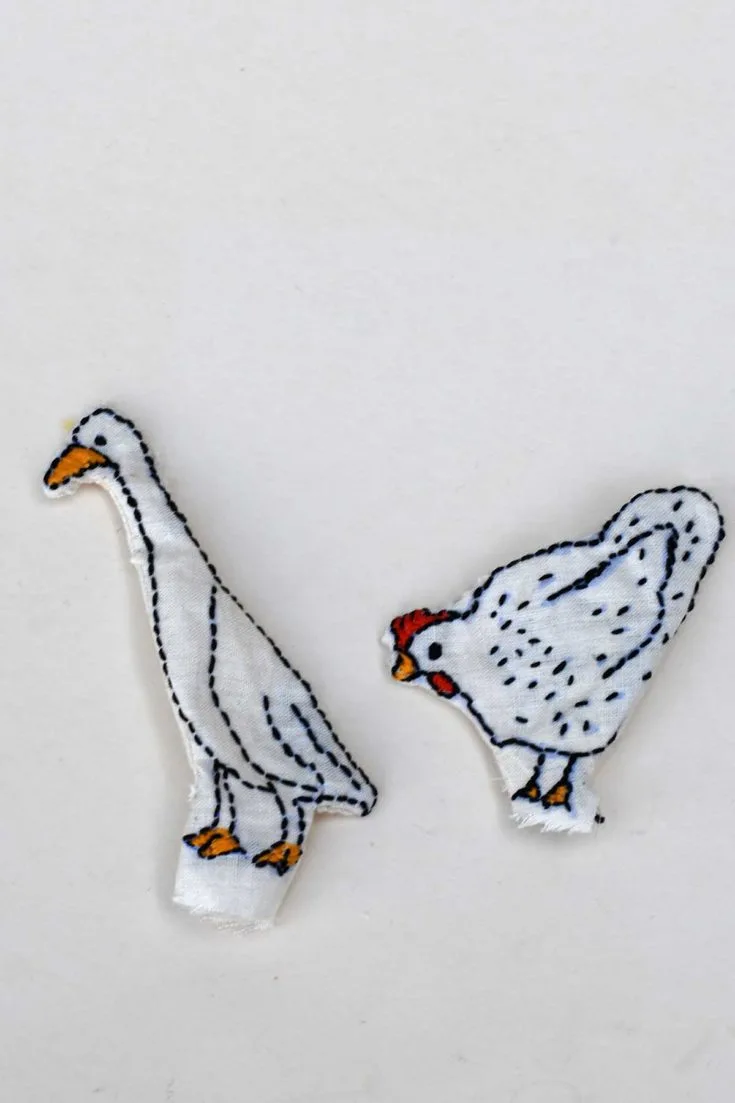
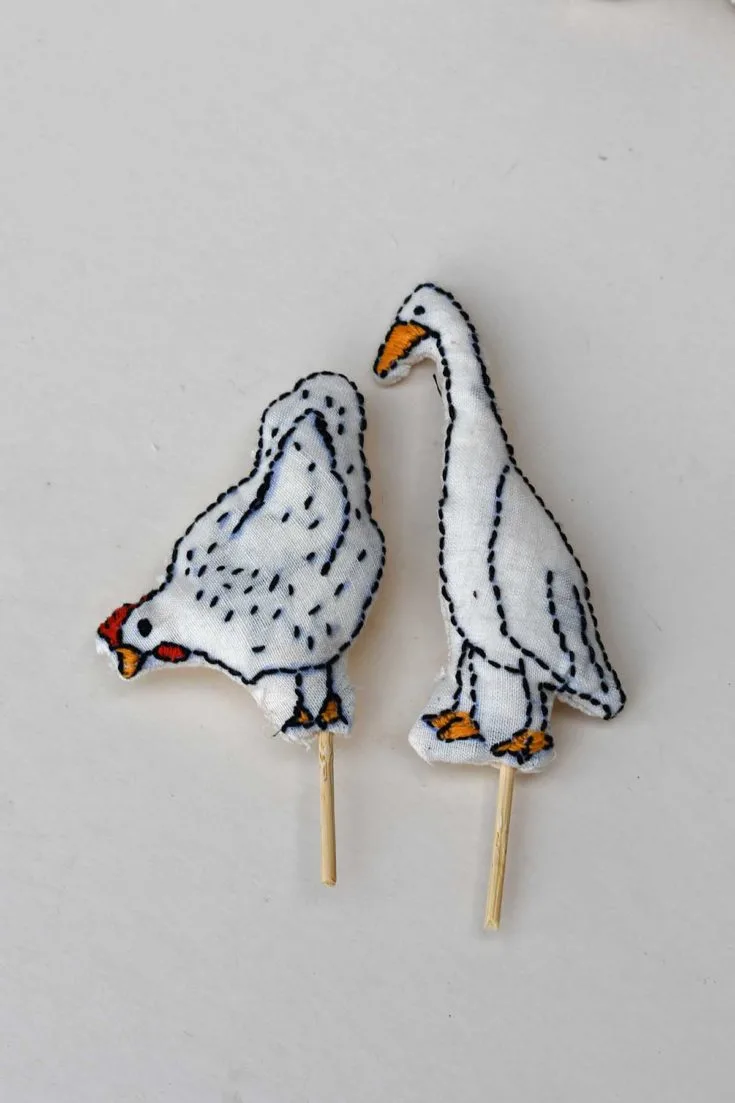
Step 9: Next, stuff the hen and duck embroidery with a small amount of fiberfill. Then, place a wooden skewer (about 5cm) in the base. Stitch up the hole around the skewer.
Step 10: Cover the wooden cotton reels in a Jacquard ribbon. Cut the ribbon to size. Then wrap it around the spool and glue it into place.
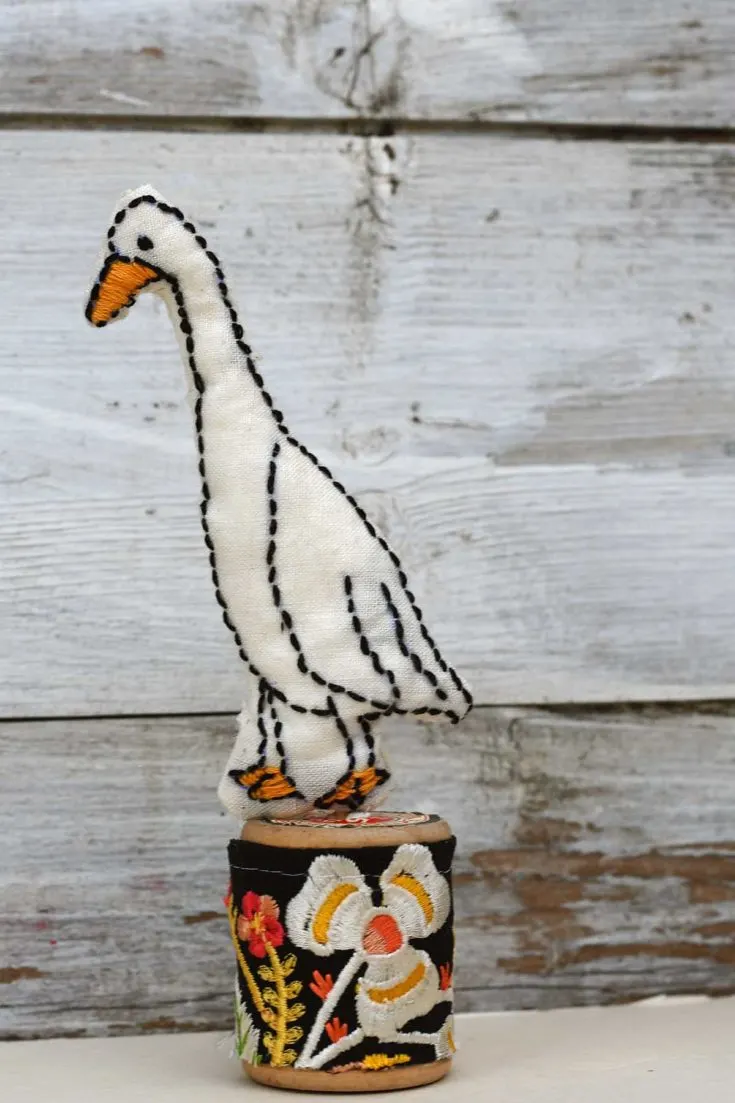
Step 11: Finish the spring decoration by placing the embroidered animals on the spools. Just put the end of the skewers in the hole at the top of the reels. If the gap is too big, use white tack to keep the skewers steady.
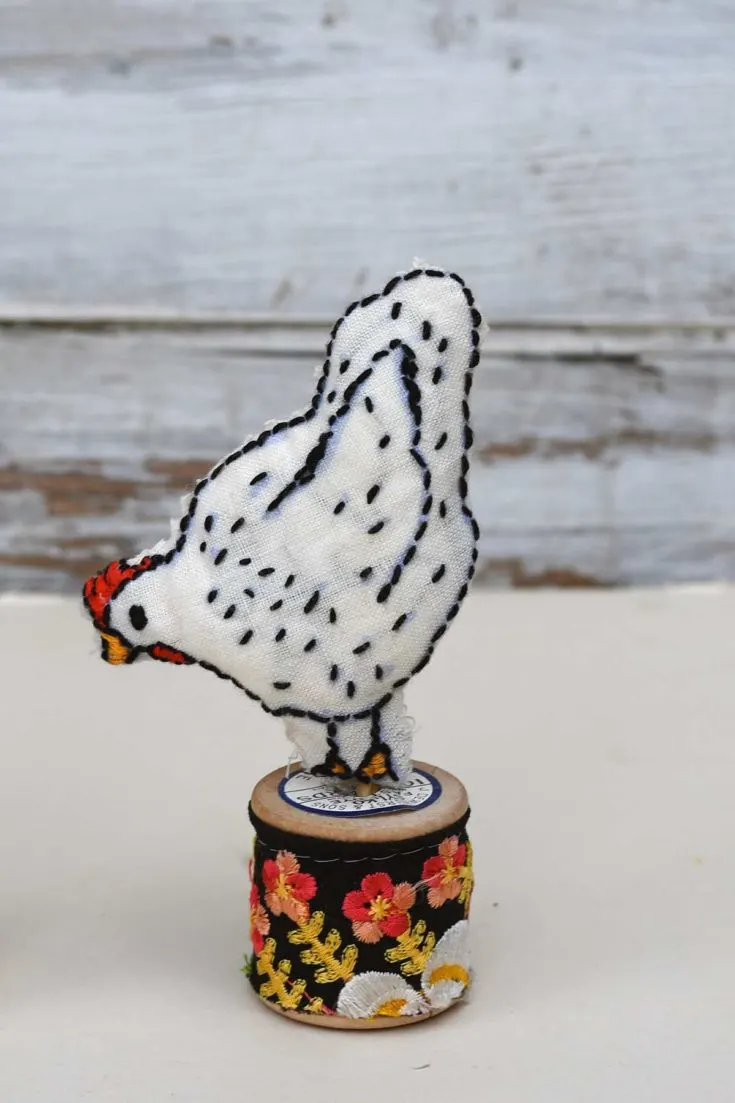
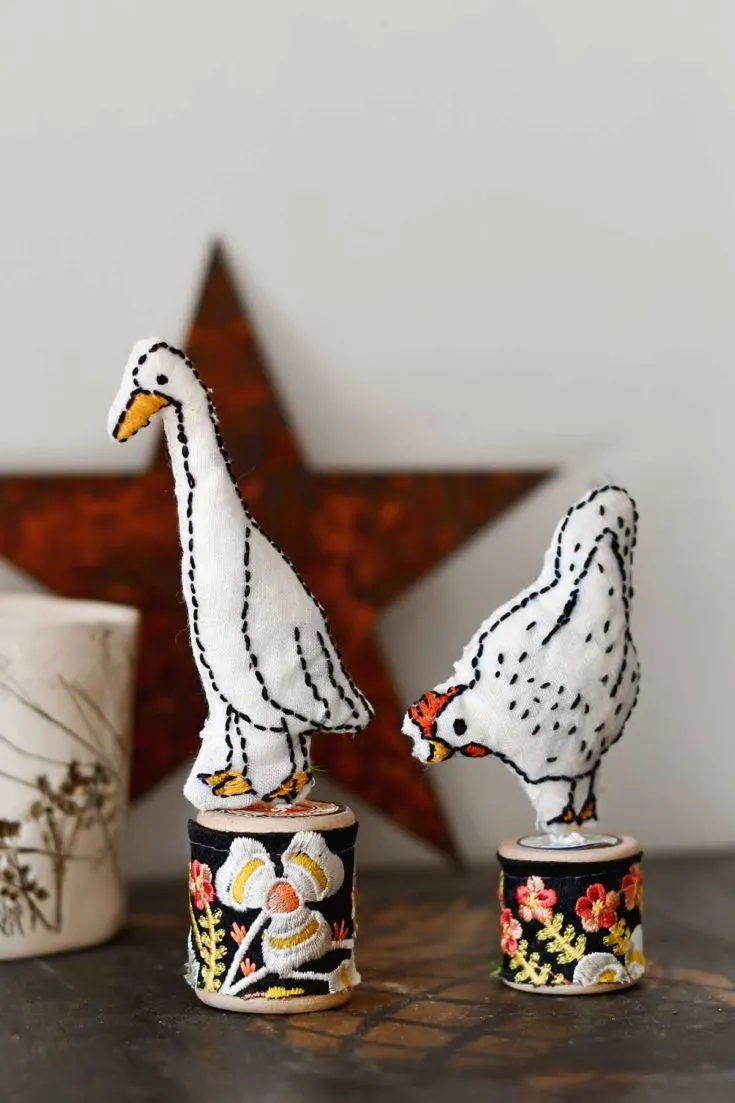
If you are looking for more hand-sewn mantle decorations, check out my embroidered Halloween felt decorations, Scandinavian embroidered hearts, and Scandi felt forest. These figures will also go well with the scrap fabric mushrooms on my mantle.
For more personalized embroidery, check out this tutorial for turning your kid’s artwork into embroidered wall art. I also have a tutorial for embroidery on canvas and embroidered Christmas ornaments.
There are many more spring and Easter decoration crafts on Pillarboxblue, such as the paper mache egg decoration and Anthropologie rabbit head.
Embroidered Spring Farmyard Figures
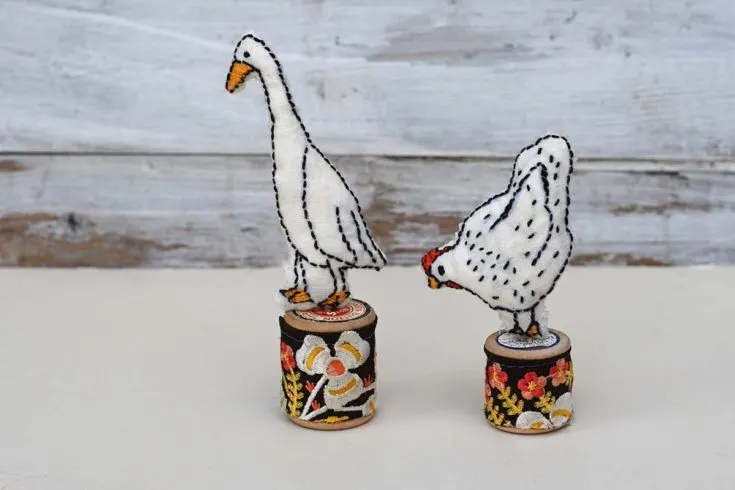
A free pattern and simple tutorial to make two spring embroidered farmyard animals, a cute running duck and a pecking hen. These make a cute Easter decoration for your spring mantle.
Materials
- Cream/white linen fabric such as an old tea towel. A 20cm square piece of fabric for each embroidered figure.
- Embroidery threads and needles
- Wooden cotton thread spools
- Jacquard floral ribbon
- Fiberfill
- Glue and white tack
- Small wooden skewer about 5cm in length.
- Wooden thread spools and floral ribbon
Tools
- Iron-on transfer pen and iron
- 12cm Embroidery hoop
- Tracing paper
Instructions
- Download and print the free embroidery patterns from the site.
- Next, trace the hen and duck embroidery patterns using the transfer pen.
- Then place the traced image face down onto the fabric and iron the back until the image is transferred onto the fabric.
- Place the fabric in an embroidery hoop. Then stitch around the pattern with embroidery thread 3 strands thick.
- Then embroidery the feet, beaks and combs in coloured thread.
- Remove the embroidered fabric from the hoop and pin another piece of fabric on top. Stich around the design leaving a 5mm margin and an opening at the bottom.
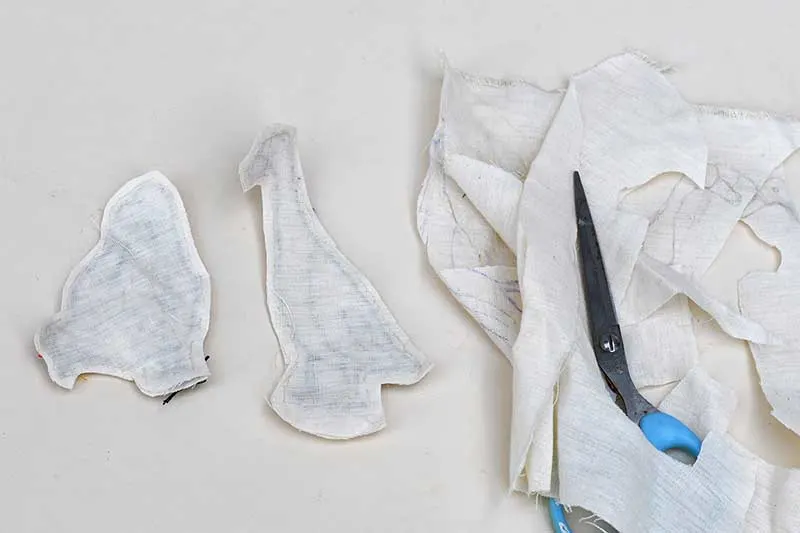
- Cutaway excess fabric and then turn the embroidery's right sides out.
- Stuff the embroidered duck and hen with fiberfill and place the wooden skewer in the base before stitching them shut.
- Next, cover the thread spools with floral ribbon.
- Finally, place the embroidered figures on the top of the spools. Use the wooden skewer and white tack to hold the figures in place.

creativejewishmom/sara
Tuesday 19th of April 2022
LOVE this project! thanks so much for sharing on craft schooling sunday!
Claire Armstrong
Thursday 21st of April 2022
Thank you so much, Sara.
Kerryanne
Friday 15th of April 2022
Claire, these really are so whimsical and cute. Thank you for sharing your hen and duck embroidery at Create Bake, Grow & Gather this week. I'm delighted to be featuring it at tonight's party and pinning too. Happy Easter, Kerryanne
Claire Armstrong
Friday 15th of April 2022
That's awesome, thank you so much I look forward to seeing them. Happy Easter.
Karolyn
Thursday 14th of April 2022
These are so dang cute!! I think I see maybe a gift idea for a neighbor of mine for her Spring decorations and actually...all year round! Too cute to hide away after Spring!! Thanks for sharing all your great ideas and instructions!!
Claire Armstrong
Thursday 14th of April 2022
Thank you, and have fun making them.
Felicity
Sunday 10th of April 2022
I adore these. However, I would have to buy a transfer pen, tracing paper, embroidery thread, embroidery needles, ribbon, and possibly spools (though I might be able to improvise something there). This will cost much much more than $1.
Claire Armstrong
Sunday 10th of April 2022
Thank you. If you are confident with your drawing you can omit the tracing paper and transfer pen stage. If you don’t have any spools you could use something else. Also any piece of scrap fabric could be used to decorate the bases, you only need the smallest amount. I hope that helps. Good luck with them.
Allyson @ Southern Sunflowers.com
Friday 8th of April 2022
Your hen and duck are so creative and whimsical! (here via a morning cup of joe)
Claire Armstrong
Friday 8th of April 2022
Thank you so much and thanks for visiting.