Learn how to create a stunning DIY felted rug by upcycling old sweaters. Follow our step-by-step guide to transform unwanted clothing into a beautiful, eco-friendly home decor piece.
I love a quick DIY and craft, but sometimes I like to take it slow. That’s what I did with this DIY felt rug.
It can be satisfying to take your time to make something and see it gradually blossom into a gorgeous finished product. That way, you also enjoy the therapeutic art of crafting and the results.
I’m trying to say that this rug took me ages to make, but it was fun, and I really enjoyed making it!
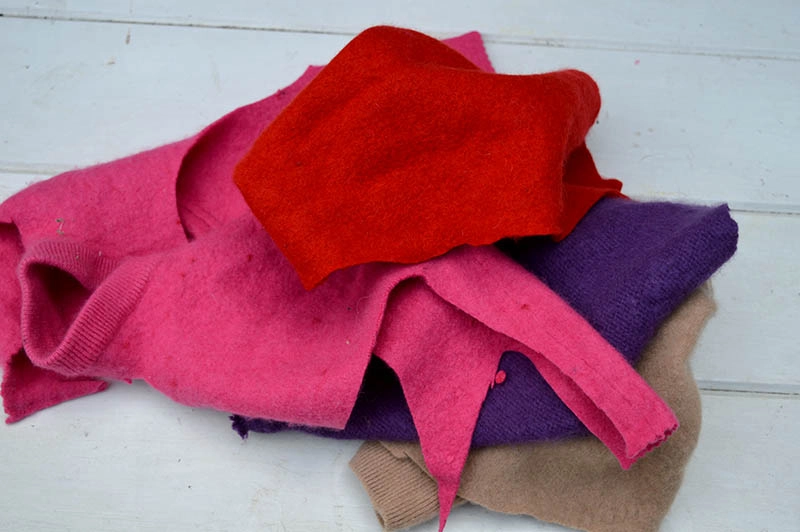
It all started when my Mum turned up at Christmas not only laden with presents but a bag full of old wool sweaters in gorgeous colours for my upcycling stash. This pile of jumpers in pinks, reds, and purples was actually the best present.
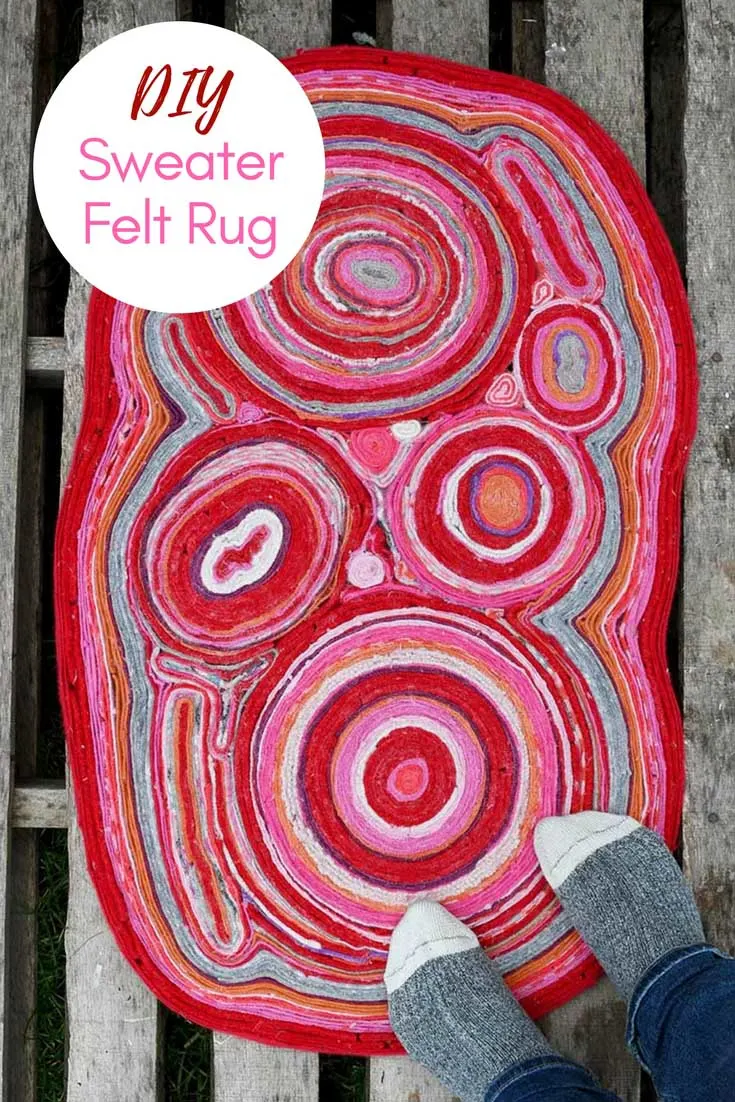
As I had several sweaters (5), I recycled them into a DIY felt rug, especially as all the colours blended well together.
I didn’t measure how long the rug took to make, as I did it in dribs and drabs over a couple of weeks. But I would say I probably spent approx 10 hours on it.
It was easy to make the rug in small chunks at a time. Also, the method I used was pretty straightforward. So I was able to multi-task by catching up on some box-set tv shows at the same time.
Mind you; it had to be gentle TV, something like “Call The Midwife”, nothing that required too much concentration or anything with subtitles.
We’re a participant in the Amazon Services LLC Associates Program, an affiliate advertising program designed to provide a means for us to earn fees by linking to Amazon.com and affiliated sites. As an Amazon Associate, I earn from qualifying purchases.
Upcycle Sweaters Into A Gorgeous DIY Felt Rug
This felt rug is a sustainable use of clothes that can not be donated.
What you need to make a felt rug
- Wool Sweaters – I used the equivalent of 4-5 sweaters for this felt rug. They should be at least 70-80% wool. Mine were mainly cashmere and some lambswool. You can also use scrap pieces of felt or sweater felt for this DIY!
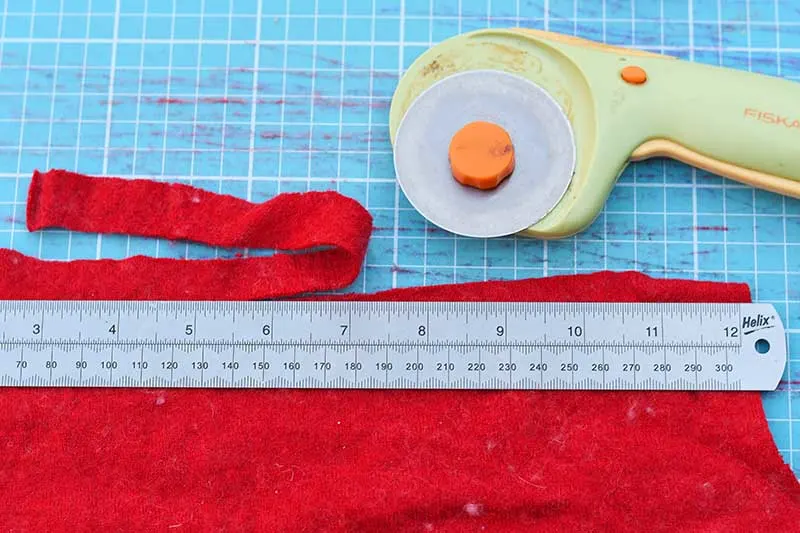
- Rotary cutter 60mm
- Cutting mat
- Metal Ruler
- Fabric glue – I used about two pots of fabric Mod Podge
- Hot glue gun and glue sticks – I used about 30 glue sticks.
How to make a sweater felt rug
Step 1: First, the sweaters/jumpers were felted in a hot wash in the washing machine. There are more details with this sweater mountain pillow tutorial.
Step 2: Cut the felt into strips about 7mm wide. Use a cutting mat, a metal ruler and a rotary cutter to ensure that all the felt strips are even.
This was probably the most time-consuming part of the craft. As well as the sweaters I had felted, I added felt strips from my bag of scraps to this pile.
Step 3: Note you can make the strips thinner or broader for the felt rug, but whatever size you choose will be the thickness of your rug.
Suppose you are short on felt, then go for 5mm strips. You will, of course, get more strips from the sweater. So you will be able to make a bigger rug.
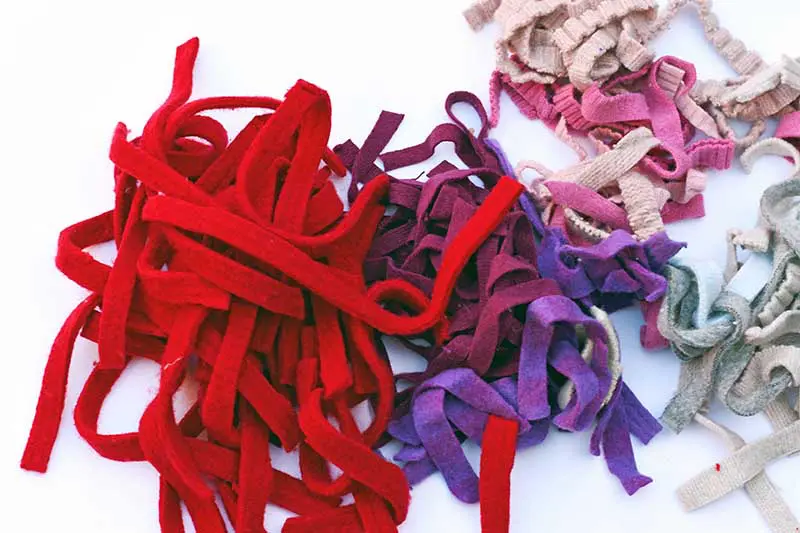
To make things easier, the felt strips were sorted into different coloured piles.
Whatever thickness you choose, be consistent, so all the felt strips will be the same size.
Step 4: This is the fun bit of this DIY rug. First, take one strip of felted sweater wool and paste one side with fabric glue. Then, roll it up into a tight spiral.
Then, take another sweater felt strip in a different colour again cover one side with fabric glue. Then wrap this strip of felt around the first felt spiral. I used pins to keep the ends of the strips in place as the glue dried.
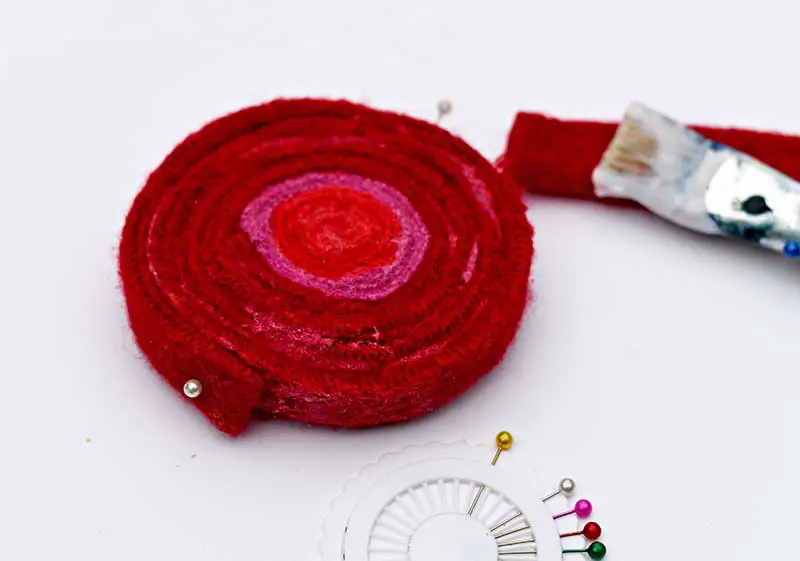
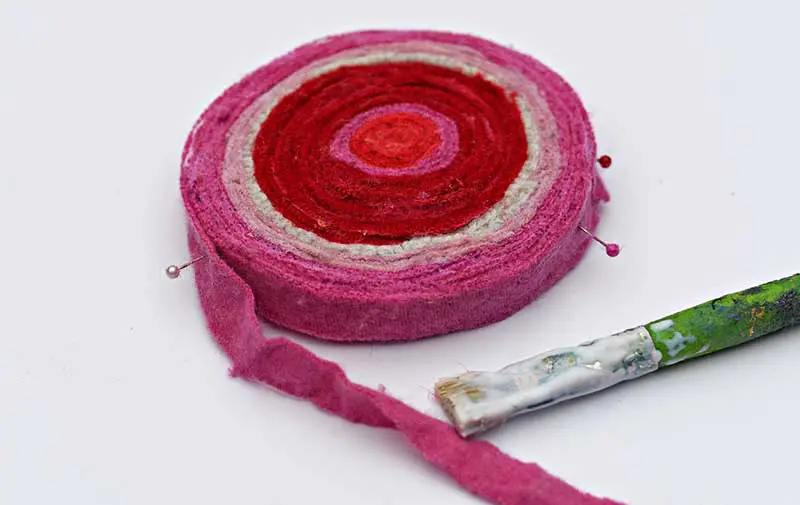
Step 5: Carry on adding felt strips to the spiral, which will slowly get bigger.
There is no set pattern or order of colour in which to add the felt strips. I think it looks good to create different-sized rings of different coloured felt randomly.
That is a personal preference; I’m not into symmetry. But if you like symmetry, you may want to be more specific in the colours and lengths of felt strips you add.
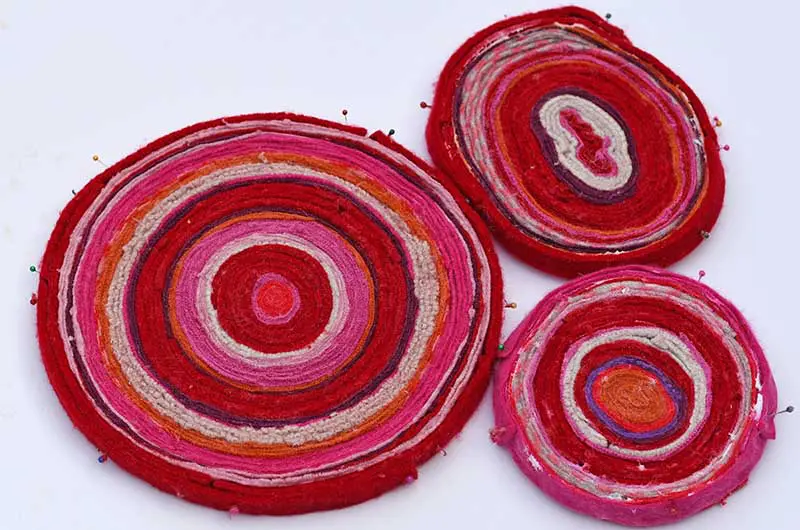
Step 6: These felt spiral mats form the bases of the DIY felt rug. The more of them you make, the larger the final rug will be.
(If you want, make one giant felt spiral and have a large round rug.)
I wanted to make a rug that was made up of several of these mini felt spirals. So I made several felt mats in different sizes; some were perfect circles others were more oblong.
For the next part, you will want to join these rug mats to make one large rug. I found it better to use a hot glue gun for this stage. Or Gorilla Glue contact adhesive clear works well too.
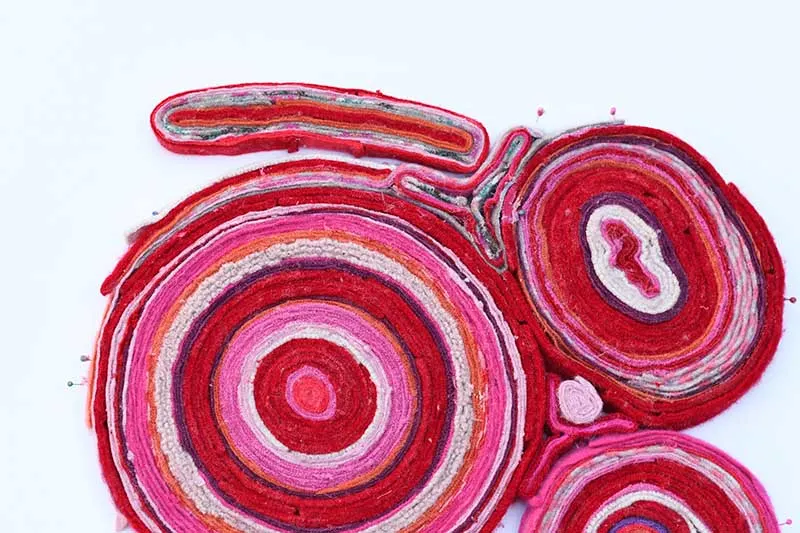
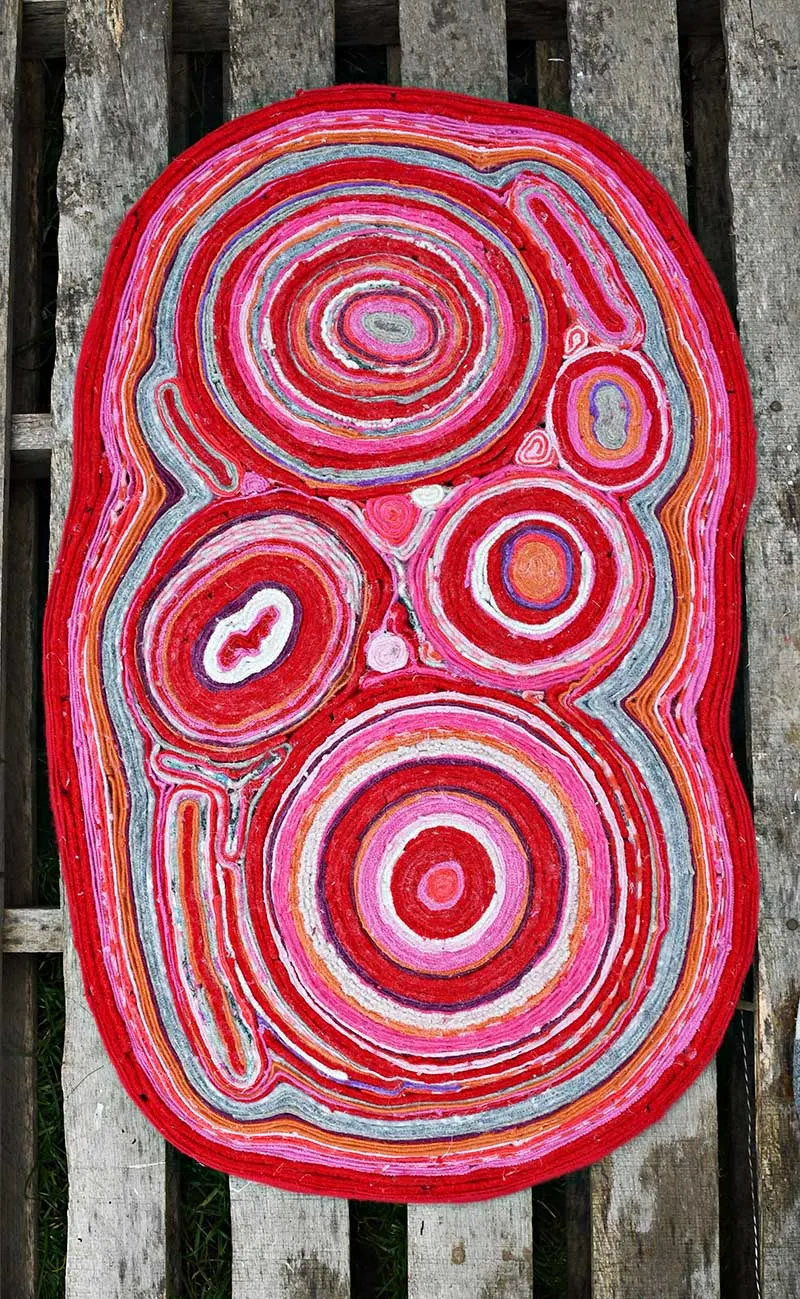
Step 7: Design how the final felt rug would look. Do this by laying out the felt mats in the arrangement that appeals to you.
You will find some big gaps in between where the circular mats join. Just make some smaller felt spiral shapes to plug these gaps. Some might even end up being a slightly odd shape.
Once you know the layout, stick the mats with hot glue or a good waterproof contact adhesive such as Gorilla glue.
The one advantage of a hot glue gun is that glue dries very quickly. Therefore, holding the shapes together in the design you want is easy as the glue dries.
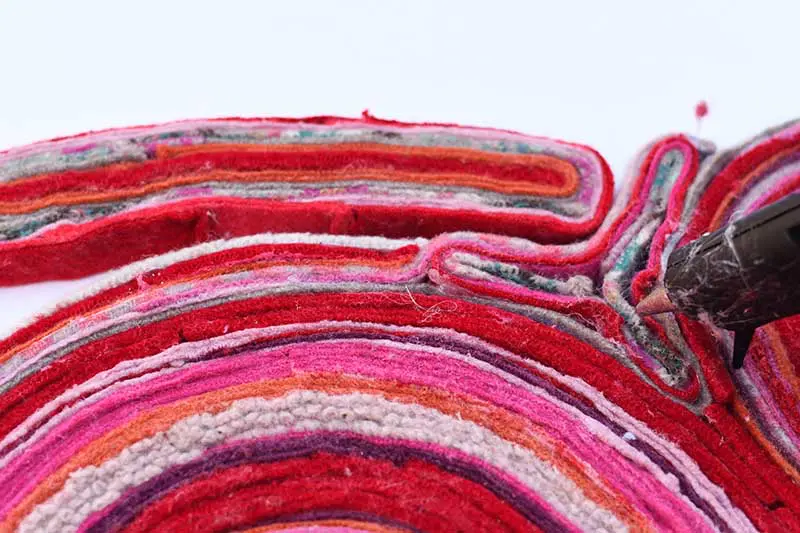
Step 8: When all the small felt mats have been stuck together, glue large felt strips around the outside. These strips will bring the whole DIY felt rug together.
Add these connecting strips until you run out of them or the felt rug reaches your desired size.
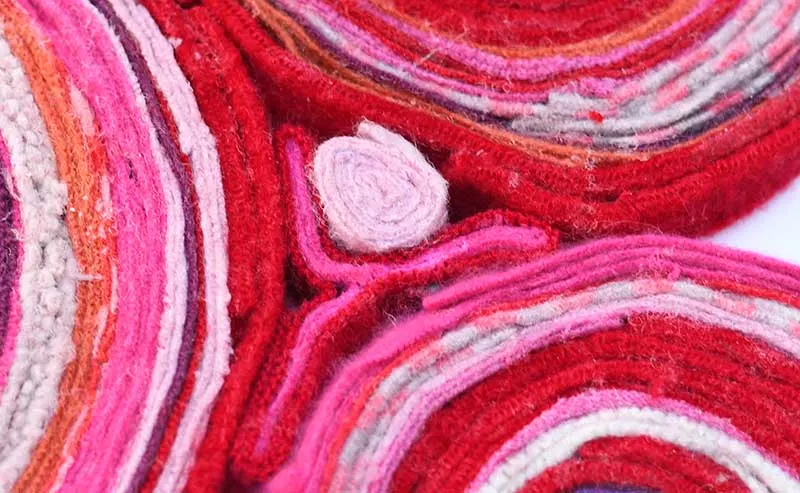
Step 9: Finally, to finish off this DIY rug, pick off any glue threads from the top of the rug. I also recommend spraying the rug with a fabric protector.
Top Tips and FAQs about the DIY Rug
The glue can make the rug a bit stiff; for a softer feel, leave the top 2-3mm of each felt strip glue free as you stick them; this will give the rug a softer feel underfoot.
Another option is to stitch the felt strips together instead of glueing them.
I don’t recommend sticking the rug in the washing machine. However, you will be able to sponge away any dirt. But to protect the rug in the first place, I strongly suggest spraying the rug with Scotchguard.
Scotchguard will protect the rug from general spills; they will just run off and not soak up.
We don’t wear shoes in our home, which also helps protect our rugs.
One of the good things about this rug is how it is designed; it is possible to add to it later if you want to make it bigger or get some more felt sweaters.
I used the equivalent of about five sweaters for this rug. However, that didn’t include the arms. I saved these to make a DIY knot pillow to match the DIY felt rug.
If you don’t have enough sweater wool to make a whole floor felt rug, you can make small items for your home, such as drink coasters, placemats and doormats.
Using this spiral method, I combined the colourful sweater felt strips with the seams of old jeans to make gorgeous upcycled fabric placemats for my dining room table.
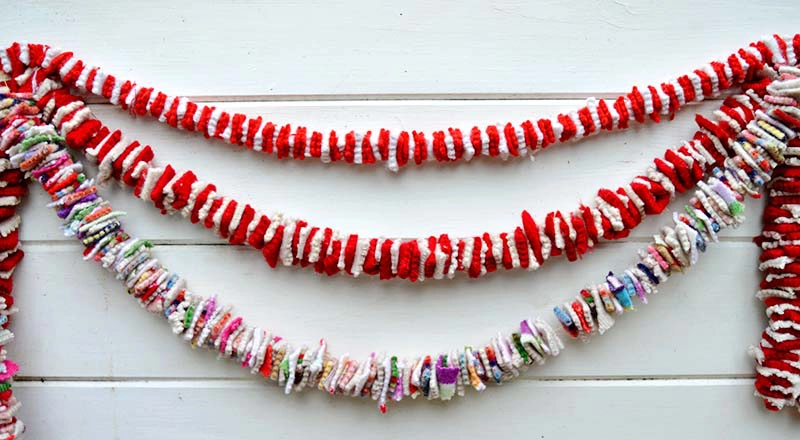
If you have any tiny pieces left over, don’t chuck them; use them to make gorgeous felt garlands.
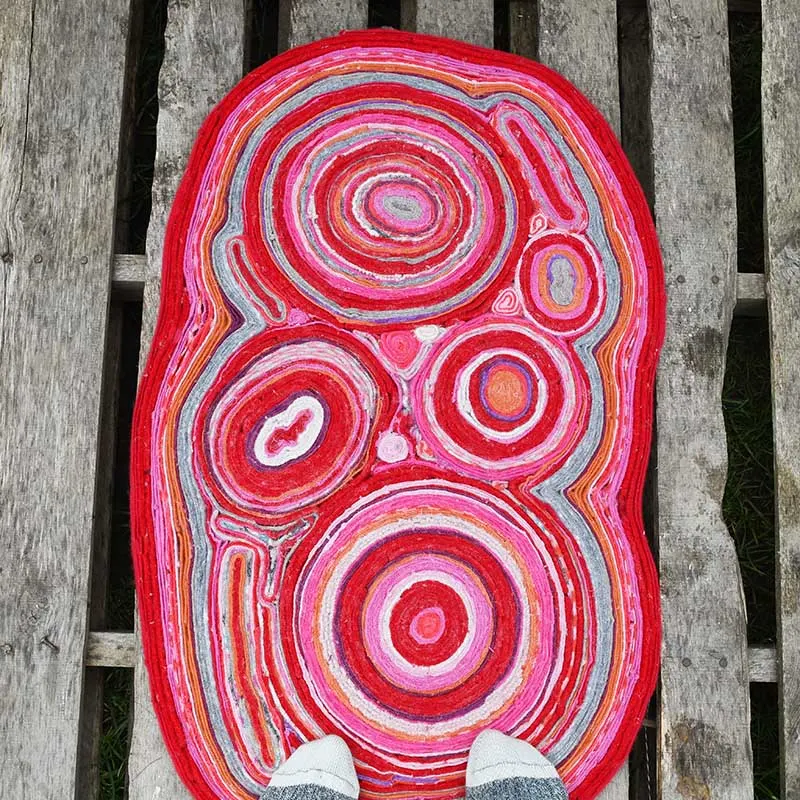
I’m so pleased with my new rug; the colours look gorgeous and go well with my decor. I will add to it when my Mum hands me her next pile of old sweaters.
I think this is one upcycle worth the extra effort, as the rug is such a unique piece that looks fabulous on my wooden floors.
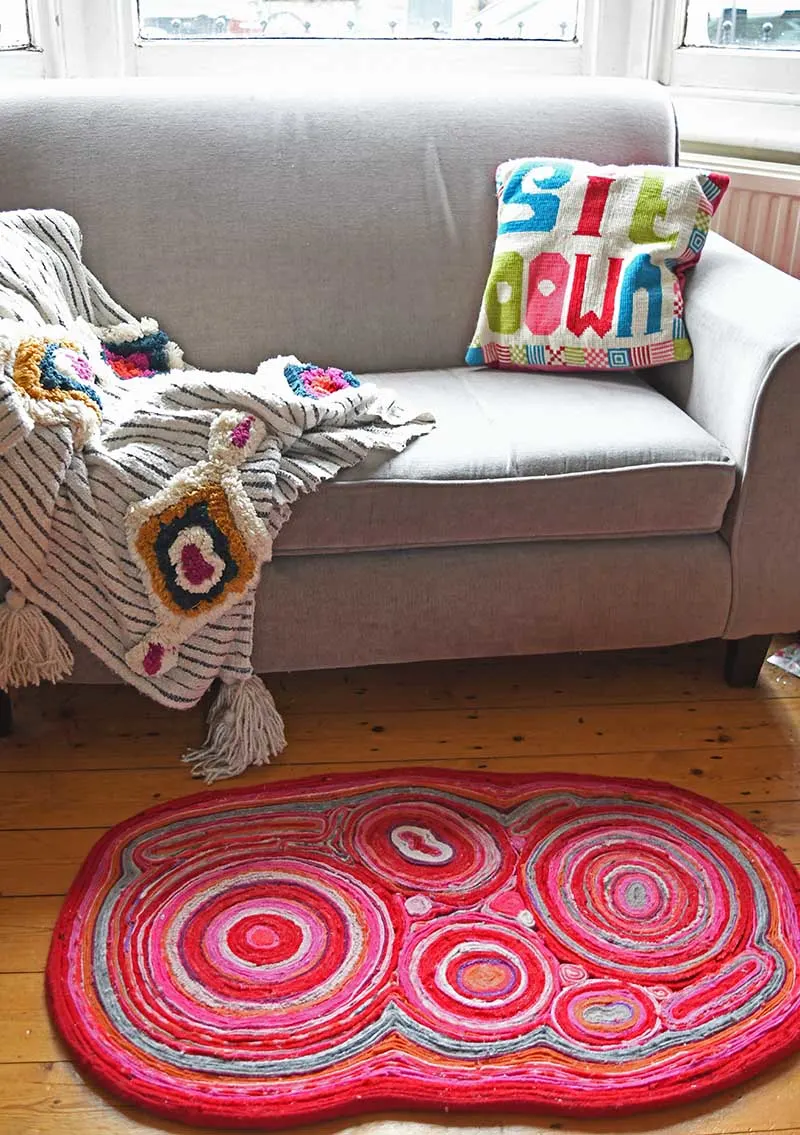
The combination of the sweaters’ colours and the spiral shapes makes the rug look a bit like a giant geode. I think it looks a bit like a stick of seaside rock.
Another way to make a felt rug would be the same as this DIY rag rug but make sweater yarn instead of denim yarn.
I like this geode spiral look which inspired me to make a painted wood slice rustic heart to match the felt rug.
I like making rugs from upcycled fabrics and old clothes. I have also made a no-sew DIY denim waistband rug and another handmade denim chevron rug.

You will find a lot more clever upcycling ideas in this comprehensive list. And more DIY Boho decor projects here.

Lulu
Thursday 13th of February 2025
Looks like the internal structure of an animal cell????
Pam H.
Tuesday 2nd of August 2022
MUST these be made with wool, or can other fibers be used?
Claire Armstrong
Wednesday 3rd of August 2022
You can try other textiles I use wool as it doesn’t Frey when felted.
Lana
Wednesday 24th of February 2021
Wool Sweaters – I used the equivalent of 4-5 sweaters for this felt rug. They should be at least 70-80% wool. Mine were mainly cashmere and some lambswool. You can also use scrap pieces of felt or sweater felt for this DIY too!
Claire Armstrong
Wednesday 24th of February 2021
Thank you
9 Recycle DIY Upcycle-DIY Super Elegant Tutorials - Next Viral Stuff
Wednesday 15th of January 2020
[…] Have fun recycling your old wool sweaters into a gorgeous DIY felt rug. No sewing required to make this colourful and unique handmade rug for your home. Click Here […]
Tracy
Tuesday 22nd of January 2019
What a lovely and creative recycling project! Thanks for sharing it! Can I ask? How well does it hold up to use? Or is it better in a low-traffic area?
Claire Armstrong
Tuesday 22nd of January 2019
Thank you. My son currently has it in his roomy at university and he says it’s held up well. However, I wouldn’t have it in a high traffic area.