
This easy sewing tutorial and free pattern lets you turn your fabric scraps into cute handmade bunnies.
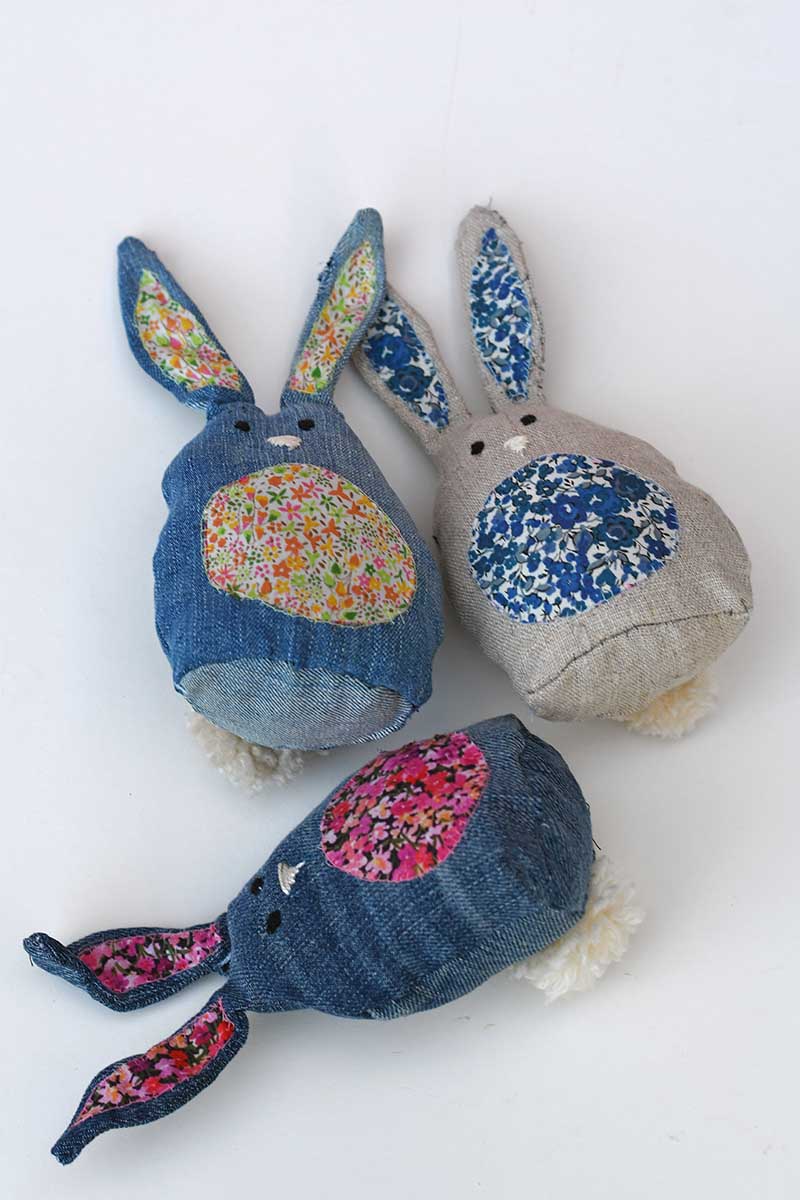
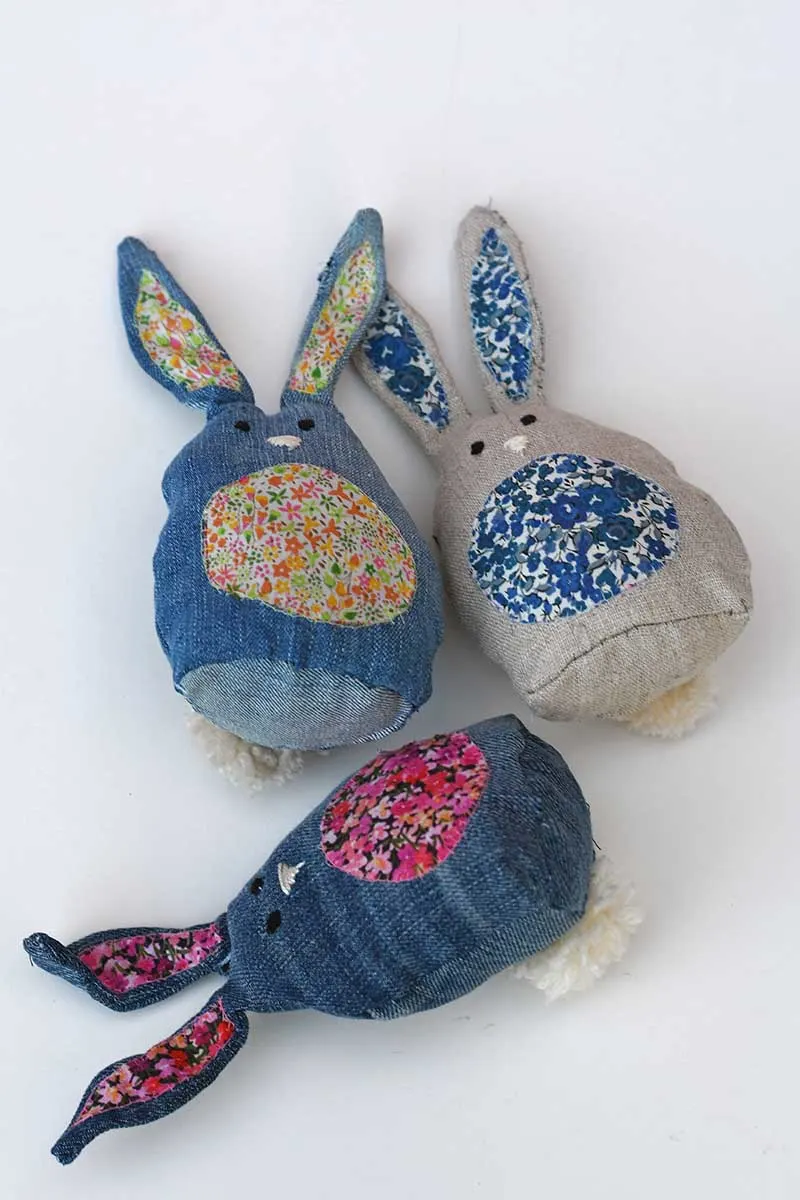
Spring is the perfect time for easy sewing projects, and these adorable bunnies are a great way to use up fabric scraps! Whether making farmhouse bunnies for Easter decorations or a stuffed bunny as a gift, this tutorial will show you how to create a fabric bunny using a free bunny sewing pattern.
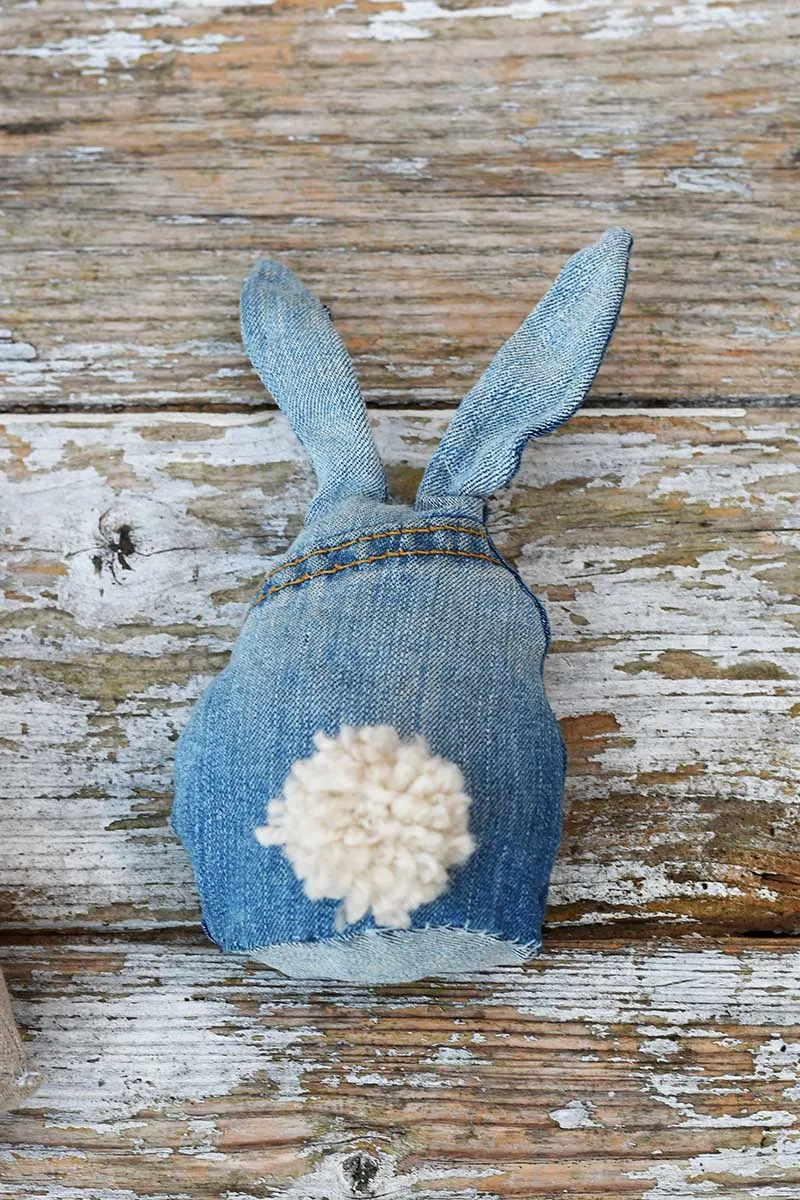
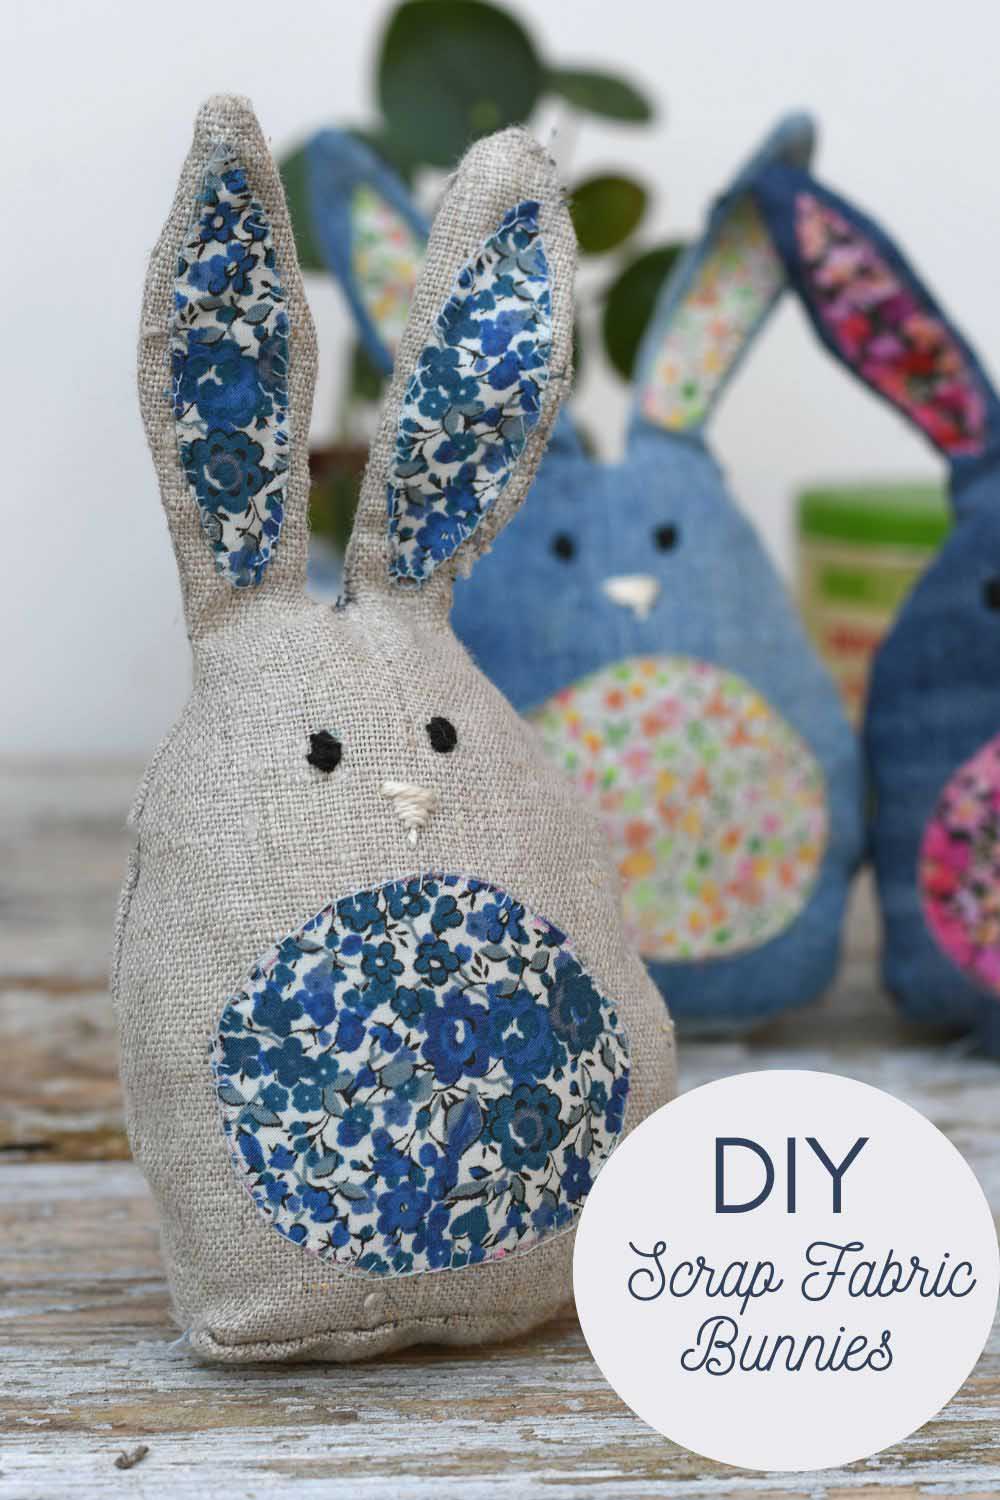
I love how these cute bunnies are made from linen or denim and floral fabric scraps. The bunny ears are bendable thanks to floristry wire, and the fluffy tail is made from yarn using an easy-fork method.
This is such a fun and easy craft—perfect for beginners! Grab your sewing machine or just a needle and thread and some pieces of fabric, and let’s get started.
What You’ll Need
We’re a participant in the Amazon Services LLC Associates Program, an affiliate advertising program designed to provide a means for us to earn fees by linking to Amazon.com and affiliated sites. As an Amazon Associate, I earn from qualifying purchases.

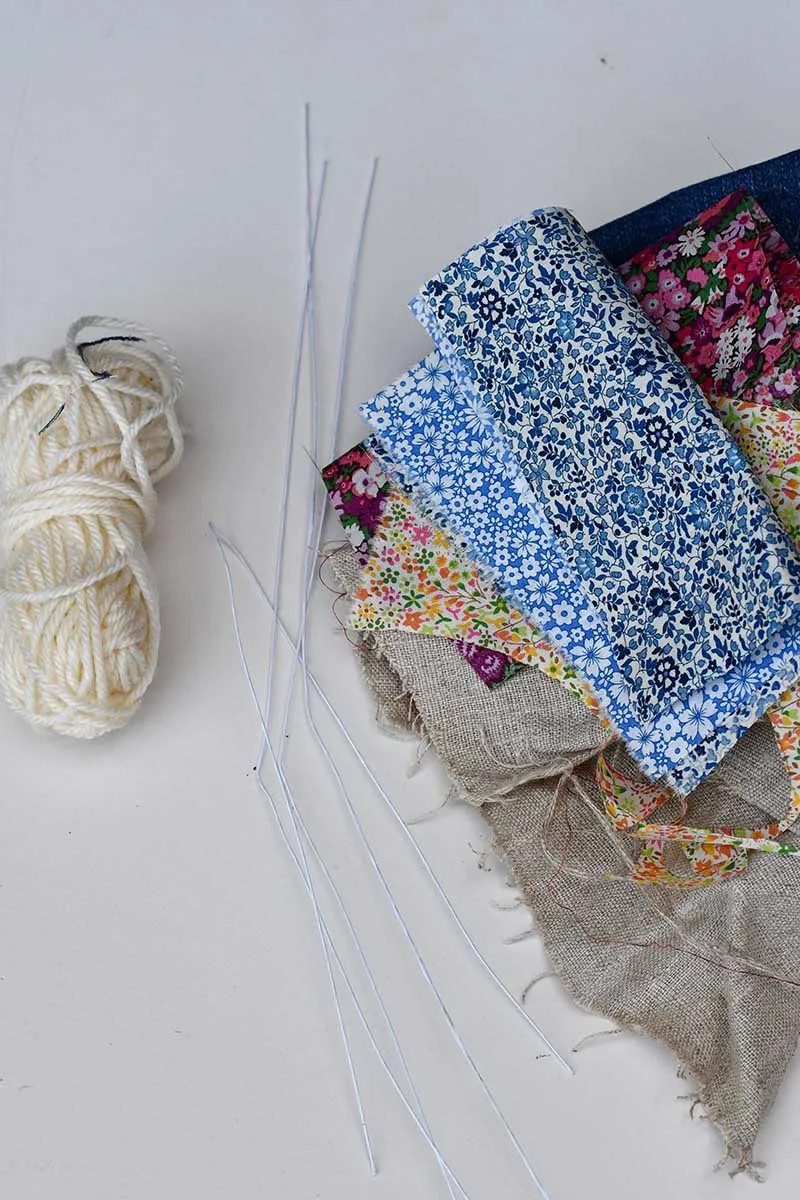
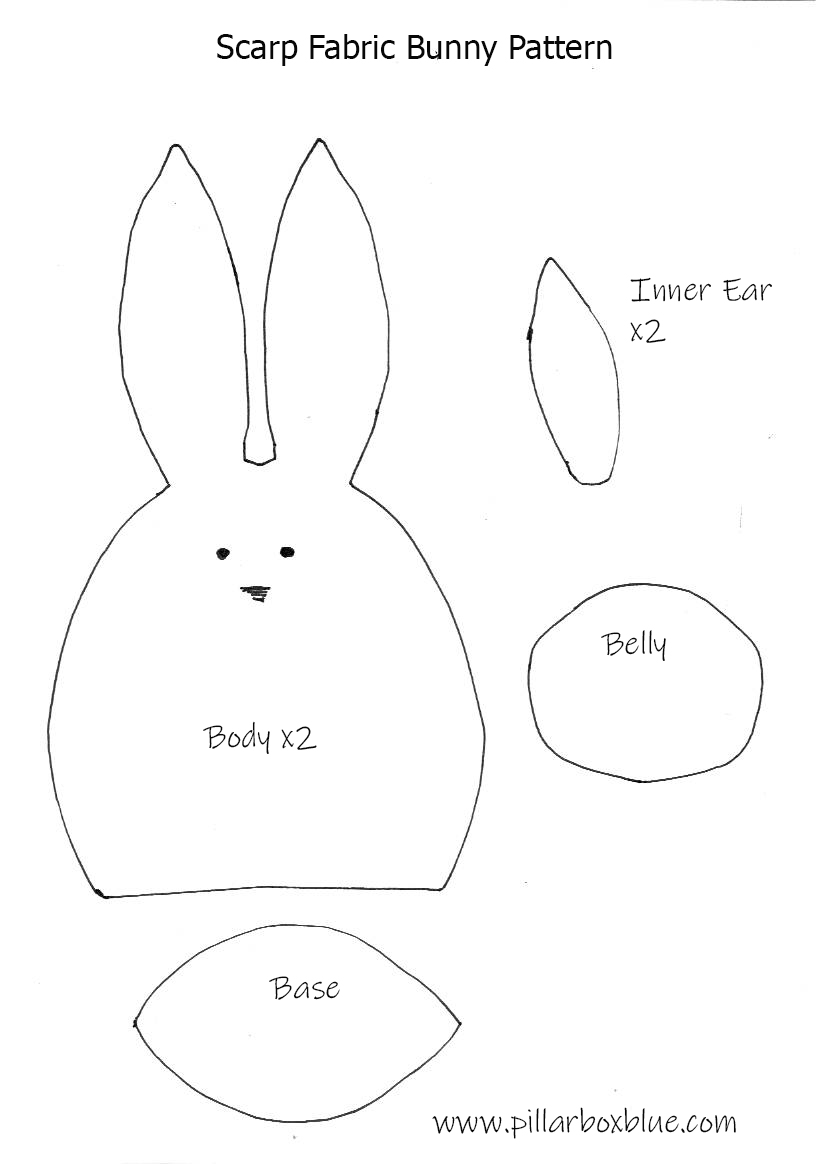
- Bunny template – Get the free sewing pattern below
- Pieces of fabric – Linen, denim, or cotton for the fabric rabbit body
- Fabric scraps – Floral fabric for the bunny ears and belly. Liberty fabric, with its small print, works well.
- Embroidery thread – To stitch the bunny face
- Floristry wire – To make bunny ears bendable
- Fiberfill stuffing – To fill the stuffed bunny. I use stuffing from old pillows.
- Yarn – For the fluffy tail
- Basic sewing kit – Scissors, pins, needle, and thread
- Sewing machine – Or you can hand-sew if preferred
- Tweezers or chopstick – To help turn the bunny ears right side out
- Fork – To make the pom-pom tail

How to Make a Fabric Bunny with a Free Pattern
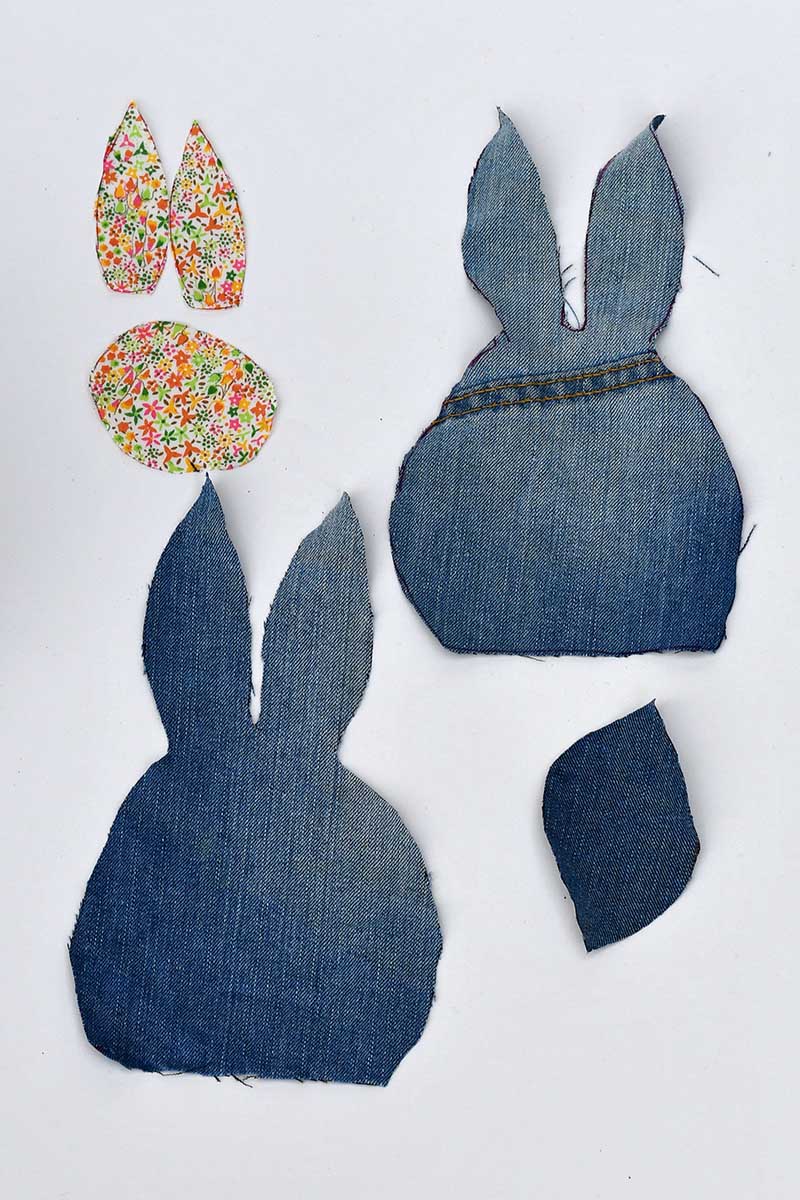
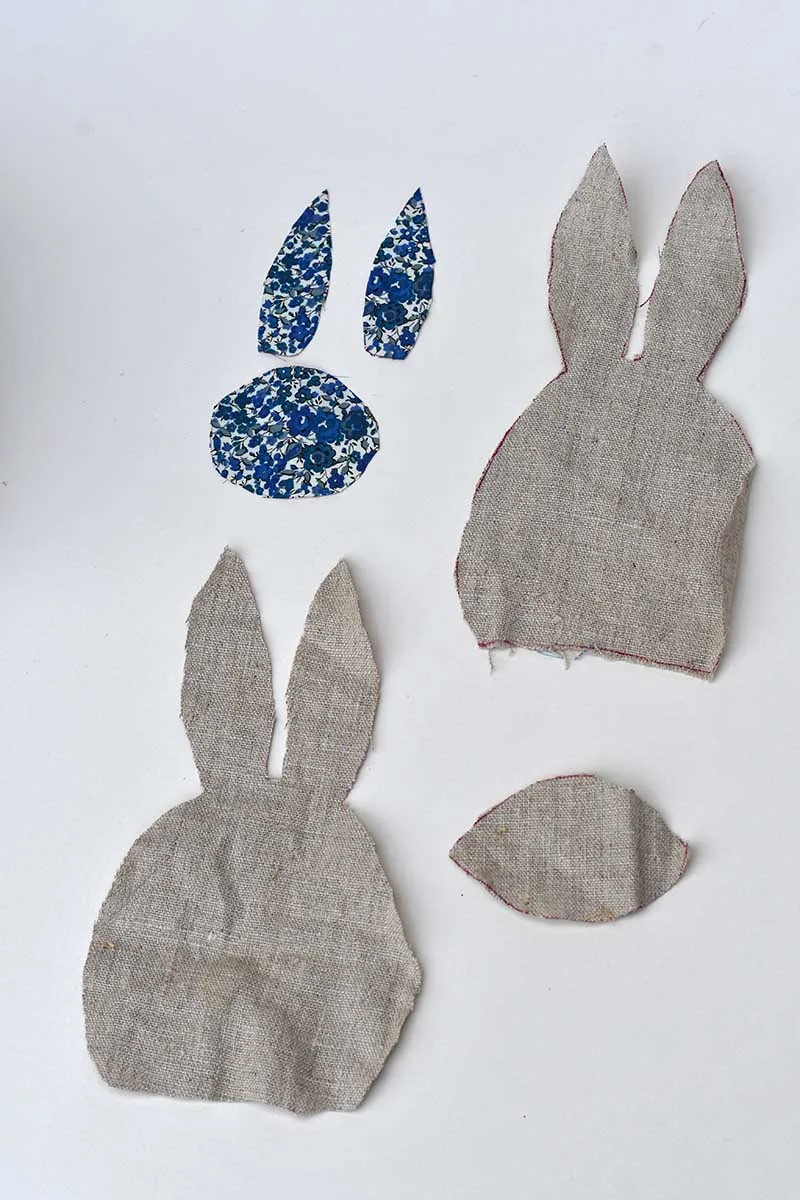
Step 1: Cut Out the Bunny Pieces
Use the bunny template to cut out:
- Two body pieces from linen, denim, or cotton
- One base piece (this forms the bottom of the bunny)
- One belly piece and two inner bunny ears from floral fabric scraps
The pattern allows for a seam allowance of 5mm.


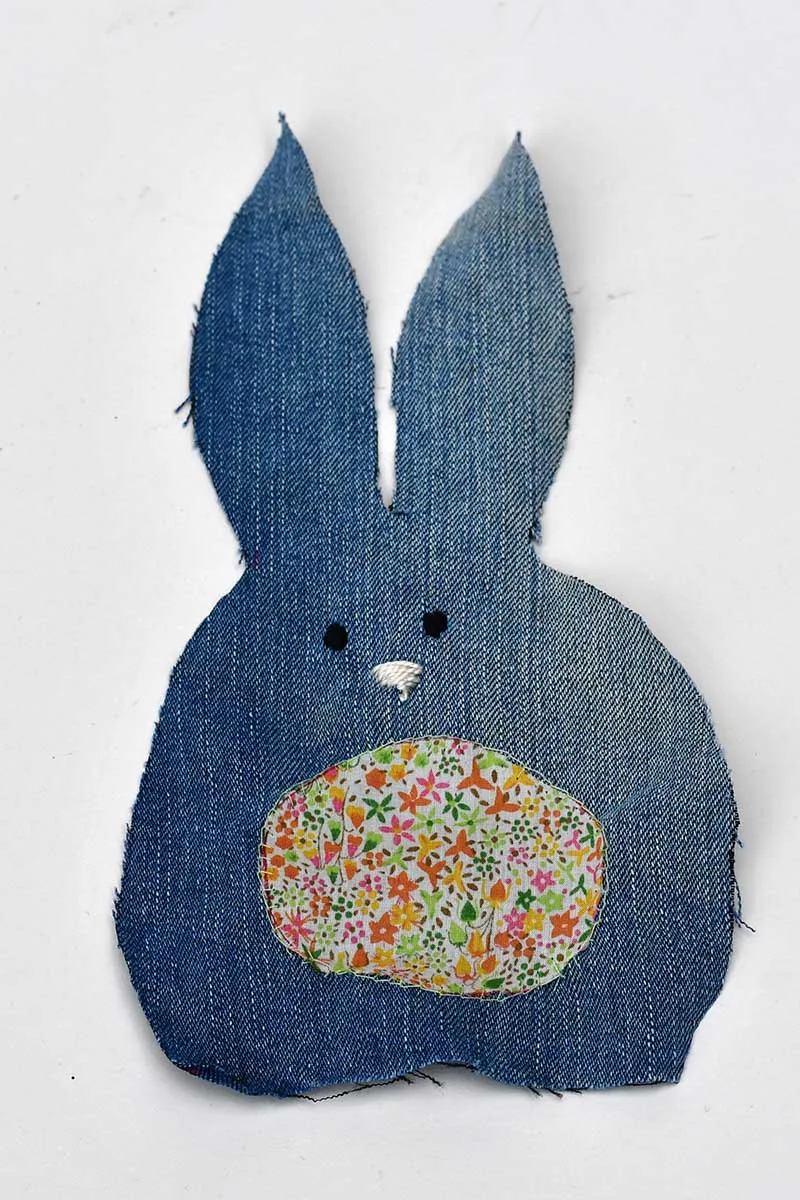
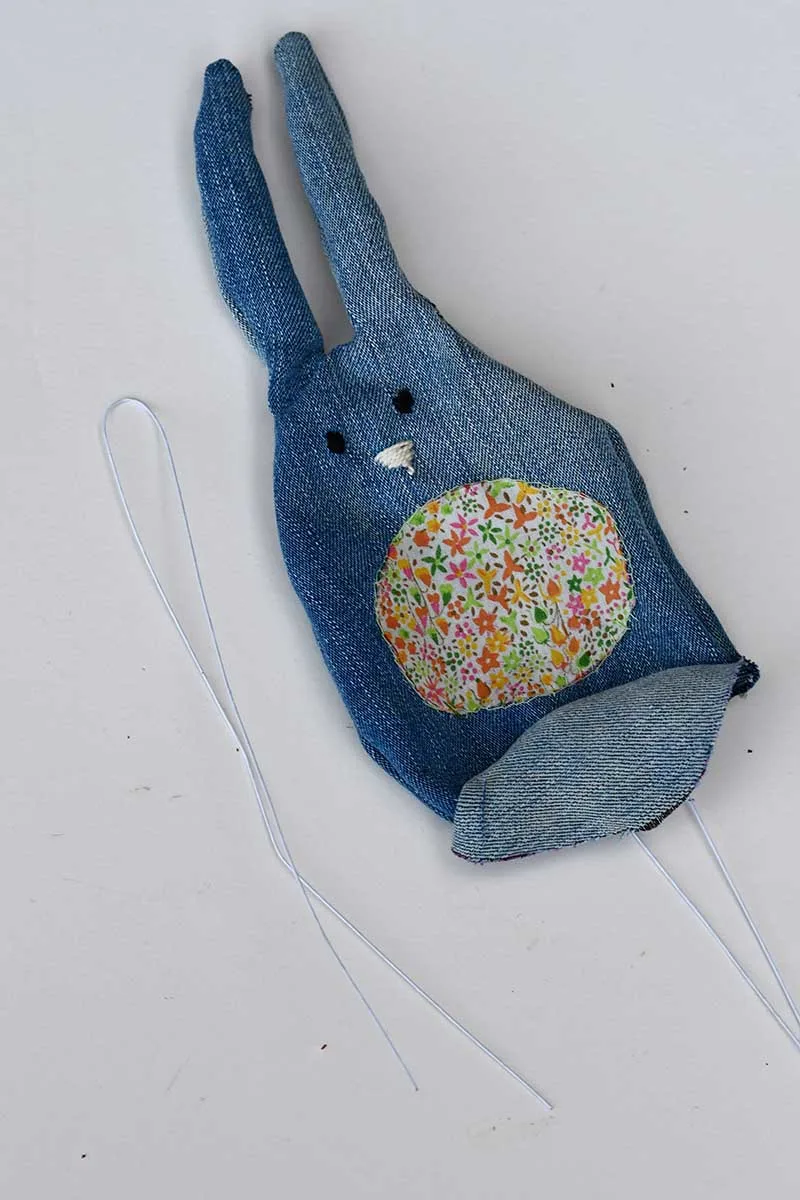
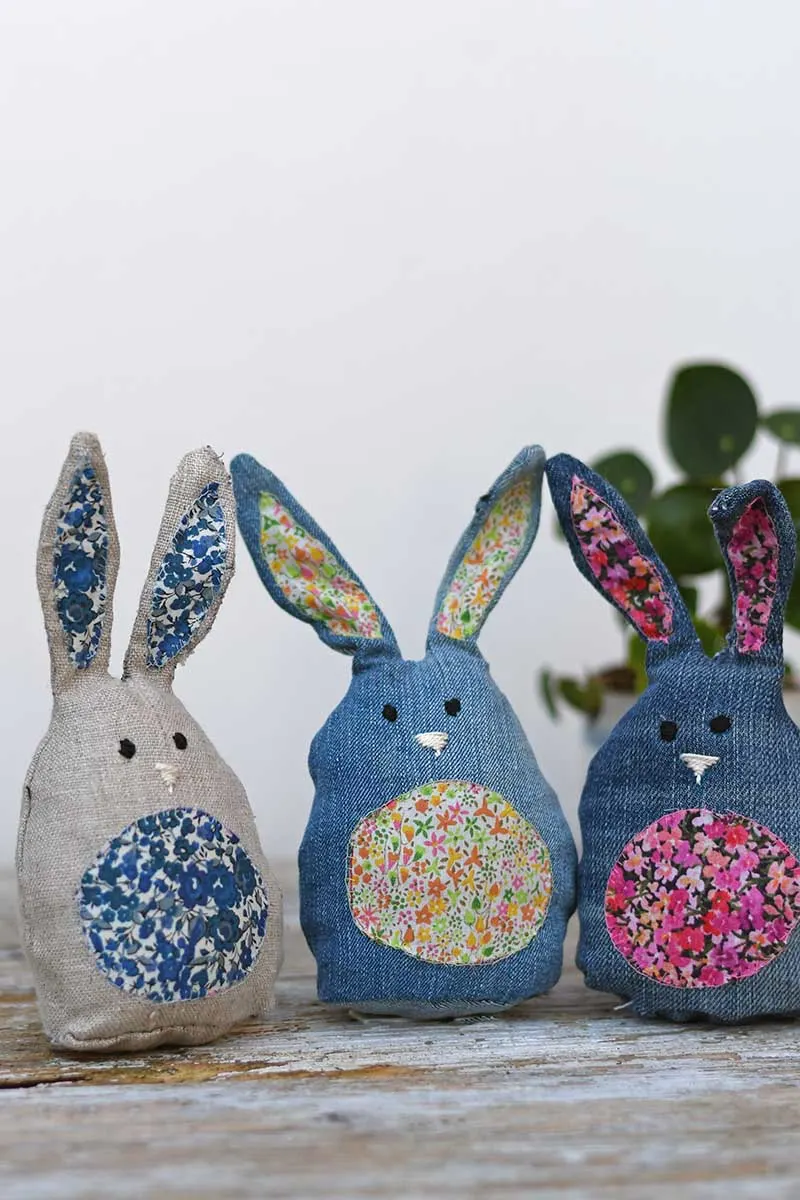
Step 2: Stitch the Bunny Face and Appliqué the Belly
Take one bunny pattern body piece and embroider two eyes and a nose using embroidery thread.
Next, attach the floral belly piece to the front using a blanket stitch.
Do not attach the inner ear fabric yet, as doing so will make turning the bunny ears more difficult in the next step.

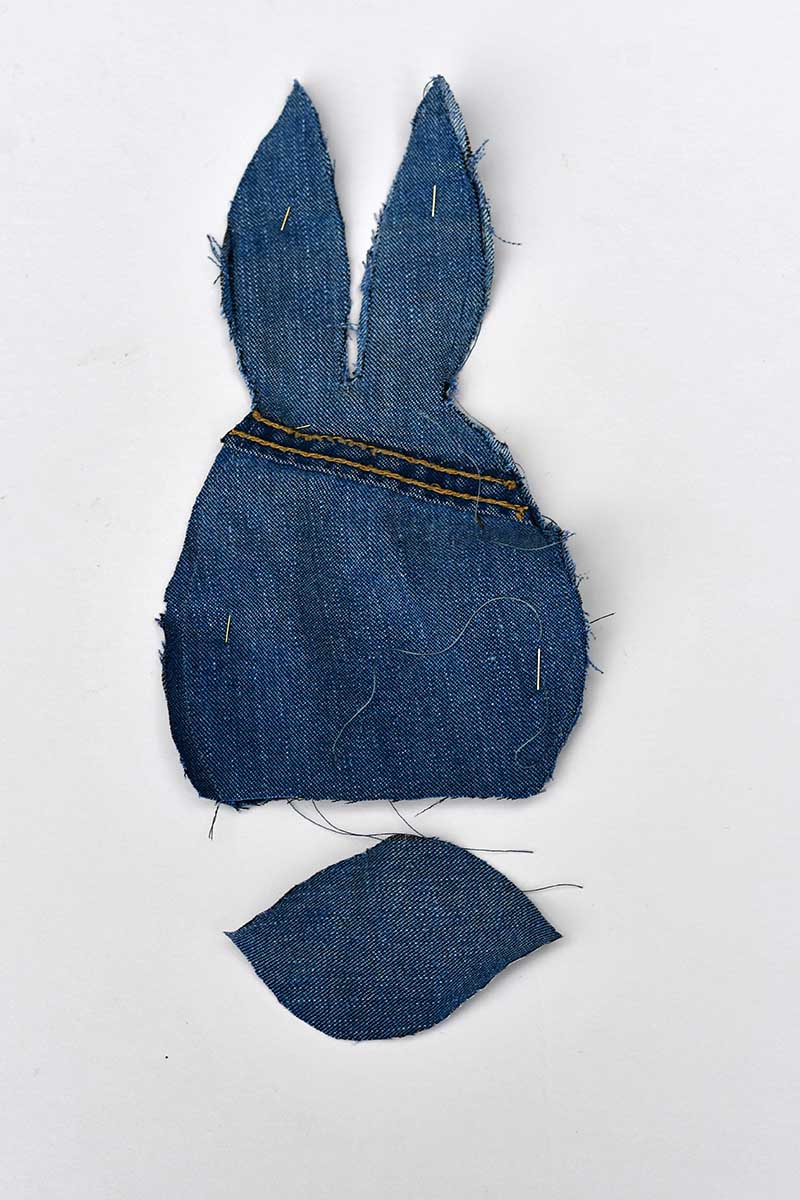
Step 3: Sew the Bunny Together
Place both bunny body pieces right sides together and pin.
Using a sewing machine or hand-sewing, stitch around the edges, leaving the bottom of the bunny open for stuffing. Be sure to follow the seam allowance for a neat finish.

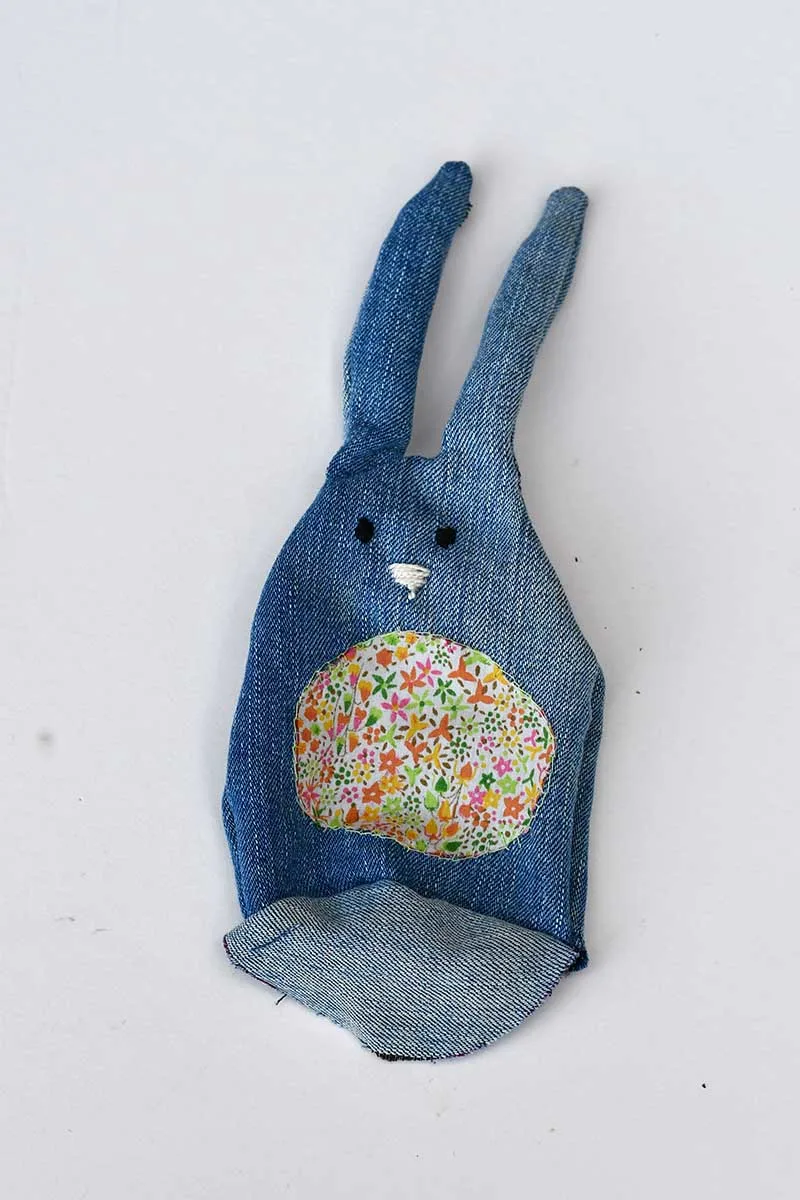
Once sewn, turn the fabric bunny right side out. Turning the bunny ears can be tricky, so use tweezers or a chopstick to help.

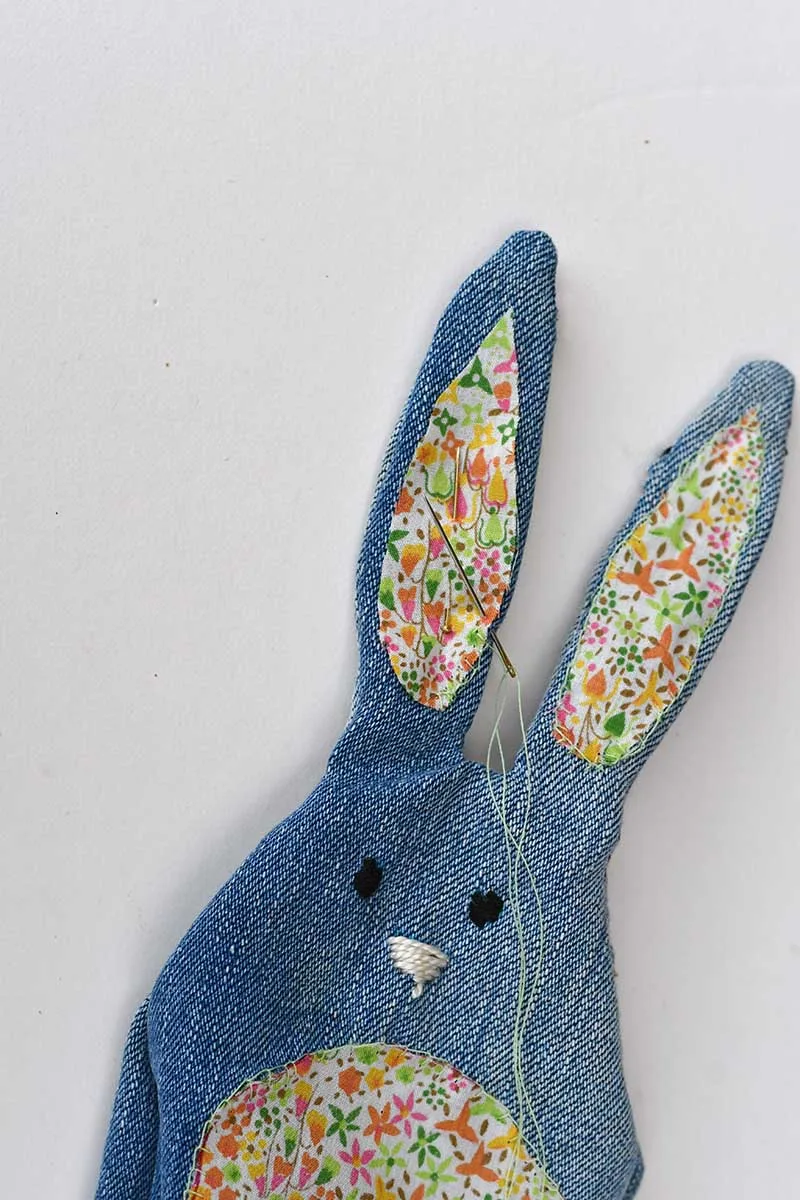
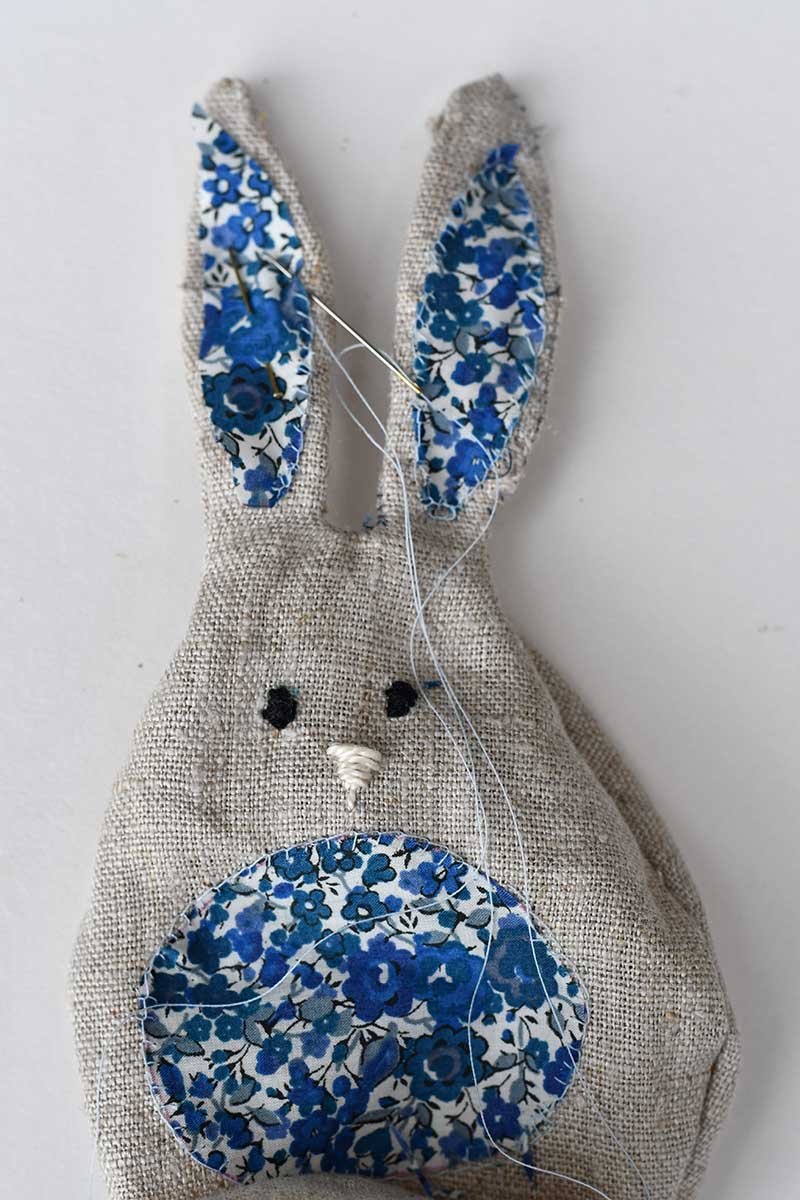
Step 4: Add the Bendable Bunny Ears
Take thin floristry wire, fold it to fit inside each bunny ear, and insert it. This makes the stuffed bunny ears flexible and poseable.
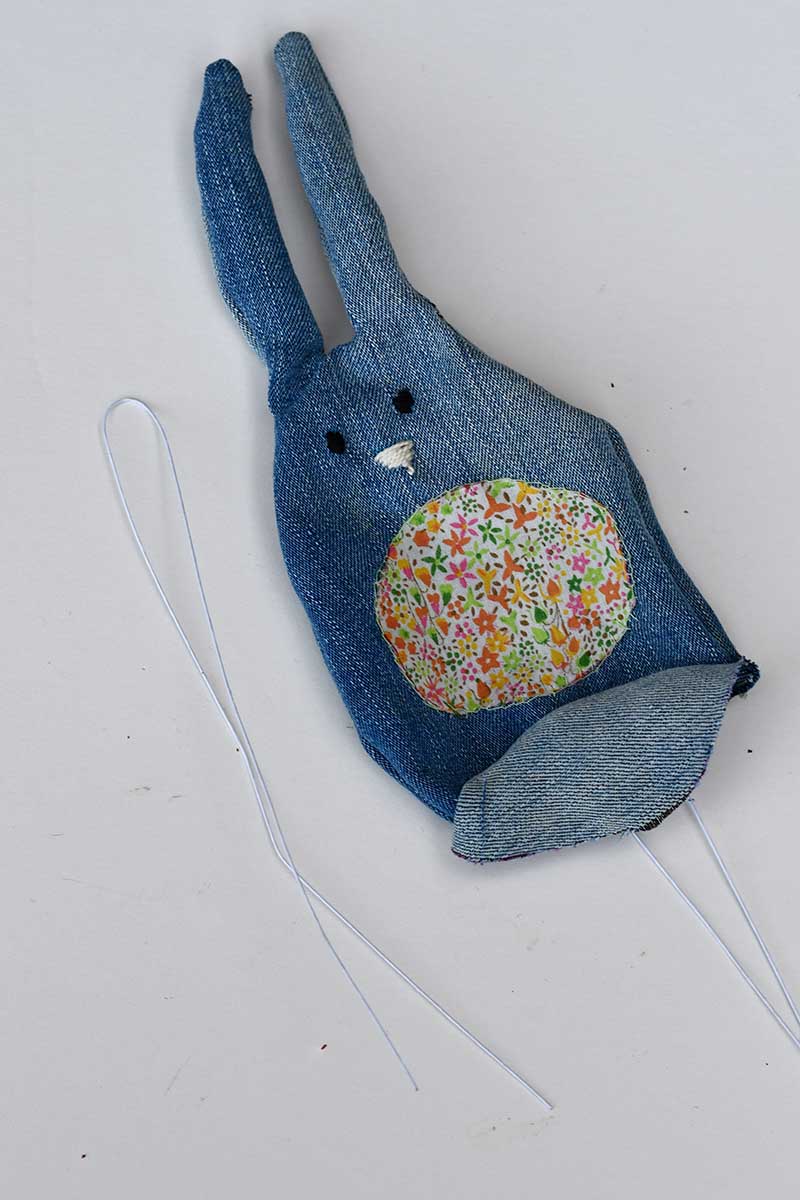
Now, attach the floral inner ear fabric using a blanket stitch.


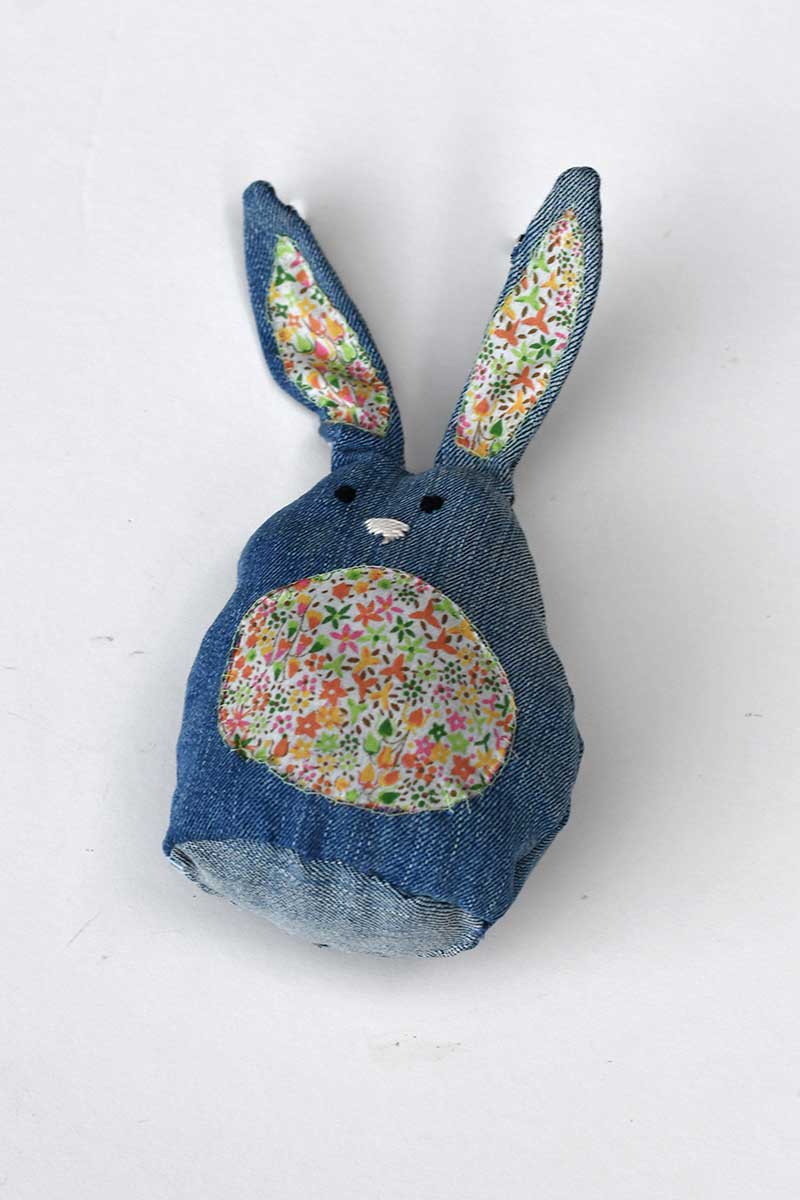
Step 5: Stuff and Close the Fabric Bunny
Fill the body of your fabric rabbit with fiberfill stuffing, shaping it as you go.
Add a small bag of dried beans or rice for a farmhouse bunny doorstop before closing it up.
Sew the bottom of the bunny closed by hand.

Step 6: Make the Fluffy Tail
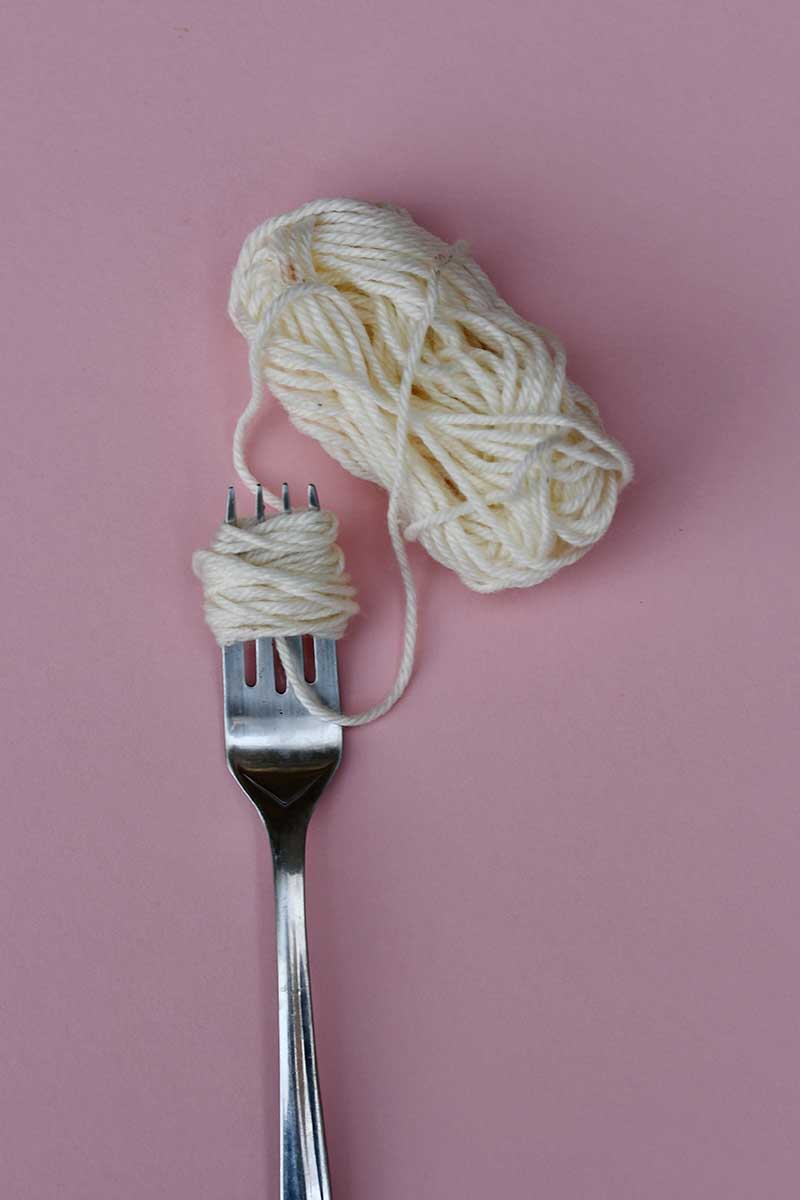
A cute bunny needs a fluffy tail. Here is an easy craft method to make a pom-pom tail using a fork:
- Wrap yarn around the prongs of a fork about 30 times.
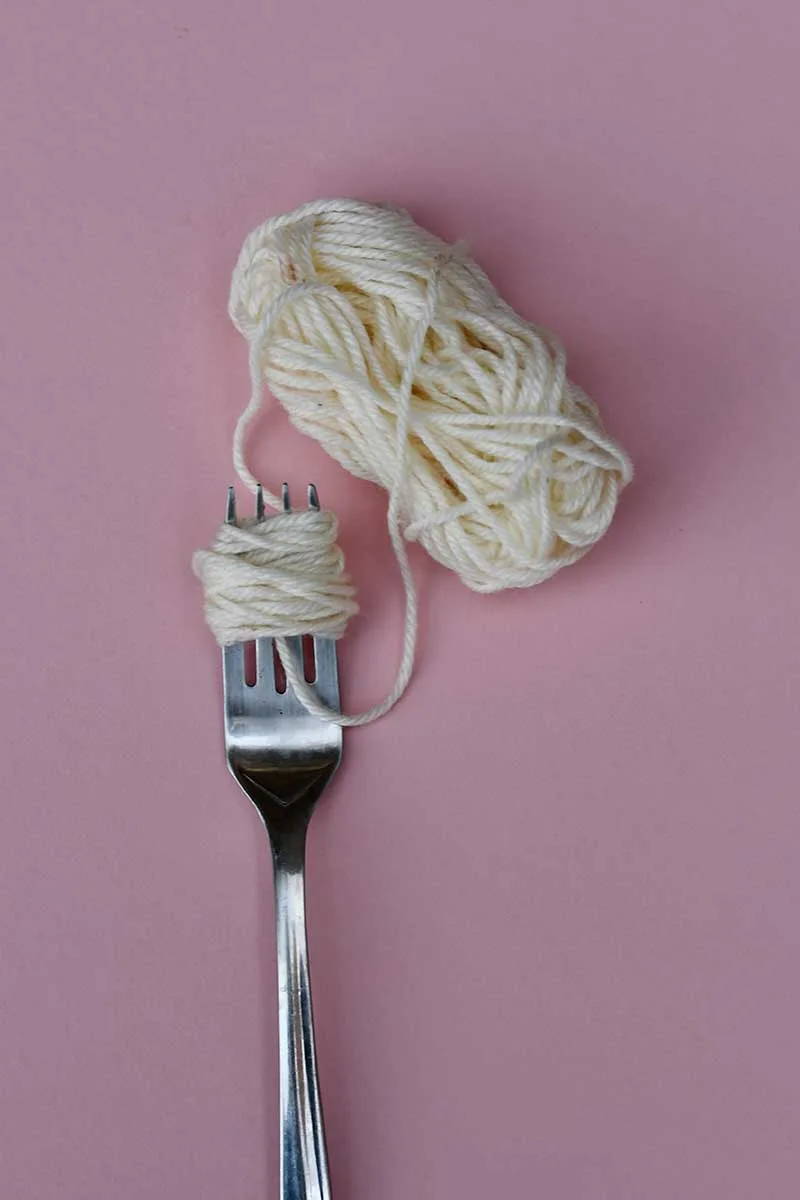
2. Tie a tight knot around the middle with yarn.
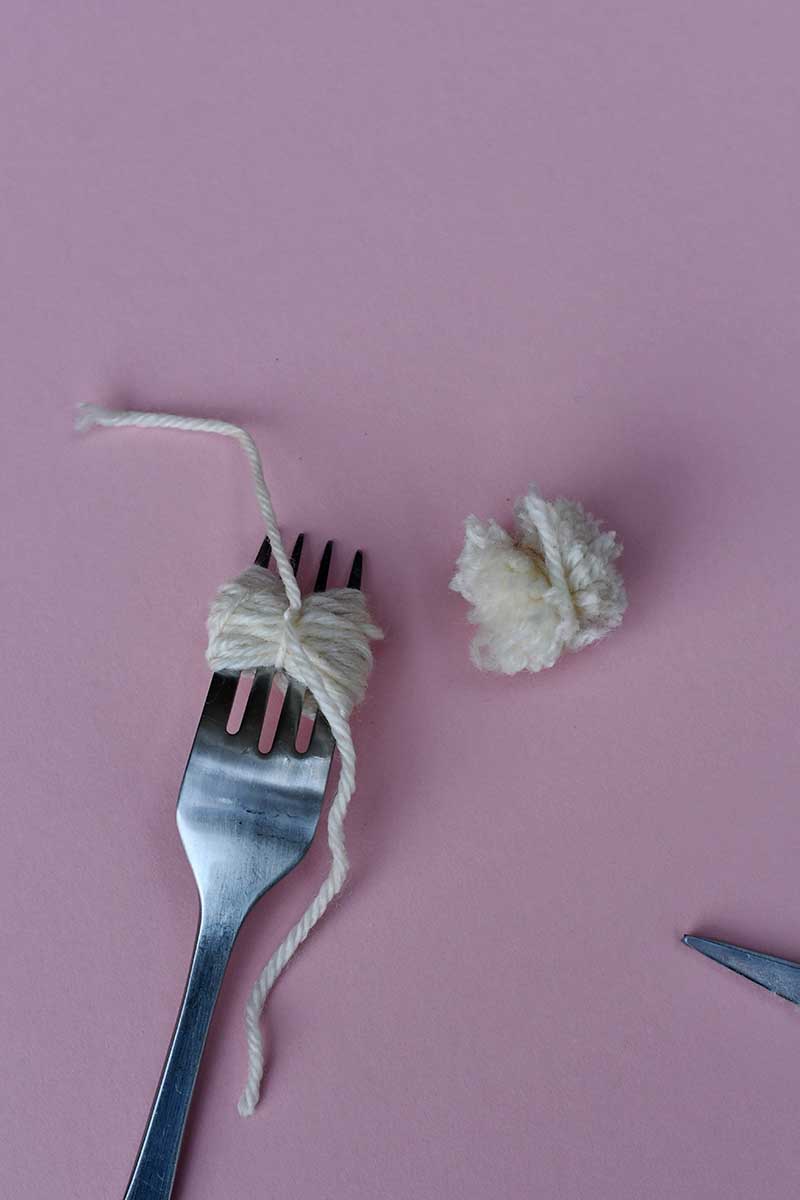

- Snip the loops on both sides of the fork.
- Fluff out the yarn and trim it into a round shape with scissors.
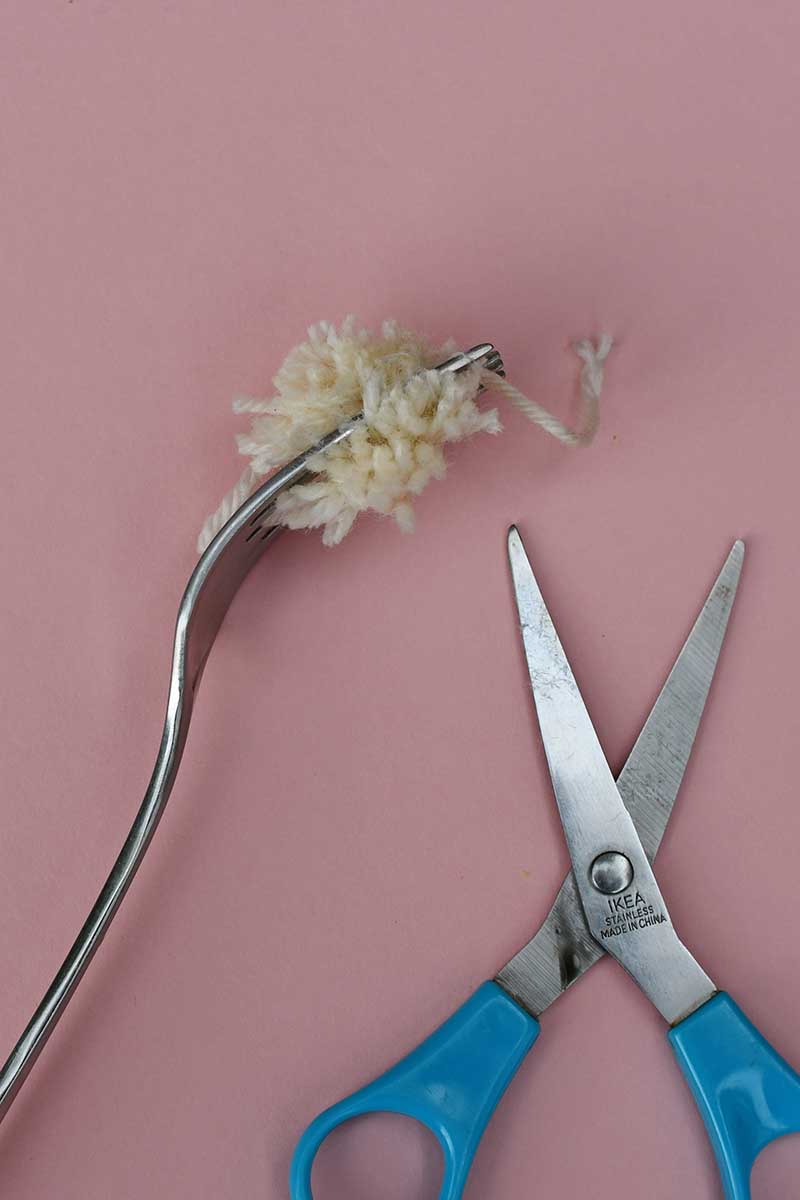

Once the fluffy tail is ready, sew or glue it to the bottom of the bunny.

These bunnies are such a fun craft and so easy to make soon; you’ll have a whole family of bunnies, all in slightly different colours.
Decorating with Your Adorable Bunnies
- Make farmhouse bunnies in different colours for a spring display.
- Use them as Easter decorations on a mantel or as table centrepieces.
- Enlarge the bunny template to create a cute bunny doorstop, like my fabric pear doorstop.

For more easy projects, check out my bunny crafts for adults and spring crafts for adults. I also have a tutorial for some no-sew denim bunnies and an upcycled spring bunny.
More Easy Sewing Projects with Fabric Scraps
If you love upcycling fabric scraps, here are more sewing projects to try:
- Scrap Fabric Flowers – A fun easy craft for spring.
- Denim Moth Decorations – Unique handmade decor.
- Decorative Fabric jellyfish – A great way to use pieces of fabric in a creative way.
- Fabric Spring Birdcage – An adorable whimsical spring decoration.
- Whimsical Fabric Mushroom Display: This is a fun spring display to brighten up any mantle or table.

Lisa | Handmade in Israel
Sunday 2nd of March 2025
These are adorable! Thank you for sharing how you made them. Visiting from Craft Schooling Sunday.
Claire Armstrong
Tuesday 4th of March 2025
Thank you, I had fun making them.
Jeanne
Saturday 1st of March 2025
Adorable! So cute for spring!
Claire Armstrong
Saturday 1st of March 2025
Thank you.
Kerryanne
Friday 28th of February 2025
Thanks for sharing your sweet little fabric bunnies DIY at Create, Bake, Grow & Gather this week, Claire. I'm delighted to be featuring them at today's party and pinning too.
Claire Armstrong
Saturday 1st of March 2025
Thank you, that is awesome.
Joy
Thursday 27th of February 2025
They are so cute! Thanks for joining in on Home Matters Linky Party! I will be featuring your post this week! #HomeMattersParty xx
Claire Armstrong
Thursday 27th of February 2025
Thank you so much. They were fun to make.
Beth
Monday 24th of February 2025
OMGSH, Claire, so stinking CUTE!! Love this idea to use up scraps of fabric and denim! Perfect for a boy or girl! Thanks for sharing! Have a FABULOUS week! Creatively, Beth
Claire Armstrong
Tuesday 25th of February 2025
Thank you, I love to use denim scraps whenever I can.