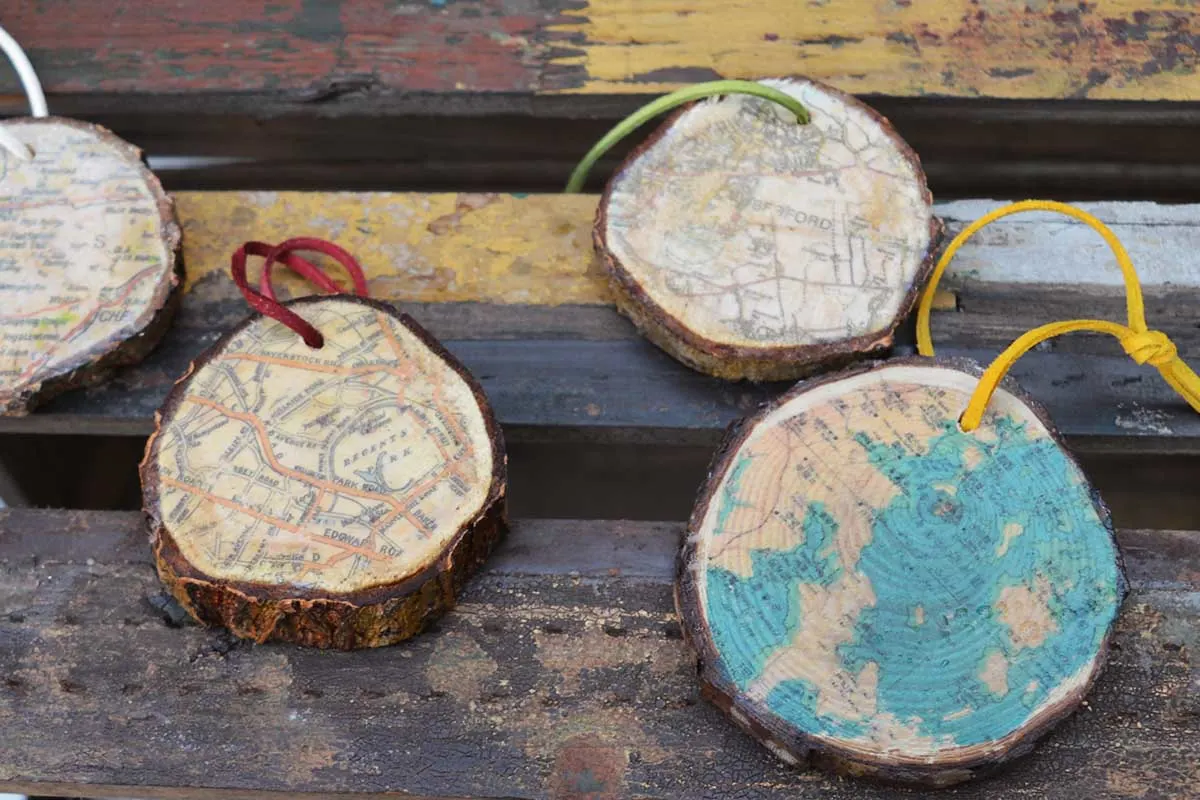
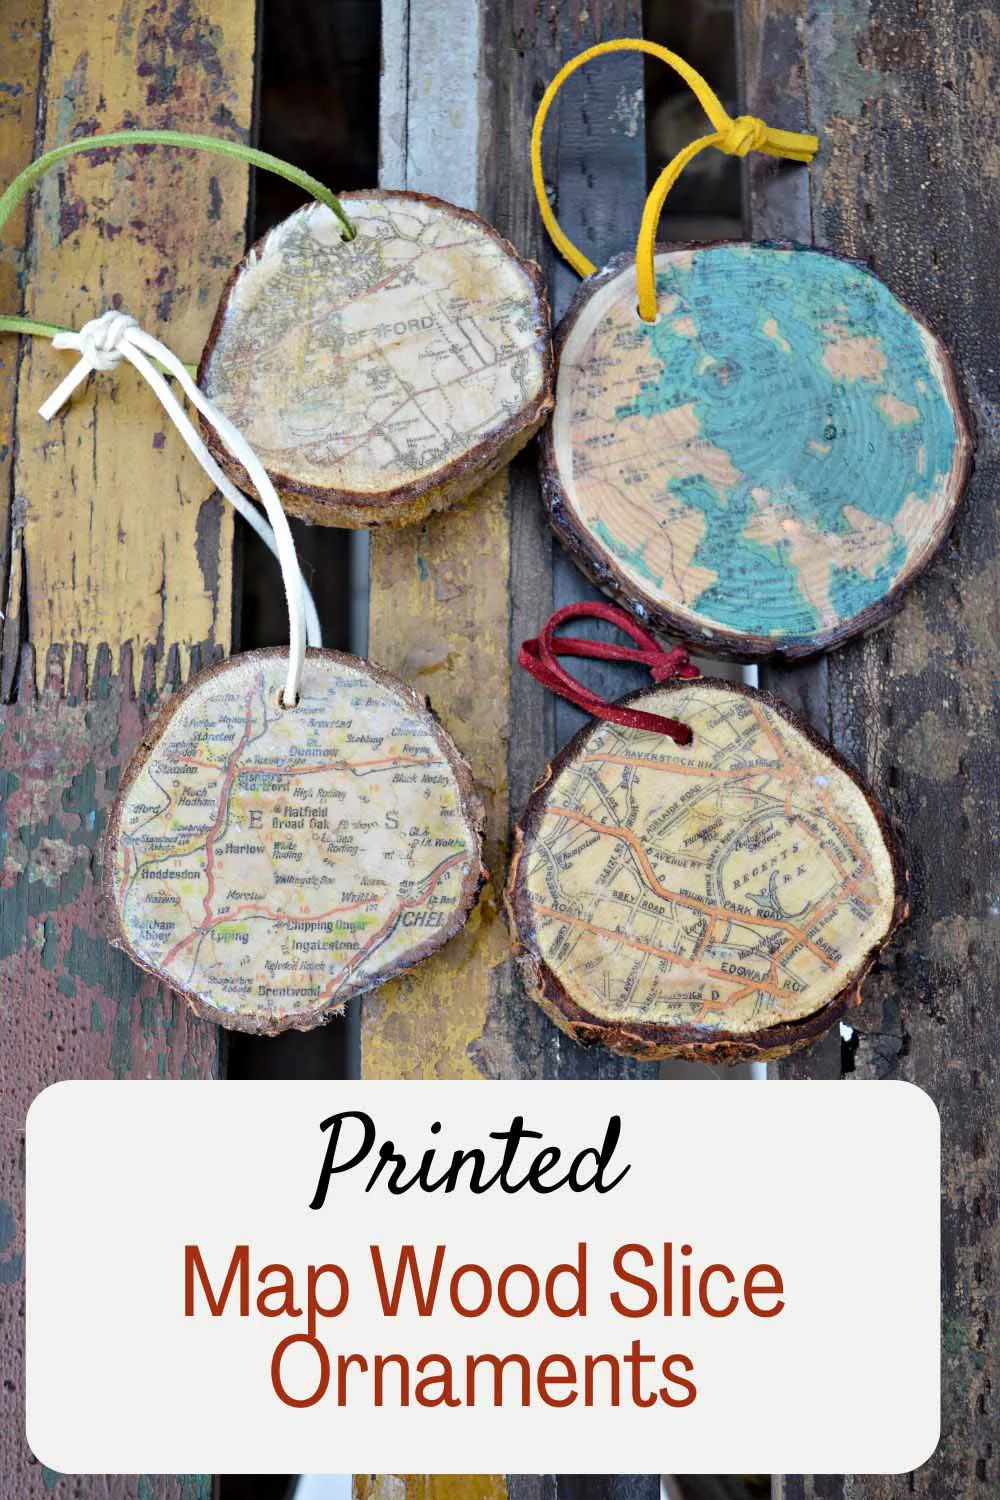
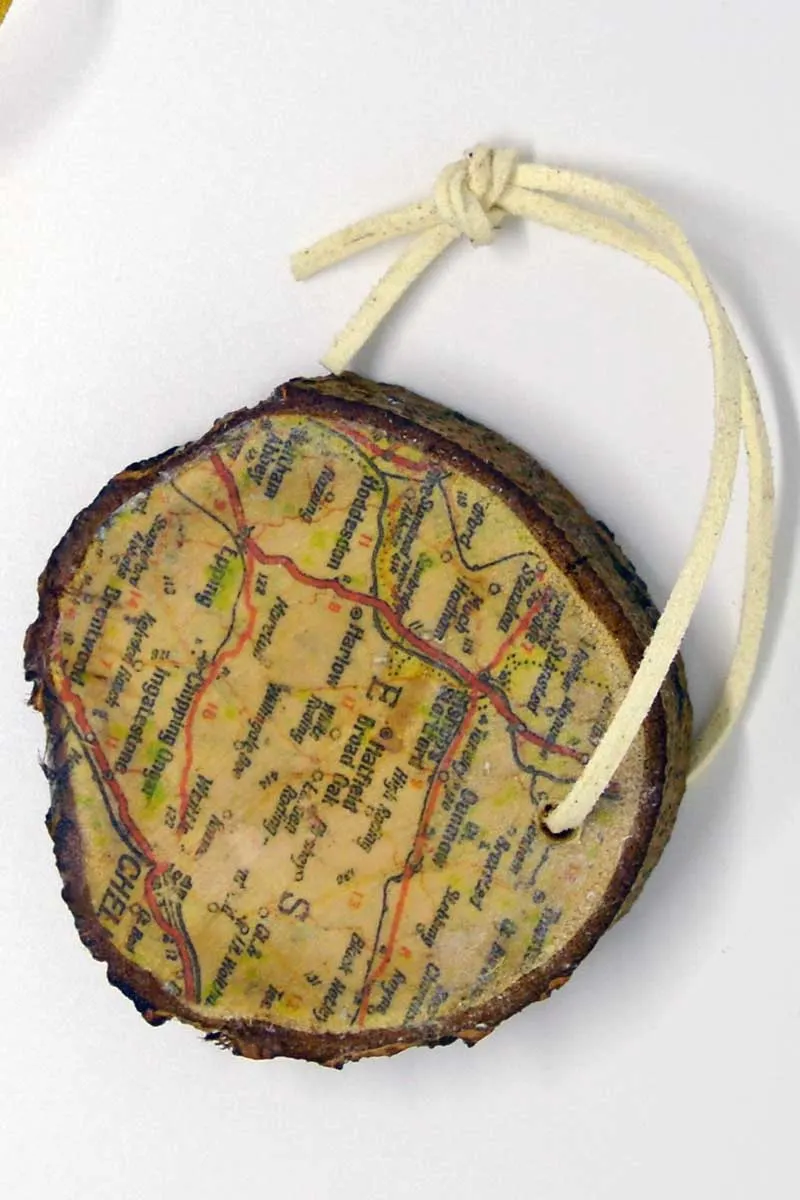
This easy DIY tutorial turns simple wood slices into stunning map ornaments and coasters. They’re perfect for personalized Christmas gifts or decorations.
You’ll adore this simple craft if you love creating meaningful, rustic gifts. One of the best parts of this project is selecting the type of map to use. You could choose an old road map of your hometown for nostalgia, a map of your favourite holiday destination to remind you of past adventures, or even a country map to honour your heritage. The possibilities are endless, and each map adds a personal, unique touch to your creation.
Printing maps onto wood slices looks stunning and keeps the wood’s natural grain visible. Whether you’re making ornaments for the tree, sentimental gift tags for your family of travellers, or unique coasters, this project is perfect for adding a personal touch. If you’ve ever tried my map-on-rock keychains, this is like levelling up for Christmas!
The beauty of printing maps directly onto wood slices rather than decoupaging them is that the rustic charm of the wood shines through. The result? It is a gorgeous blend of texture, colour, and sentimentality that will impress.
Materials Needed:
We’re a participant in the Amazon Services LLC Associates Program, an affiliate advertising program designed to provide a means for us to earn fees by linking to Amazon.com and affiliated sites. As an Amazon Associate, I earn from qualifying purchases.
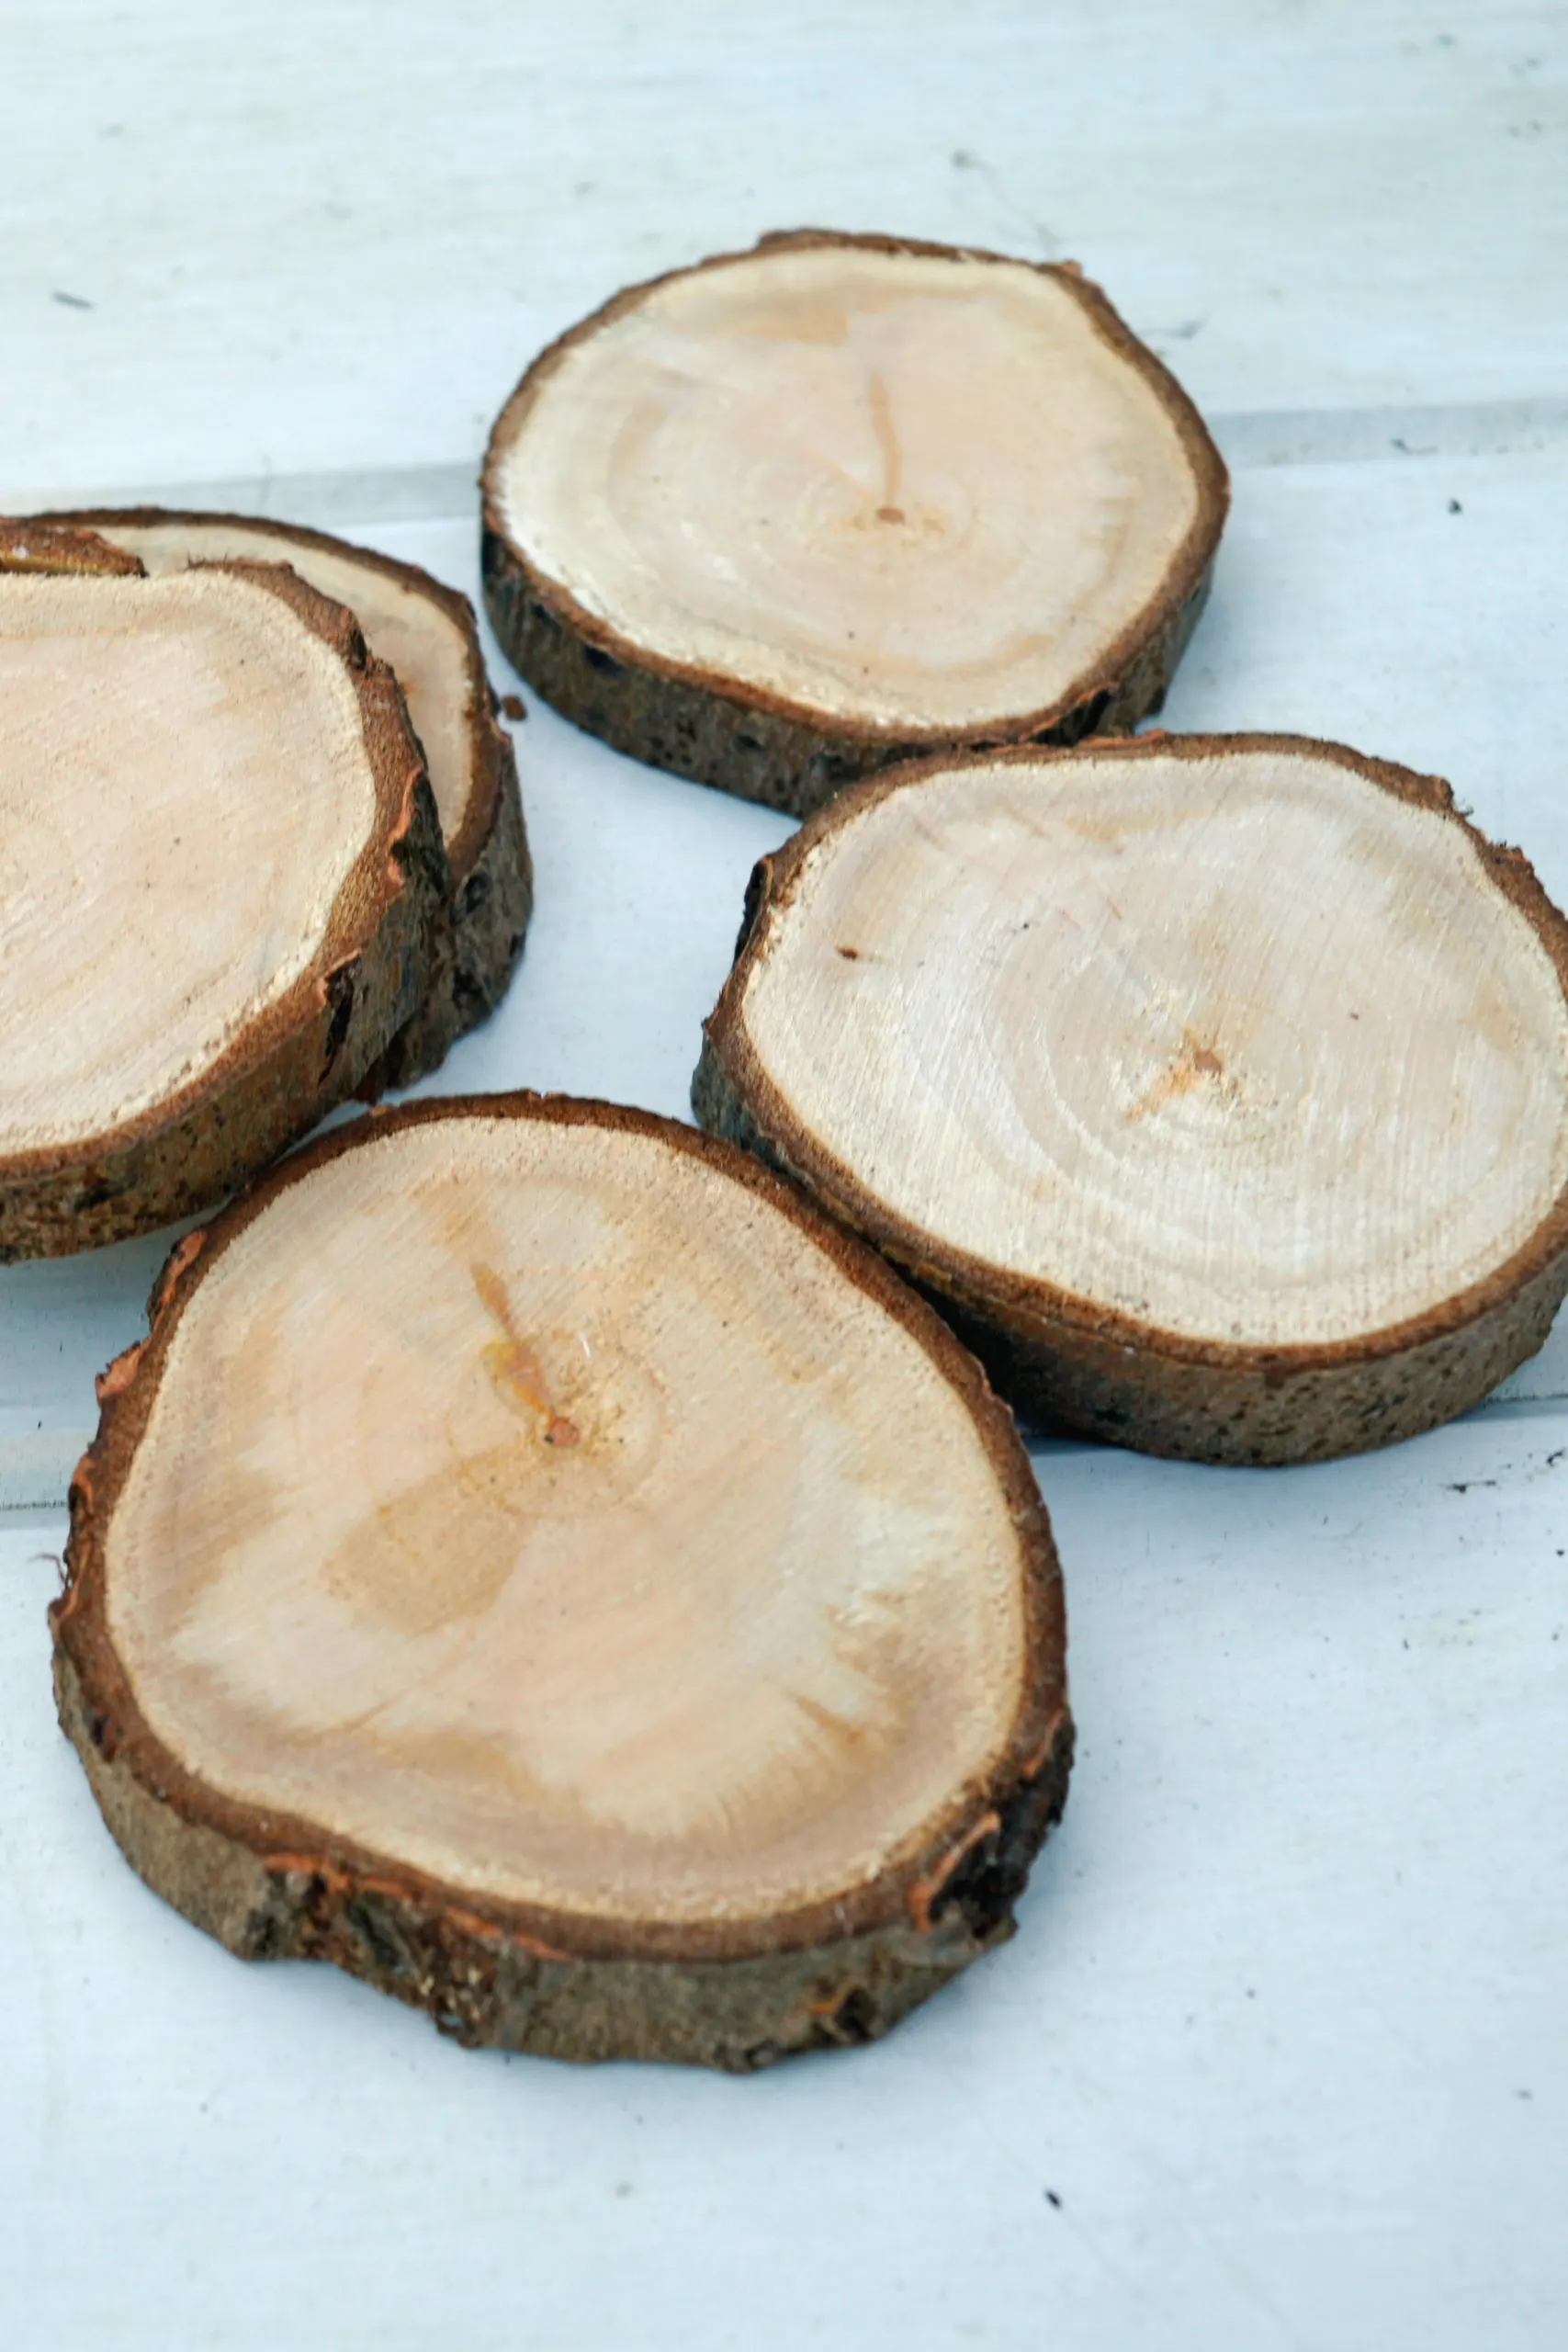
- Smooth wood slices (with bark if you want extra rustic vibes). If you will use them as coasters, I recommend using 10cm diameter wood slices. Ornaments can be anywhere between 7 and 10 cm.
- A printed map (on regular paper; remember to mirror the image if it includes text)
- Mod Podge
- A foam brush or paintbrush
- Water and a sponge or soft cloth
- Twine or ribbon for ornaments/gift tags (optional)
- Clear acrylic spray sealant (optional for coasters)
Step By Step Instructions
Step 1. Prep Your Wood Slices: Make sure your wood slices are smooth and dry. Sand them lightly if needed, especially on the face where you’ll transfer the map. Wipe away any dust.
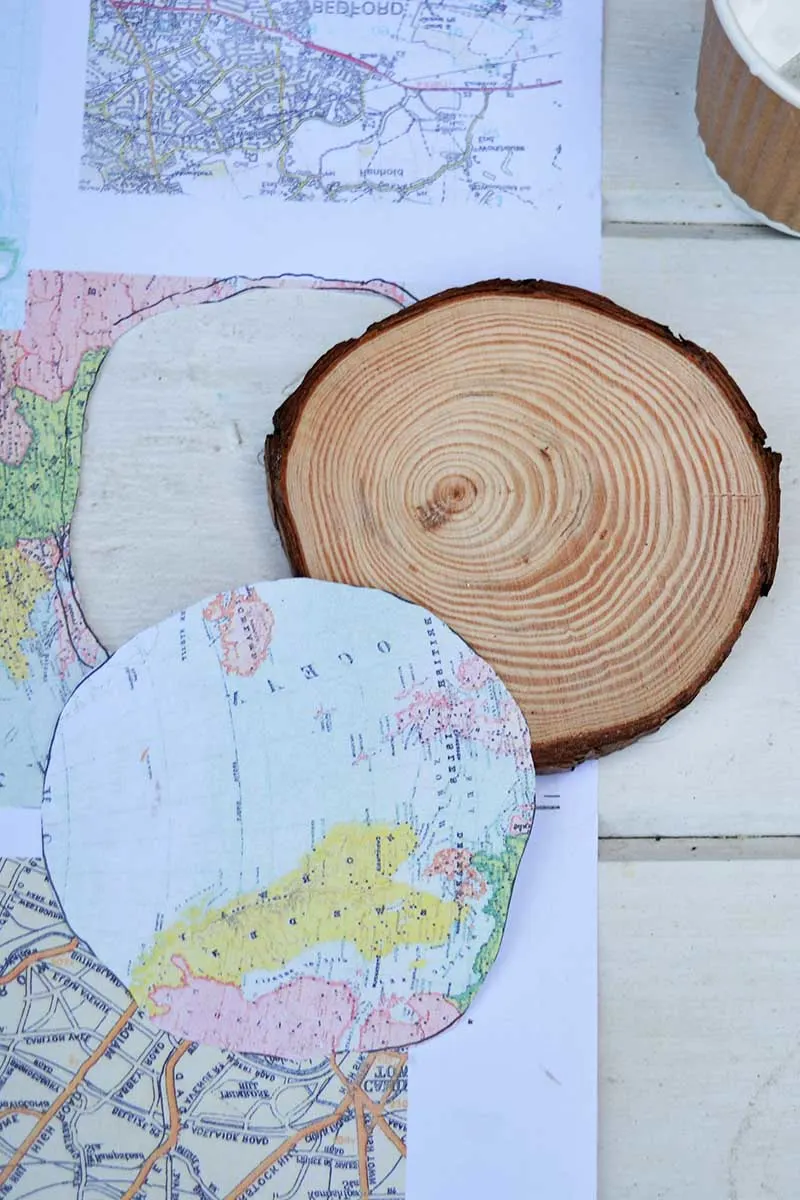
Step 2: Choose and Print Your Map: Pick a map with a special meaning—a favourite travel destination, hometown, or dream trip. Print it on regular printer paper, and remember to mirror the image if there are names or landmarks you want to show up correctly. If you make more than one map of wood slice, you can fit several maps on one piece of paper.
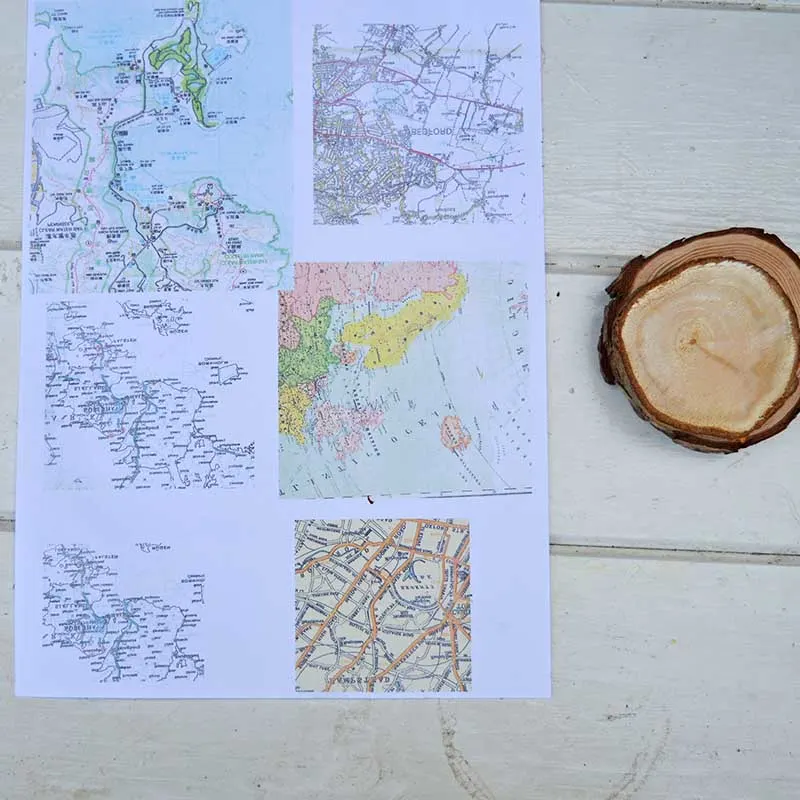
Step 3. Trim the map to fit your wood slice: Place the wood slice onto the map you want to use and draw around it. Then, cut out the map to fit the top of the wood slice.
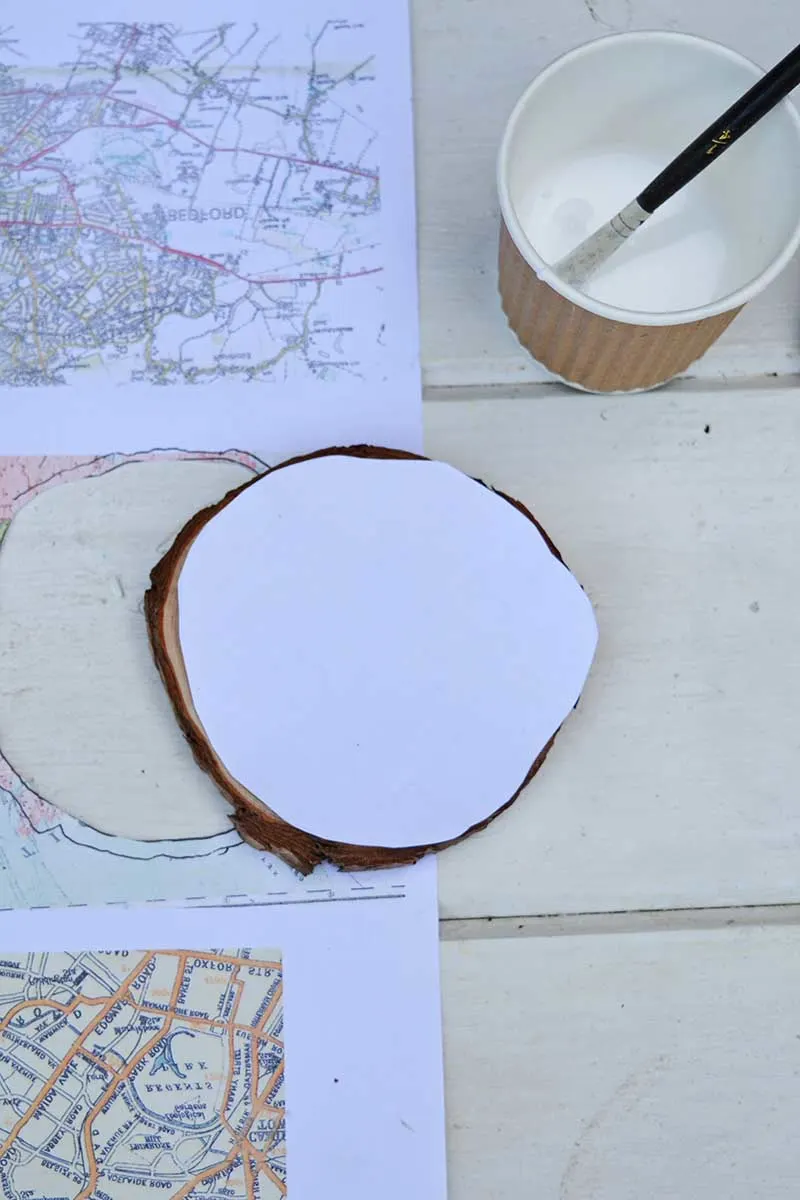
Step 4: Transfer the Map: Using a foam brush or paintbrush, coat the top of your wood slice with a generous layer of Mod Podge. Make sure it’s smooth and even—not too thin or thick. Place your printed map face down on the Mod Podge-coated wood slice. Smooth it out with your fingers to remove any air bubbles or wrinkles.
Letting it dry completely is the hardest part, but patience is key. I recommend leaving it overnight.
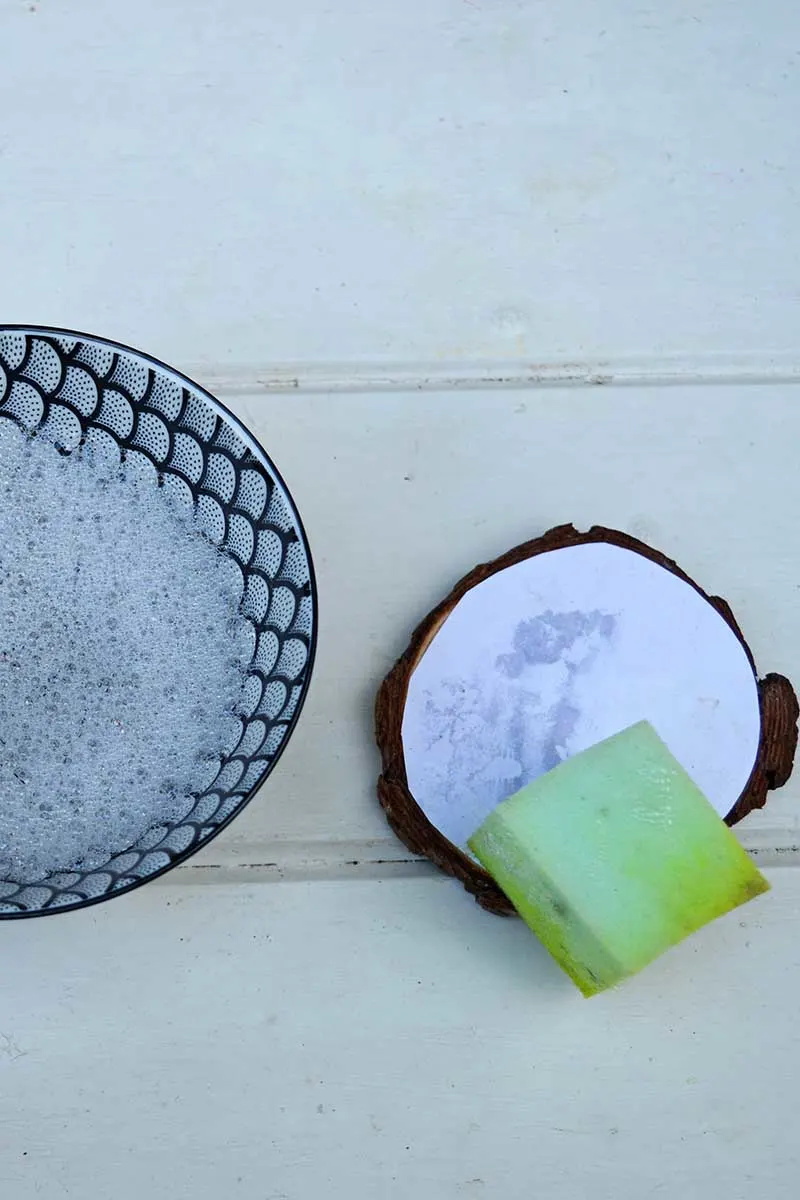
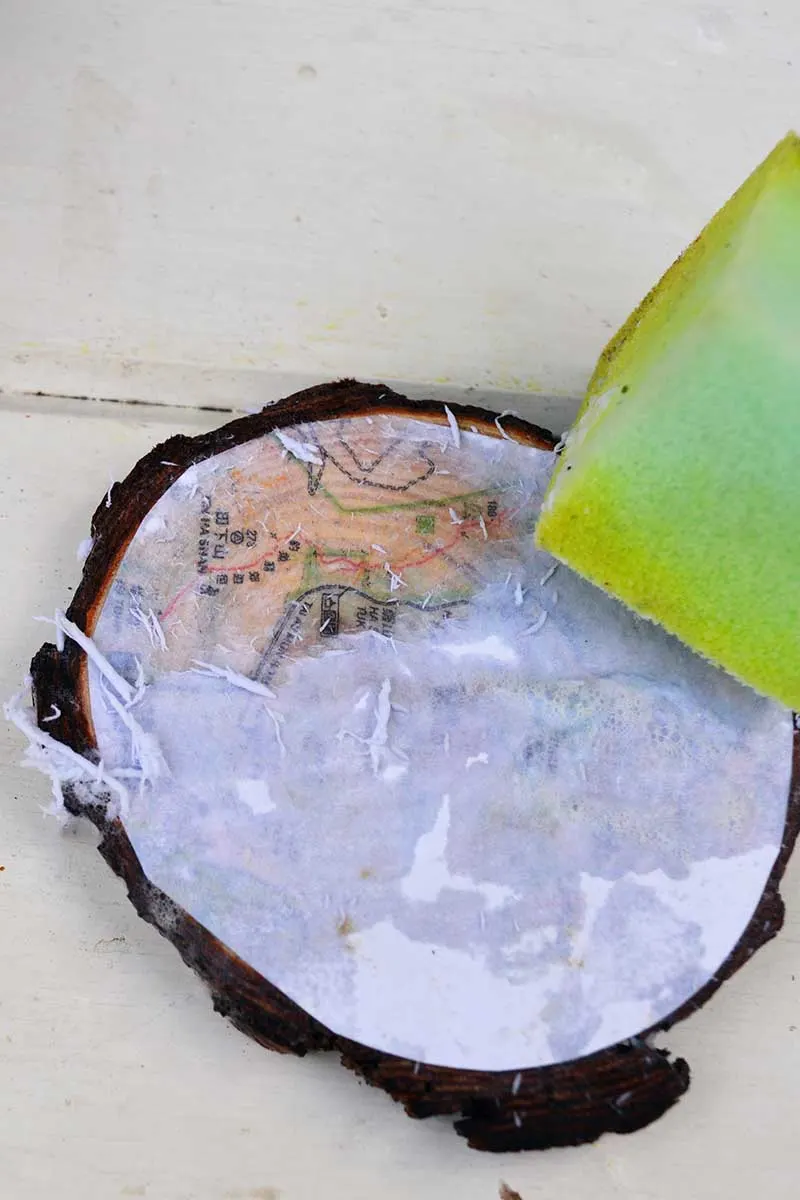
Step 5: Reveal the Map: Once dry, dampen the paper with a sponge or cloth. Rub gently in a circular motion to peel away the paper, revealing the transferred map underneath. Work slowly to avoid rubbing off the design. If any spots peel away, call it “added character”—part of the rustic charm!
Step 6: Seal Your Creation: For ornaments or gift tags, you can leave them as is or add a layer of Mod Podge to protect the design. For coasters, spray the wood slice with a clear acrylic sealant to make it water-resistant.
Step 7: Add Final Touches: When making ornaments or gift tags, drill a small hole at the top and thread twine or ribbon. You can even write a name or date on the back with a wood-burning tool or permanent marker.
More Map Craft Inspiration
If you love working with maps as much as I do, don’t miss some of the other map-themed projects on Pillarboxblue.com. For instance, you can check out how I turned maps into mountains or created a map lamp for a bold statement piece. Another favourite is the printed map picture frame, another fantastic handmade gift idea.
Looking for holiday-themed ideas? My map pinecone ornaments and map crackers are another fun and festive way to incorporate maps into your Christmas decor. These projects are perfect for travel lovers or anyone who appreciates the beauty of cartography.
If you want more wood slice ideas, check out this fantastic collection of Christmas wood slice crafts. You will also find other methods to try for printing on wood here.
