Transform cardboard and wool scraps into festive robin ornaments. This is a quick, fun craft for your Christmas tree or garland.
What’s more festive than a robin at Christmastime? These cheeky little birds are a seasonal favourite, and they’ve inspired my latest recycled christmas craft: a cute cardboard Robin ornament!
When I stop for my morning coffee, I often see a bold robin at my local park kiosk. He’s so fearless, hopping right onto my table to demand crumbs. His antics made me think, why not bring a bit of that charm into my Christmas decor? Plus, I love upcycling things destined for the recycling bin into something beautiful.
I love creating recycled Christmas decorations. Cardboard is a favourite material of mine—cheap, versatile, and easy to work with. In the past, I’ve made giant cardboard baubles, a gingerbread house garland, and even a whole collection of cardboard Christmas crafts.
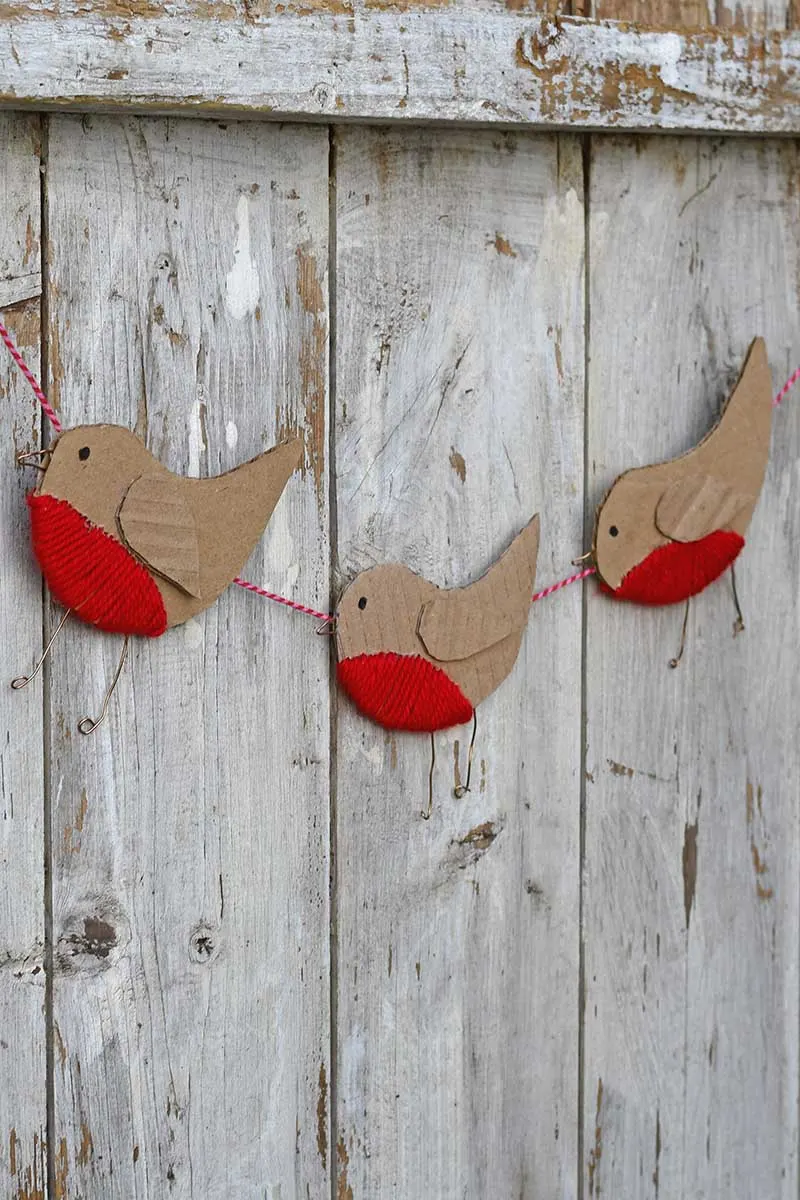
These robins are super simple to make using corrugated cardboard, wool scraps, and a few odds and ends. They’re perfect for your tree or as part of a garland.
Materials Needed
- Corrugated cardboard (from a delivery box)
- Scraps of red wool
- A darning needle
- Black pen
- Paper clips or scrap of wire
- Glue
- Scissors
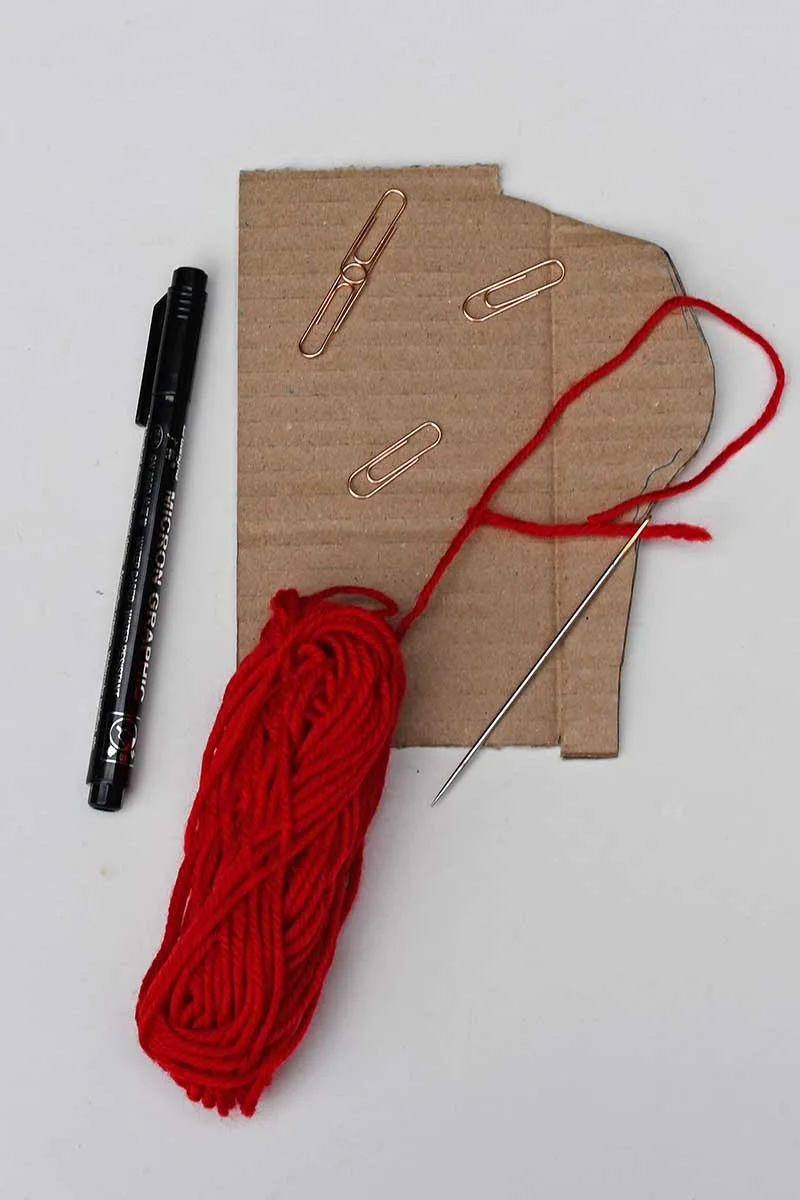
How to Make the Robin Ornament
Step 1: Cut Out the Robin’s Body and Wing
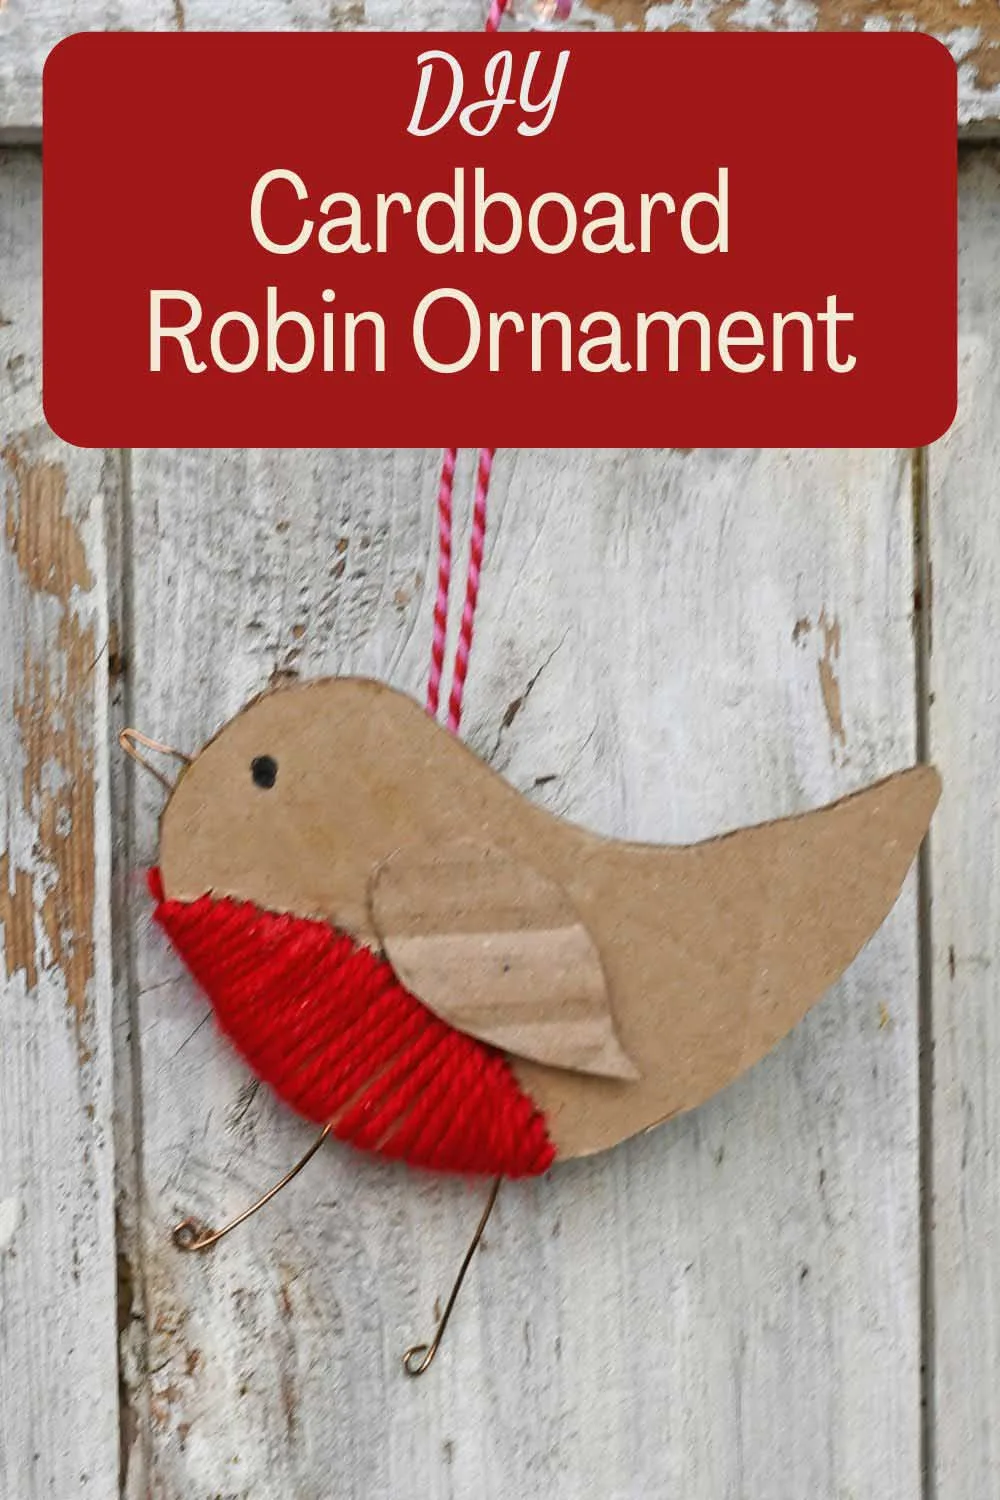
Draw a robin-shaped body and two separate wings (one for each side) on the corrugated cardboard. Keep it simple—a plump little bird shape works best! You can use the template below.
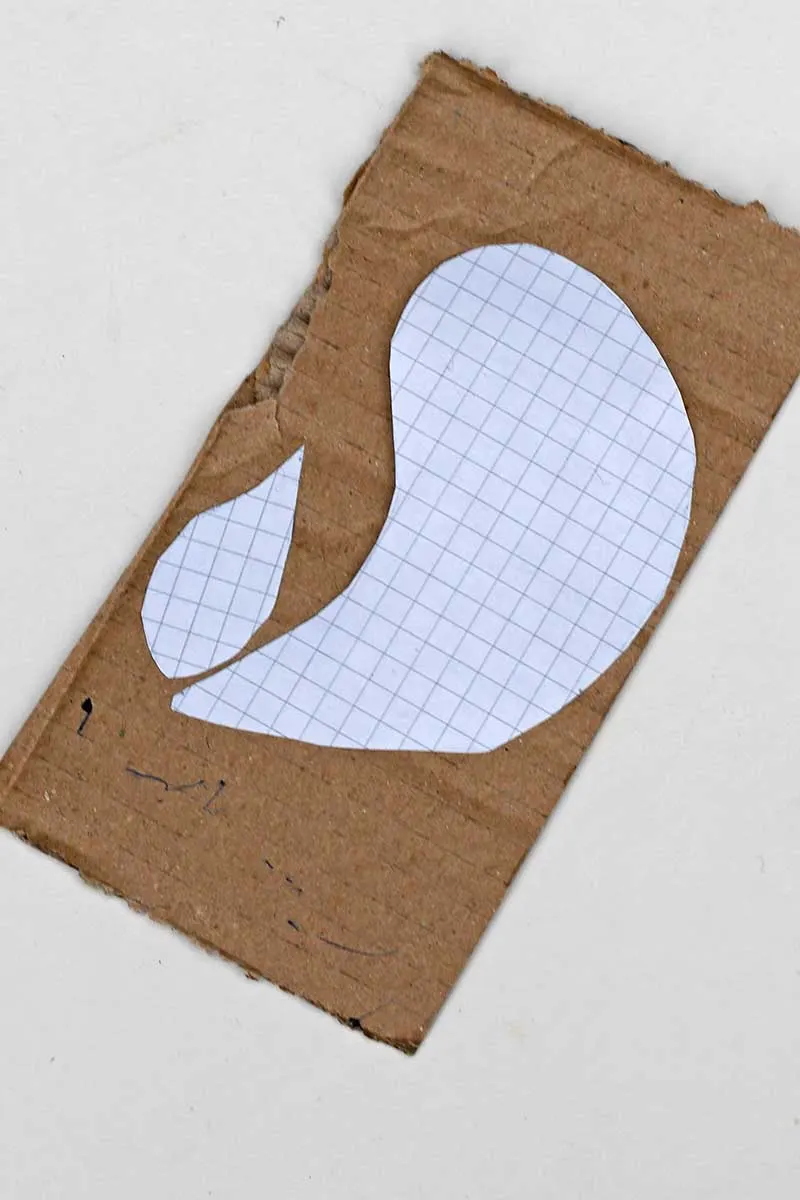
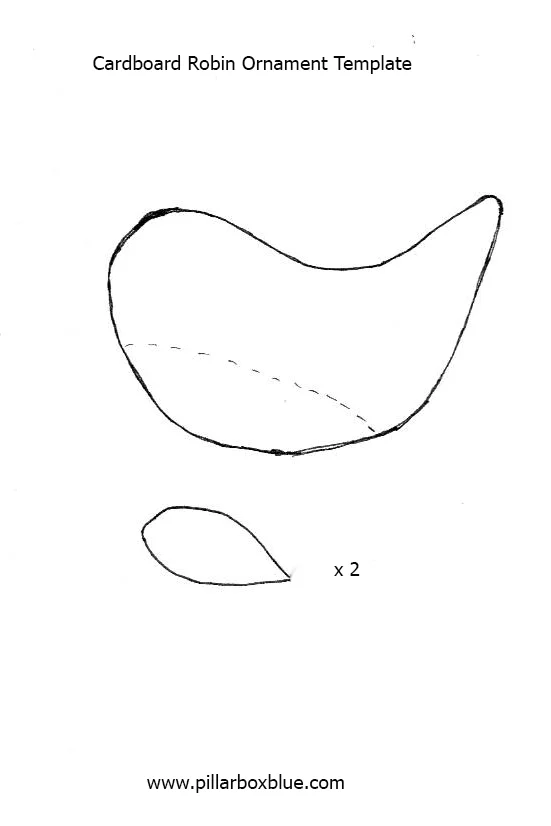
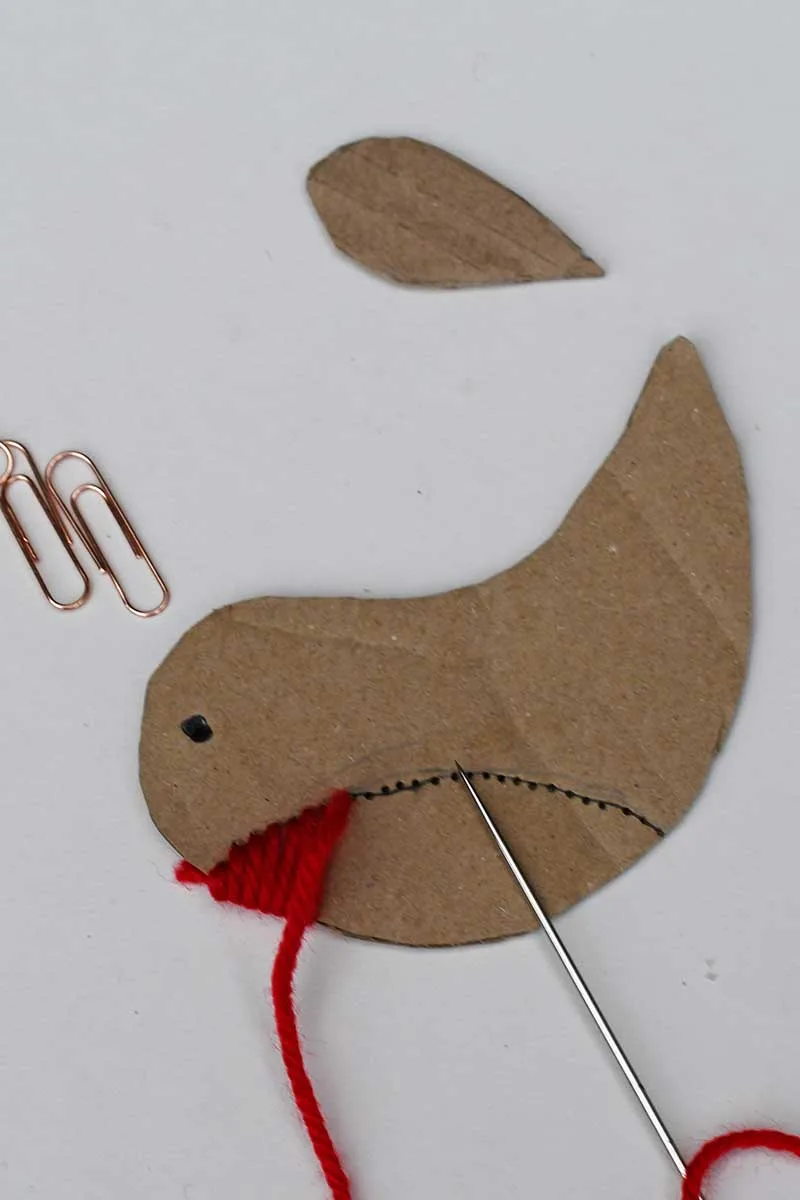
Step 2: Cut out the cardboard shapes with scissors and mark the outline of the Robin’s breast with a pen.
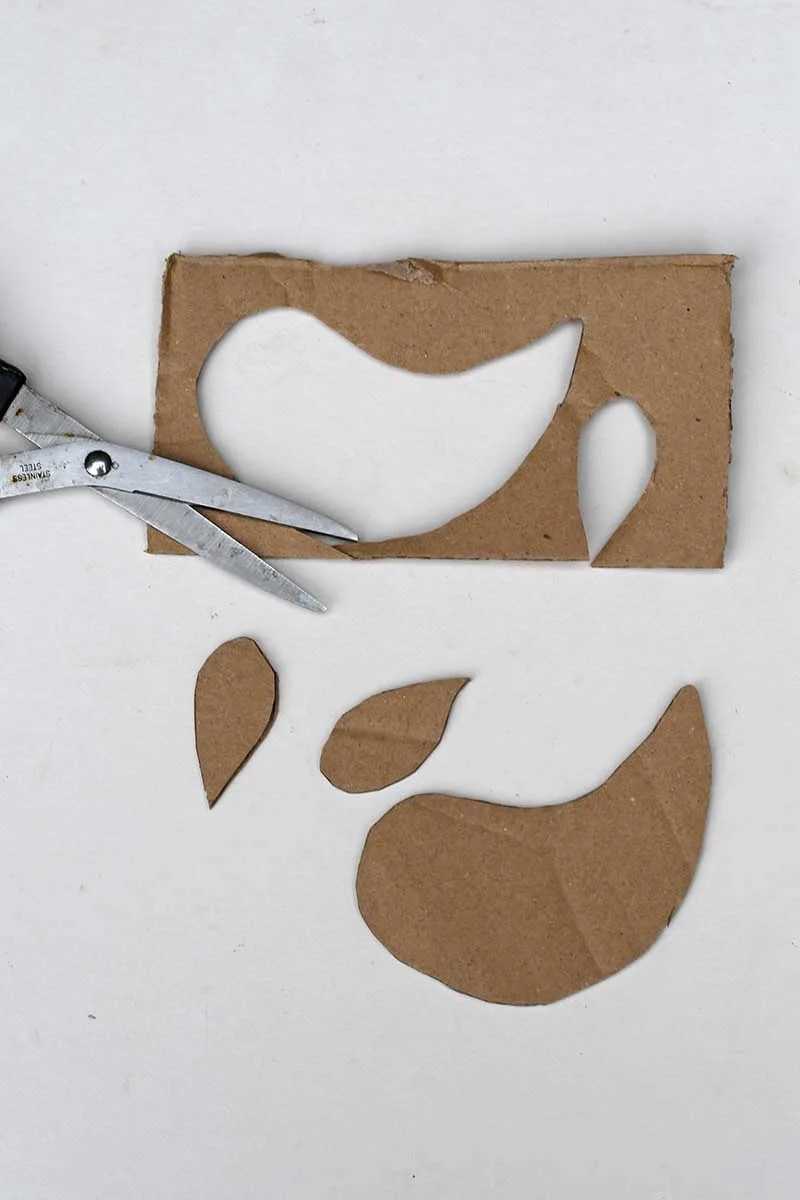
Step 3: Add an Eye
Draw the Robin’s eye with a black pen. For a 3D effect, you could also use a tiny black bead.
Step 4: Embroider the Red Breast: Using the darning needle, pre-punch holes (close together) in the cardboard where you want the red breast to be. Thread your needle with wool or embroidery thread and stitch through the holes to create a vibrant red breast.
Step 5: Make the Beak and Feet
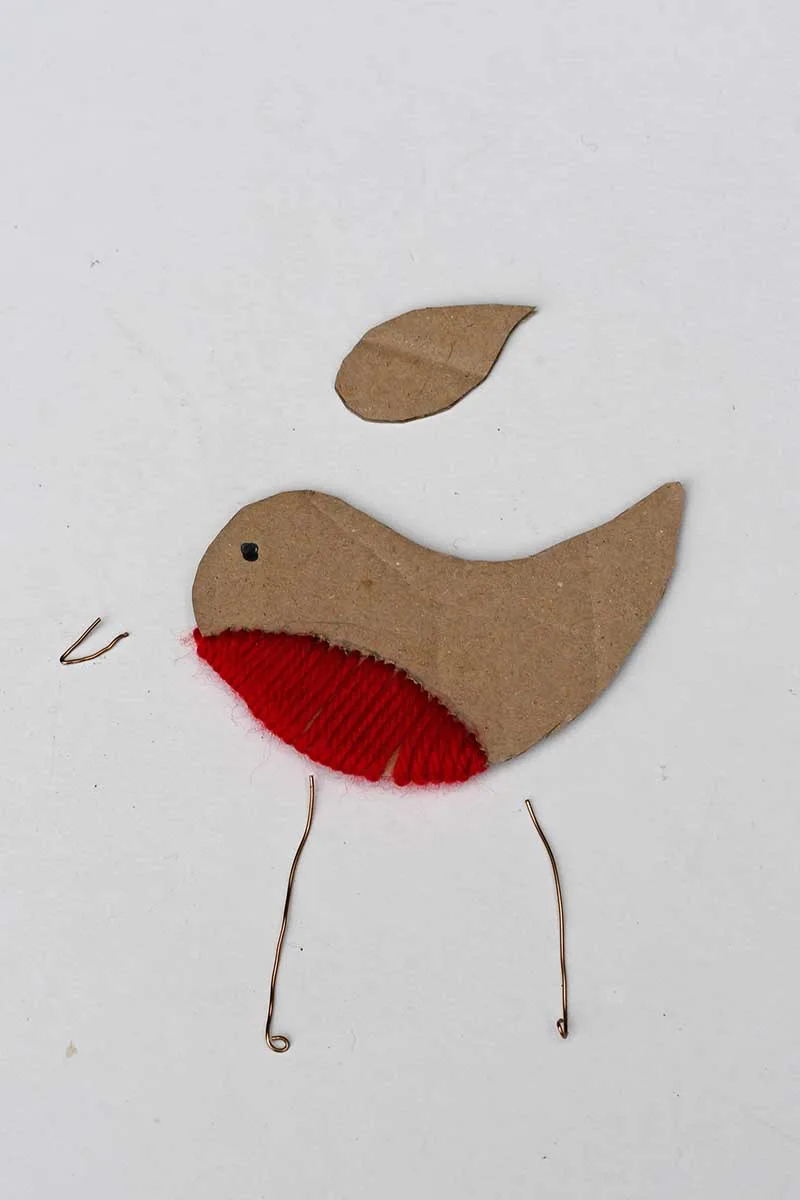
Unfold a paper clip to shape the beak and feet. Tuck and glue the wire into the corrugated layers of the cardboard to secure them.
Step 6: Attach the Wing
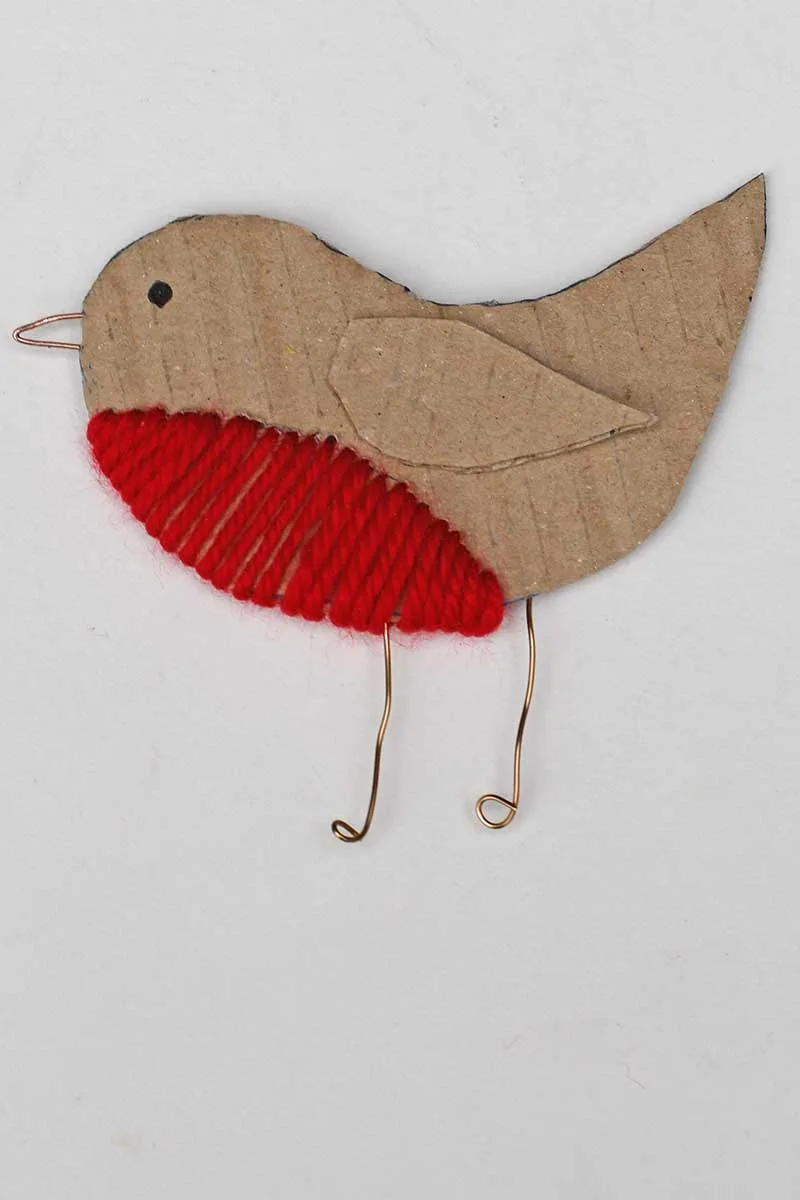
Glue the cardboard wing onto the body.
Step 7: Hang It Up
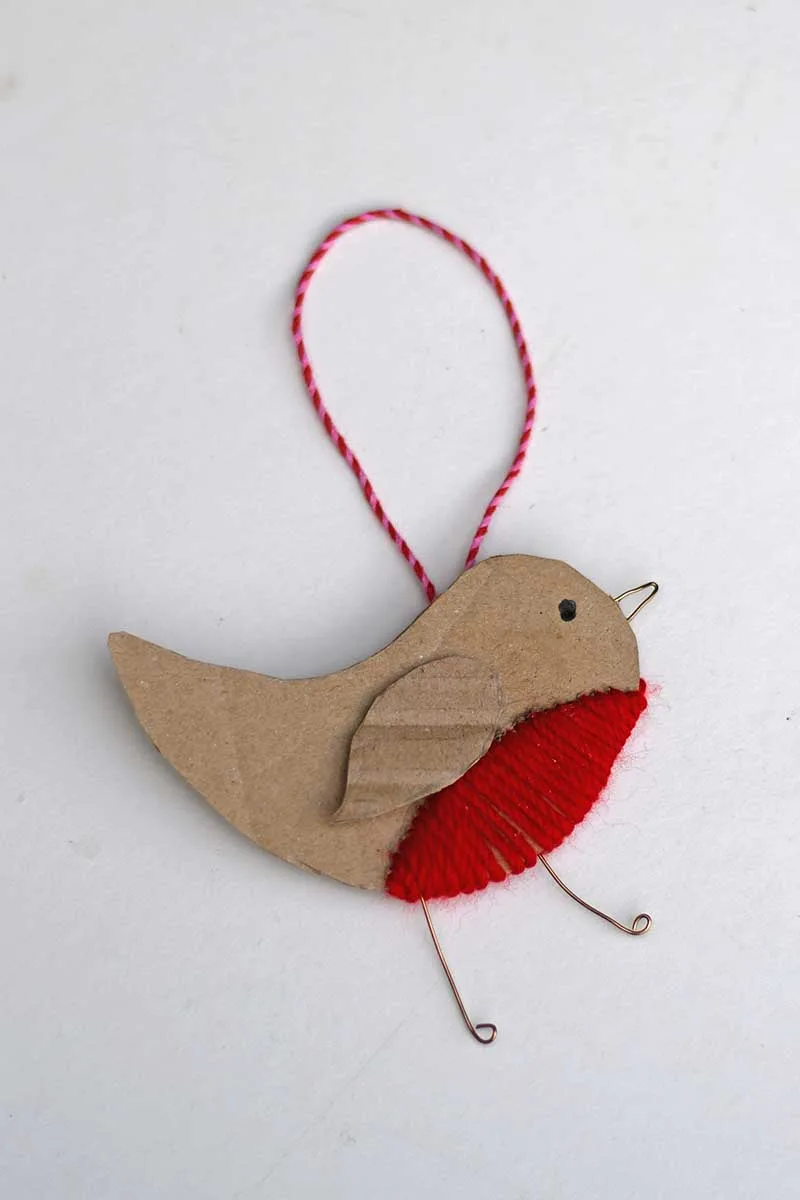
Add a string or ribbon to hang your robin ornament. Alternatively, make a flock of them and string them into a garland for a festive display. This is a two-sided ornament, so it doesn’t matter how you hang your Robin.
Conclusion & Other Posts
These robins are a delightful, simple way to upcycle cardboard into something genuinely festive. They make a fantastic family craft project—kids will have a blast creating their flock of cheerful birds.
If you’re looking for more fun cardboard crafts to try, don’t miss the cardboard penguins I’ve made. They’re perfect for a wintery festive display, and just like the robins, they’re an engaging project for kids to join in on the creative fun!
Are you looking for a different material to upcycle? You might love my wine cork Christmas crafts; tin can Christmas ideas, or denim holiday decorations, perfect for adding a unique and sustainable twist to your festive season.

Julie
Monday 18th of November 2024
These little cardboard robins are just adorable. I especially like the garland, they look so sweet in a row :-)
Claire Armstrong
Monday 18th of November 2024
Thank you, I like their simplicity.
Babs
Monday 18th of November 2024
Love your spirit!
Claire Armstrong
Monday 18th of November 2024
Thank you so much! I had fun creating them.