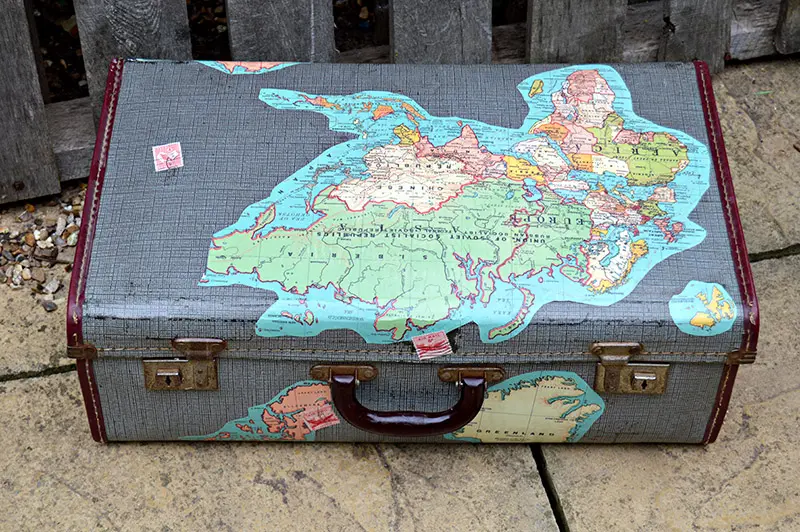
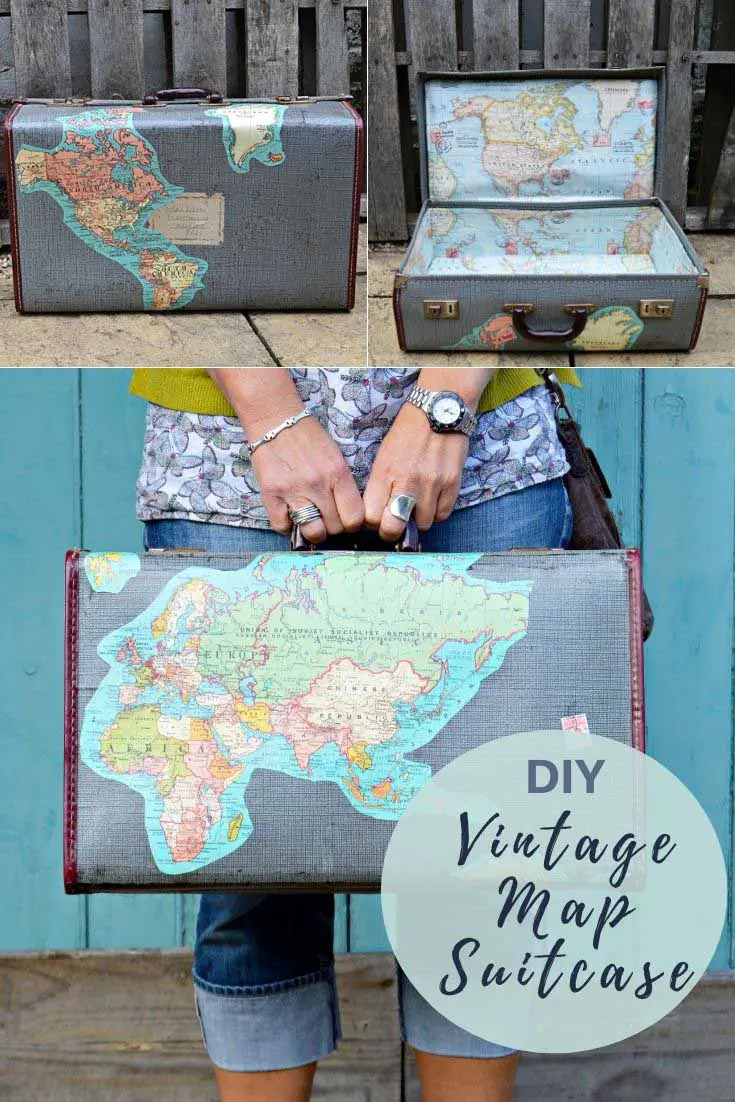
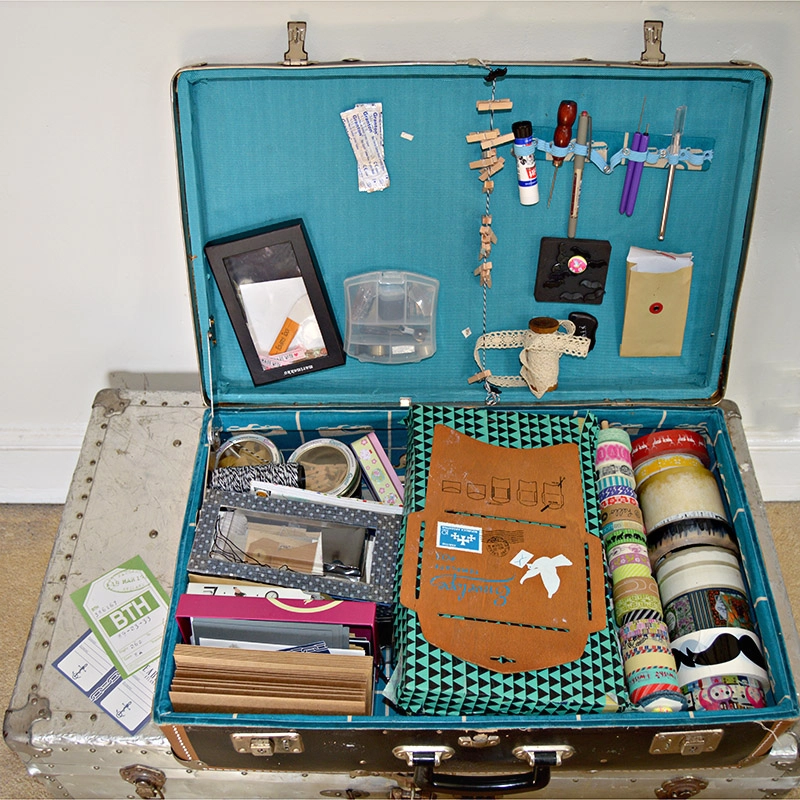
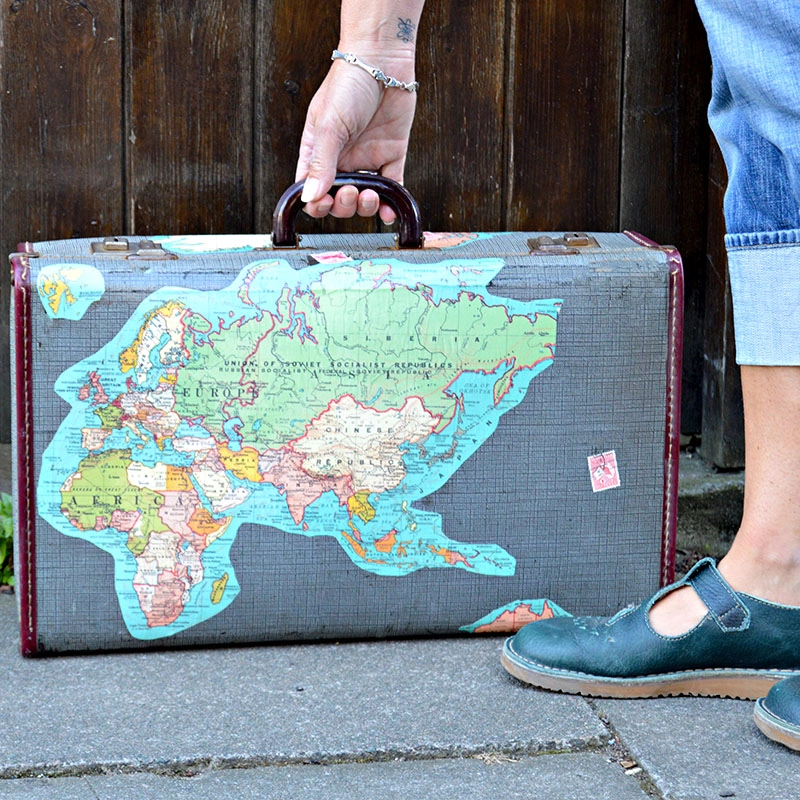
I love decorating with maps and for my latest project transformed a vintage suitcase with them. This upcycled map suitcase is the new storage place for all my travel memorabilia, photos, trinkets, maps, etc, that I collect on my holidays.
It also looks great next to my upcycled personalized map chairs.
I’m a bit of a hoarder regarding fabric, yarn, paper, and other crafting paraphernalia. Ideally, I would love to have it all on display in my studio, but unfortunately, that’s not possible.
Also if my stash was visible to everyone then the extent of my craft hoarding habit would be laid bare for possible criticism!
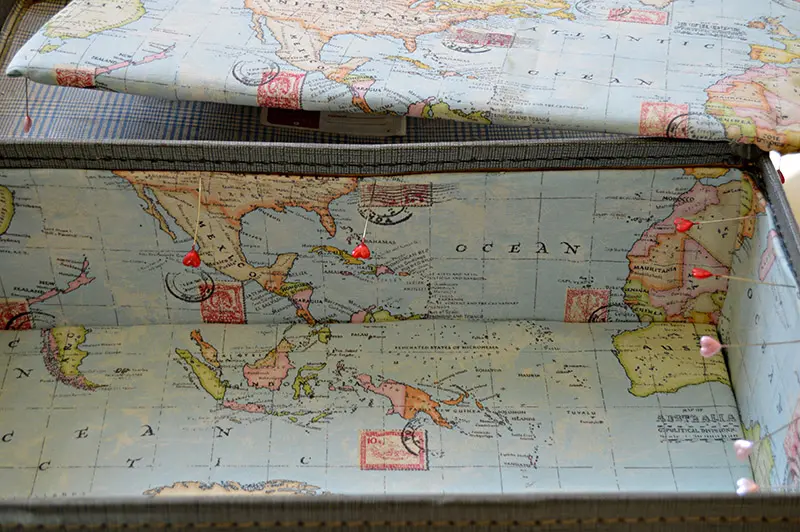
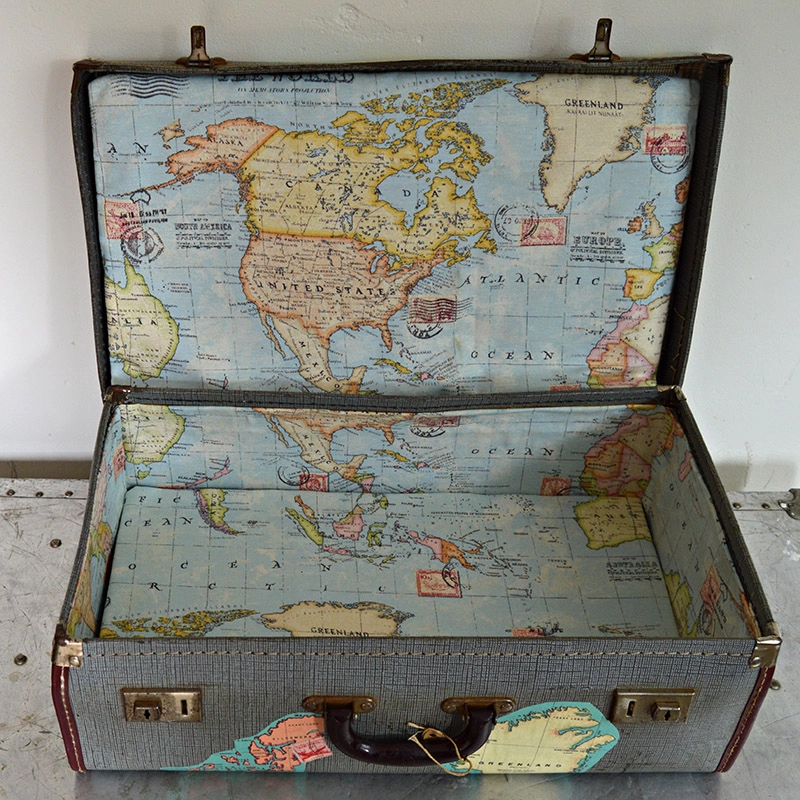
Not only did I upcycle the outside of this vintage suitcase with maps but wait until you open it up inside. I think the inside of the map suitcase looks better than the outside.
I still managed to retain the old character of the vintage suitcase with this upcycle.
We’re a participant in the Amazon Services LLC Associates Program, an affiliate advertising program designed to provide a means for us to earn fees by linking to Amazon.com and affiliated sites. As an Amazon Associate, I earn from qualifying purchases.
How to Upcycle a Vintage Suitcase with Maps
What you need to make a map suitcase
- Vintage Suitcase – I bought mine for £2. It was a simple cardboard suitcase with a few scratches, but as you are going to decoupage it, you can cover most of them. The main thing to ensure is that the hinges and the catches on the casework are fine.
- Wire wool, scissors, rotary cutter & mat, pins & glue brush
- Cardboard – any old cardboard from delivery boxes is ok
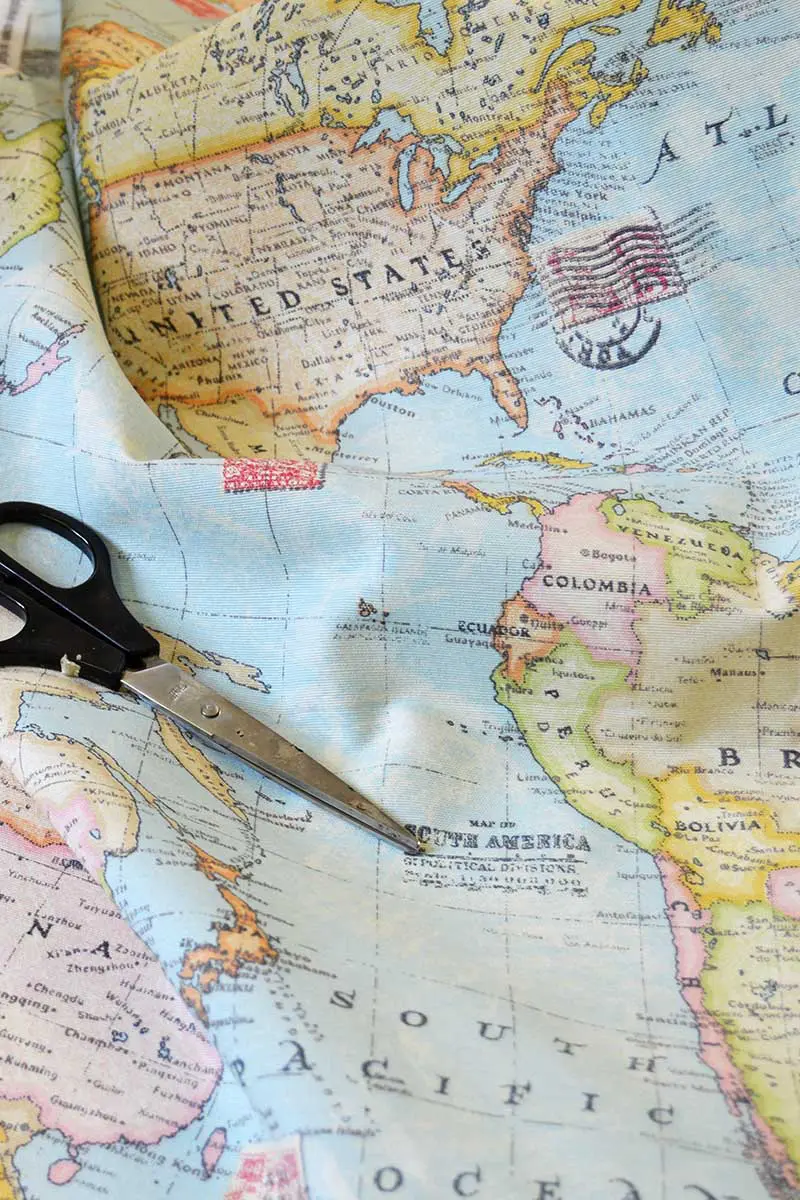
- Cavallini world map wrapping paper and postage stamps.
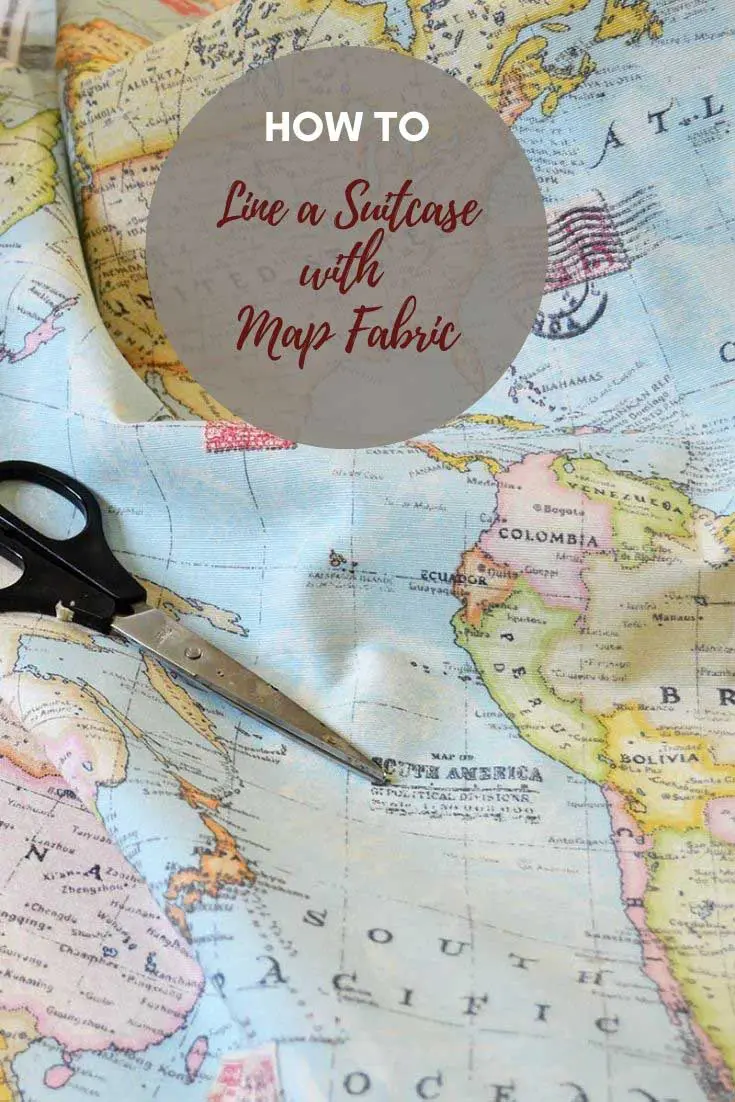
- Map fabric for the inside.
- Standard PVA glue and either a waterproof PVA or acrylic varnish. (You can use Elmer’s glue or Mod Podge instead of PVA)
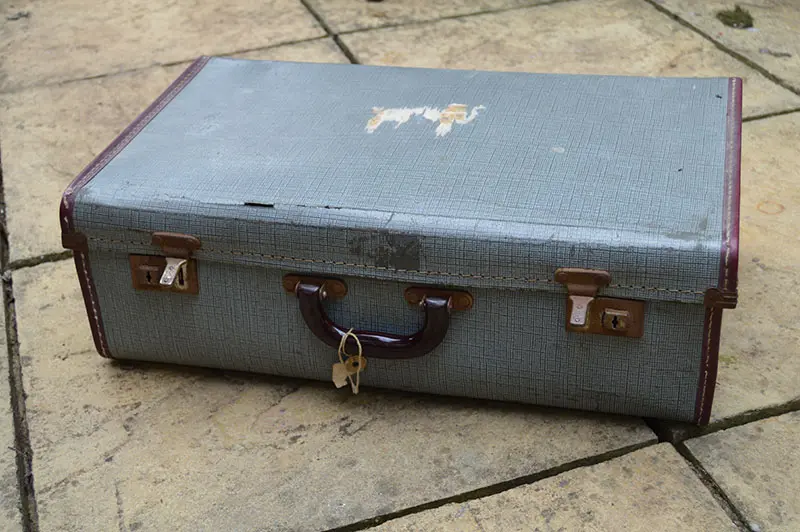
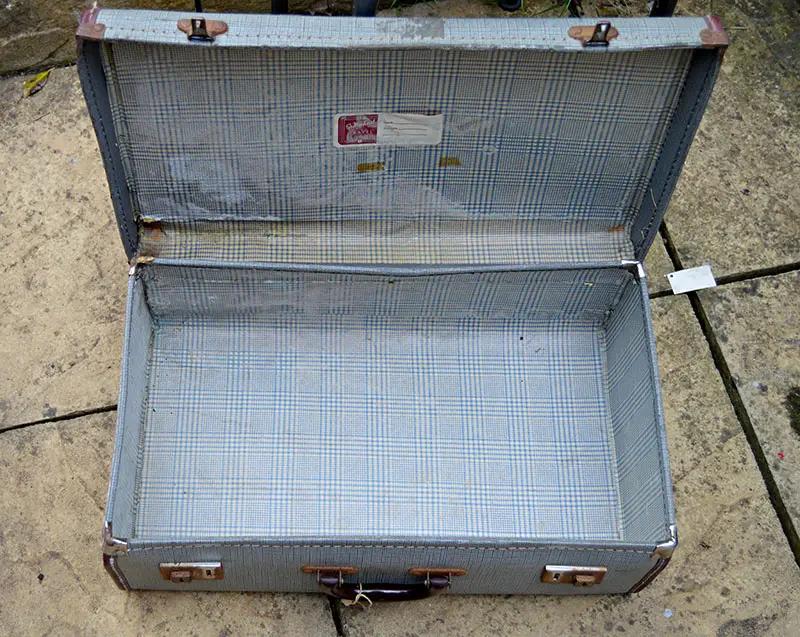
I upcycled my map suitcase in 2 stages; firstly, I decoupaged the outside with paper maps and then lined the case with fabric.
Stage 1: Transforming the outside of the map suitcase
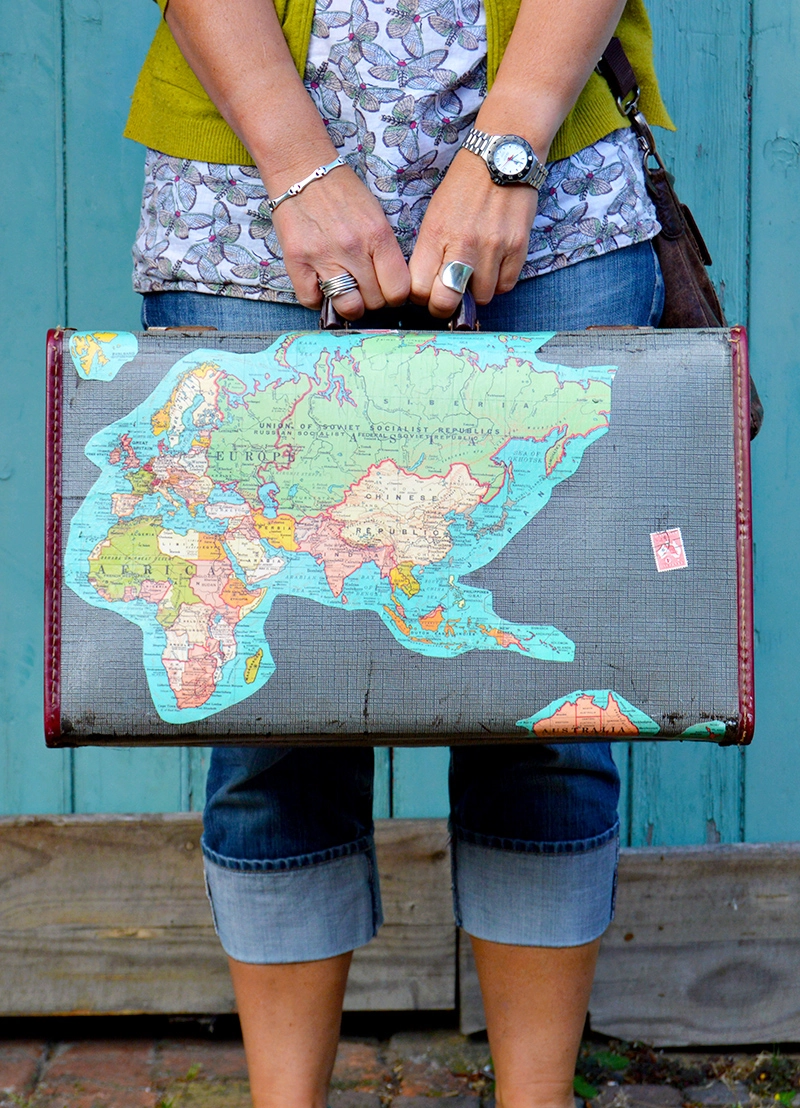
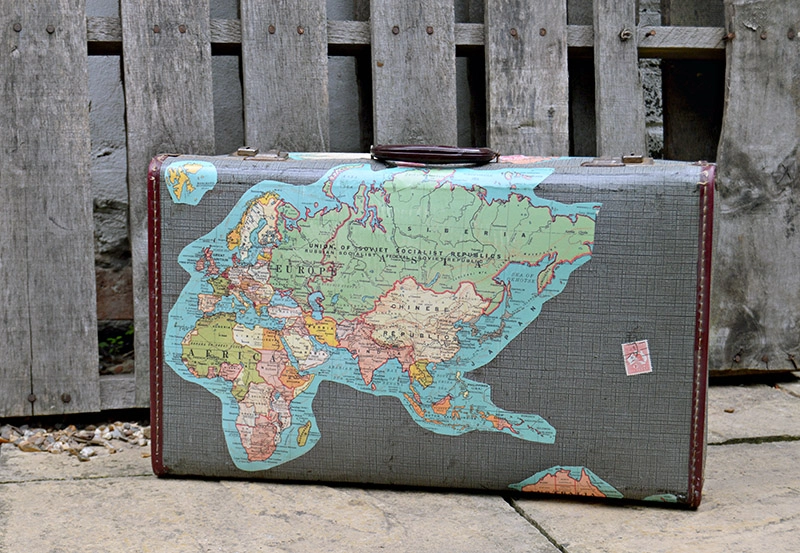
I didn’t cover the whole of the suitcase with maps. I just cut out bits of the map and stuck them on. That is because I still wanted to retain the character by making bits of the original case visible.
The map is just for decoration and to add interest, not to cover up the whole suitcase. I wanted a look similar to the suitcases my friend Lisa Tiley from U Old Bag makes.
Step 1: First, clean your suitcase with soapy water and sponge the inside and out. Make sure it’s thoroughly dry before you begin the next stage.
Use wire wool to gently rub away any excess rust on the hinges and catches. Don’t worry about removing all the rust, as a little will add to the vintage look.
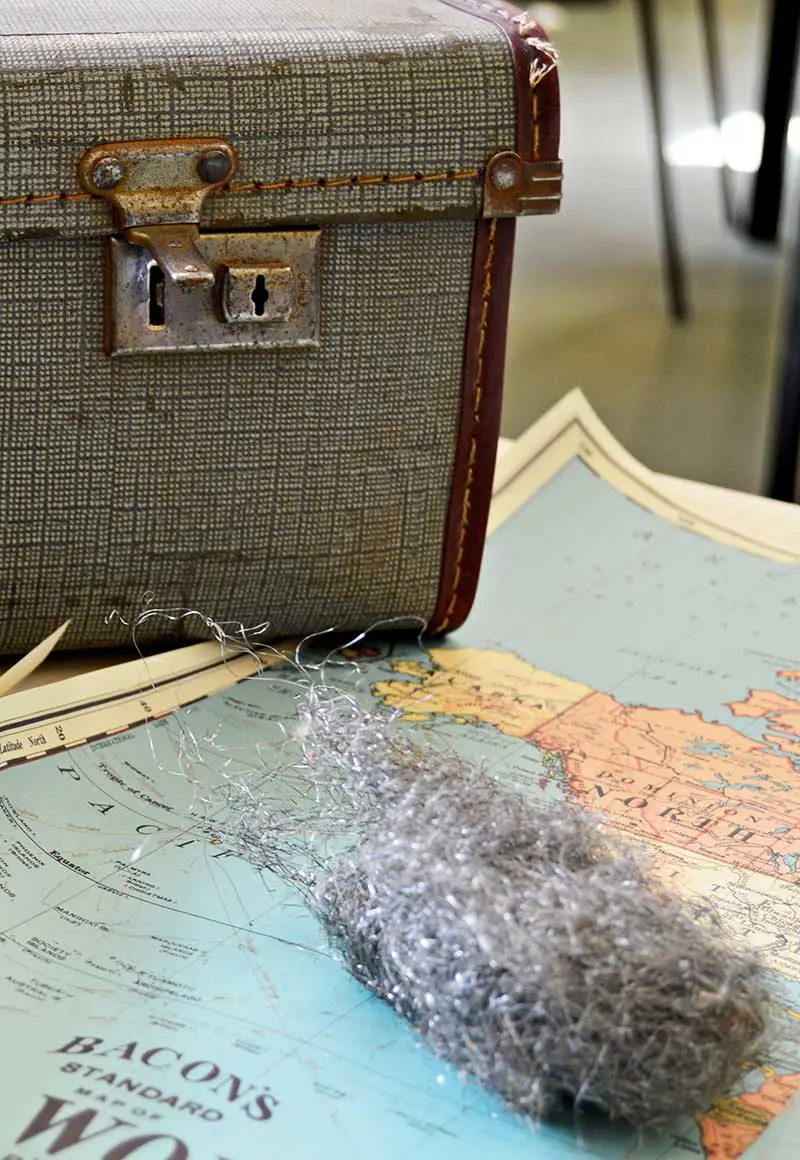
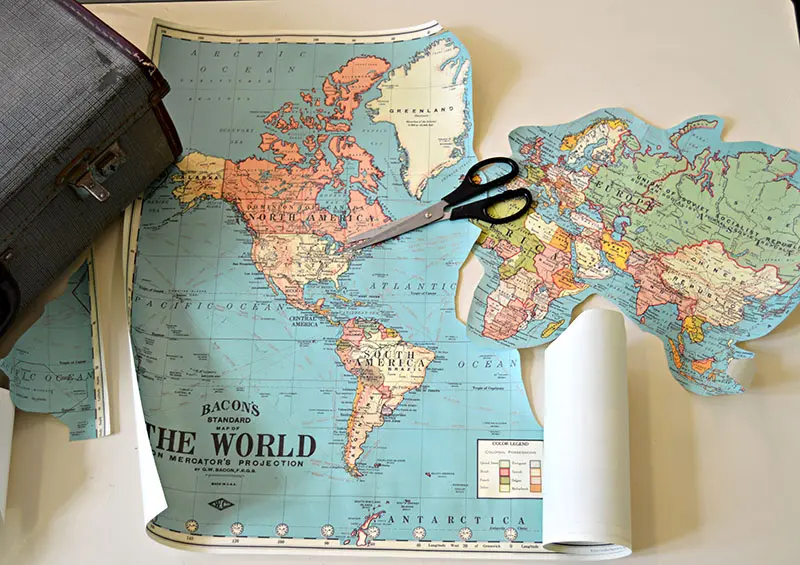
Step 2: Next, plan your map design and cut out your maps. If you want to use a different world map from the Cavallini one, there are a lot of free world maps on Pictureboxblue. There are also country-specific or city maps to choose from to make a more personalized map suitcase.
I didn’t want to cover the whole suitcase in the maps. I just cut out the continents and left most of the ocean behind.
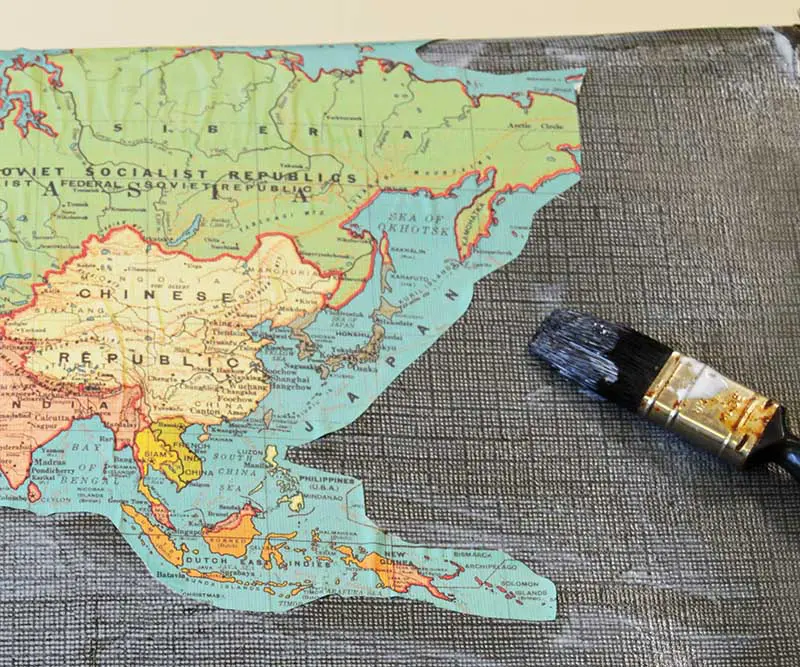
Step 3: Next, starting with the underside of the suitcase, cover it in PVA glue (or Mod Podge) and stick down your map design. The edge of a credit card can come in handy to gently squeeze out any air bubbles trapped under your paper.
When the underside is dry, turn your suitcase over and repeat with the top and sides.
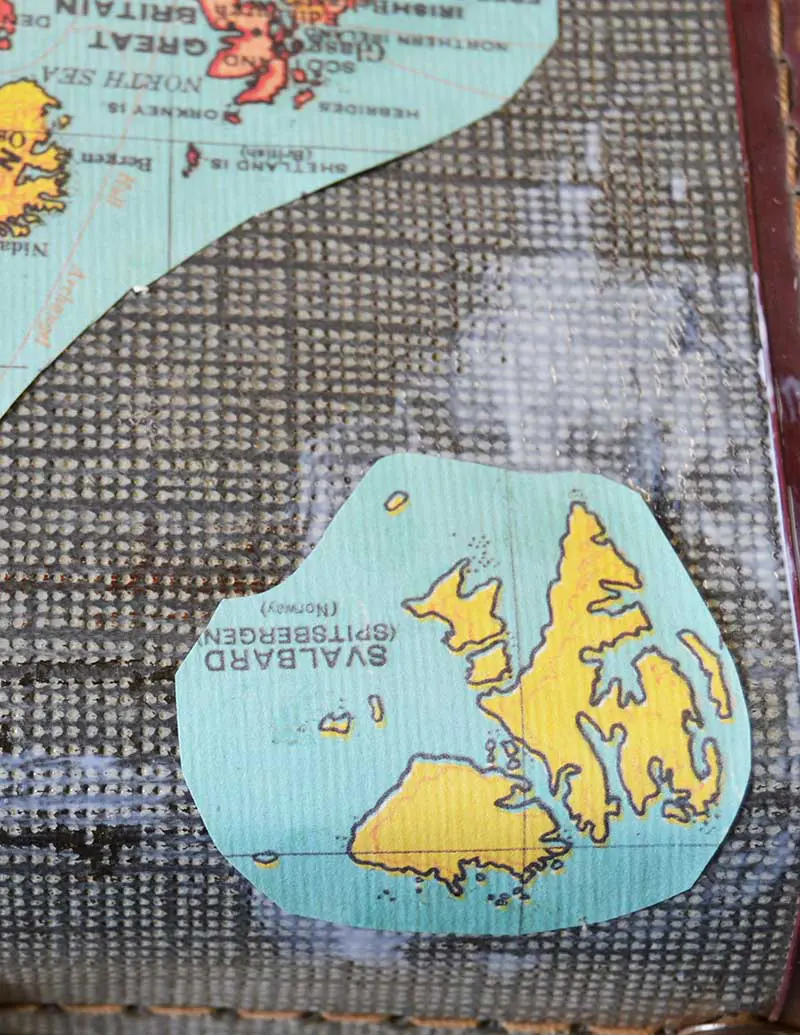
Top Tip: If you have any bad scuff marks the map doesn’t cover, you can strategically use stamps or printed vintage travel labels to hide these.
I don’t mind the odd scuff mark. I find it adds to the vintage character of the map suitcase
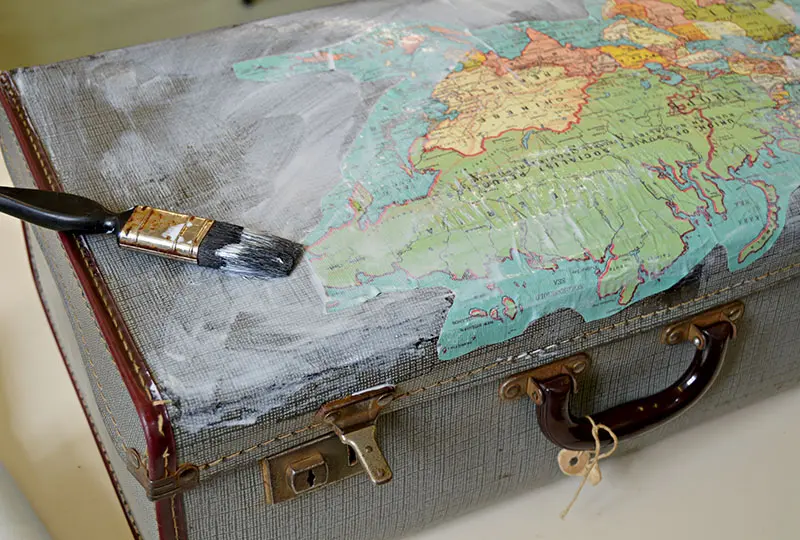
Step 4: Finally, to finish the outside of the map suitcase, cover it with a top coat of waterproof PVA (or acrylic varnish). This helps to protect your design.
Don’t worry about the PVA looking white and streaky when you put it on; it will eventually dry clear. If you plan to use your case out and about, I would use 2 coats of PVA. Allowing at least 24 hours between each application.
Stage2: Lining The Vintage Map Suitcase
This is a lovely surprise when you open the upcycled vintage suitcase with a map fabric lining. The lining was very easy to do and involved no sewing.
Step 1: Firstly, carefully measure the inner sides of your suitcase. Ensure you account for a 2cm seam allowance, and cut 4 bits of fabric for each side. Fold the top edge of about 1cm over on each piece of fabric and glue this down.
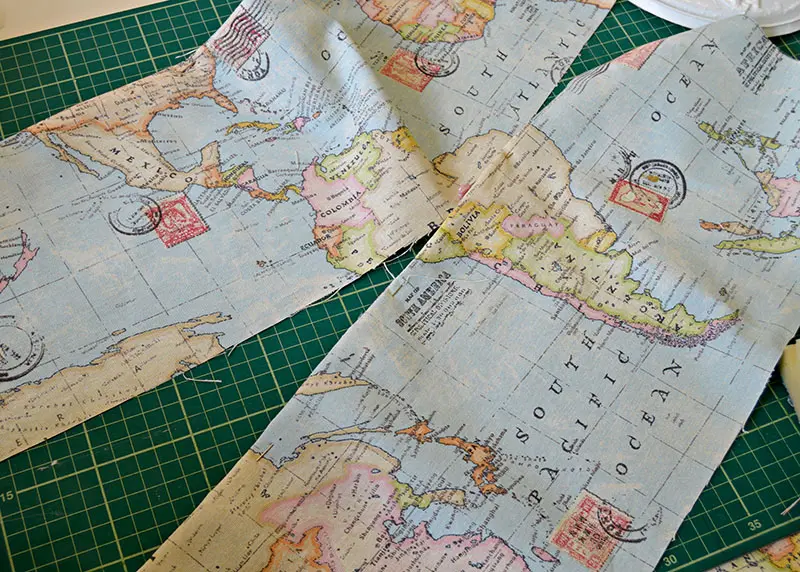
Step 2: Cover the two long inner sides of the suitcase with glue and stick down your pieces of fabric. The fabric will overlap with the shorter sides and the case floor; this is fine; make sure you also glue these bits down.
For the final two pieces of fabric, fold over and glue the side edges to the same size as the case. Glue these in place. You may find it helps pin the fabric while the glue dries.
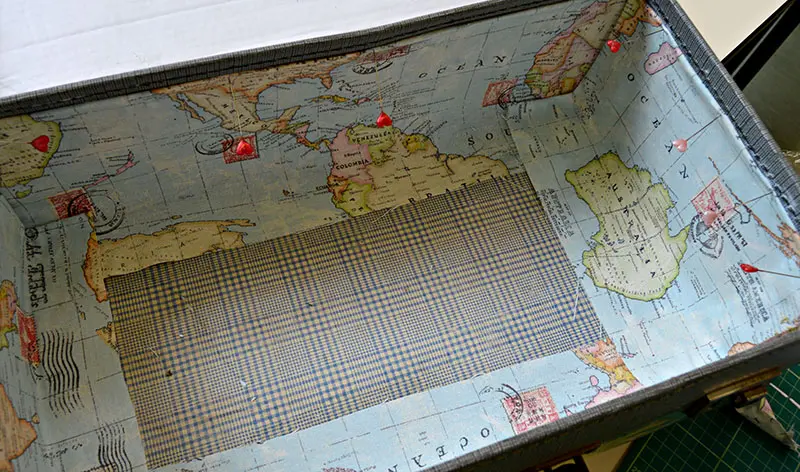
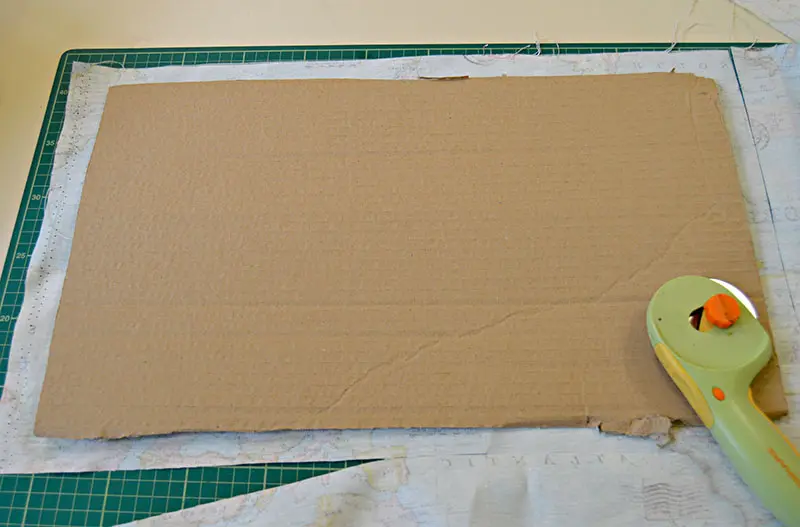
Step 3: Next, you’ll need to make a top and bottom panel for the case. Measure and cut two pieces of cardboard that will slot into the base and top of the suitcase.
Step 4: Cut a fabric piece for each using the cardboard pieces as a template. Again allow for a 2cm seam. Wrap the fabric around the cardboard and glue down the seam edges to the underside. You may find it easier if you mitre the corners.
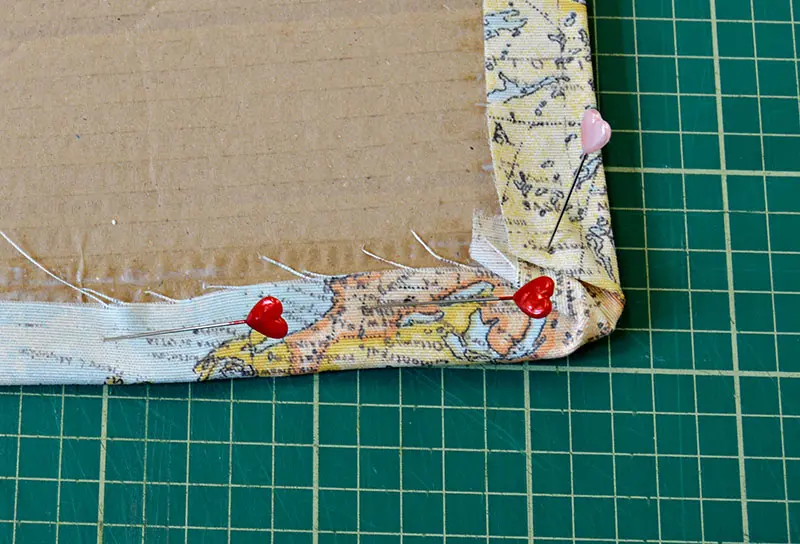
Step 5: Finally, to finish off the lining of the map suitcase, pop the fabric cardboard pieces into the lid and base.
I love the upcycled map suitcase. Even though I originally upcycled it for storage, I have used it for the odd weekend away. Because I love the funky way it looks.
I bought another vintage suitcase at the same time I acquired this one. That I transformed it into a fabulous travel-themed vintage suitcase side table. For this one, I used vintage travel stickers and luggage tags that are free to download.
I have also had my own printed personalized map pillows made to match.
Don’t just throw away any map paper scraps; use them to make some gorgeous map roses. I also have some free vintage maps you can download and use for this project.
Even though I have lots of map upcycled and crafts on Pillarboxblue, they are only my second favourite material to use. My favourite material to upcycle is denim. So, of course, I made an upcycled denim suitcase as well.
I’ve also upcycled simple cardboard shoe boxes and made them look like vintage suitcases.
If you are looking for more vintage suitcase ideas check out these. I have another travel-themed old suitcase upcycle this time; I turned it into a fun side table. Also, check out these other fun decoupage ideas.

DIYPD Peter
Thursday 29th of October 2020
You bought it for £2!!!! Stunning result and brilliant idea! I love vintage stuff and especialy the reperpused projects!
Claire Armstrong
Thursday 29th of October 2020
Thank you, yes if they are a bit scuffed and old they can be really cheap to buy. Also it wasn’t a leather one.
Linda at Mixed Kreations
Sunday 10th of June 2018
Very pretty! I think using a map to upcycle a vintage suitcase was the prefect choice. I love the inside as well. You did a awesome job on it!
Claire Armstrong
Sunday 10th of June 2018
Thank you so much. I thought maps and suitcases went well together as they are both travel themes.
Cindy Craw
Tuesday 14th of March 2017
What a wonderful idea! I've always loved maps of any kind. I'm an armchair adventurer, though. When I saw your project, I immediately thought to use a suitcase lined and covered with maps for a cat bed. I'd put some kind of small pillow in it and leave it open on top of the stack of large wicker baskets I have. The cats love to be up high and I love maps--so, there ya go.
Claire Armstrong
Tuesday 14th of March 2017
Thank you! I think that would make a lovely cat bed.
How to Make Simple but Beautiful Map Roses - Pillar Box Blue
Wednesday 8th of February 2017
[…] you will probably like some of my other popular map crafts. Treat map hearts for Valentine’s Vintage map suitcase Map heart ornament If you are making map roses as a gift for someone because they love maps, […]
Mickey
Tuesday 15th of November 2016
ok, I like the cute suitcase with the maps inside and out but I'm curious what that footlocker is used for!! LOL I have one that was my Dad's from his military days and want to keep it but it needs to be useful to take up space in my home! TIA
Claire Armstrong
Tuesday 15th of November 2016
Thank you. Being English I'm not familiar with the term footlocker, but if you mean the big metal trunk, I use that to store the families ski clothes in.