I got the inspiration for these simple frosted branch Christmas trees after a trip to London. Whilst there I visited one of my favourite stores, Heals. For those of you that don’t know, Heals is a very stylish interior department store that has been around since 1810.
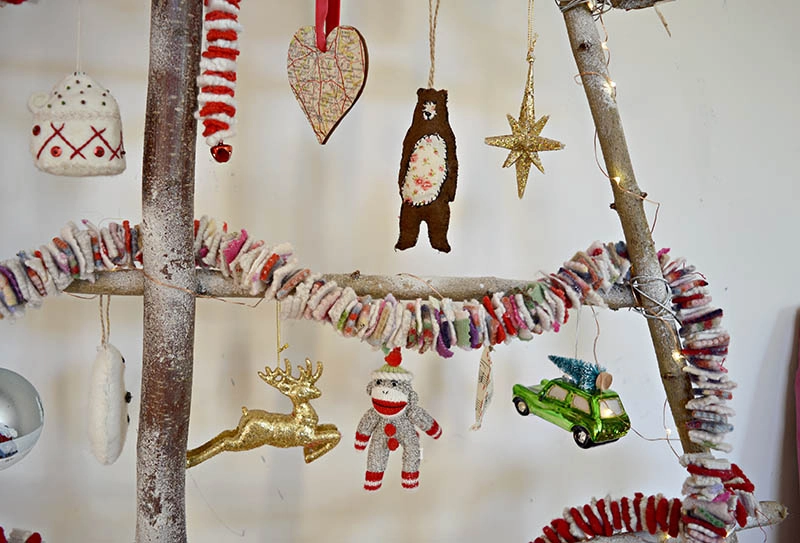
The store had just put up their Christmas window display. This display was typical Heals, very simple and very stylish. Hanging from the branches of these gorgeous branch Christmas trees were all their lovely Christmas ornaments.
The designer of the trees happened to be around at the time and kindly told me how the branch Christmas trees were made so I could make my own.
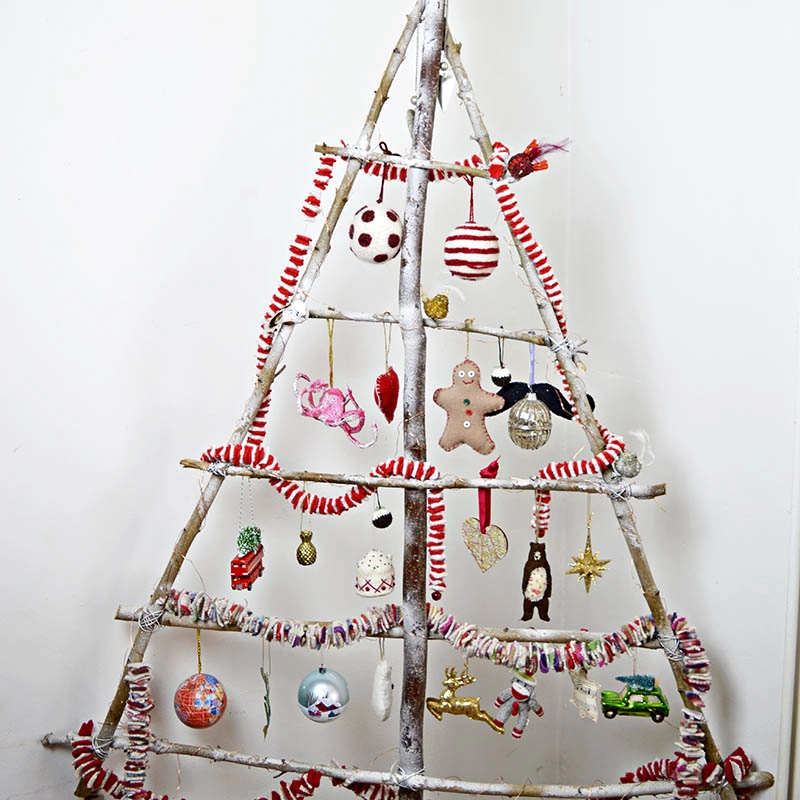
Simple to Make Stylish Frosted DIY Branch Christmas Tree
As well as looking good, these trees cost virtually nothing to make. They are also a great alternative for those of you who don’t have much space for a traditional Christmas tree in your home. They can just be a fun second Christmas tree.
The branch Christmas tree can either hang flat against the wall or be placed in a Christmas tree or umbrella stand.
I have other flat alternative Christmas trees in my home, such as the scrap wooden one in my kitchen and the large painted Christmas tree in my narrow hallway.
We’re a participant in the Amazon Services LLC Associates Program, an affiliate advertising program designed to provide a means for us to earn fees by linking to Amazon.com and affiliated sites. As an Amazon Associate, I earn from qualifying purchases.

What you need
- Tree branches: All the branches used were straight branches from various trees, sourced from either mine or my friend’s garden. You will need one main trunk branch, approximately 5-6ft, and about 2-3 inches in diameter. Also needed are 3 branches for your mainframe which will be slightly smaller and 5 even smaller branches for the rest of the tree.
- Cable ties and garden wire
- Snow craft spray
- Spray varnish
- Good pair of secateurs or small tree saw.
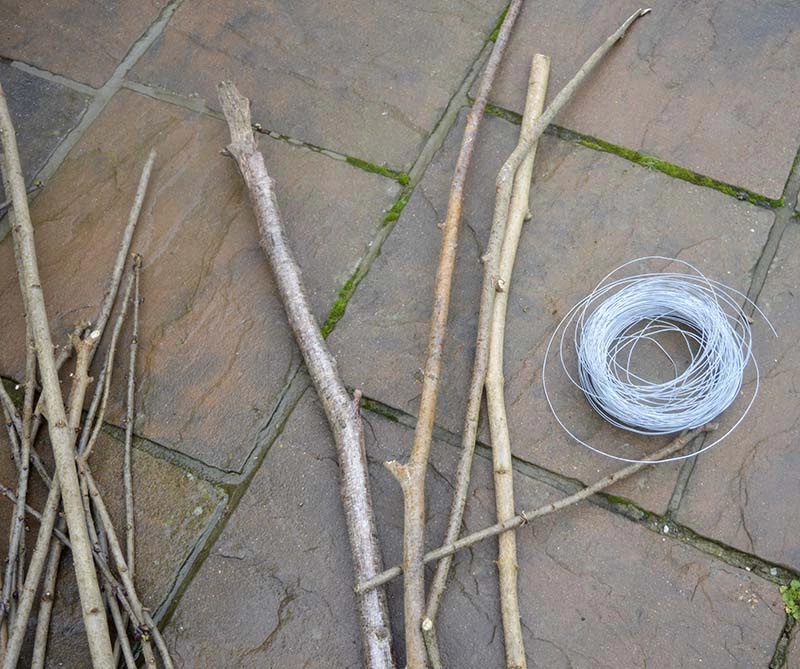
How To Make A Frosted DIY Branch Christmas Tree
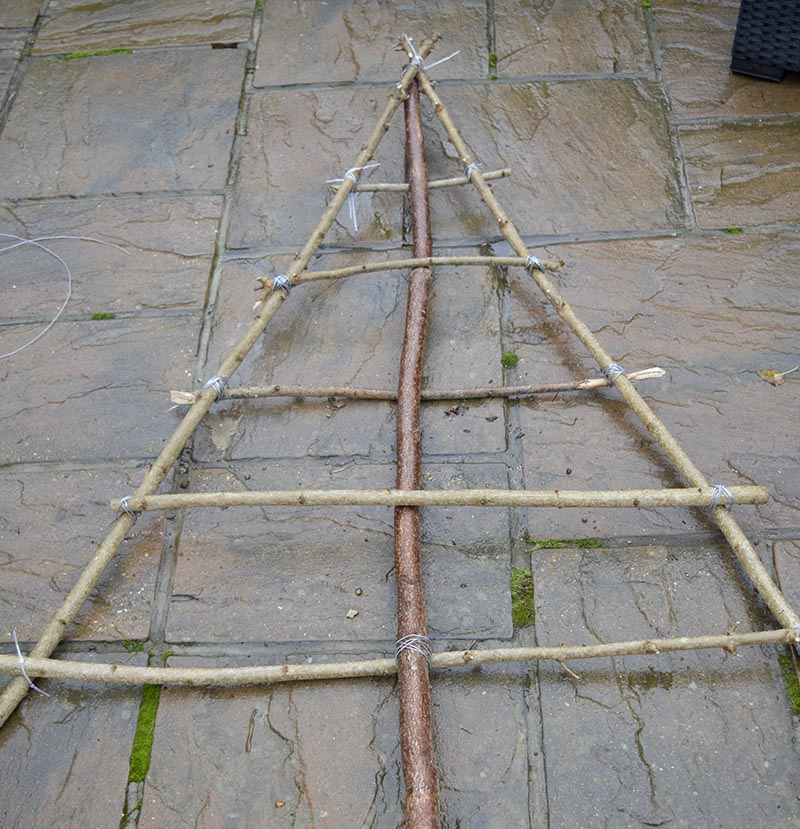
1.. First, place all the branches flat on the ground. Lay down the thickest branch as the main trunk and make an A-frame with 3 of the next thickest branches.
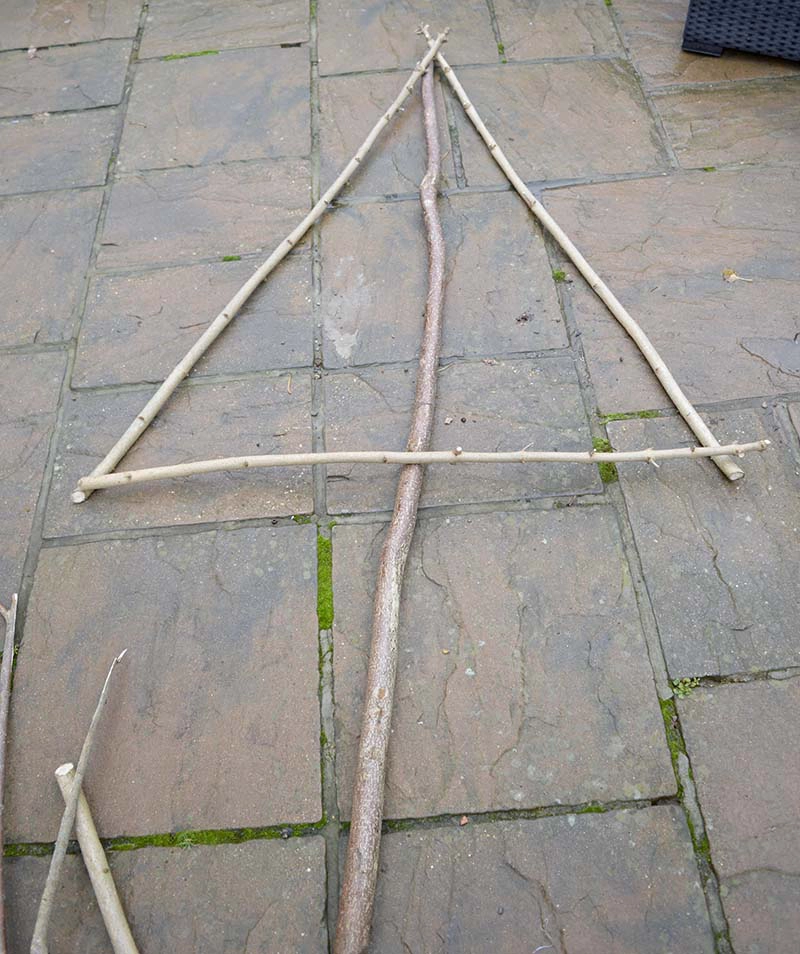
2. Then, when you are satisfied with the size of your frame (you may need to trim your branches), start fixing them together. Use a combination of cable ties and steel wire for this. Wrap the cable ties at the points the branches cross over to secure them.
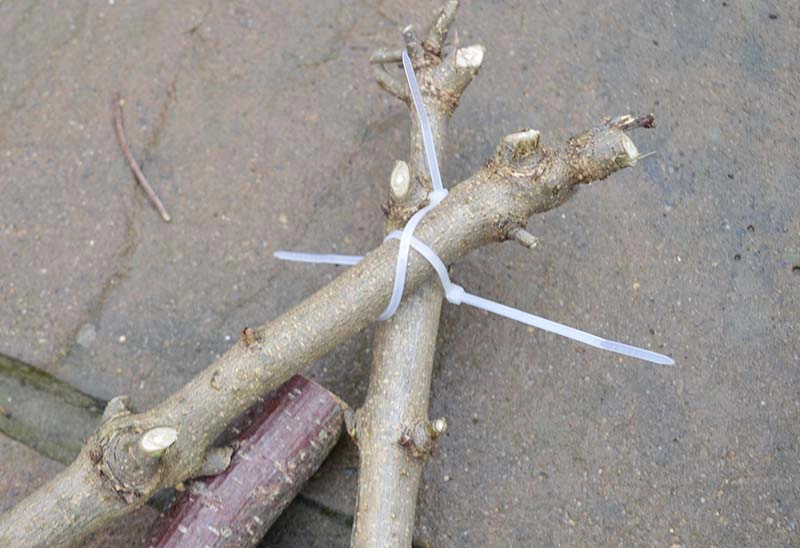
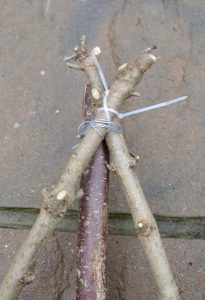
3. Then, the next thing to do is to place your cross branches across the A-frame. Again you may need to trim the branches to size.
When you are happy, fix them to the frame using wire and cable ties. I alternated the branches between in front or behind the A-frame.
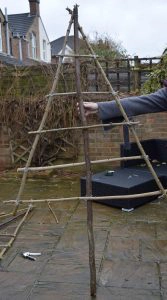
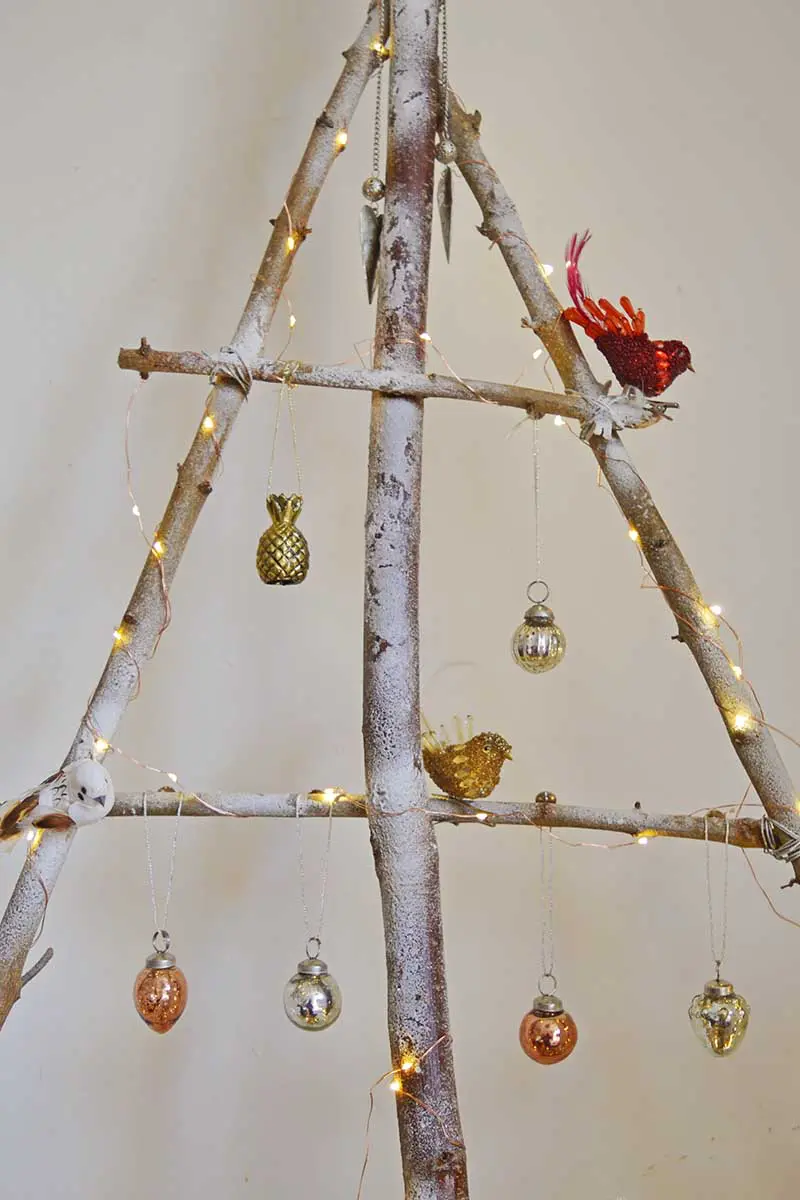
4. Next, stand the branch Christmas tree up in either a Christmas tree stand or a parasol stand. Spray the branches with your craft snow, and then spray varnish on top of the snow. The varnish helps the craft snow stick to the branches better.
The branch Christmas tree is now ready to decorate. I used some of those fabulous copper wire lights again to illuminate my tree as I did for my DIY LED Deer Christmas Decoration.
If you like simple rustic Christmas trees like this branch one then you will probably enjoy the wire lampshade Christmas tree I have also made. And these other simple Christmas nature crafts.
If you are looking for smaller Christmas trees there is a large collection of tabletop Christmas trees here, even including both tartan trees and denim trees.
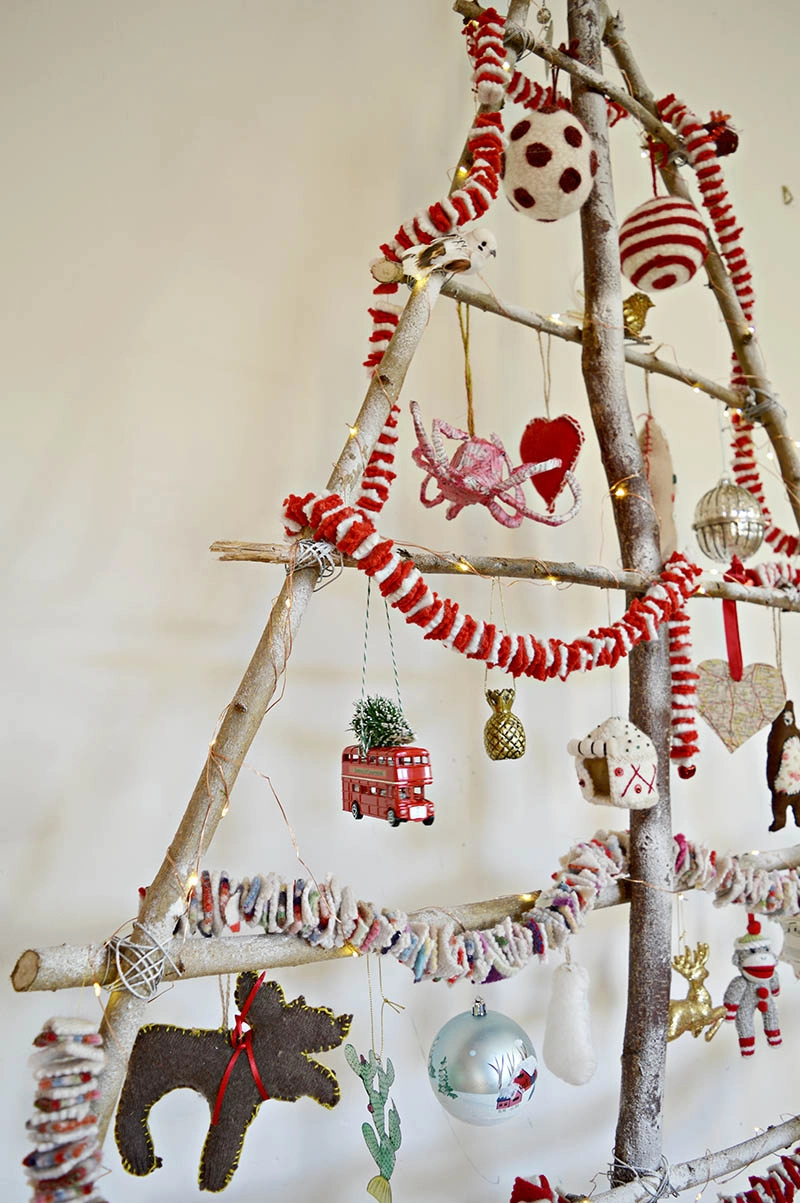
I really do love this branch Christmas tree, not only is it a fantastic space saver but it’s brilliant for showing off my favourite Christmas ornaments. Every year I make a few new ornaments. This year I made the cookie-cutter cute sweater upcycled ornaments and the heart map ornaments.
My upcycled felt garlands look great on this branch Christmas tree too!



Get Creative this Christmas! | DIY Upcycled Christmas Decorations
Tuesday 7th of January 2020
[…] this fabulous DIY branch Christmas tree. Full instructions and further images are available from Pillar Box Blue. All you need are some thin branches, cable ties, garden wire, snow craft spray and […]
25 Upcycled Christmas Tree Ideas - Dukes and Duchesses
Tuesday 19th of November 2019
[…] about a rustic tree made out of branches? This idea is so simple and so pretty. I love the added decorations, […]
Linda at Mixed Kreations
Sunday 2nd of December 2018
LOVE the Christmas tree Claire! I've seen ones like this that are on the wall and had thought of trying that sometime. Your ornaments are so cute, love the sock monkey and your lovely garland.
Claire Armstrong
Monday 3rd of December 2018
Thank you, Linda. My friend made on too, and she hangs it on her kitchen wall. It looks fabulous there.
Kathy Touchstone
Wednesday 27th of December 2017
How did You hang the ornanents? It doesn't look like you wrapped them around the branches by their attached strings.
Claire Armstrong
Wednesday 27th of December 2017
I just used drawing(push) pins to hang the ornaments.
Lisa // Cucicucicoo: Eco Sewing and Crafting
Monday 6th of November 2017
Love this so much! It's so unique and also eco-friendly in that you're not cutting down a tree or using a plastic one. Very cool! :) Lisa
Claire Armstrong
Monday 6th of November 2017
Thank you! Yeah, I don't like to chop down trees or plastic ones. Like most things on my blog I love to make repurpose and reuse whenever possible.