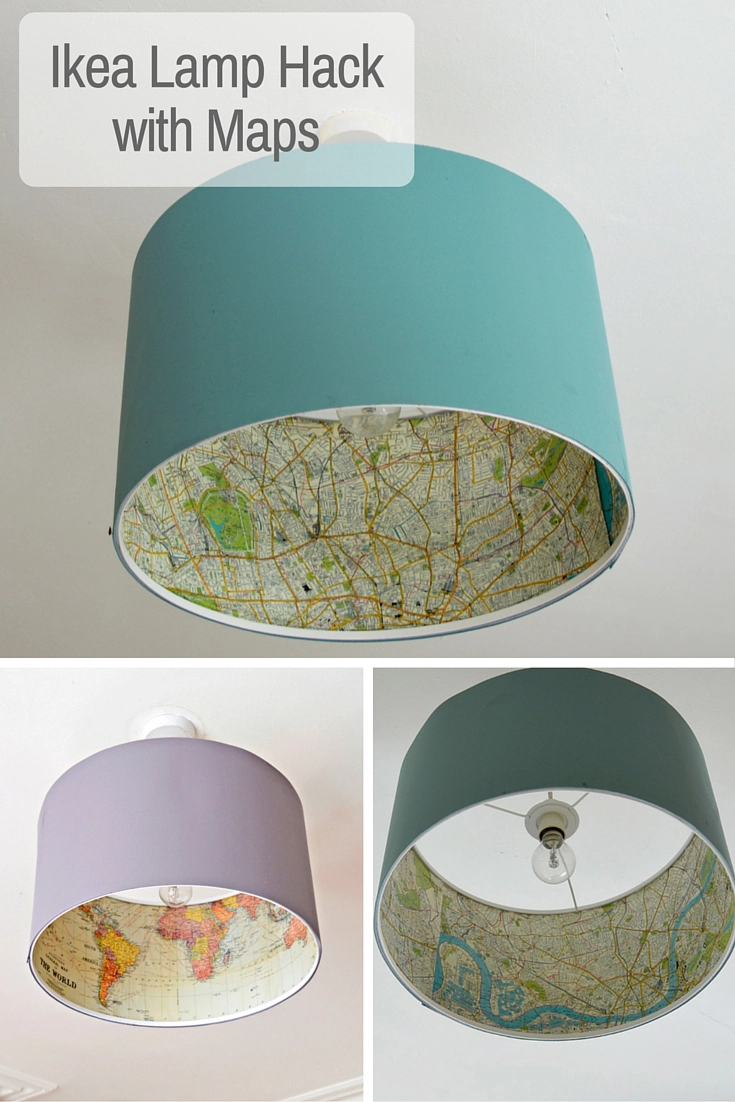
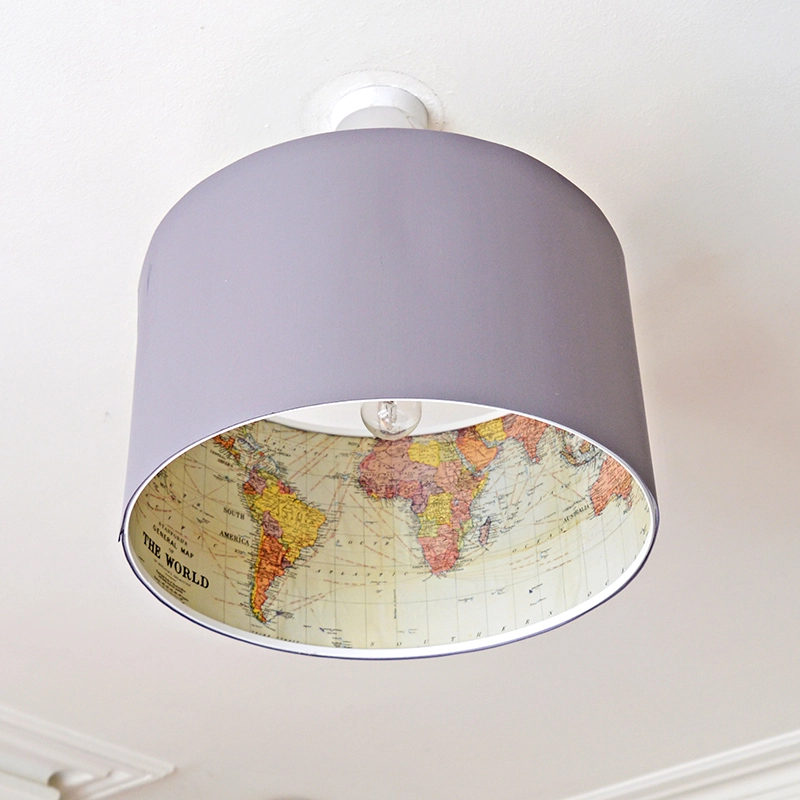
Sometimes a little decorative touch can totally transform something mundane into something rather more remarkable. It can add the wow factor. That’s exactly what I did with my Ikea lamp hack.
This time I was a bit more subtle with my map pimping. I decoupaged the inside of my Ikea lampshade and not outside. So you get a hint of the map when you look up at the ceiling lamp. Instead of a boring white inside, you now see a cool map.
An Amazing Ikea Lamp Hack With Maps
It wasn’t difficult to make. Stick a map on something and all of a sudden it looks fabulous. If you follow my blog you will know I do this a lot. For example my
I admit it I have a bit of a map habit. Once you start decorating with maps it’s so addictive, not only do they look fantastic, they make boring objects more interesting. Objects can be
I loved this Ikea lamp hack so much I did it not just once but twice and may do it again soon ! (There are a lot of ceiling lamps in my home).
We’re a participant in the Amazon Services LLC Associates Program, an affiliate advertising program designed to provide a means for us to earn fees by linking to Amazon.com and affiliated sites. As an Amazon Associate, I earn from qualifying purchases.
What you need for you Ikea Lamp Hack
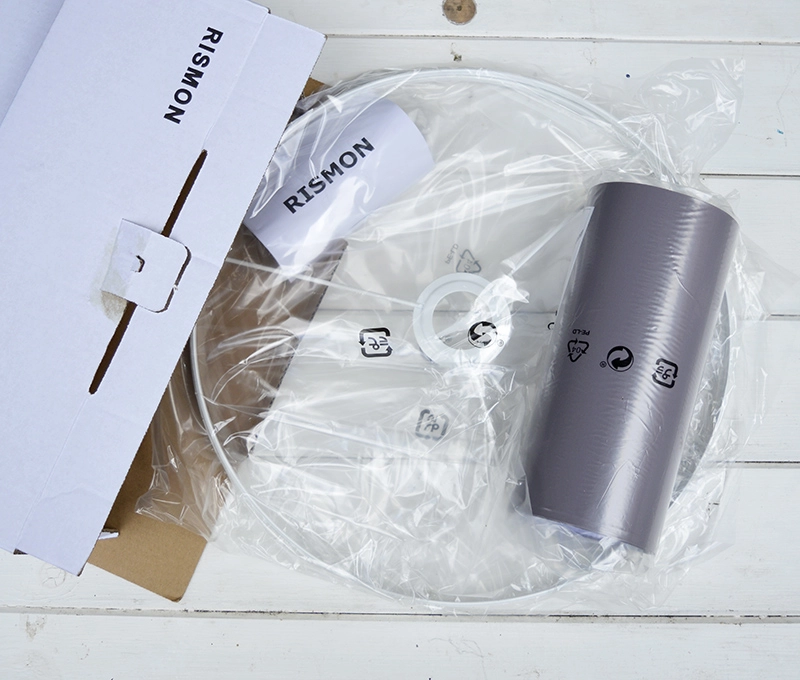
- IKEA Rismon Lampshade – I use the 40cm one for this hack. It comes in a variety of
colours . Lampshade making kits will also work well with this project.
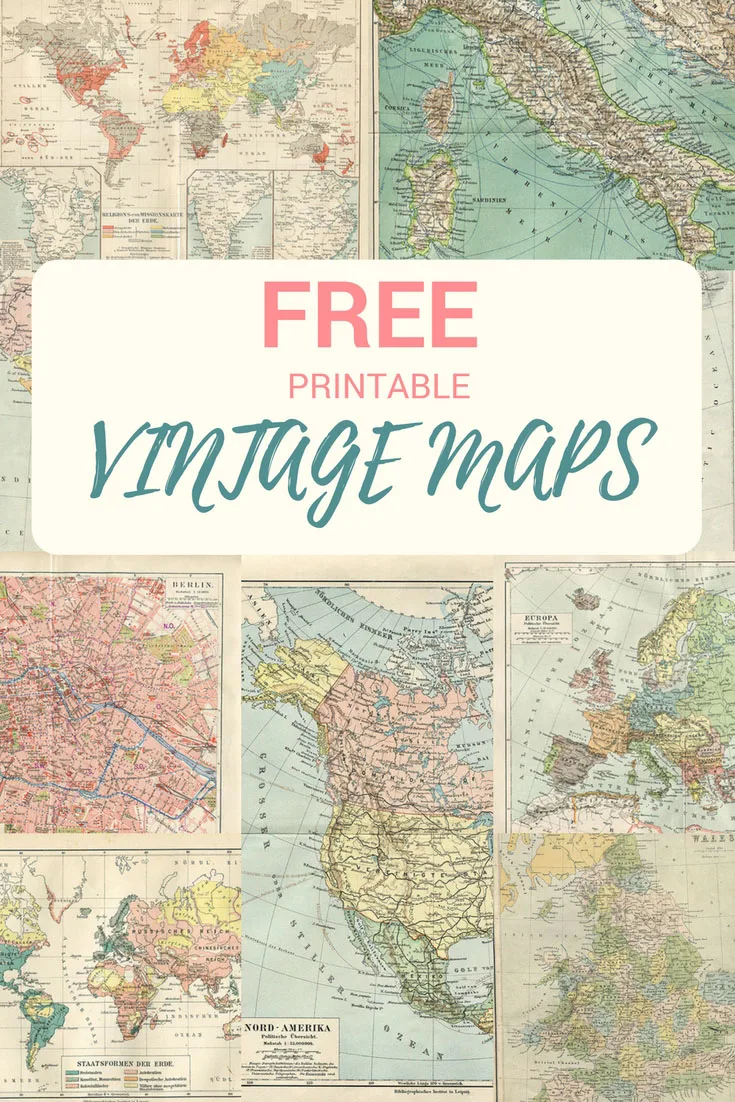
- Map wrapping paper – One sheet per lampshade. I used a Cavallini world map for one shade, and a London Map for the other. There are lots of free printable maps on Pictureboxblue.com that you could download and use.
- Mod Podge (white glue)
- Rotary cutter and mat
- Pencil and ruler
How to do your Ikea Lamp Hack
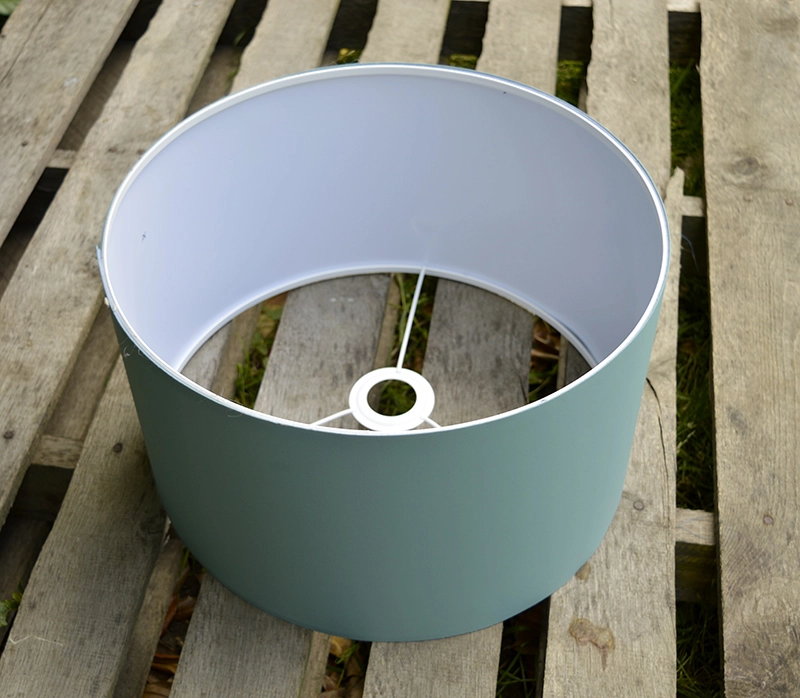
The great thing about the Rimson being an Ikea lampshade you have to put it together. Which means that it is really easy to decoupage. The shade comes in 3 parts, two metal rings, and the shade skin.
2. Nest, measure the length and height of the lampshade skin.
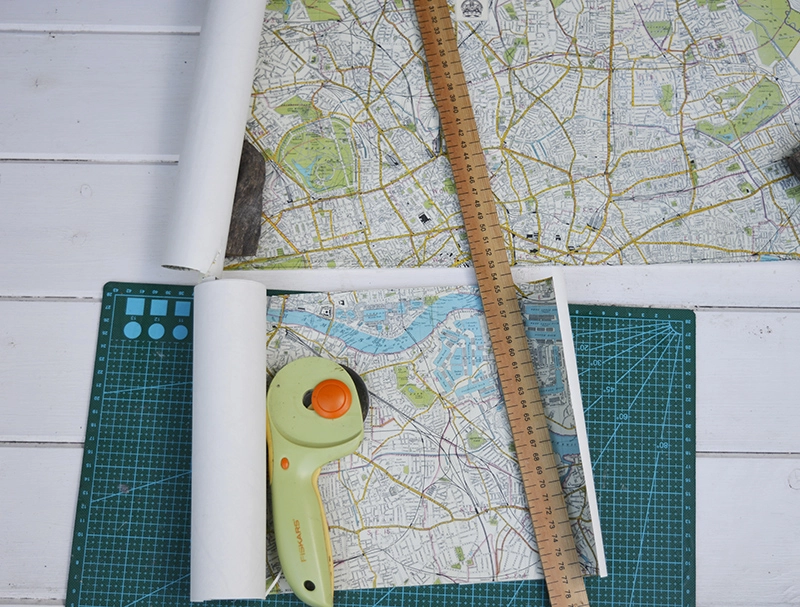
3. Then,
4. Next, paste the inside of the lampshade with glue and wait 30 sec till it goes tacky.
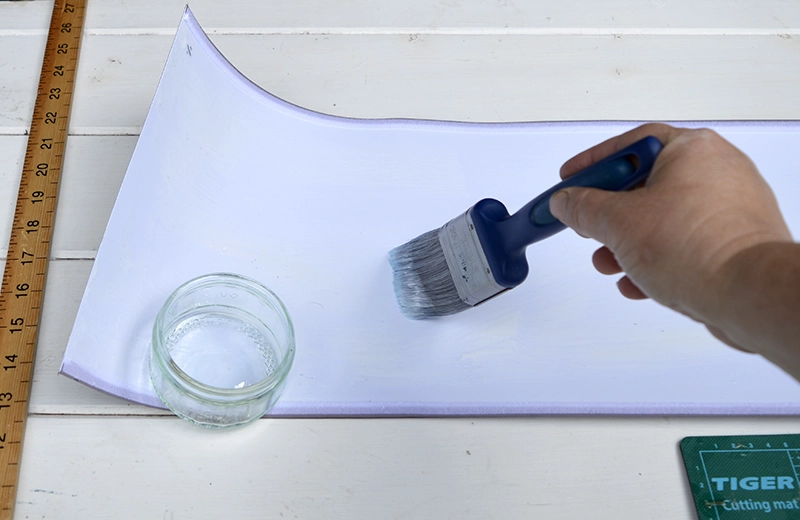
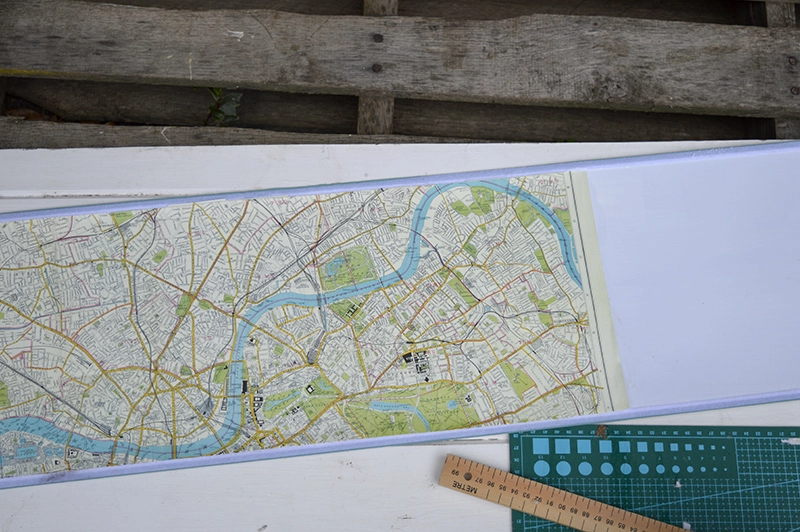
5. Then, carefully stick your wrapping paper to the lampshade. Using a ruler to squeeze out air bubbles as you go. You will be sticking the map down in 2 pieces. If you want you can paste a layer of mod podge (glue) over the top to seal it.
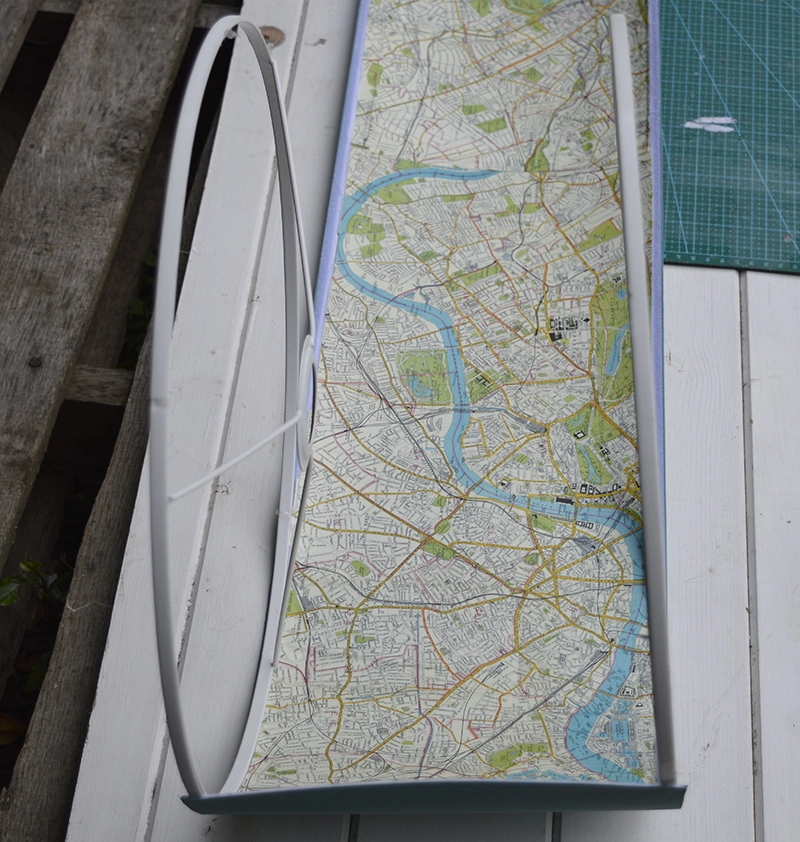
6. Finally, when the glue has dried, put the lampshade together according to the instructions. Which is basically rolling the lampshade skin round the 2 large metal rings, the whole thing is kept together with velcro.
Some of you
However, if you are the ultra-careful type you can always spray the lampshade with some fire retardant spray.
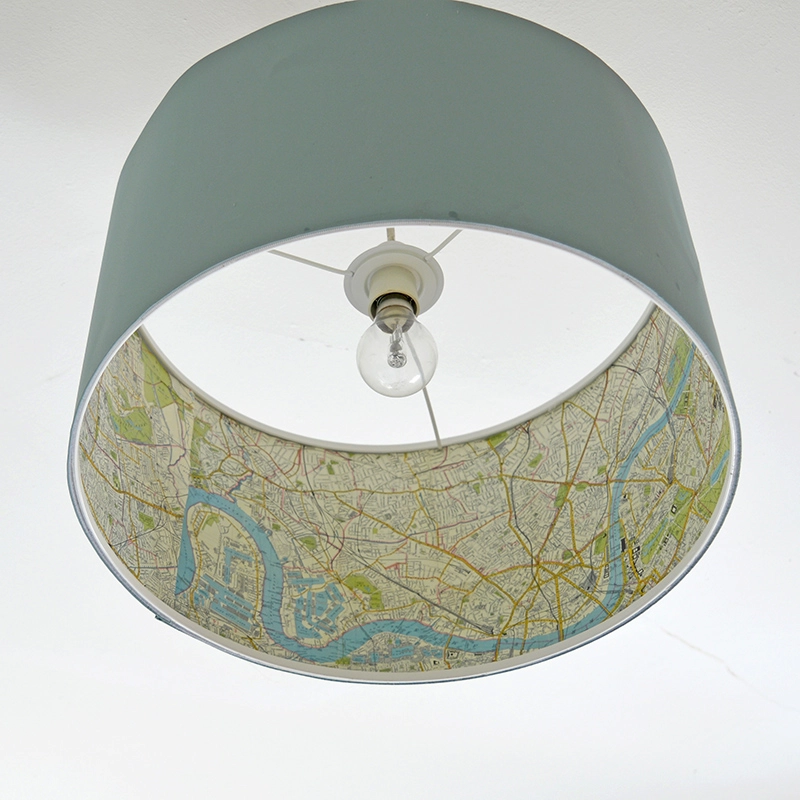
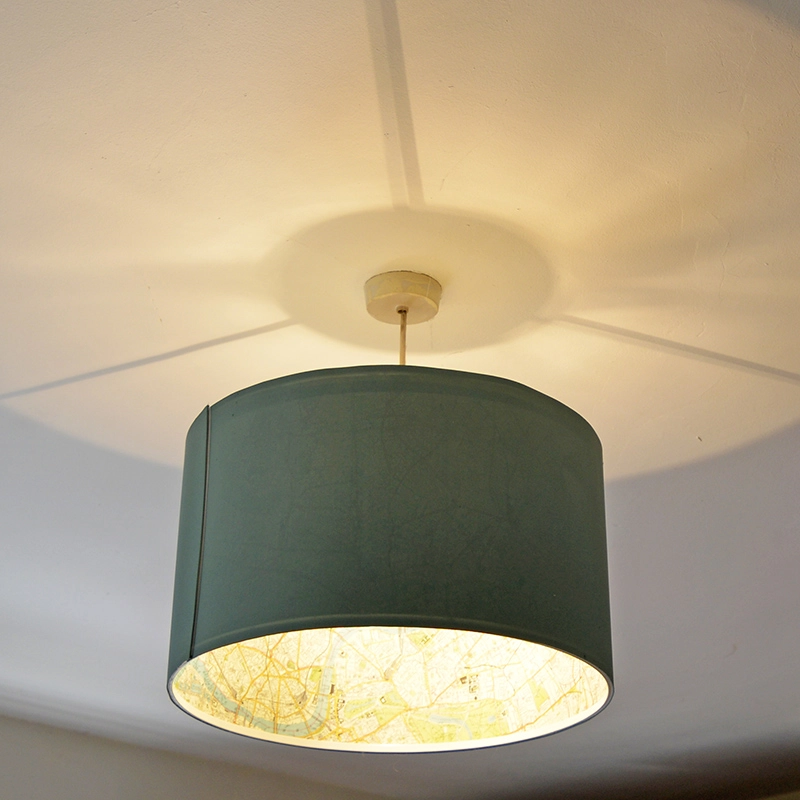
I made my sister-in-law one of these map lampshades for her travel-themed bedroom to match the burlap map pillows I also made.
This isn’t my only Map lamp, I have recently updated a floor lamp with a unique denim vintage map lampshade
Since writing this post I have created another IKEA lamp hack this one is far more glamorous you might want to check it out.Simple and Affordable DIY Feather Lampshade
I craft and upcycle regularly with Maps you can check out all my other map posts here. Including a round-up of different ways to upcycled lighting map ideas.
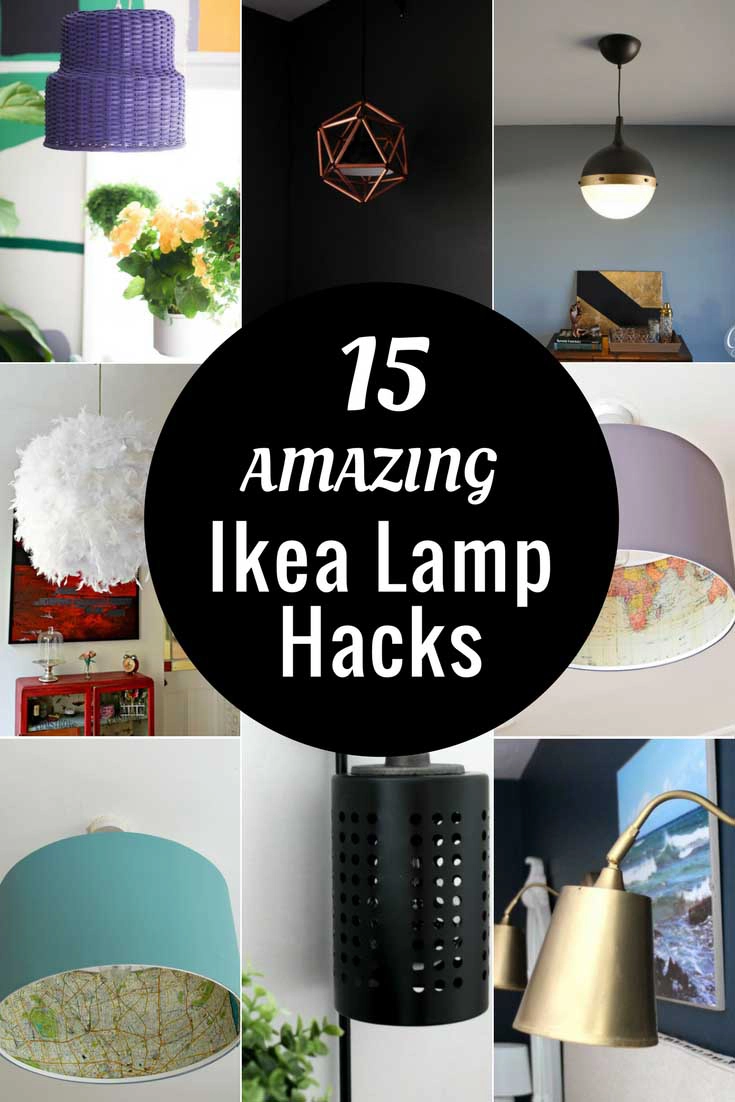
Check out some other wonderful IKEA lamp hacks here.

Juliana McMillan-Wilhoit
Sunday 18th of July 2021
Fellow map nerd here and I'm in love with all of the awesome map things on your site!
Claire Armstrong
Sunday 18th of July 2021
Thank you so much, I have plenty more map crafts to come as I love them.
20 Easy Globe and Map Projects for Your Home | Craft Room Organization
Friday 8th of November 2019
[…] Pillarbox Blue – Ikea Hack: Map Lampshade […]
DIY Crafts
Tuesday 18th of June 2019
This is awesome, I want one! What a great way to make a beautiful IKEA LAMP.
Claire Armstrong
Tuesday 18th of June 2019
Thank you
20 Amazing Ikea Hacks to Decorate on a Lower Budget - Craftsy Hacks
Thursday 21st of February 2019
[…] Credit: pillarboxblue.com […]
Maria
Sunday 1st of July 2018
This is such a great idea for a beachy vibe in any room. Beautifully done.
Claire Armstrong
Monday 2nd of July 2018
Thank you, Maria.