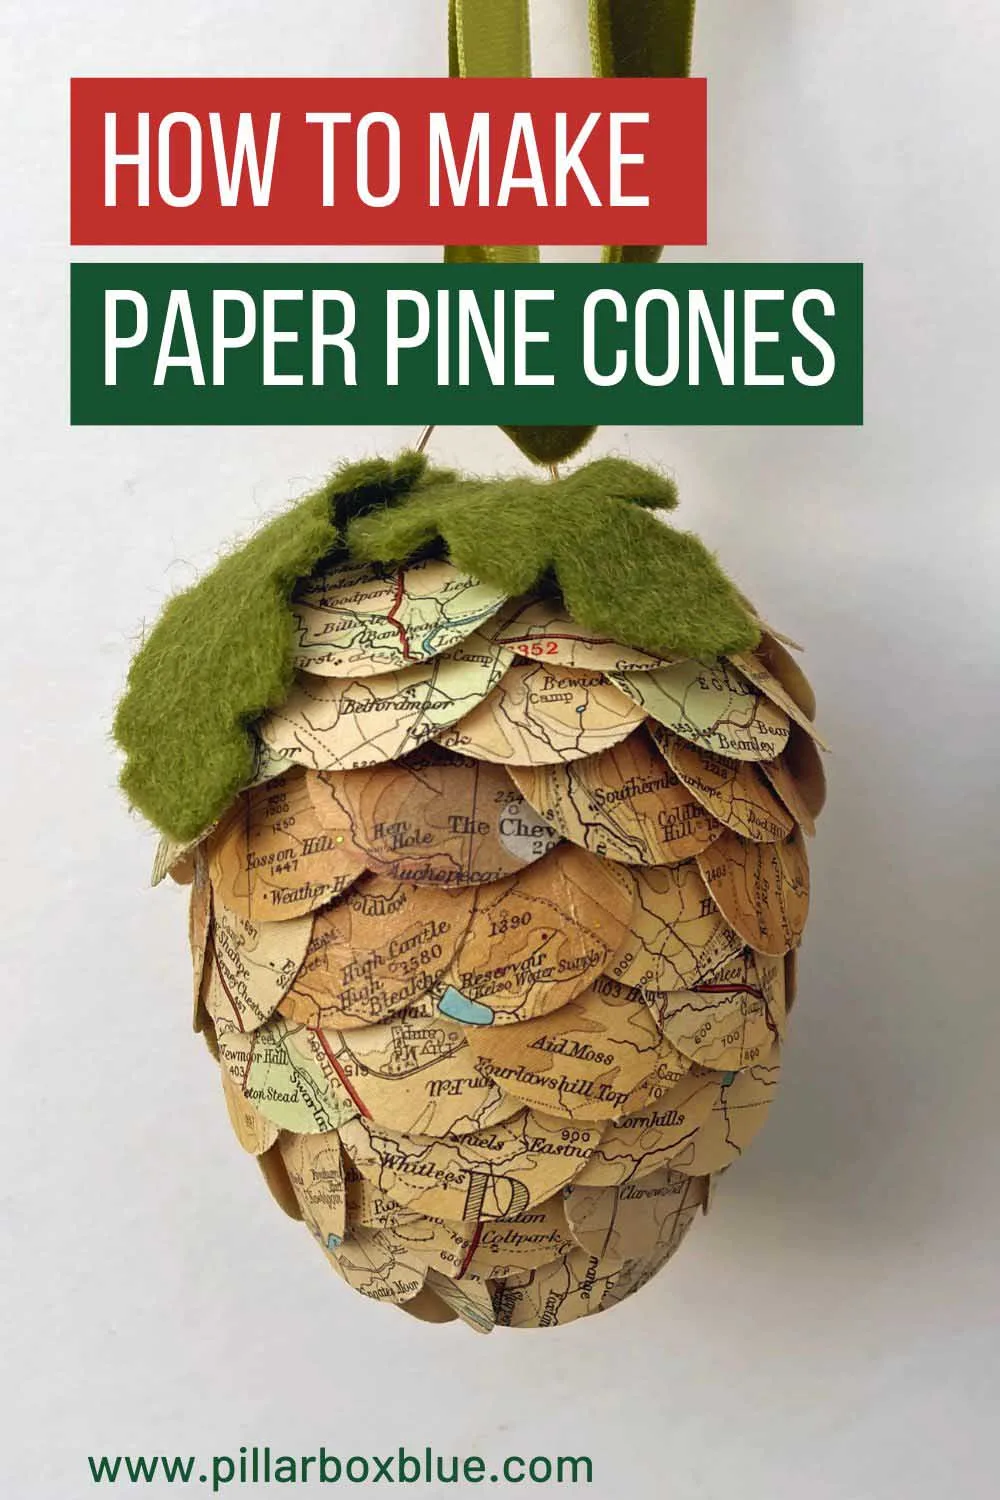
Inside: An easy tutorial on making pine cones with old maps and music paper for Christmas ornaments.
Even though there are plenty of natural pine cones in my local park, I thought it would be fun to make my paper version to hang as Christmas ornaments.
While rummaging through my craft room, I got the idea to locate some polystyrene balls to make baubles with. Unfortunately, I couldn’t find the round ones, but I found some egg-shaped polystyrene, so I decided to adapt my DIY ornament plans and use these to make paper pine cones.
DIY Paper Pine Cones
I also grabbed an old road map and music paper for this craft while in mid-rummage. I love crafting old maps for Christmas decorations. The colours on road maps often include lots of red and green, which is Christmassy and muted. This also adds a retro vibe to decorations.
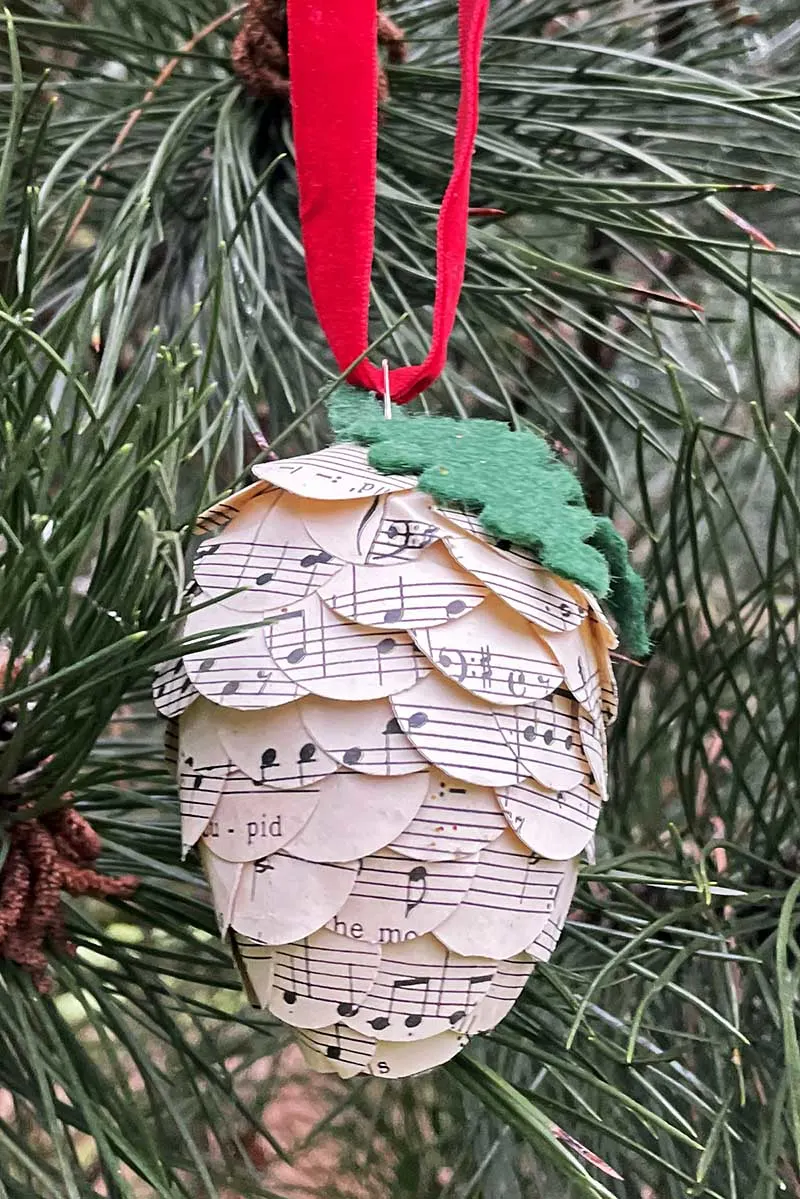
The music paper was for “Rudolph The Red Nose Reindeer”, so I thought it was appropriate for a handmade Christmas ornament.
These pine cones are quick and easy to make Christmas paper crafts. The kids can also get involved. They make lovely ornaments to hang from the tree or in garlands. I’m going to use some of mine as present toppers.
We’re a participant in the Amazon Services LLC Associates Program, an affiliate advertising program designed to provide a means for us to earn fees by linking to Amazon.com and affiliated sites. As an Amazon Associate, I earn from qualifying purchases.
What You Need
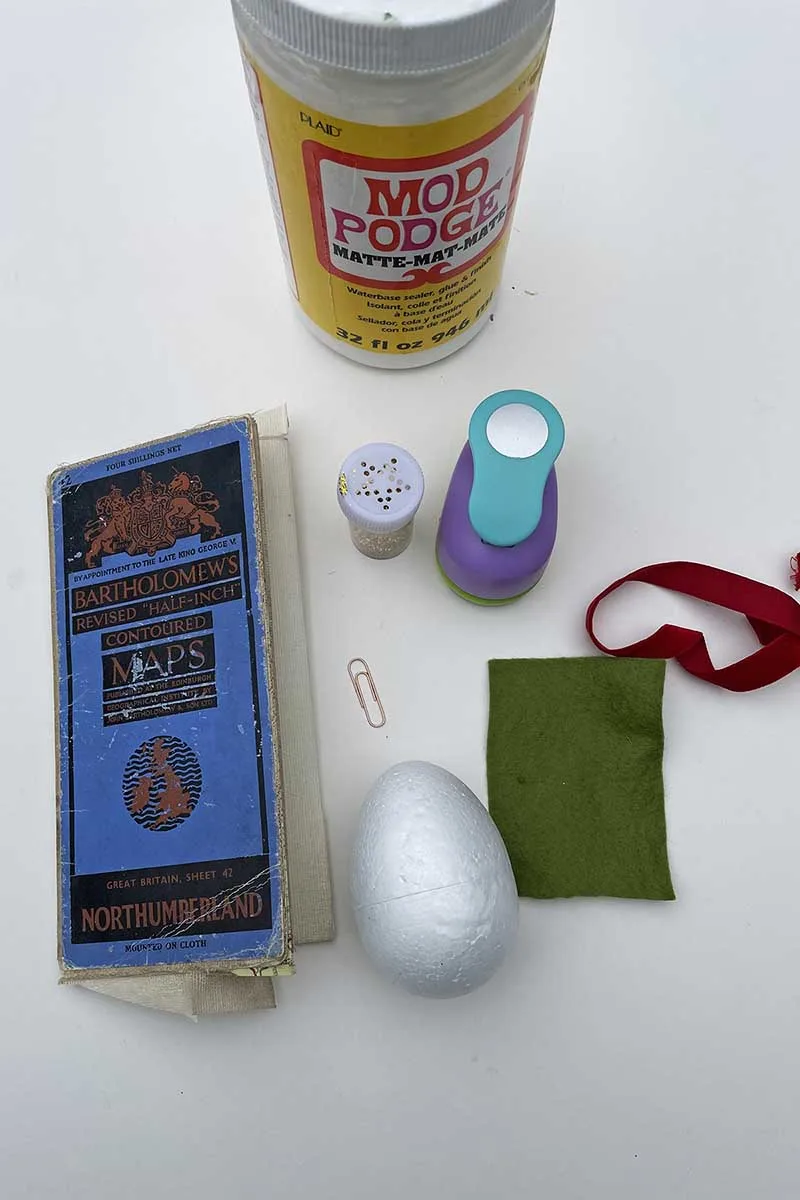
- Polystyrene eggs – I used 8cm eggs, but you can make larger or smaller paper pine cones.
- Paper – I used an old map and song sheet, but any paper will do.
- Medium circle paper punch – these are handy tools to have in your craft essentials, and I use them in many of my paper crafts.
- Pins
- Glue – Mod Podge or other white glue
- Glitter – I used red and gold
- Paper clip
- A small scrap of green felt and ribbon for hanging.
Making Map Pine Cones
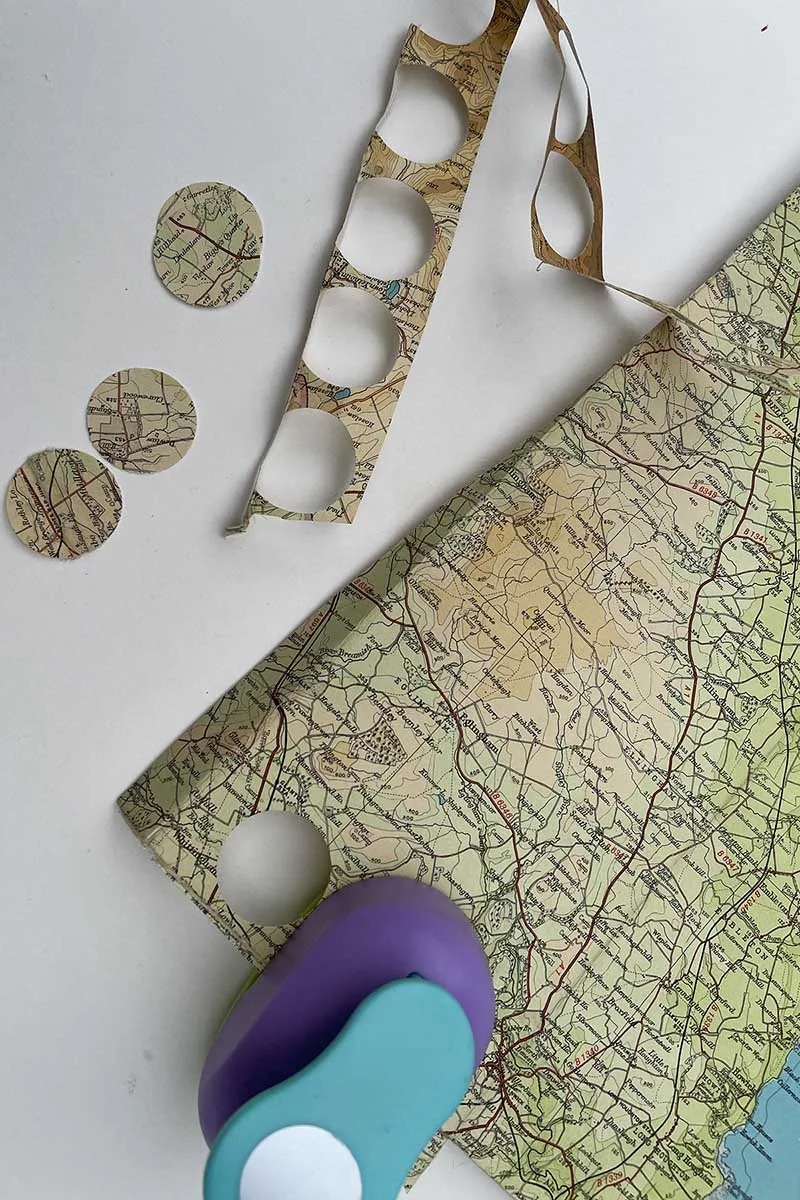
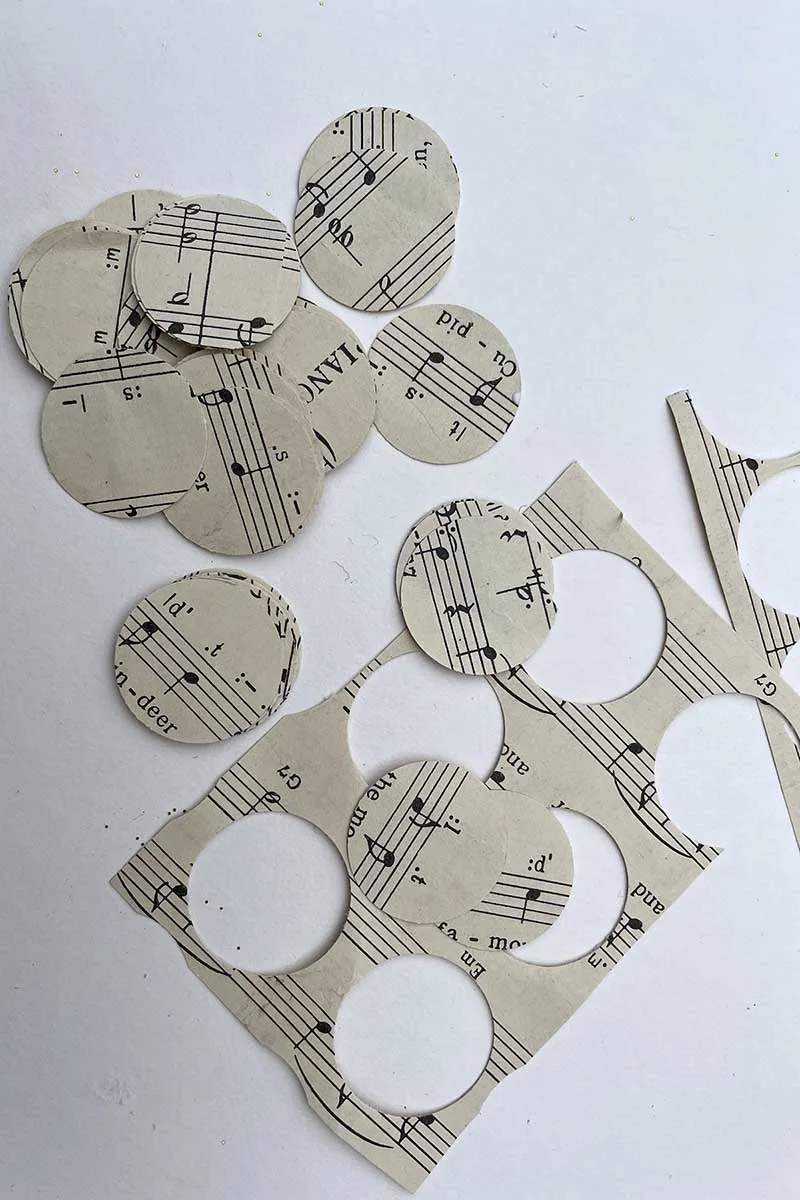
Step 1: Use the circle punch to make lots of map rounds. You want enough to cover the polystyrene eggs. For an 8cm egg, I punched about 2 A4 (letter) sized sheets of paper.
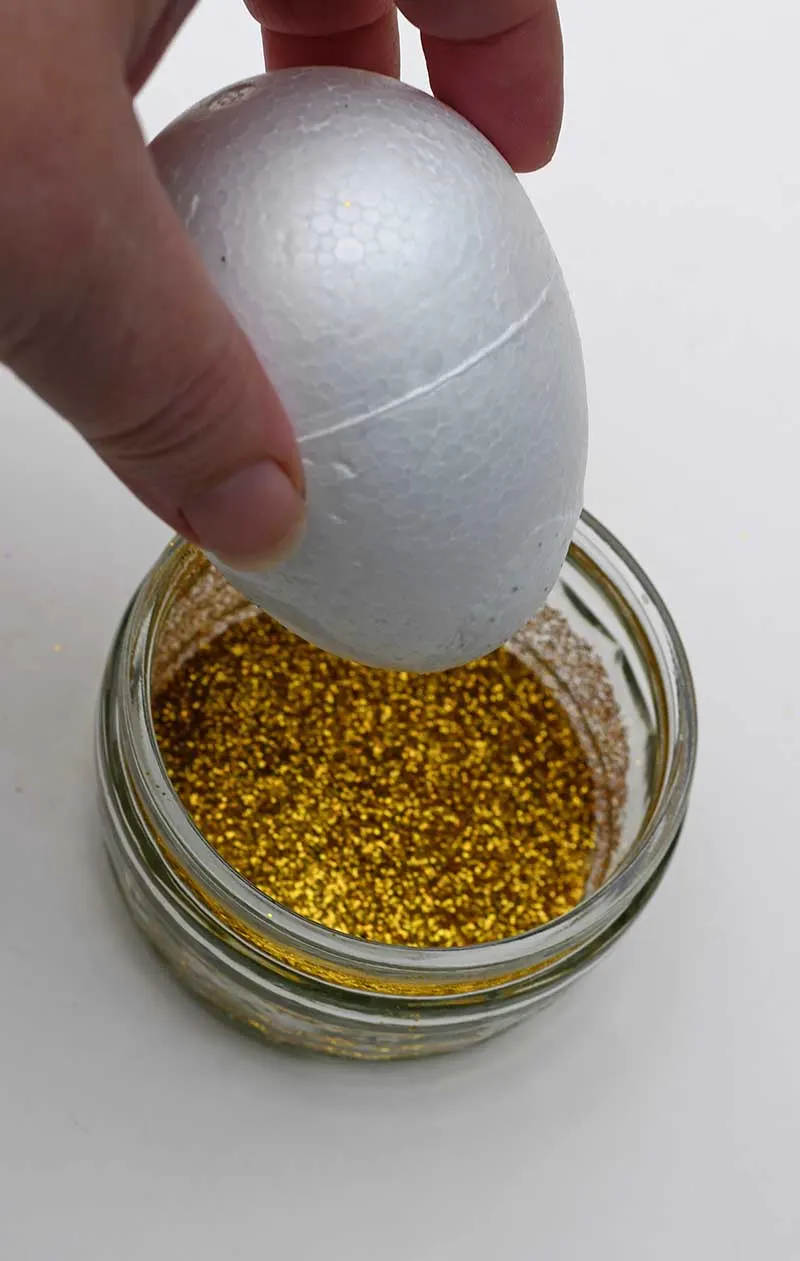
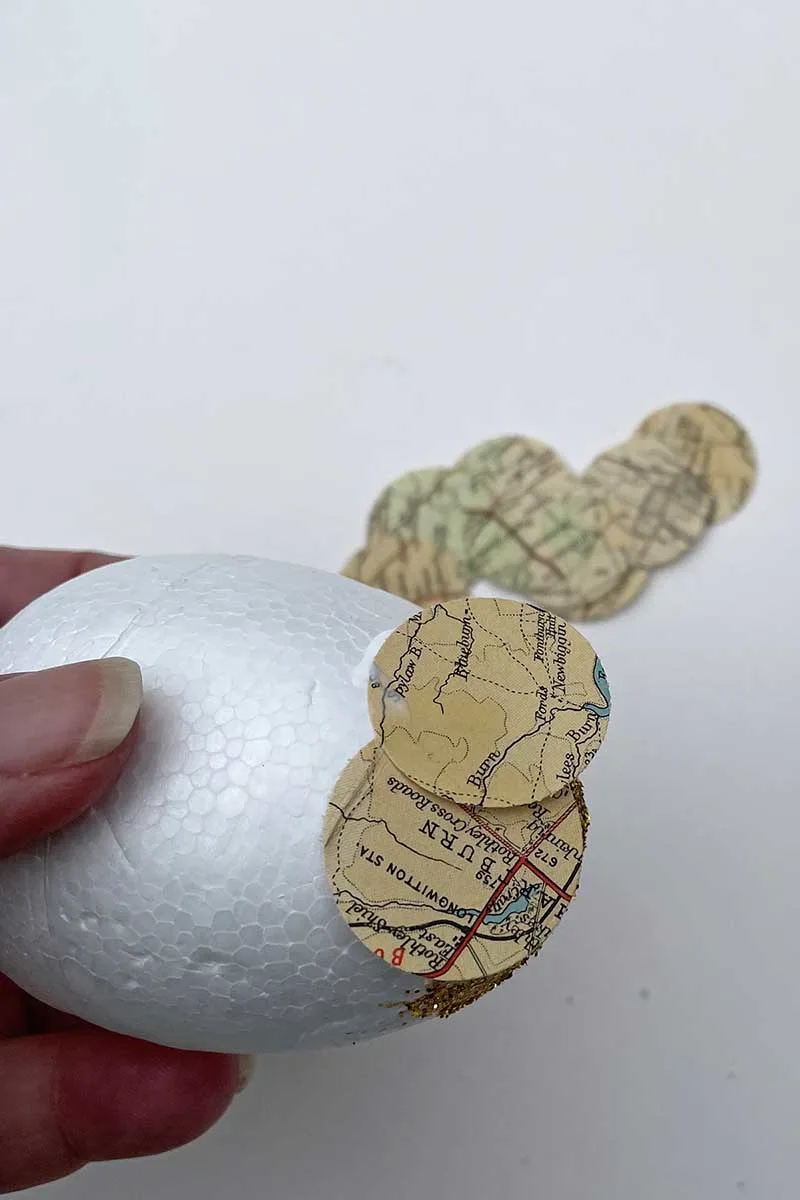
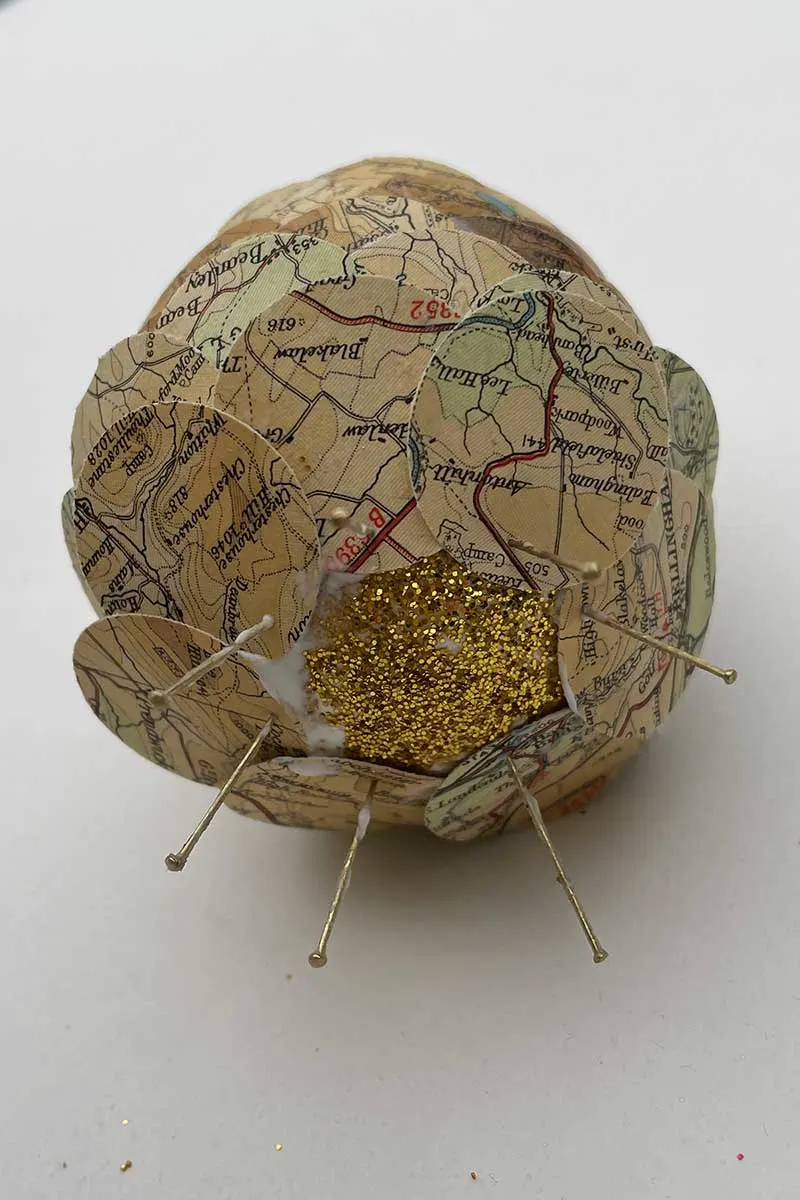
Step 2: With these paper pine cones, the tip and base of the polystyrene don’t get covered in the map paper but will still be visible.
As these pine cones will be Christmas ornaments, I covered the tip and base with glitter. To do this, paste glue onto the polystyrene and then dip it in glitter. You can paint the tips instead if you prefer.
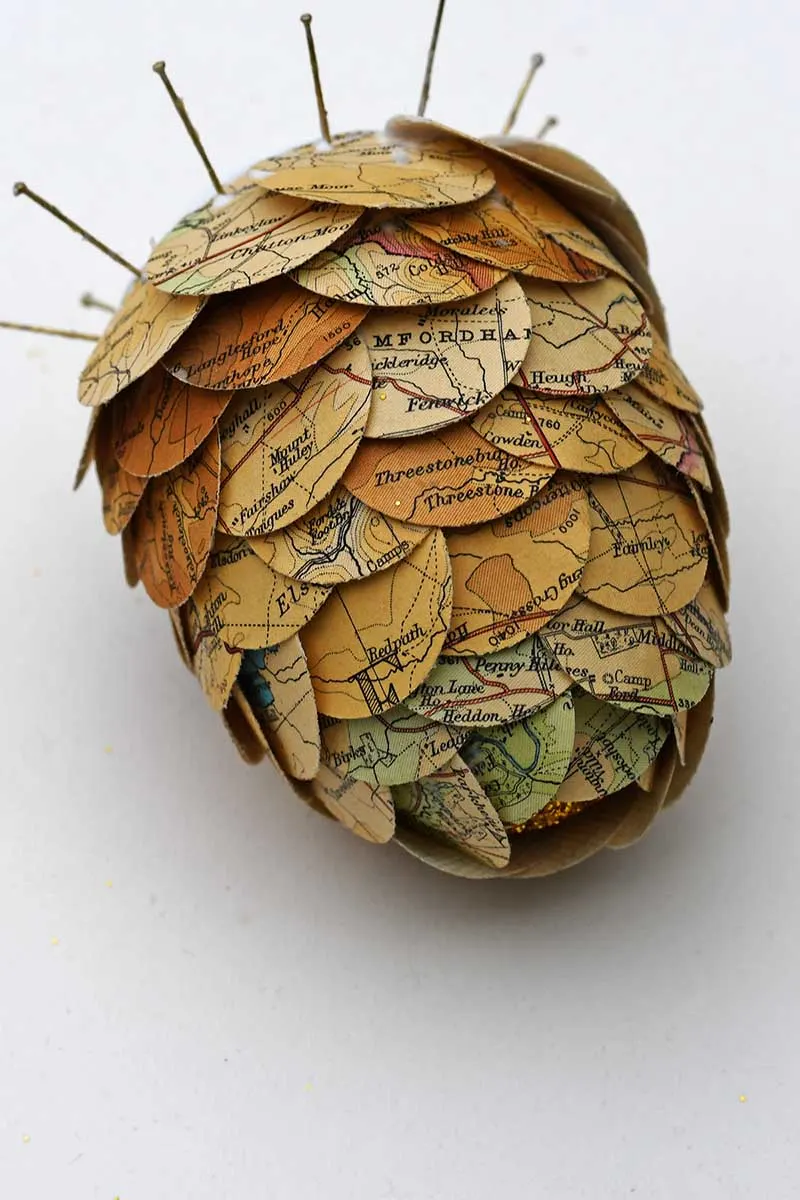
Step 3: Starting at the narrow tip of the egg, glue the map circles around the egg. Make sure they overlap by about a third. I used pins to hold the paper in place as the glue dried.
I try to ensure that all the writing and patterns on the paper pieces I stick to the egg are the same way up. But that is just a personal preference!
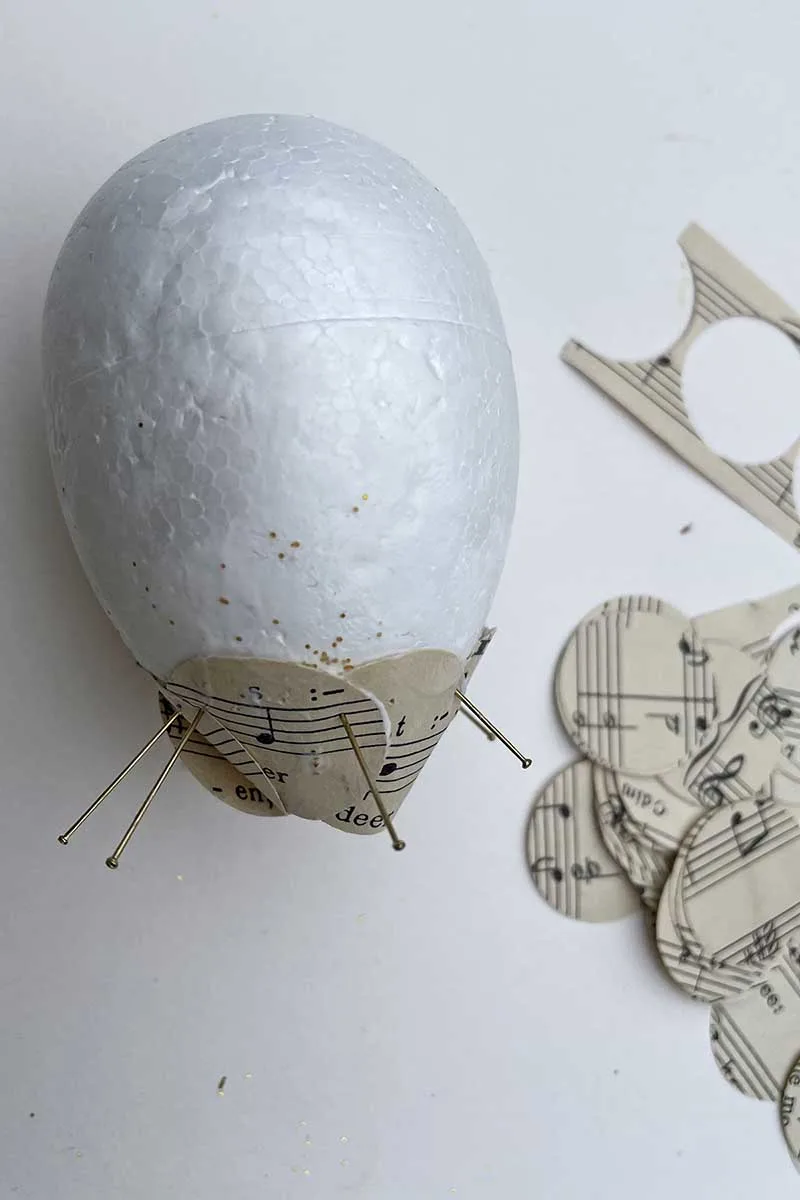
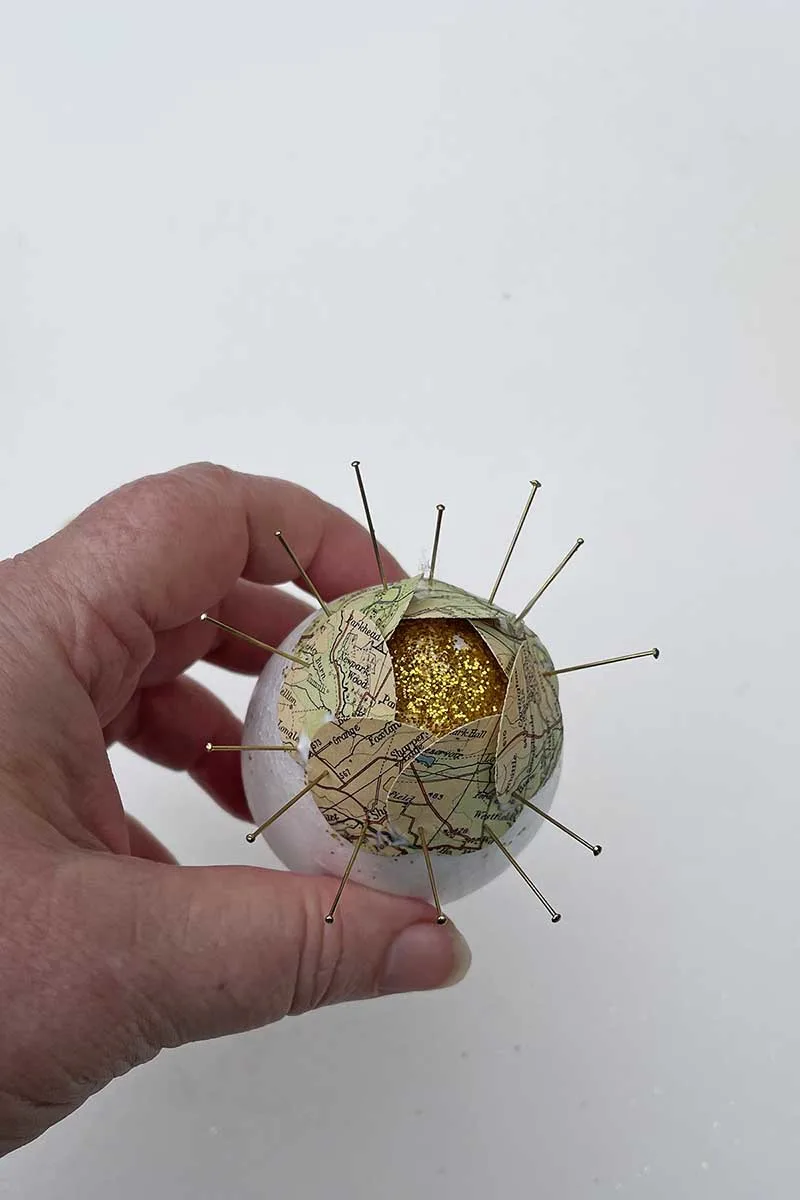
Step 4: The glue doesn’t need to dry thoroughly before adding the next row of paper circles. It should quickly become tacky enough to hold the paper in place. Pull the pins out as you add a second row of paper circles, and then stick them in this row until they stay on their own accord.
Make sure each row of paper circles is off-centre from the previous row.
I made three of these ornaments simultaneously. I found that when I had finished glueing a row of paper rounds to the third ornament, the glue had tried enough on the first for me to add another row of paper.
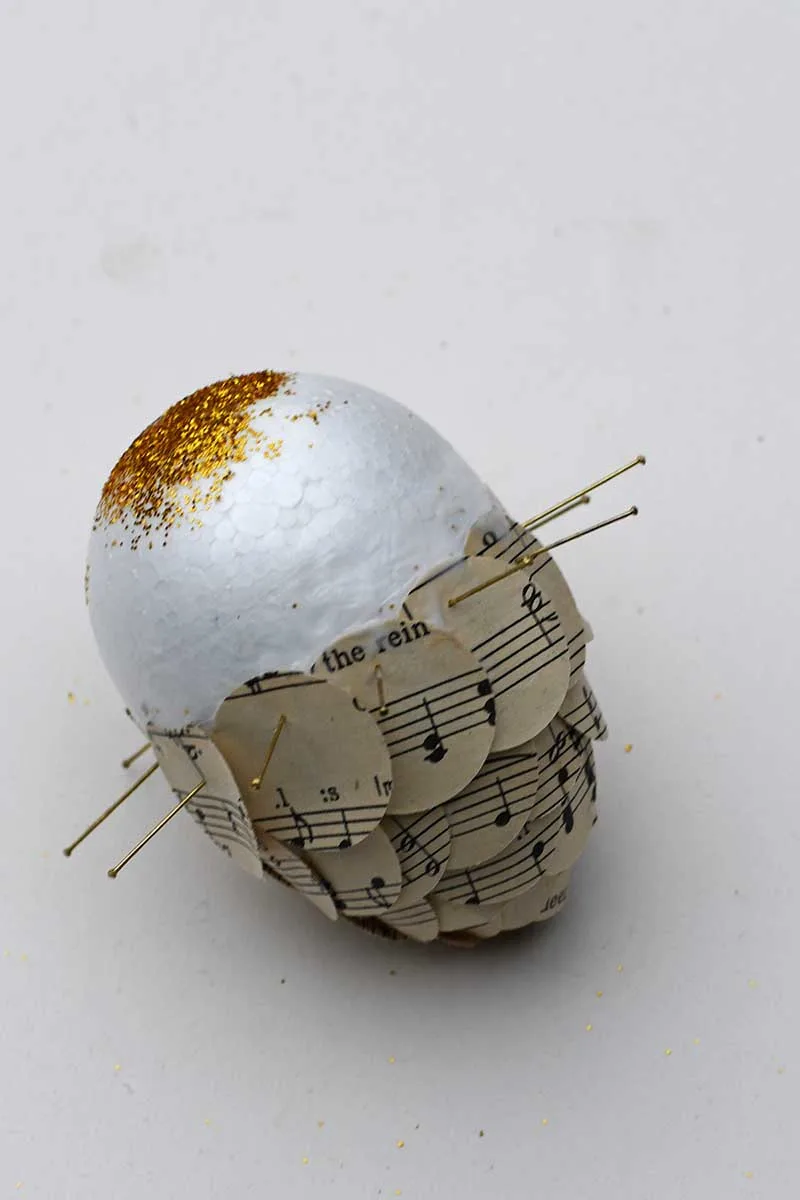
Step 5: Add rows of paper until the whole polystyrene egg is covered.
Finishing off The Paper Pine Cone
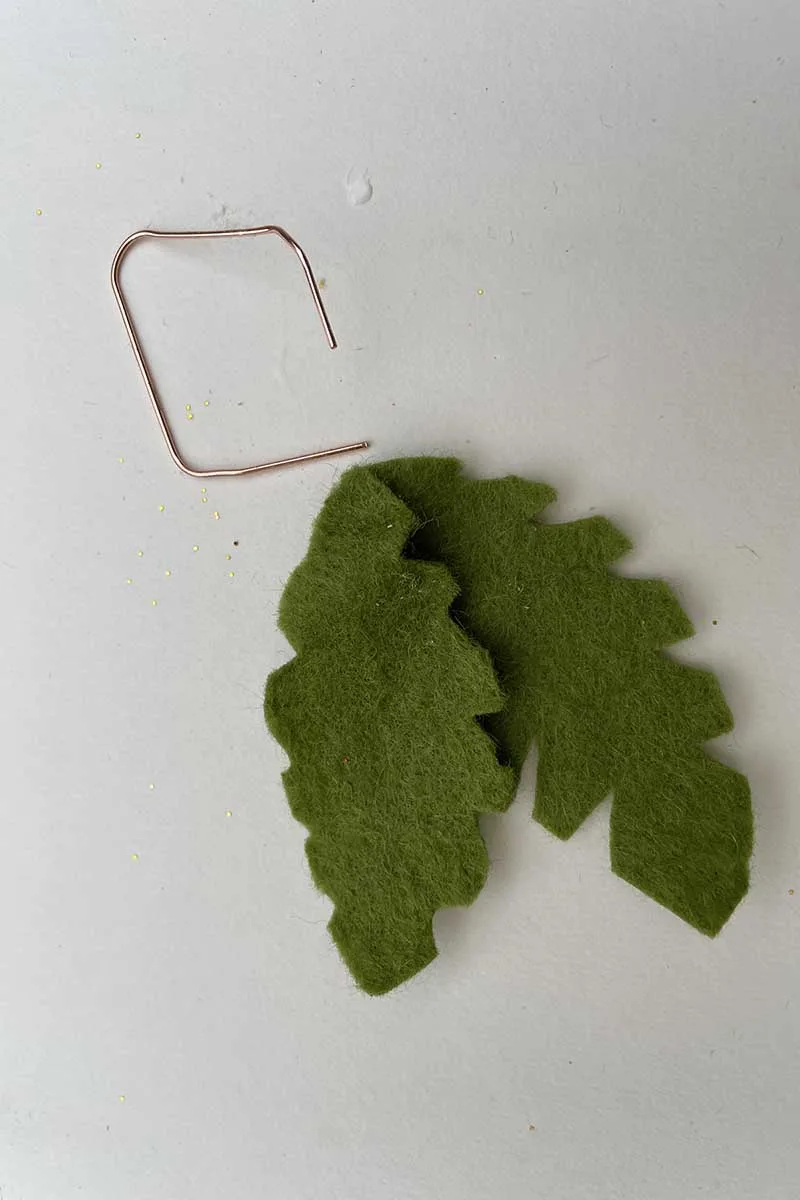
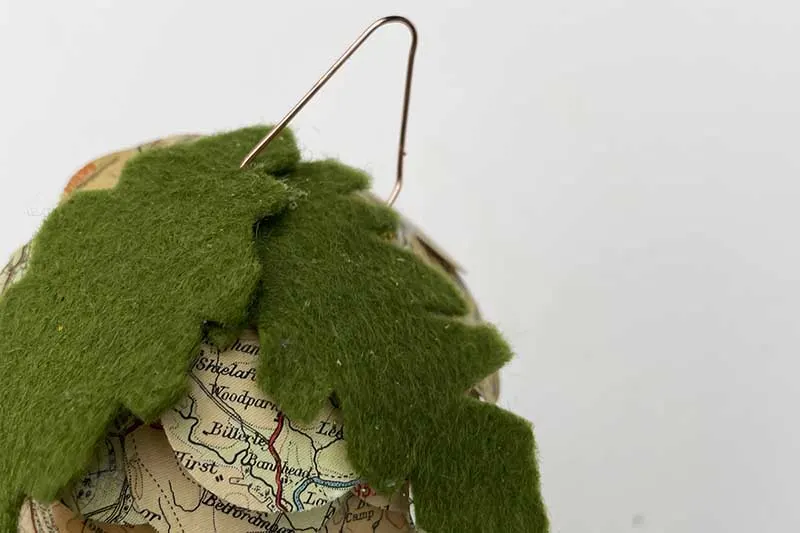
Step 6: Cut two simple spiky leaf shapes from the green felt. Open up the metal paper clip.
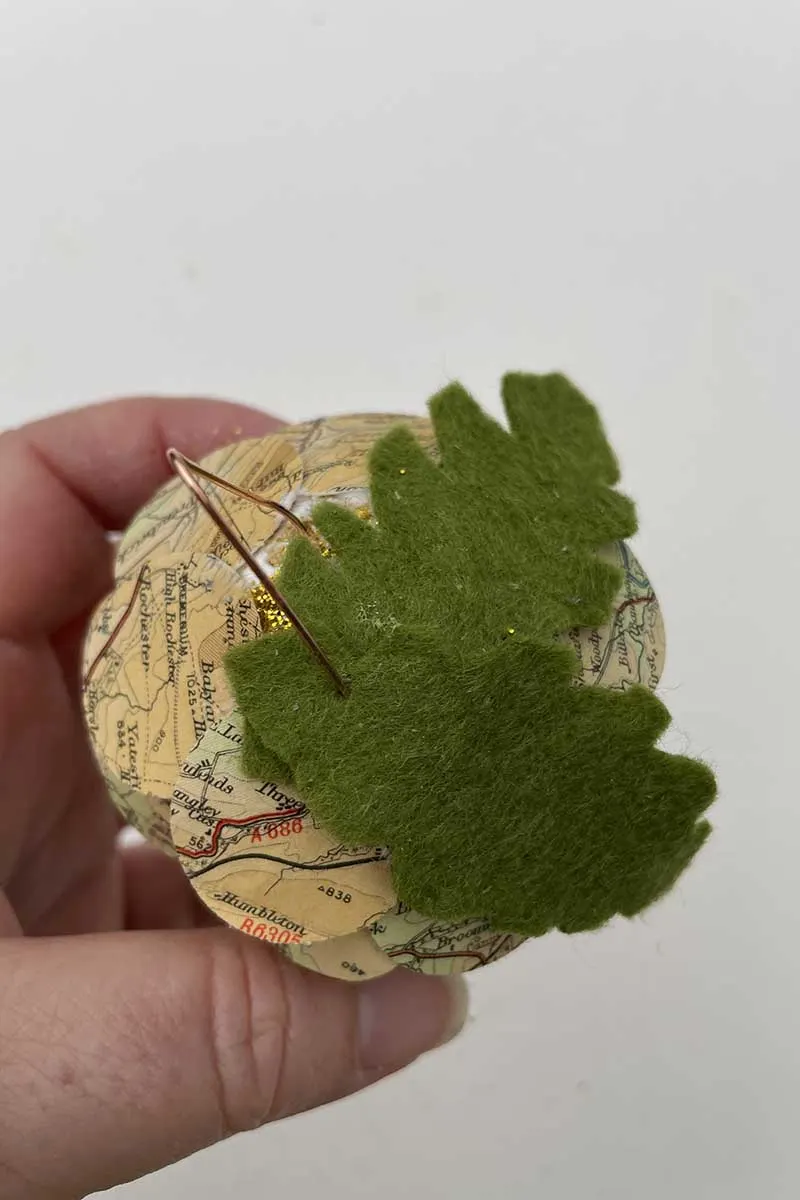
Step 7: Glue the leaves to the top of the paper pine cones. Then stick the ends of the paper clip into the polystyrene to form a hanging hoop.
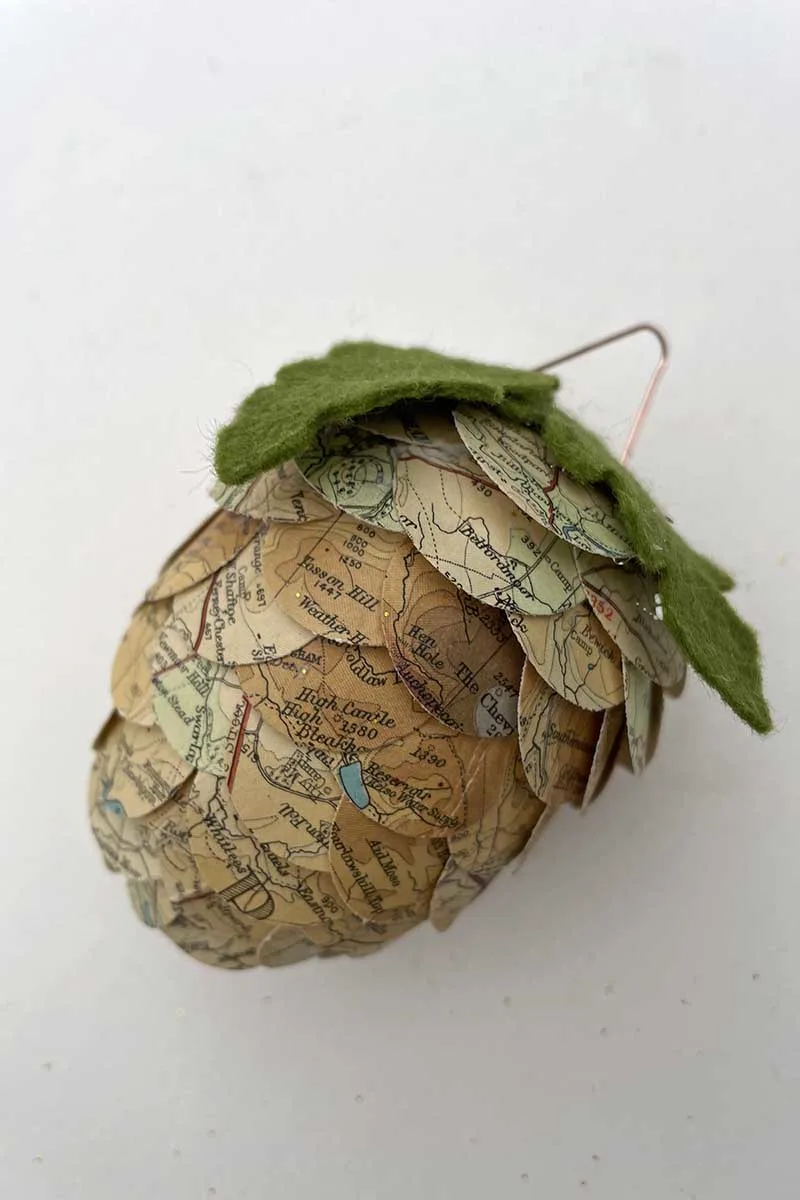
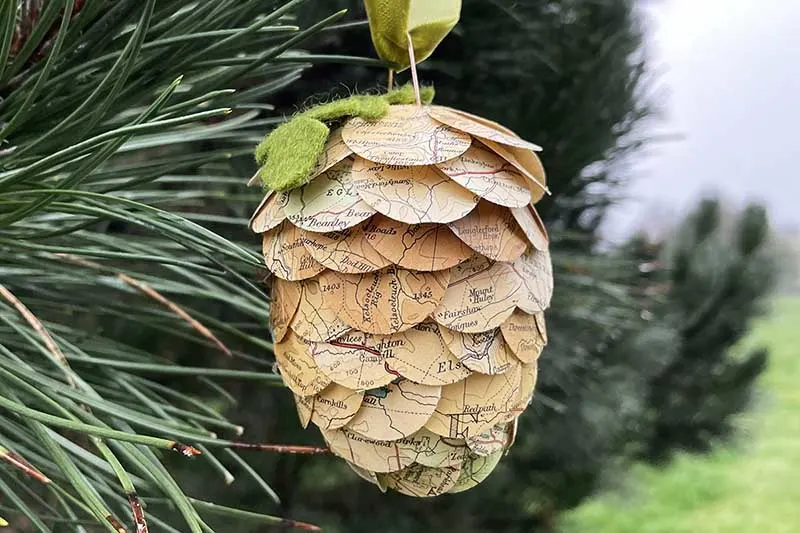
Step 9: Finish off by threading velvet ribbon through the hanging hoop.
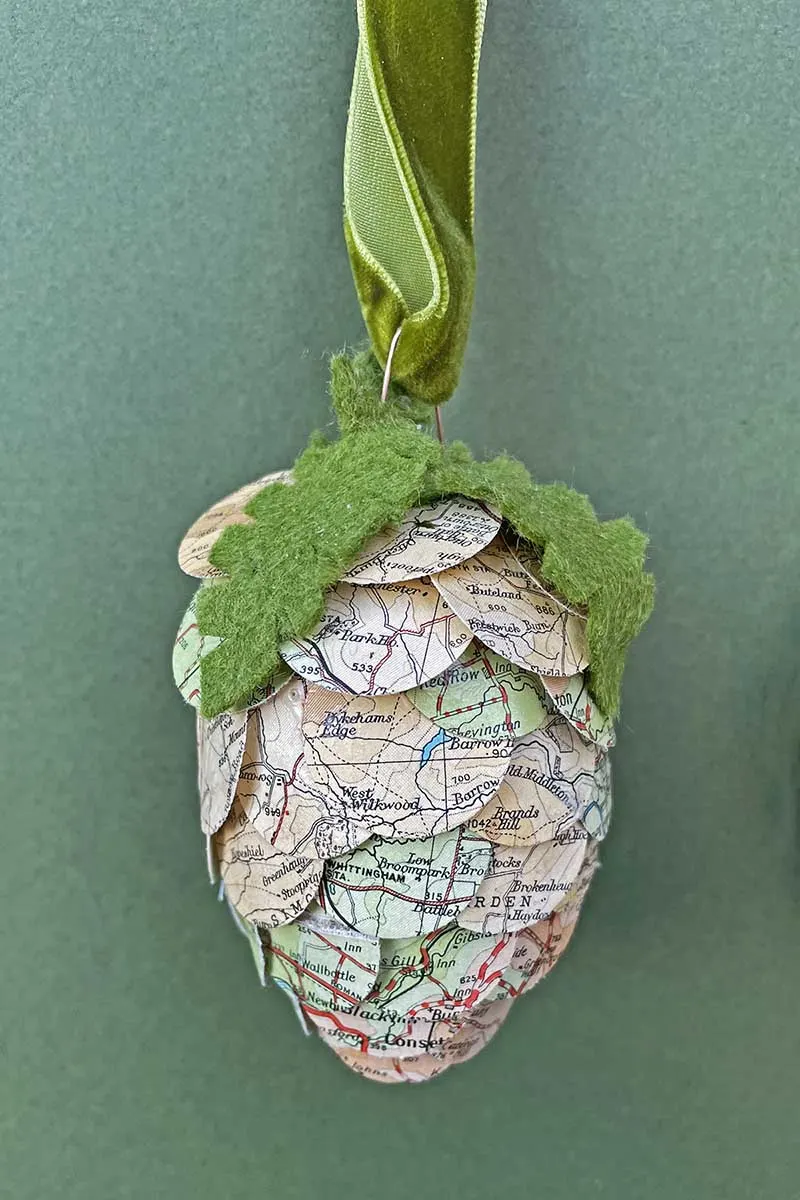
They are now ready to hang from the tree. If you want to add a bit of sparkle to your paper pine cones, then you can dip some of the ends in paper and glitter.
Another fun variation would be to make these paper pinecones with upcycled old Christmas cards or vintage book pages.
How To Make Paper Pine Cones
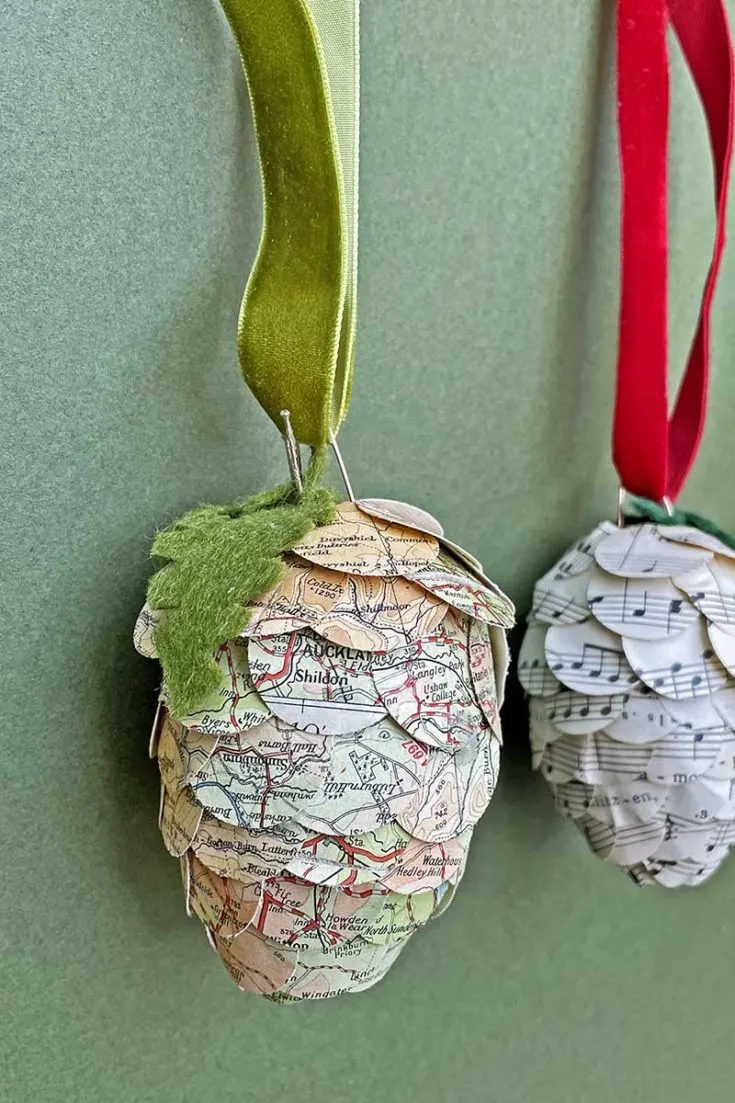
Let me show you the easy way to make paper pine cones. Use repurposed paper, such as old road maps and sheet music, to make these Christmas ornaments unique.
Materials
- 8cm polystyrene egg
- Old road map and sheet music or other papers
- Medium circle punch
- Pins and a metal paper clip
- Glue
- Small bit of felt and ribbon
- Glitter
Instructions
- Use the circle punch to cut out circles of paper. You will need to use about two sheets of A4 paper to make enough rounds to cover one egg.
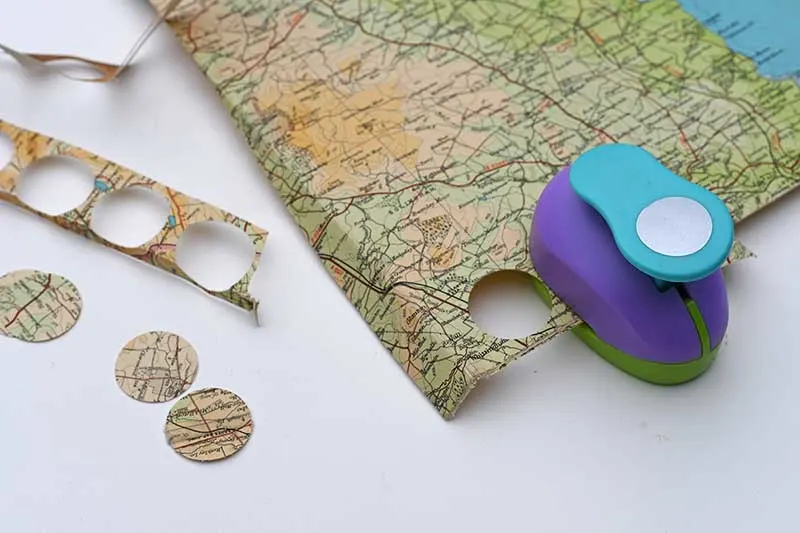
- Paste glue on both ends of the egg and then dip it into the glitter.
- Starting at the narrow end of the egg, glue the circles going around the egg. Overlap each paper piece by about a third and use pins to keep it in place until the glue becomes tacky.
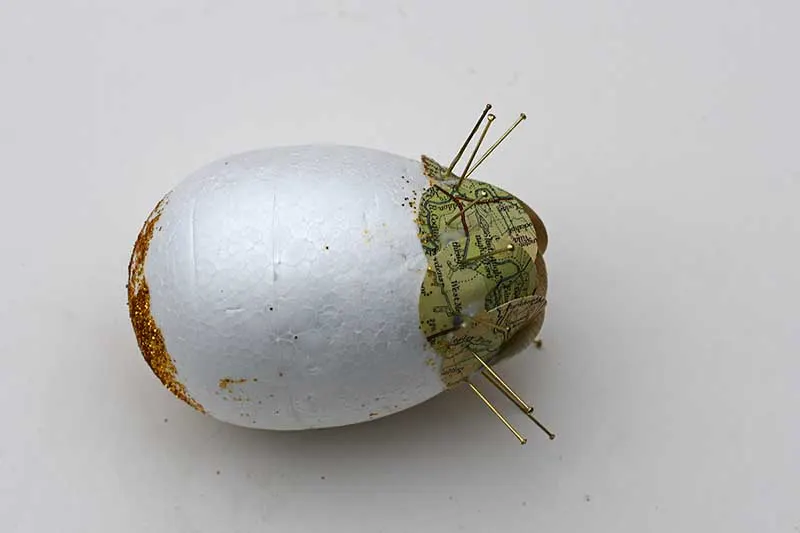
- Add rows of paper circles until the whole pine cone is covered.
- Cut out two small leaf shapes with the green felt and glue them to the top of the paper pine cone.
- Open up the paper clip and bend it into a hoop shape. Then stick both ends into the top of the pine cone to make a hanging hoop.
- Finish off by threading velvet ribbon through the hoop for hanging the ornament.
Other Paper & Christmas Crafts
There are many more upcycled Christmas ornaments and crafts you can make out of old paper, such as maps and music sheets, these include;
- Paper Christmas Trees
- Cotton reel ornaments
- Upcycled paper Christmas crackers
- Paper rosette decorations
- Paper envelope advent calendars
Other nature-themed paper crafts you might want to try are these paper moths and embroidered paper leaf ornaments.
You’ll find some real pine cone ideas with this collection of Christmas nature crafts and in this collection of fall crafts for adults.
Pin for later!

Jennifer
Thursday 30th of November 2023
What is the diameter of your circle punch?
Claire Armstrong
Friday 1st of December 2023
I think it is about 1/2" in diameter but anything near that size would work well.
Tanya Derrey
Monday 28th of November 2022
Here from Shabby Art Boutique and now following! I love these ornaments Claire! Soooo pretty :) Tanya @http://www.twelveoeightblog.com/
Claire Armstrong
Wednesday 30th of November 2022
Thank you so much, and thanks for visiting.
Kerryanne
Friday 25th of November 2022
What an adorable project Claire. Thank you for sharing your DIY paper pine cones at Create, Bake, Grow & Gather this week. I'm delighted to be featuring it at tonight's party and pinning too. Merry Christmas, Kerryanne
Claire Armstrong
Friday 25th of November 2022
Thank you, so much; I look forward to seeing them.
BronwynM
Wednesday 23rd of November 2022
Very nice ornament
Claire Armstrong
Wednesday 23rd of November 2022
Thank you, so much.