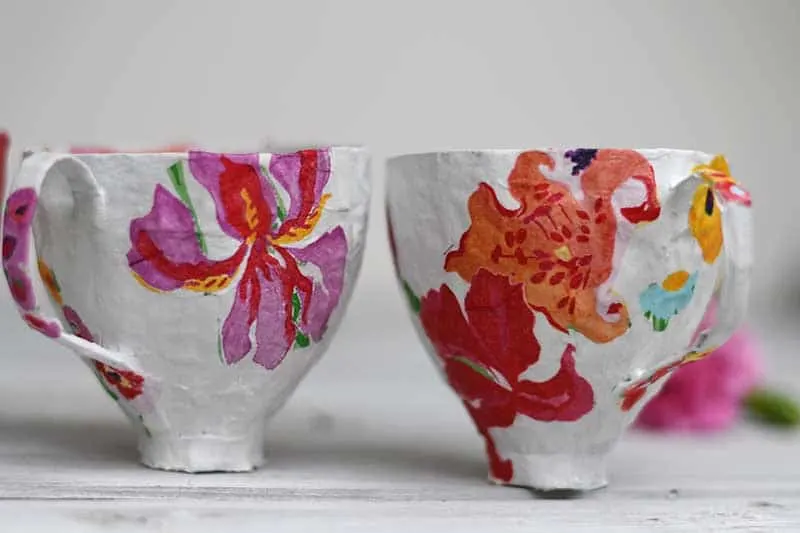
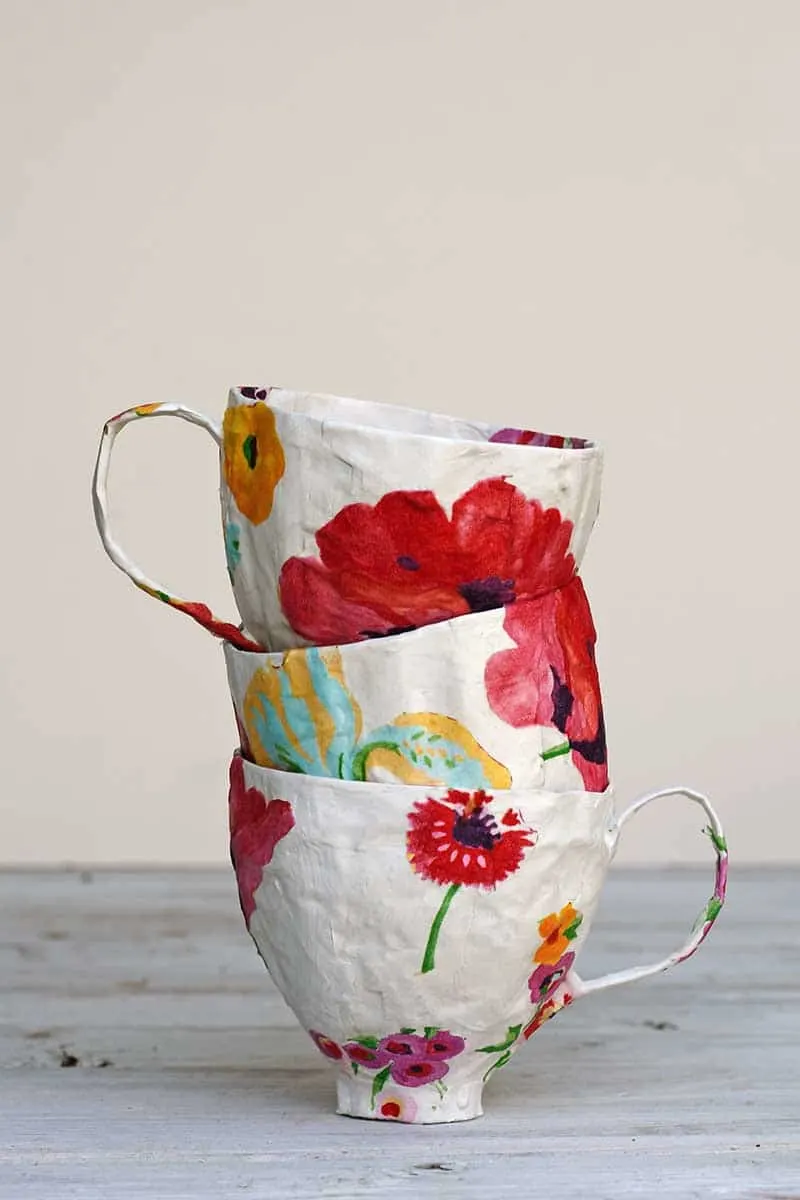
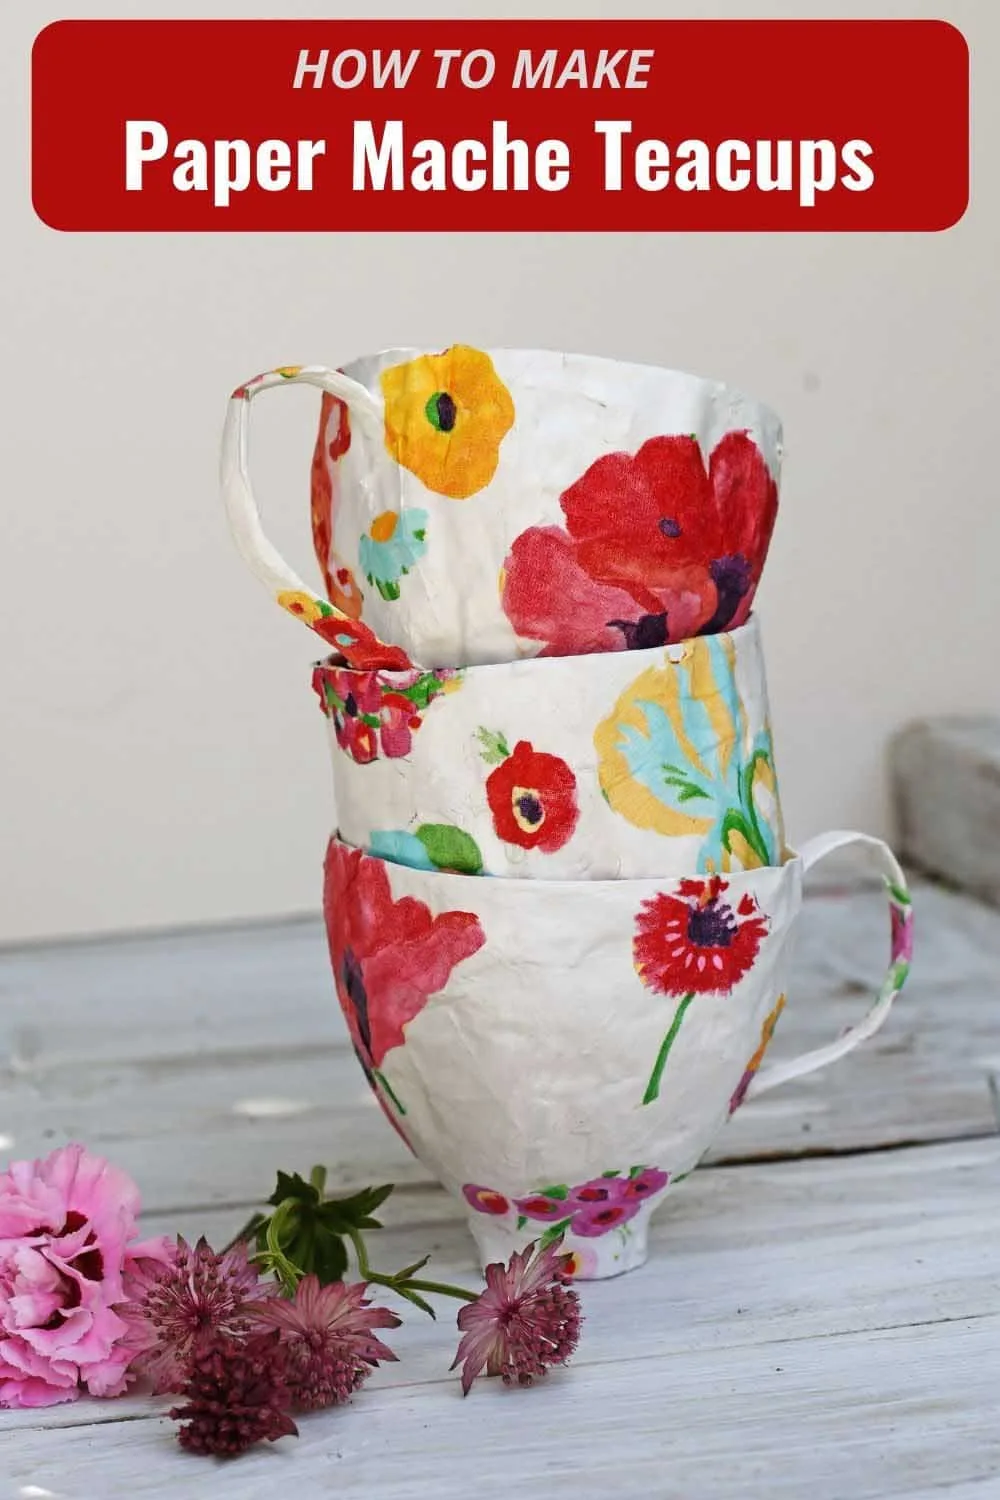
I made these decoupage paper mache teacups because I love the look of vintage teacups.
I’m always on the lookout for them in charity and junk stores. But I rarely find ones with an exact design I like. That’s when I thought I’d make my teacups out of paper mache. I could then decorate them how I want.
One flaw with these paper mache teacups is that they are not designed for drinking tea. However, I only buy vintage teacups for decoration, and I rarely drink out of them.
Fancy teacups may look lovely, but they aren’t big enough for me. I like to drink my coffee and tea from a big mug, and you only get a couple of sips from a typical vintage dainty teacup.
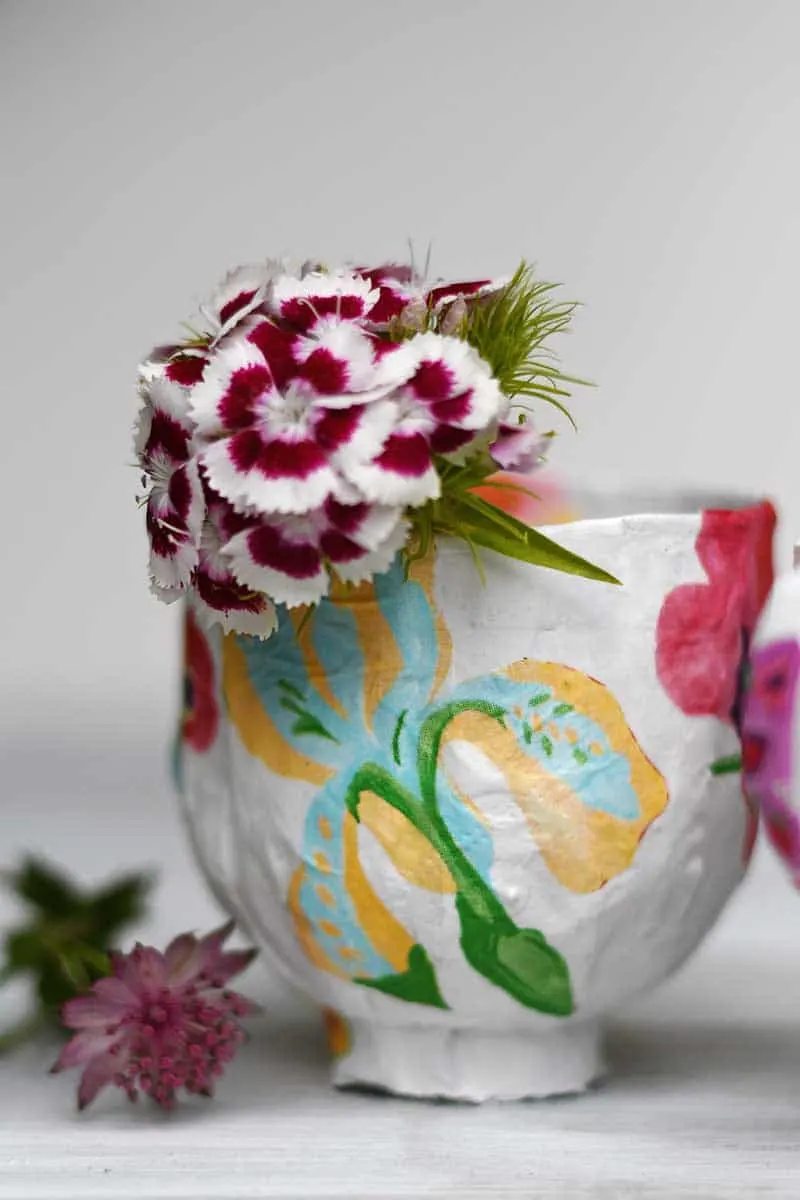
So, these paper teacups may not be practical for drinking tea, but they make a cute decoration. The cups can also be used as helpful trinket dishes to store litter bits and pieces. They also look good next to the giant paper Mache bowl I made for my table.
I have one on my bedside table for hair ties and a couple on my desk for paper clips and loose coins.
(There is a printable how-to card for this craft at the end of the post.)
We’re a participant in the Amazon Services LLC Associates Program, an affiliate advertising program designed to provide a means for us to earn fees by linking to Amazon.com and affiliated sites. As an Amazon Associate, I earn from qualifying purchases.
What You Need
This is a very affordable and easy craft, as the paper mache cups are made from mainly repurposed materials.
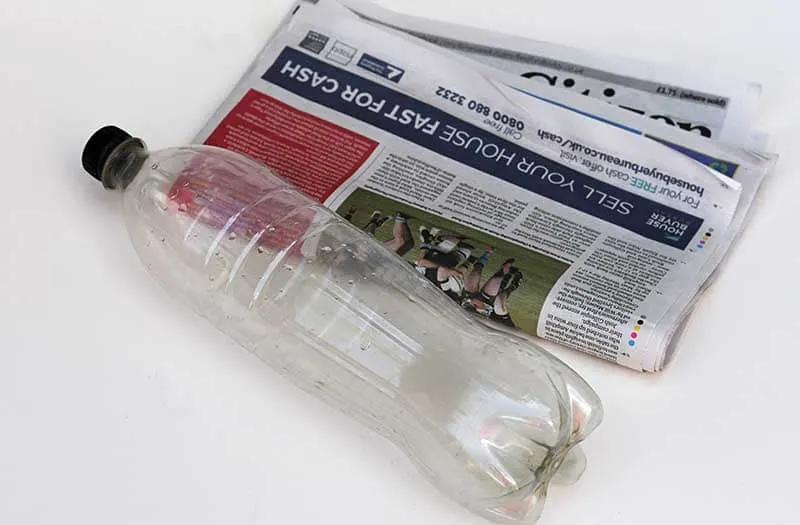
- 1.25 or a 1.5-litre Coke bottle. You want the bottle to be the traditional Coca-Cola bottle shape, as this gives the paper mache cups their shape.
- Old newspaper – I find that newspapers are the best type of paper for paper mache.
- Vaseline – Just a tiny amount.
- Mod Podge – for both the paper mache and decoupage.
- White acrylic paint – I used bits of white paint left over from other projects.
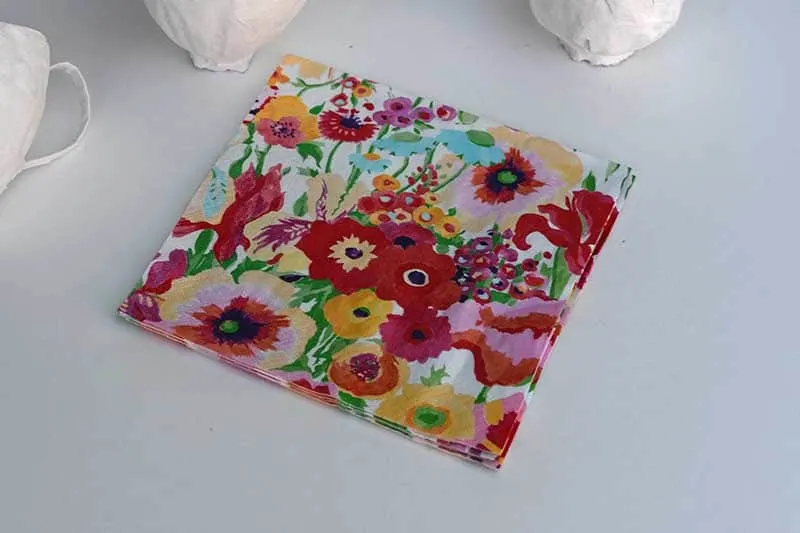
- Floral paper napkins – Paper napkins with small flowers on a white background work best.
How To Make The Paper Mache Cups
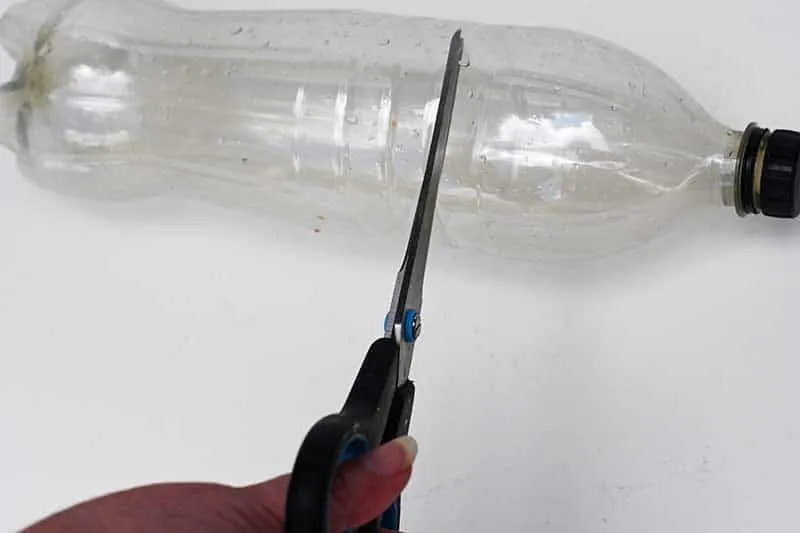
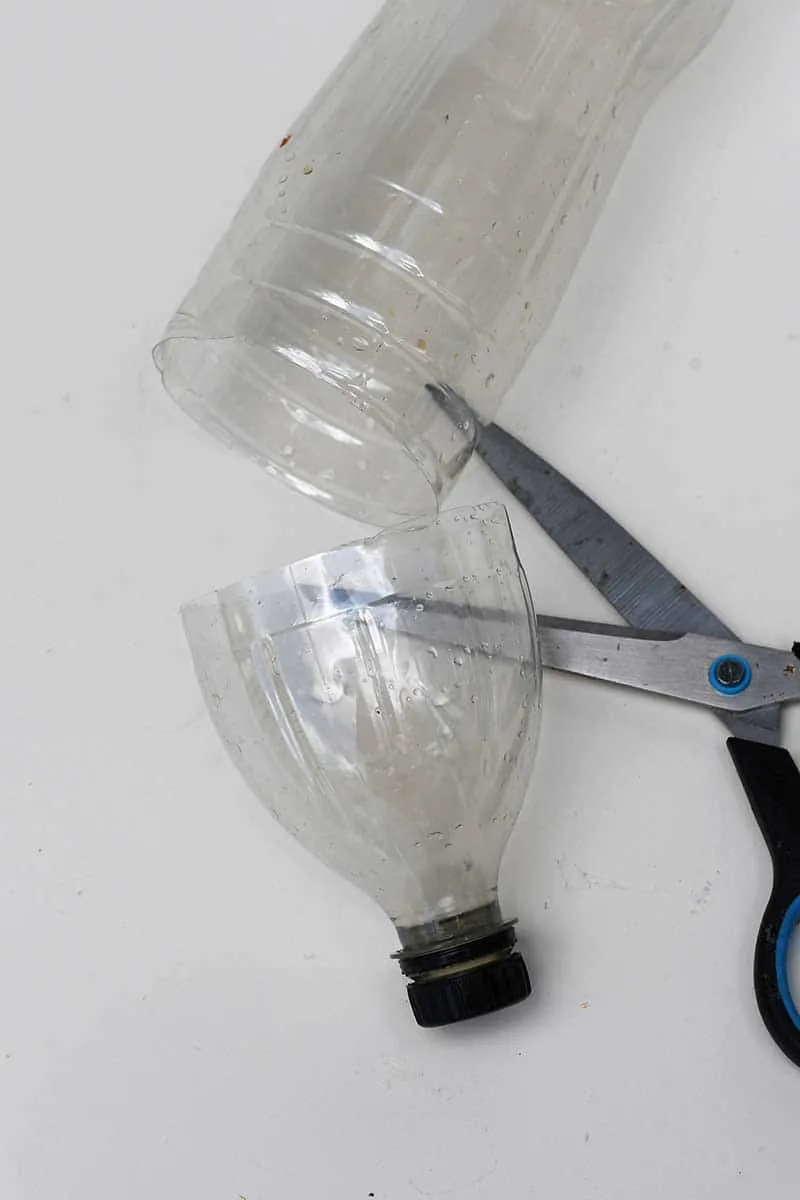
Step 1: First, using scissors, cut the top off the Coke bottle. Cut the top so that it will be slightly higher than the rim of your paper mache teacup, about 9-10 cm from the neck of the bottle.
Top Tip: It is better to have the bottle top slightly too long than too short, as you can cut the paper mache to size afterwards.
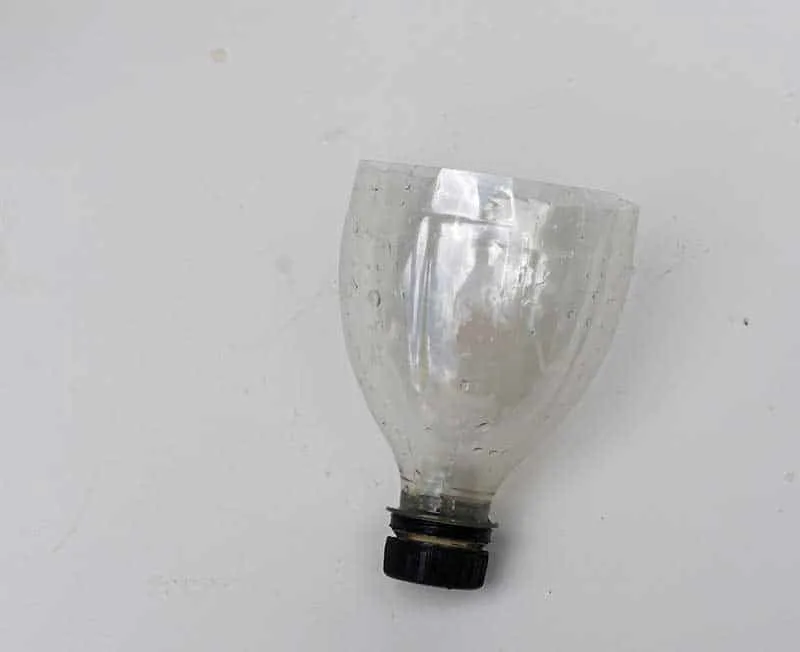
2. To stop the newspaper from sticking permanently to the inside of the bottle top, rub the inside with a layer of Vaseline.
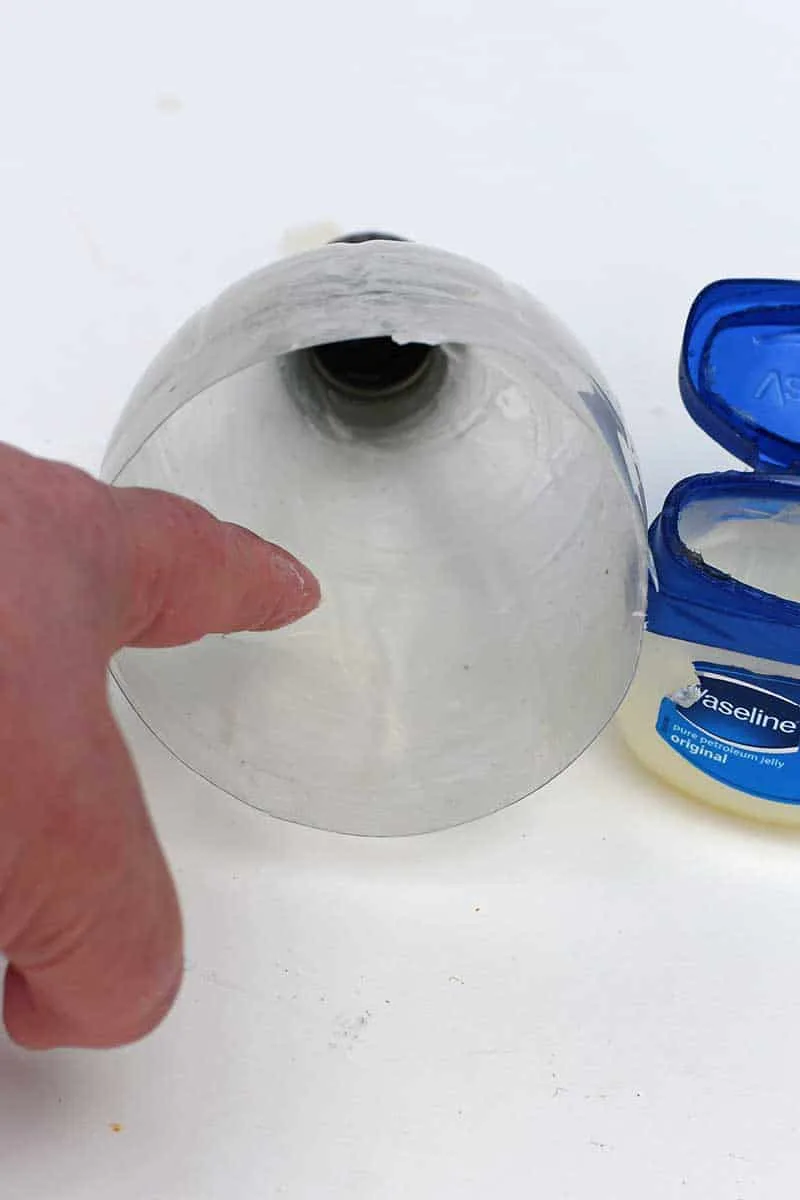
3. Cut the newspaper into small strips about 1cm by 4cm. Dilute the Mod Podge with water by 50/50 for the paper mache.
Don’t use the glue mixture for the first layer of paper Mache. But wet the newspaper strips one by one and line the inside of the Coke bottle top with them; for the following layers, brush each newspaper strip with the glue mixture.
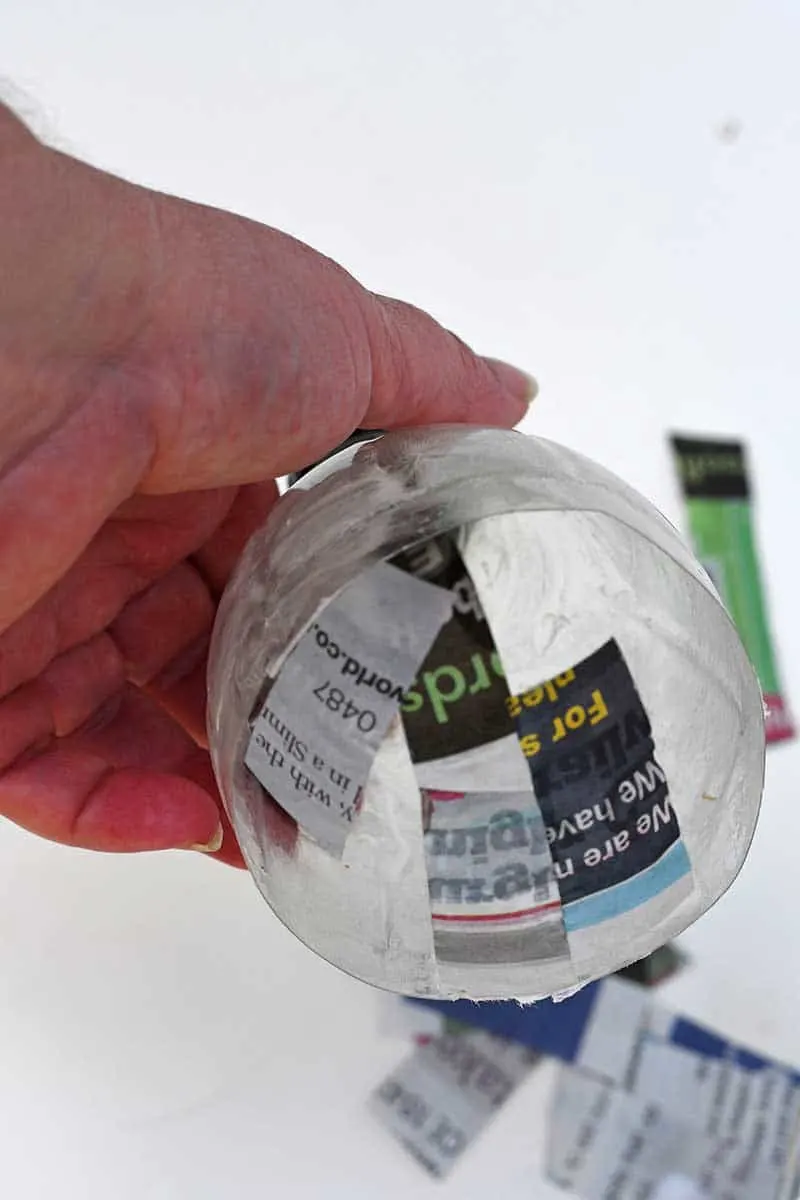
4. Next, add layers of newspaper and glue inside the bottle. I add two layers of paper at a time. Then, I left it to dry overnight before adding another two layers. As I wanted these paper mache teacups to be thin like fine china, I only used four layers of newspaper.
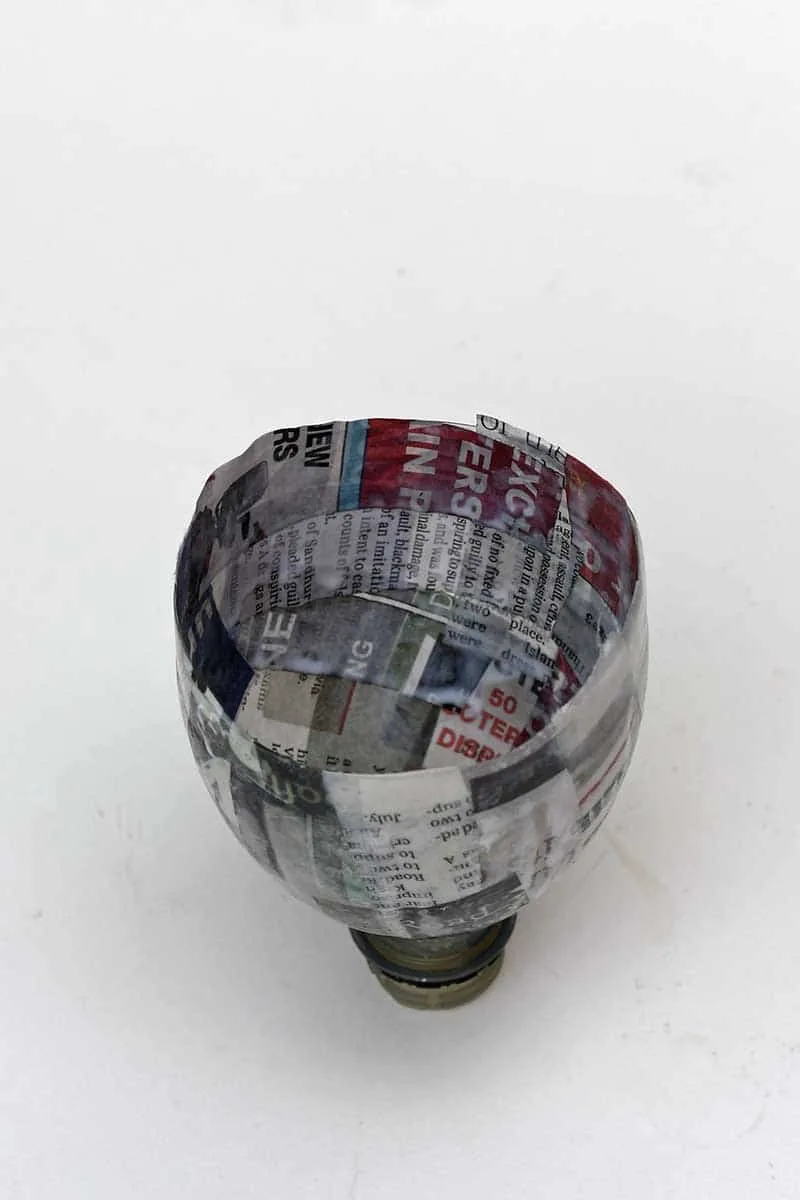
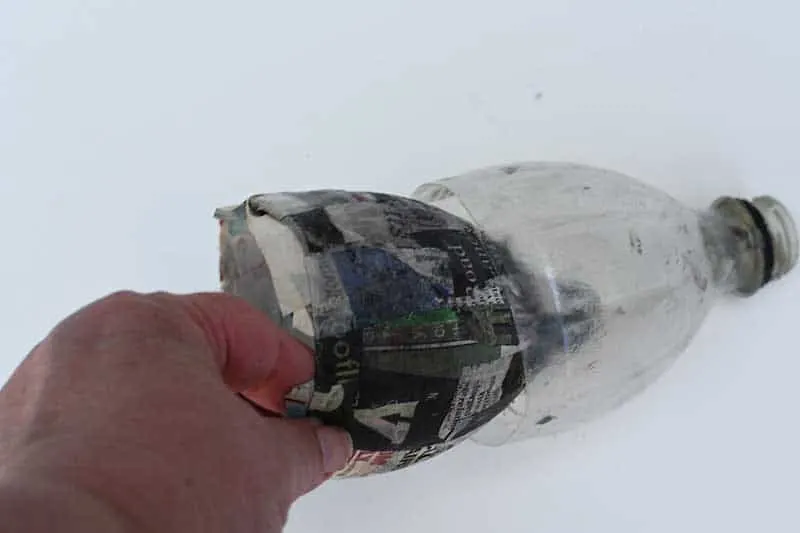
5. After adding the newspaper’s final layer, leave the paper Mache to dry thoroughly. Once dried, carefully remove the paper from the Coke bottle mould. You may have to coax the paper Mache cup gently with a flat knife.
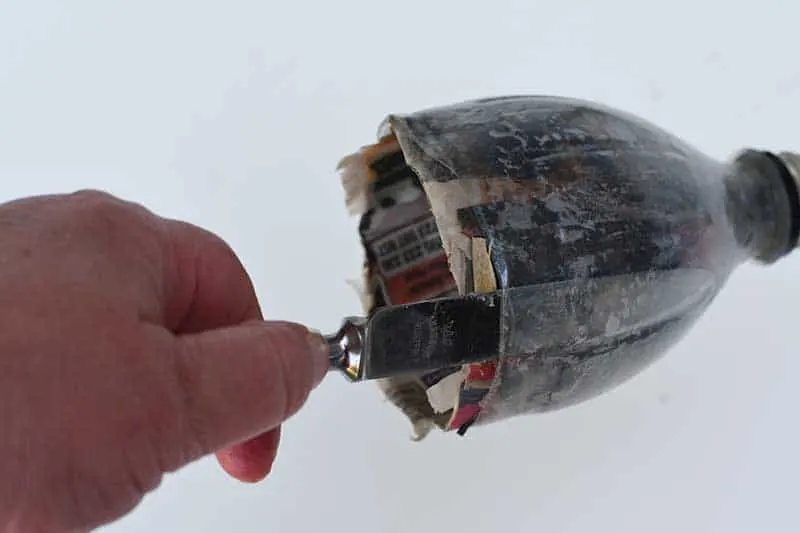
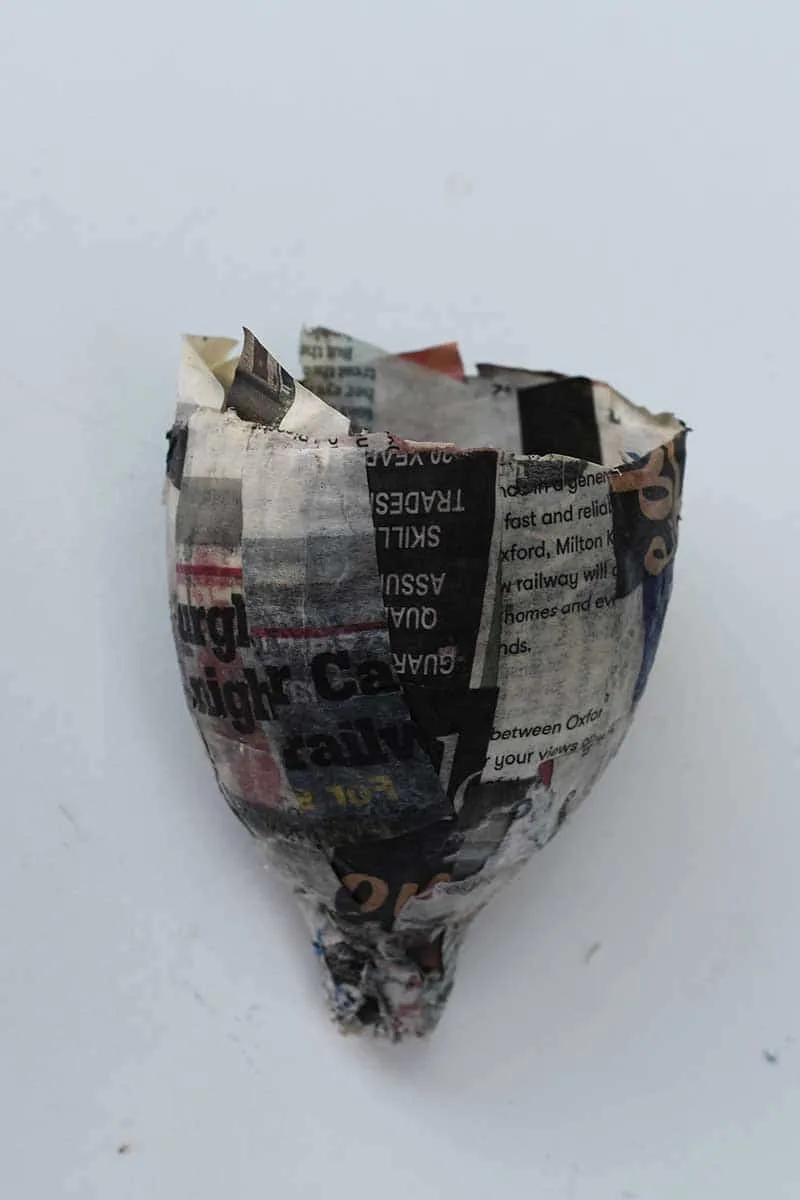
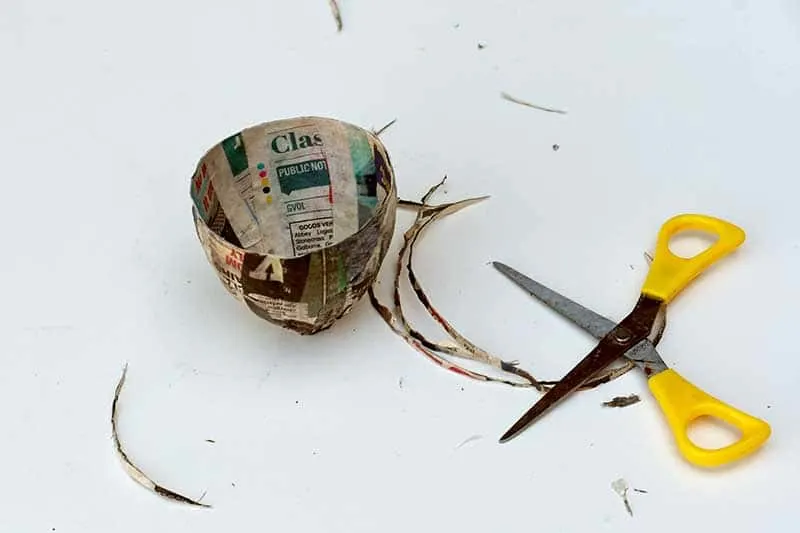
6. Next, using scissors, trim the paper mache to resemble a teacup.
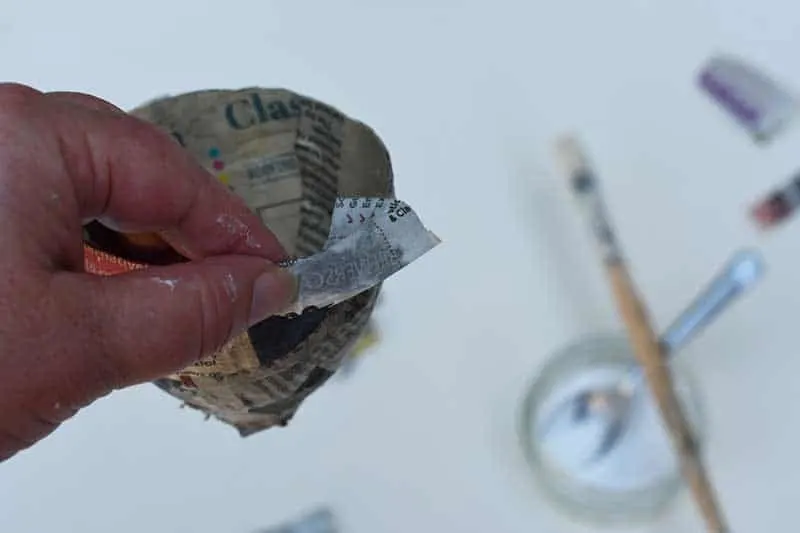
7. Glue newspaper strips over the top edge to create a smooth rim on the paper mache teacups.
Adding The Teacup Handle etc.
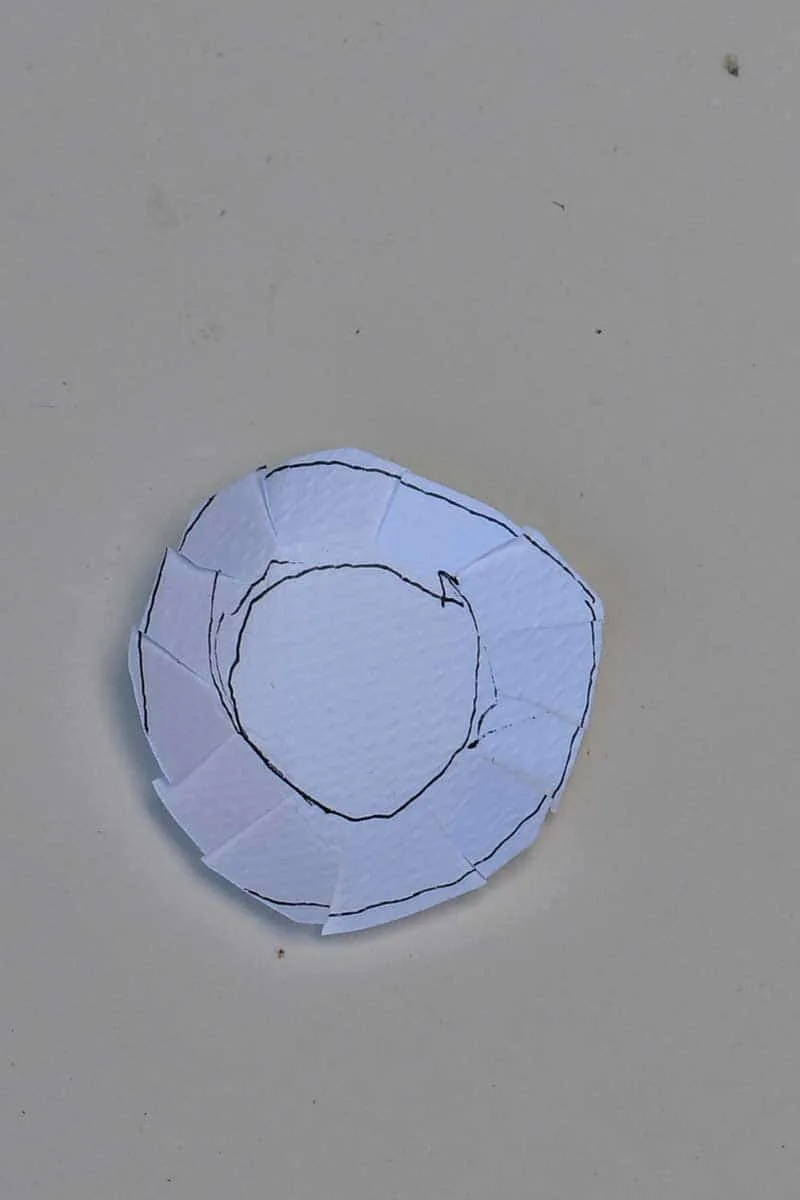
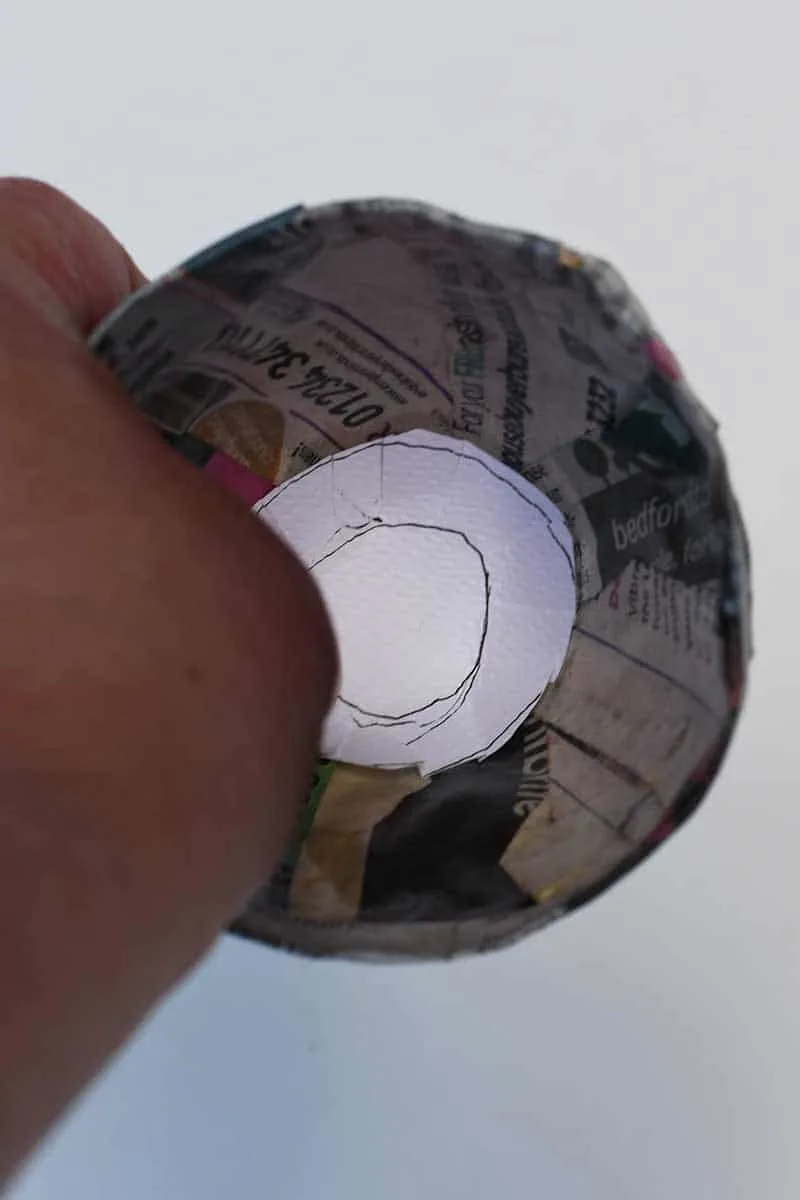
8. To fill the hole in the base of the paper mache teacups, cut out a round of paper about 4cm in diameter. Then, draw an inner circle about 2cm in diameter on this paper. Using scissors, cut slits in the circle from the outer edge to the inner circle about 5mm apart.
Then, glue the paper circle and stick it inside the paper mache tea cup.
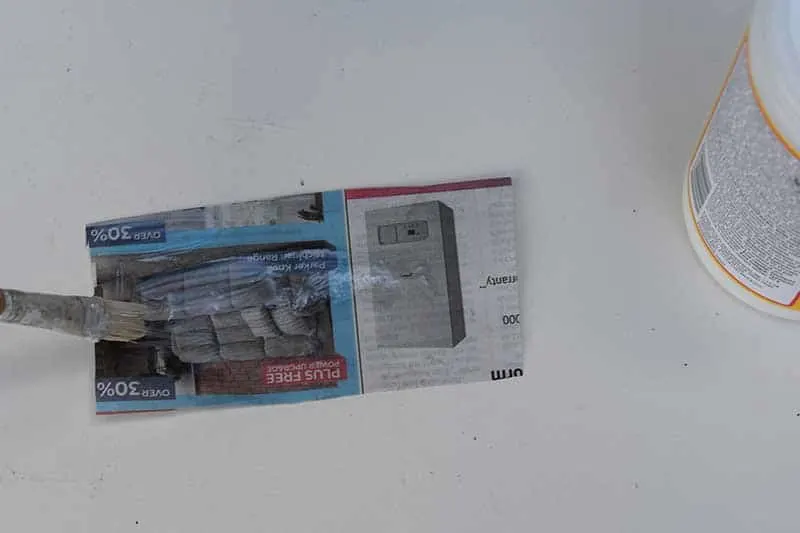
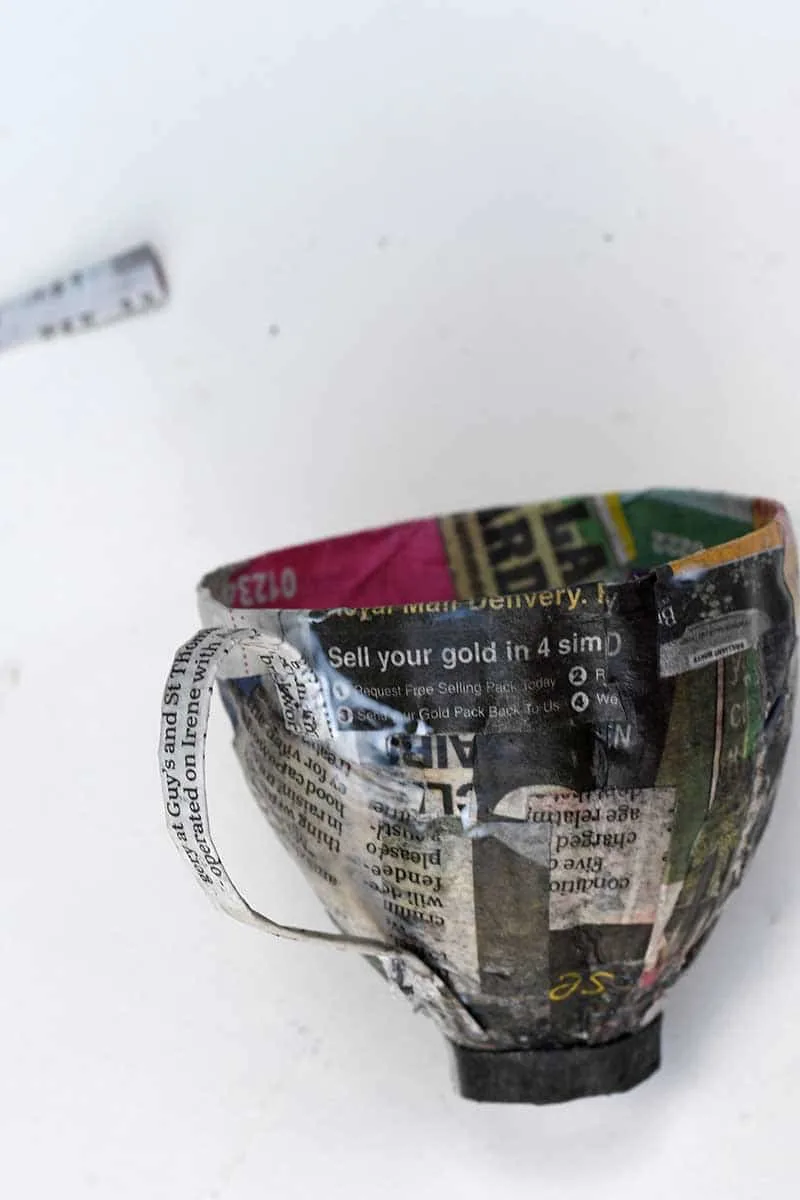
9. To make a handle for the paper mache cups, cut a piece of newspaper about 9cm by 4cm. Cover this in a layer of the glue mixture and then fold it into a 5mm wide strip.
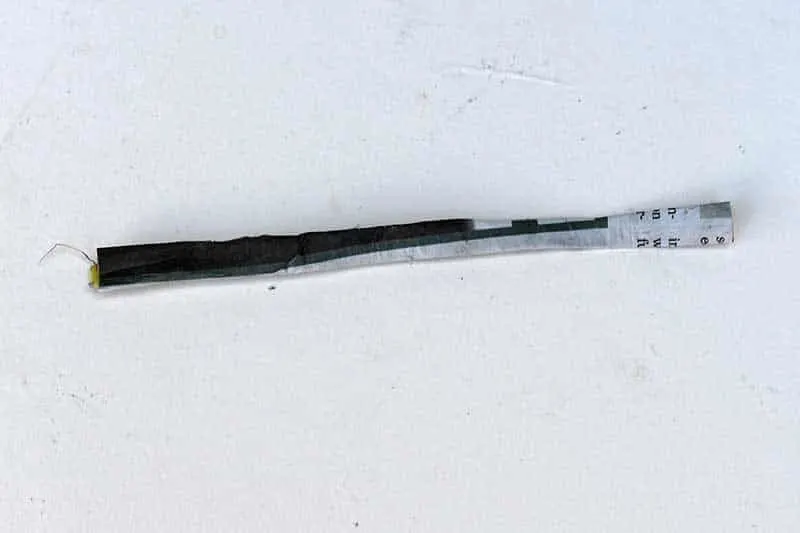
10. While this strip of paper is still wet with glue, shape it into an S-shaped teacup handle and stick it to the paper mache cup.
You may need a clip or pin to hold it as the glue dries. At the same time, make another stip of rolled use paper and glue it to the base of the teacup.
Decoupaging the Paper Mache Cups
11. The outside of the paper mache teacups may feel a little greasy from the Vaseline. And Vaseline can make the cups challenging to paint.
To help with this, apply a layer of the glue mixture to the whole cup and let it dry. This will provide a key for the paint to adhere to.
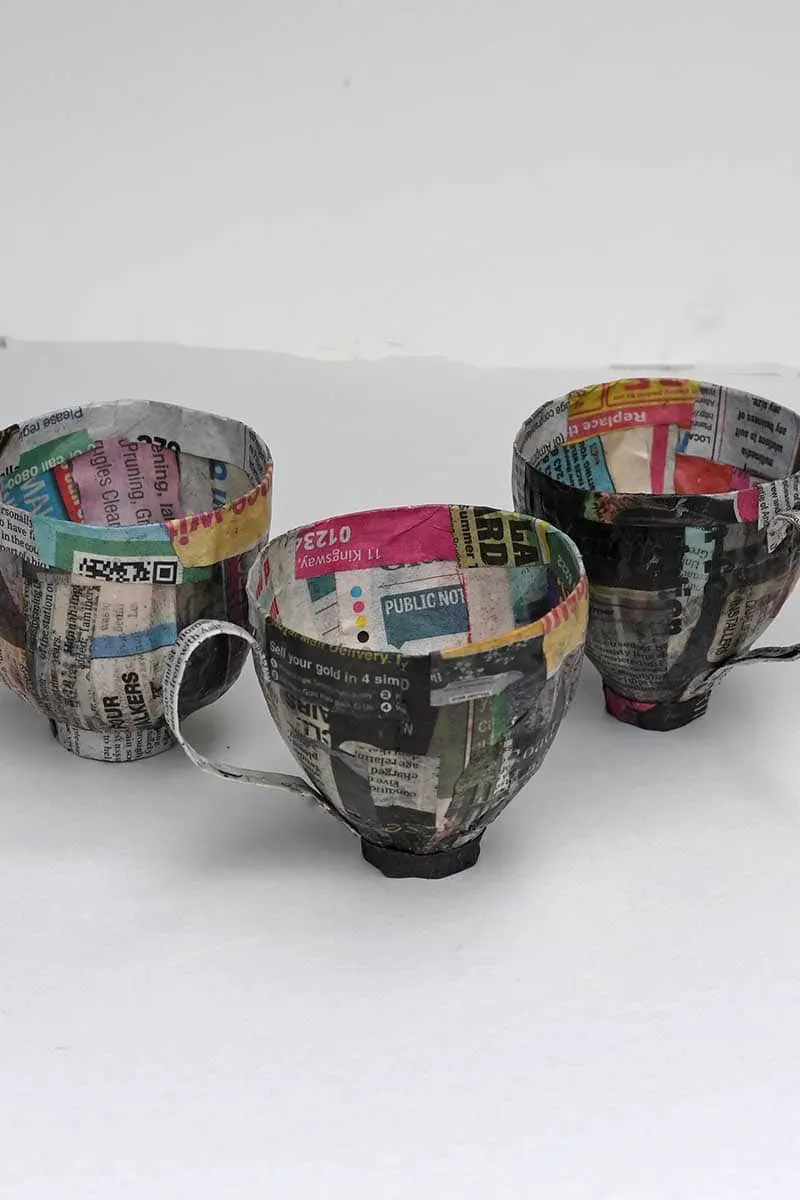
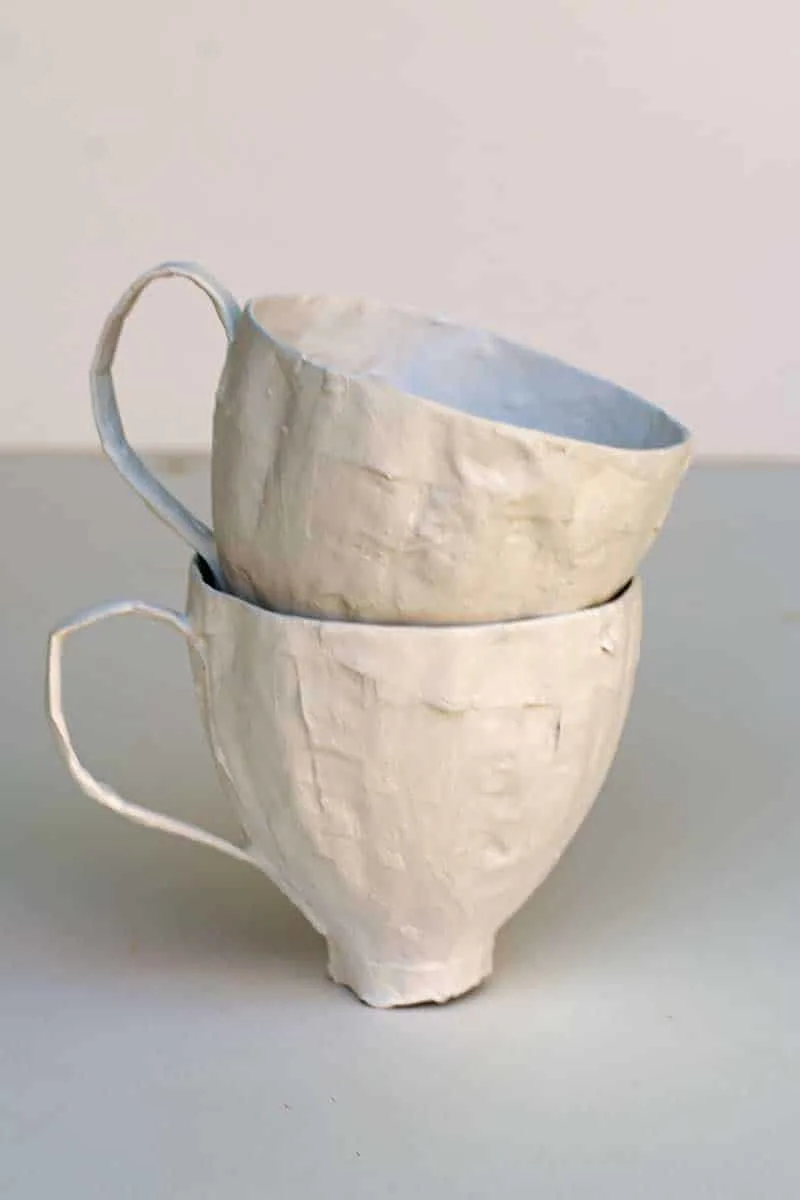
12. Paint the teacups inside and out with white paint. You may need a couple of coats of paint to ensure the newspaper print is no longer visible.
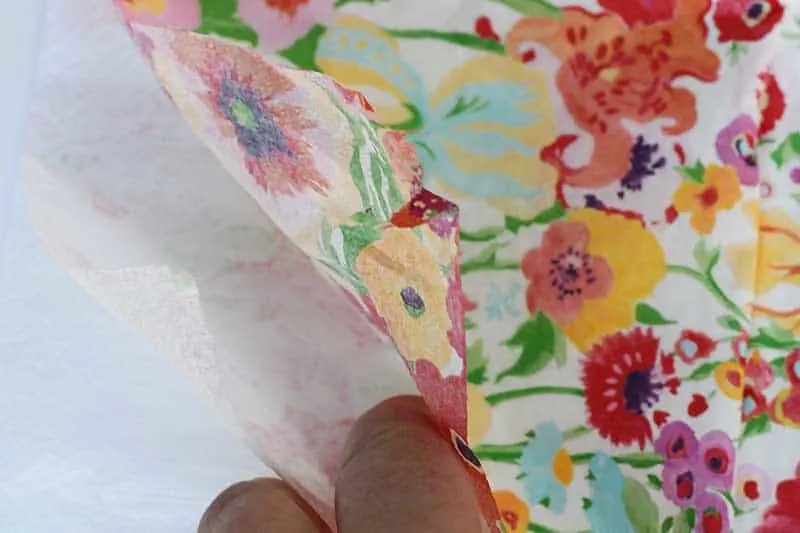
13. Separate the layers of the paper napkin so that you have just the top printed layer. Then, cut out flowers from the design one by one.
By the way, if you are looking for a particular flower to decoupage and can’t find suitable napkins. You can always print your own.
If you are going down this route, check out these free flower illustrations here.
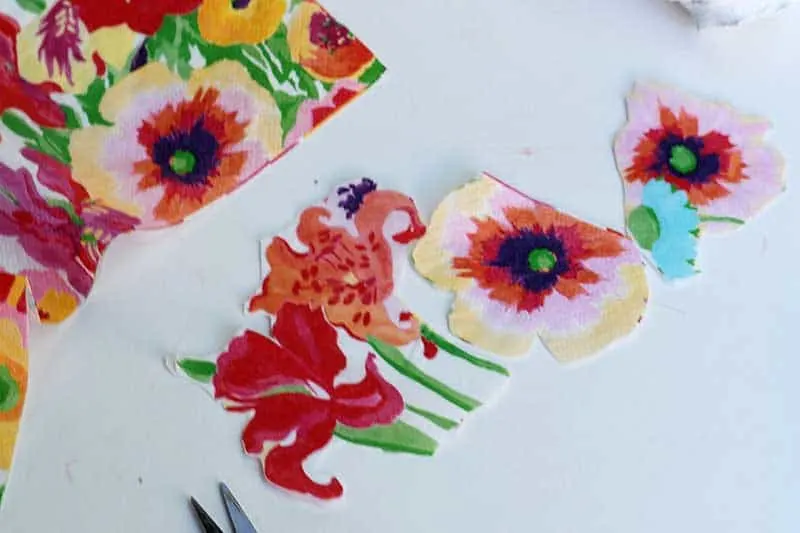
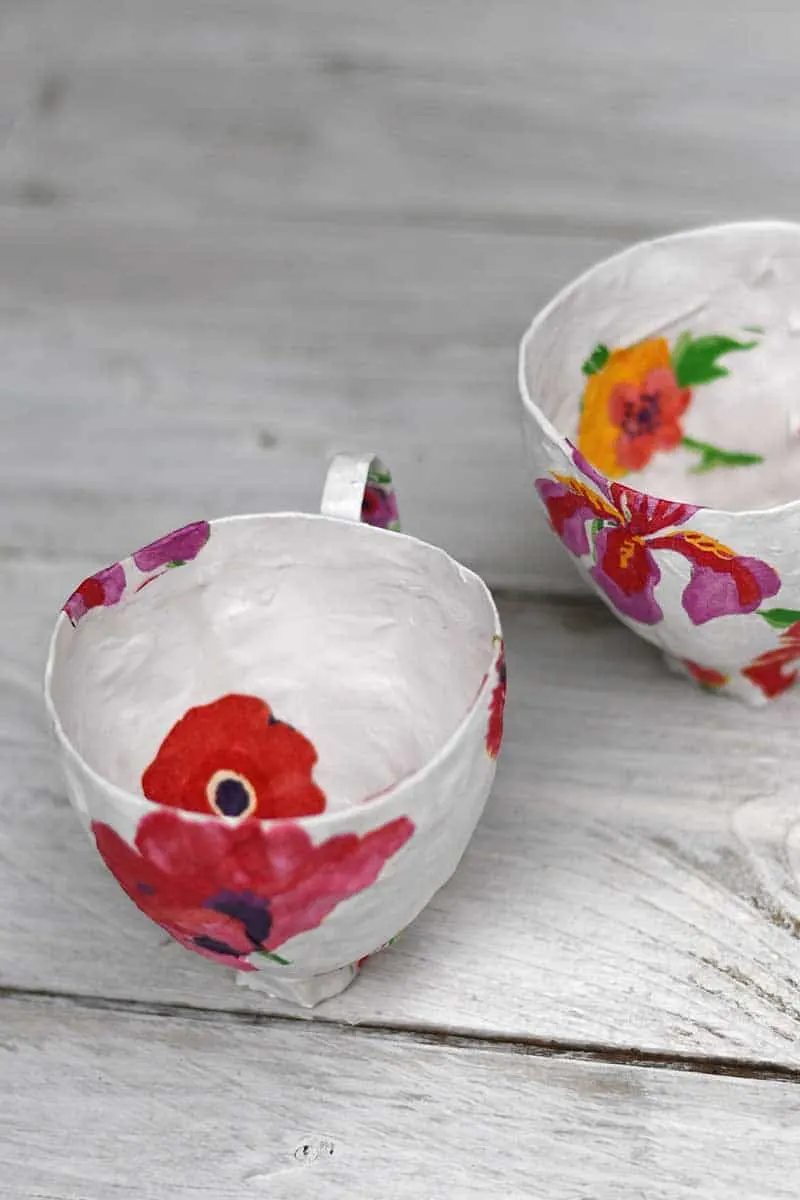
14. Next, brush the glue mixture onto the cup where you want the flower to be. Carefully stick the paper napkin flower onto the cup.
Use a dabbing motion with the brush to add the flower image. Add flowers to both the outside and inside of the paper mache teacups.
Top Tip: The napkin is delicate and can easily tear, so a dabbing motion works better than a brushing motion.
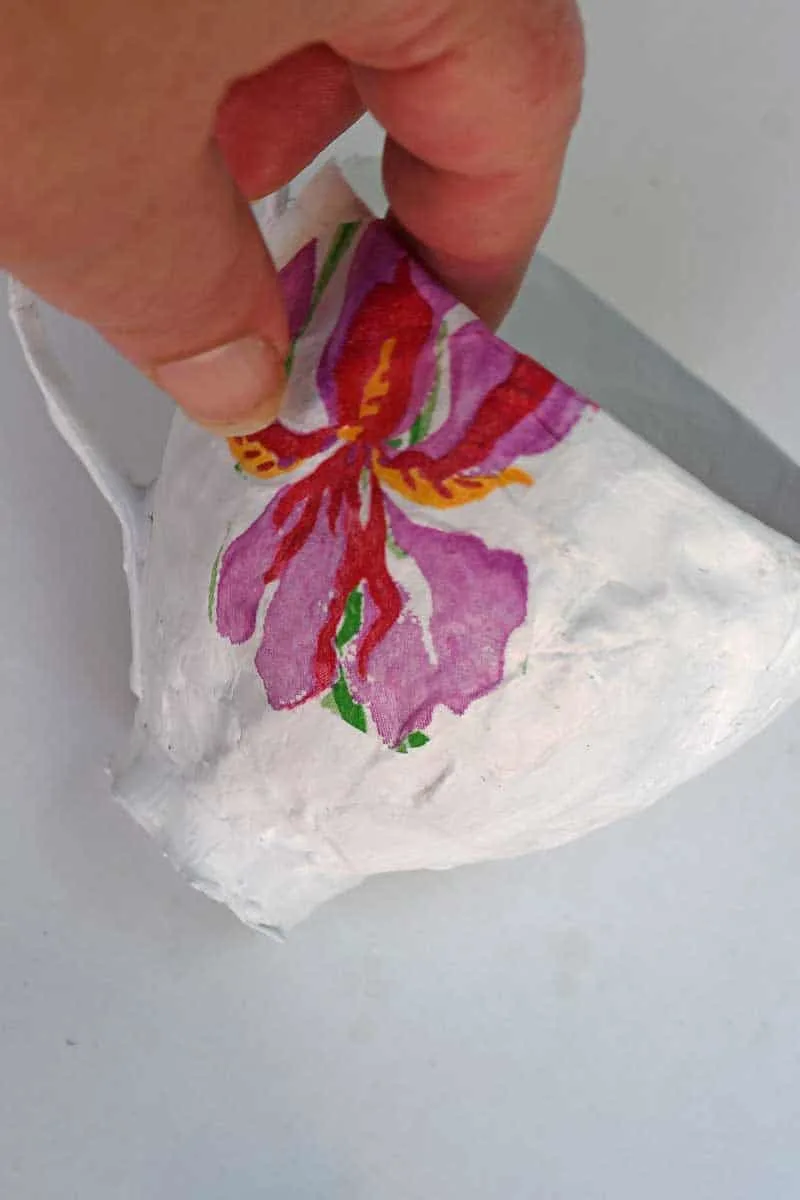
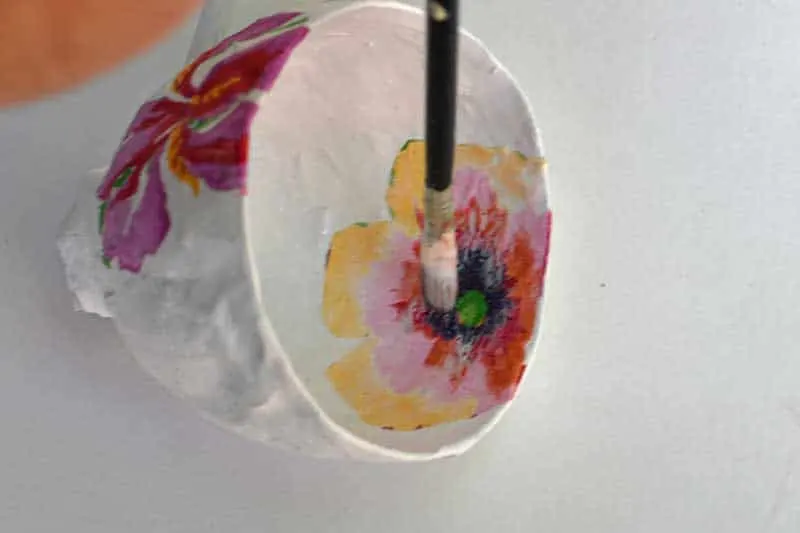
15. Finally, finish off by adding a layer of Mod Podge to the outside of the paper cups; this will act as a sealant and protect them.
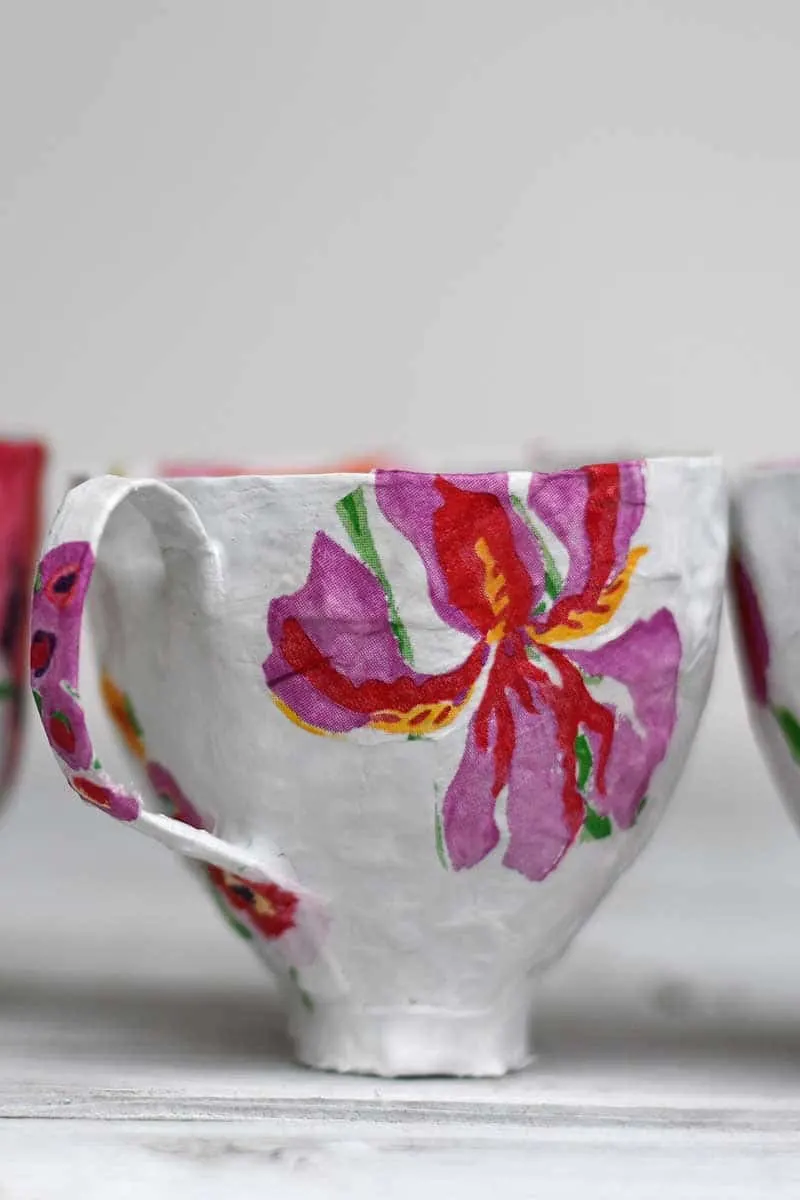
If you enjoyed these paper mache teacups, don’t forget to check out some of my other cool adult crafting ideas and paper mache crafts like this paper mache mushroom tray.
- Paper mache watercolour heart decoration
- Easter egg decoration
- Fun Anthropologie style rabbit head
- Giant Paper Mache Cactus
- Marimekko Plastic Bottle Planters
They make a lovely homemade gift for friends.
How To Make Paper Mache Teacups
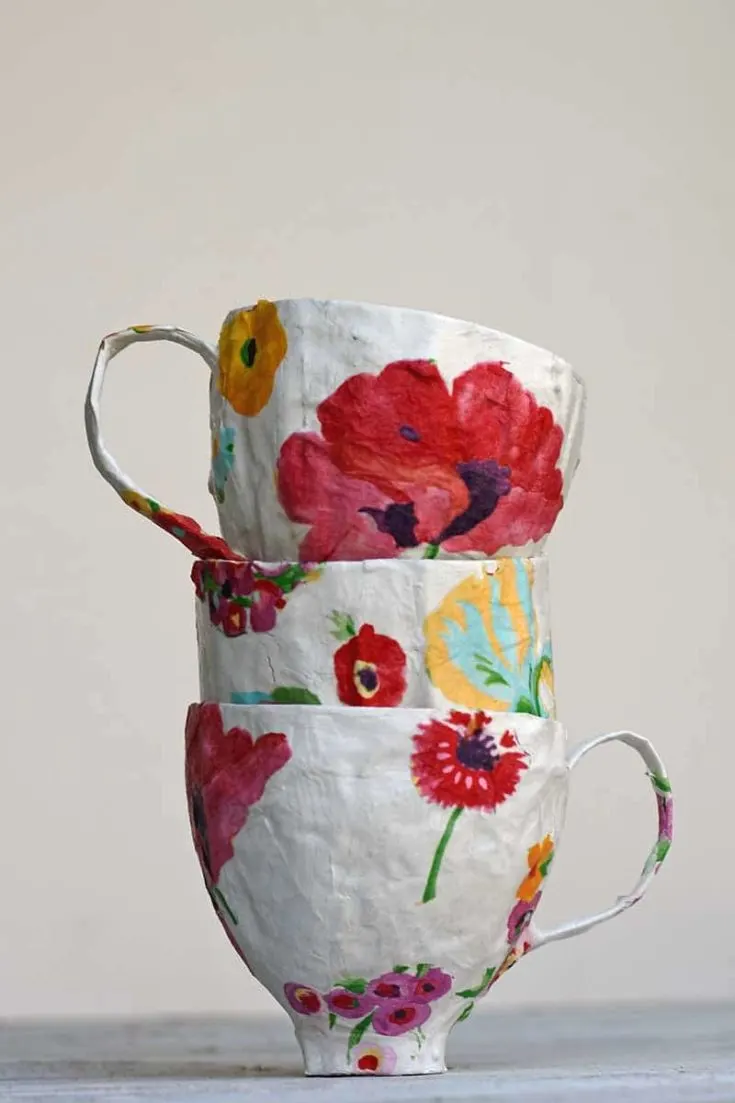
This is a fun affordable craft for all. Make these gorgeous paper mache tea cups using a coke bottle as a mold. Then decorate them with floral paper napkins to recreate that vintage teacup look.
Materials
- Plastic coke bottle - Must be traditional Coca-Cola shaped bottle.
- Newspapers
- Vaseline
- Mod Podge
- Floral paper napkins
Tools
- Scissors
- Glue brush
Instructions
- First, using scissors cut the top 9cm off a coke bottle.
- Using your fingers rub vaseline on the inside of the cut plastic bottle top.
- Cut the newspaper into strips 1cm by 4cm and dilute the glue with water 50/50.
- For the first layer of paper mache, just wet the newspaper strips and cover the inside of the bottle top. Then add another three layers of paper using the glue mixture.
- Once the paper and glue have dried remove them from the bottle.

- Trim the paper mache cup to size.
- Make a small paper round to cover the hole on the inside of the paper mache bottle.
- Cover a 9cm by 4cm piece of paper in the glue mixture, then roll it up to form a handle. Glue this to the paper cap. Make another strip for the base of the cup.

- Cover the cup in another layer of the glue mixture to form a key for the paint.
- Once the key has dried paint the paper mache teacup white.
- Separate the paper napkins into the top printed ply. Cut the fower patterns out of the paper napkin and then decoupage them onto the outside and inside of the paper cups.
- Finally, finish off by adding a final coat of Mod Podge glue to act as a protective varnish.
Recommended Products
As an Amazon Associate and member of other affiliate programs, I earn from qualifying purchases.
You’ll find more wonderful paper crafts on allfreepapercrafts.com


emma
Sunday 25th of February 2024
They are cute, but if not to use to drink etc., why not just paste {decoupage} the paper inside directly onto bottle and the same for the outside..Less work and just as cute...My opinion. have plenty of bottles and may try.
Claire Armstrong
Monday 26th of February 2024
Yes that is a good idea too Thank you. I wanted a traditional tea cup shape and use them as trinket dishes not to drink in them.
Donna @ Modern on Monticello
Thursday 8th of July 2021
I don't use tiny teacups either but can appreciate the delicate design of them. This is a great way to create your own look for a fraction of the cost. And less breakage. #HomeMattersParty
Claire Armstrong
Thursday 8th of July 2021
Thank you, tiny tea cups do look pretty but they aren't very practical.
Rachelle
Thursday 1st of July 2021
I love a fun decoupage project and your cups turned out adorable. Thanks for sharing at the FWF link party!
Claire Armstrong
Thursday 1st of July 2021
Thank you so much. They were fun to make and so many design possibilities.
Cecilia
Monday 28th of June 2021
These are lovely, Claire! Thanks for sharing at Vintage Charm--pinned!
Claire Armstrong
Monday 28th of June 2021
Thank you so much 😊
Ann
Sunday 27th of June 2021
I absolutely love this project! Thank you for sharing at Party In Your PJ's - you are being featured on my blog Tuesday evening.
Claire Armstrong
Monday 28th of June 2021
Thank you so much, I look forward to seeing the feature.