Upcycling old toys and a corkboard to make a unique medal board
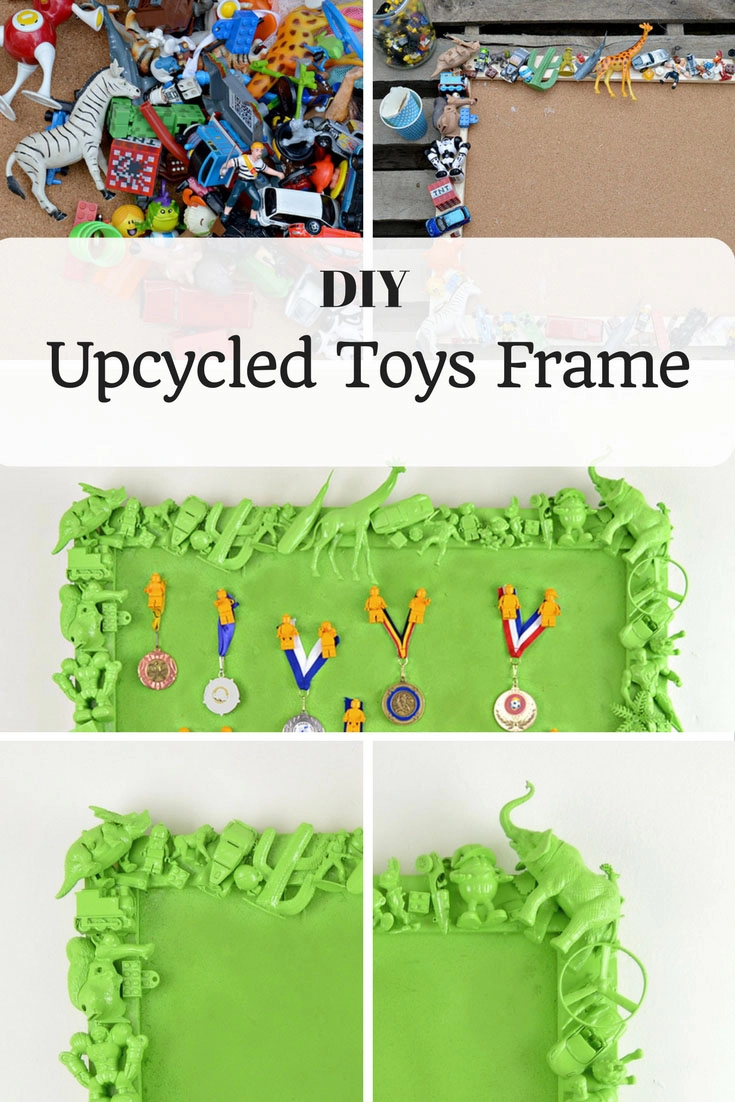
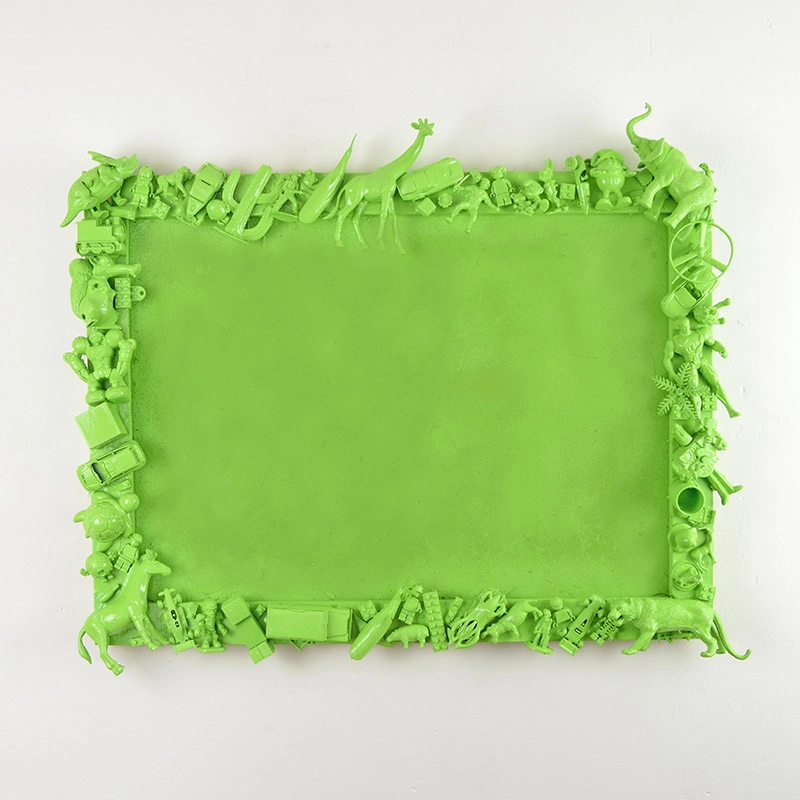
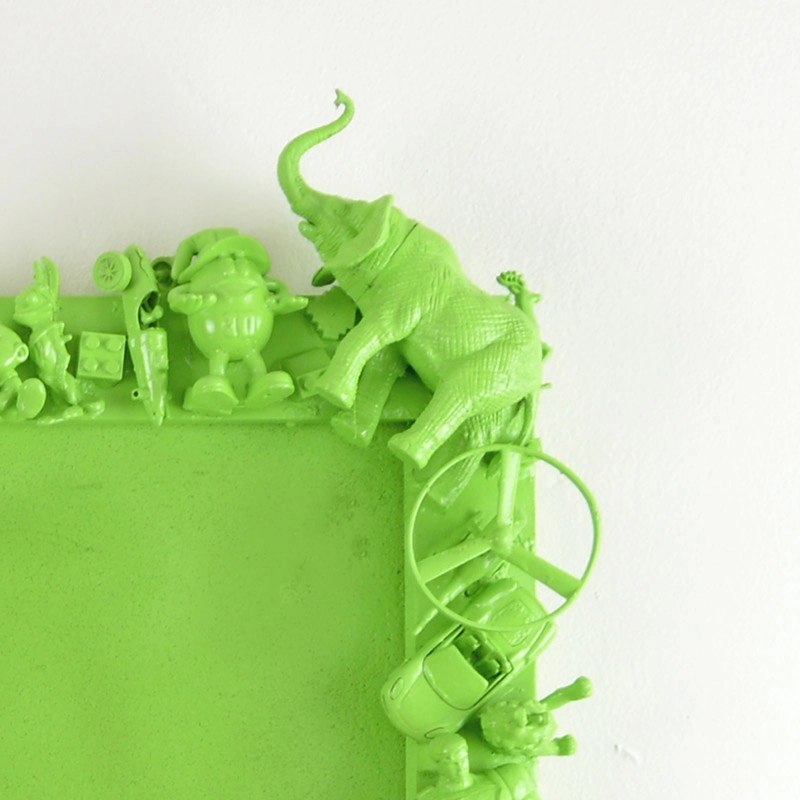
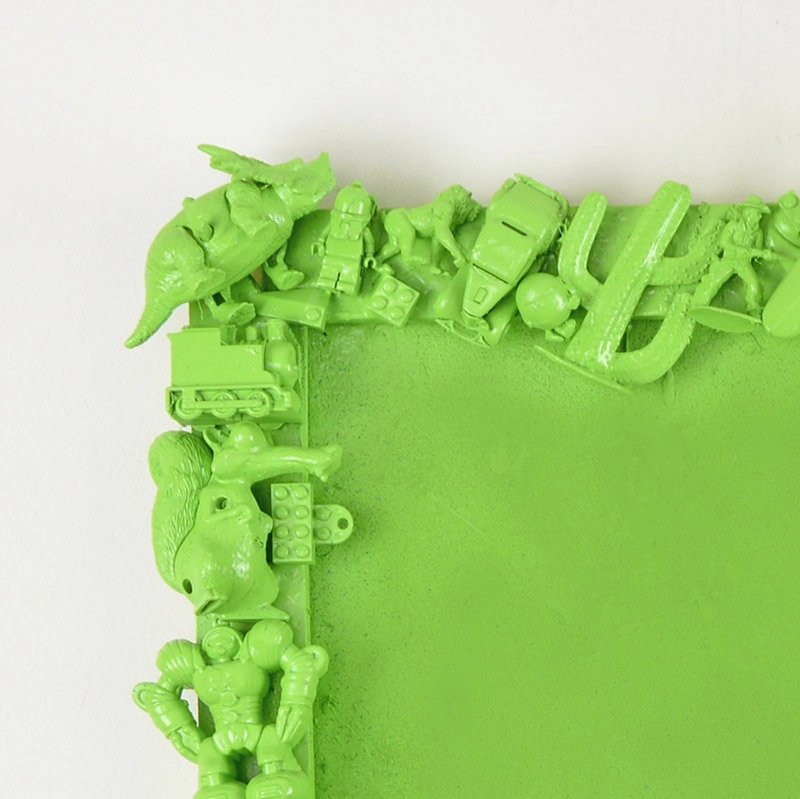
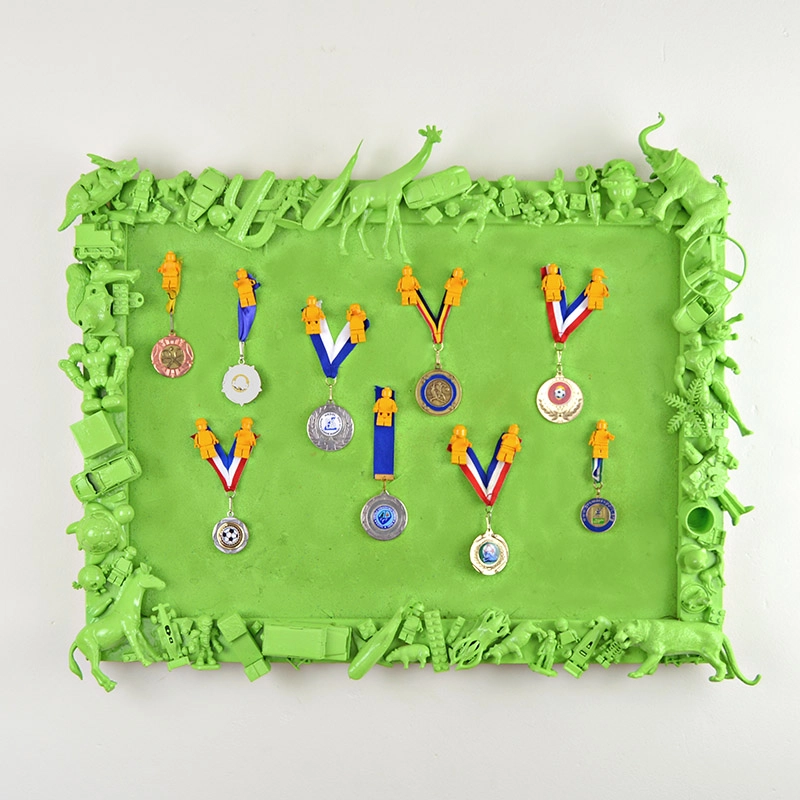
Upcycled Toys Frame: Instead of chucking away all those broken and orphaned toys, figures, and cars you find in your kid’s room, use them to make a unique toys frame medal board for their room.
As part of a recent bedroom makeover for my son Fergus, I made some cool stuff for his room such a giant papermache cactus and a denim pocket organizer. He had a load of sports medals that just hung from a hook on the end of his bed, so we decided that we should make a medal board to display them.
Fergus loves his new medals board as the toys frame is unique and he loves looking at the old figures he used to play with when younger, they evoke happy memories. Every time I go into the room I love looking at the old toys too.
This post contains amazon affiliate links for your convenience. Click here to see my disclosure policy.
What you need to make a toys frame
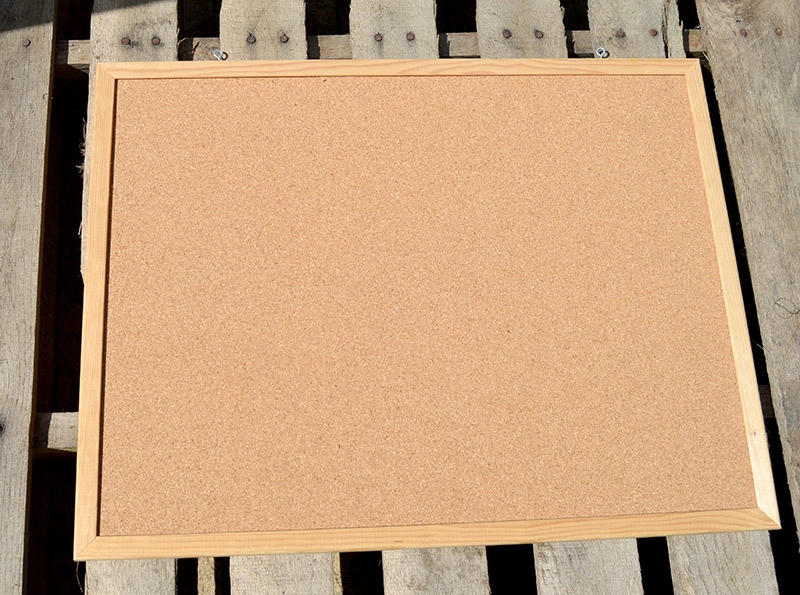
- Cork board – Fergus had an old cork notice board in his room so we decided to use this.
- If your cork board doesn’t have a frame or the frame is thin, you will need some wood to make the frame wider. We just used some cheap wood I already had that was about 3 inches wide. You can use pretty much anything you want, such as pallet wood, but just make sure you have enough to go round the cork.
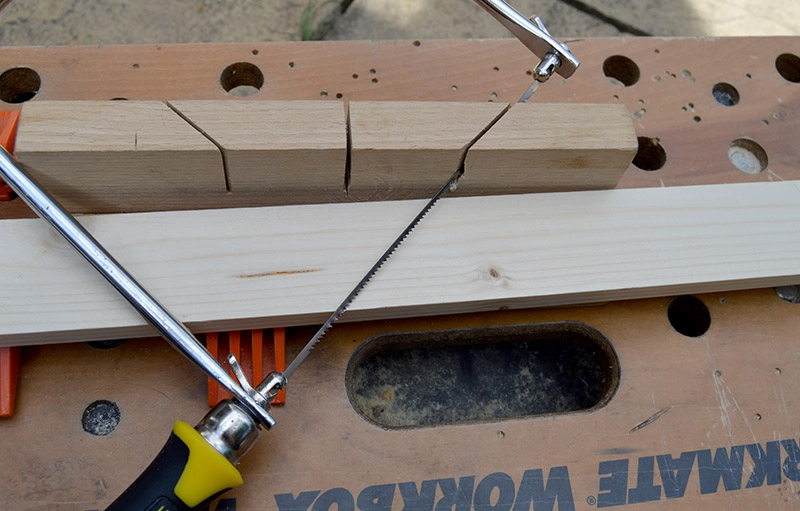
- Saw, miter block and nails if making frame
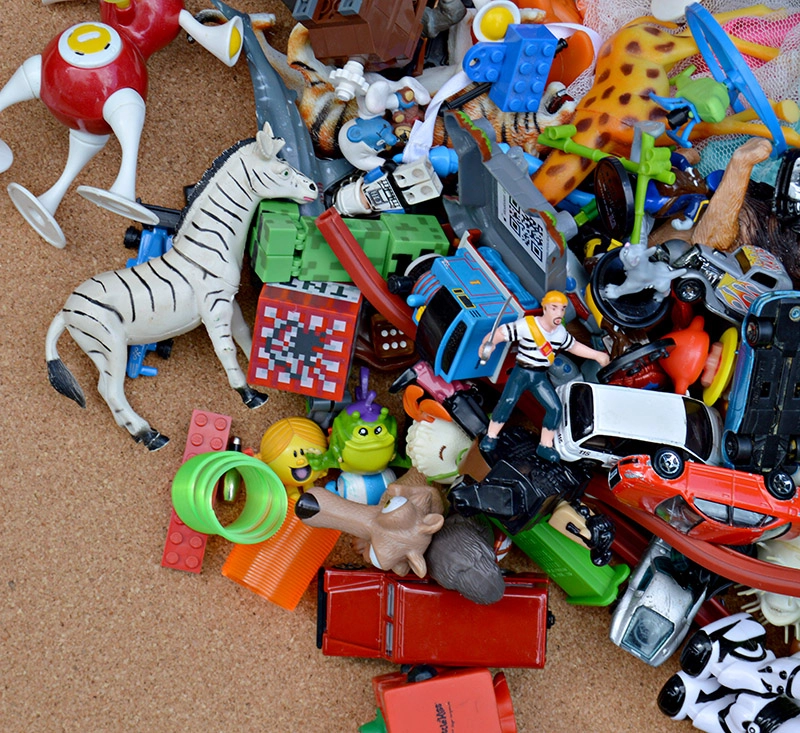
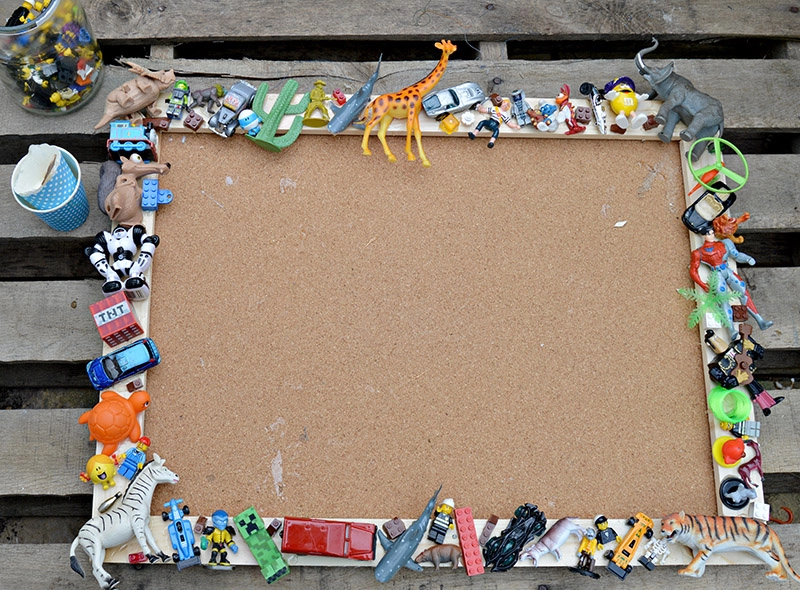
- Old toys – I had no problem finding lots of old broken toys in Fergus’s room, these included things like cars, mini figures, animals, lego pieces and freebies from Happy Meals. You can use anything you find as long as its not too big.
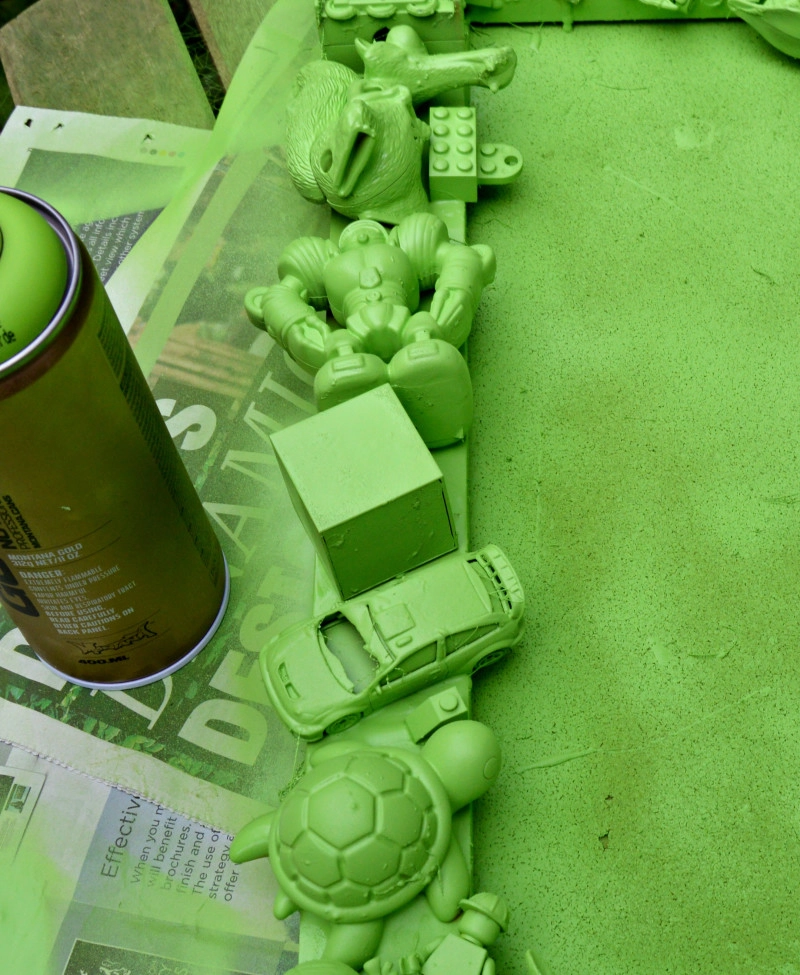
- Spray paint in colour of your choice – as Fergus’s room has a cactus theme we used green. We used a spray paint that was suitable for metal and plastics and didn’t require a primer
How to make a toys frame
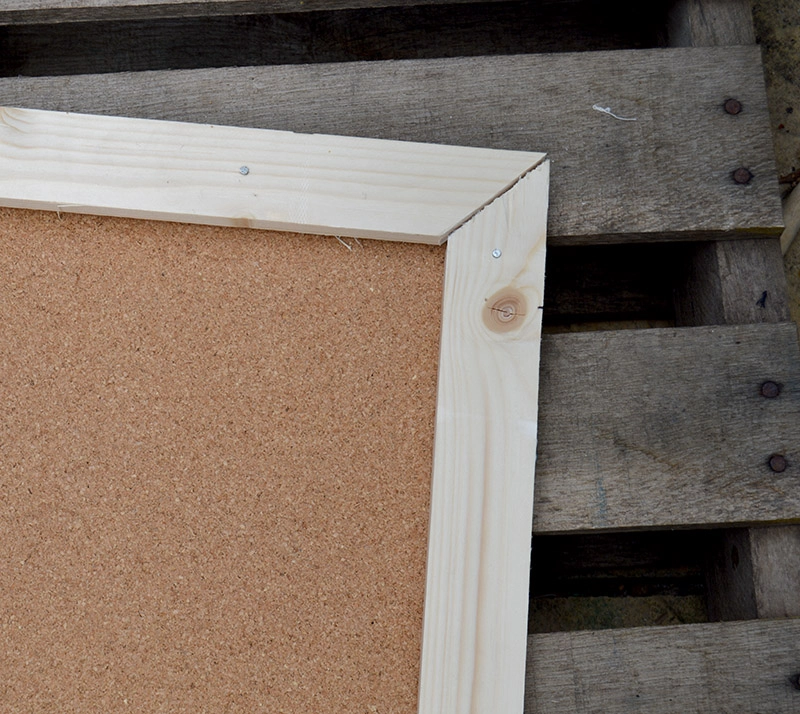
- To widen the frame of the cork notice board, we made another wider one and nailed it on top. First, we measured the inside lengths of the notice board and used these measurements to cut our wood. I used a miter block to ensure my lengths of wood were cut at 45-degree angle. I then nailed these strips of wood on top of the old frame to make a new wider frame.
- I found out from doing this that I’m not really a carpenter. However as I was going to be covering the frame with toys, it didn’t matter that my miter joints weren’t perfect as they would be covered.
Sticking the toys around the frame
- Once you have your frame sorted, gather your old toys. Place them around the frame; don’t glue at this stage as you will find that you will be swapping the toys around until you have a design that you are happy with.
- Once you are happy with your toy arrangement, mix up your epoxy glue and start sticking your toys to the wooden frame.
- Leave the epoxy resin to dry completely, preferably overnight. When dry, your frame is ready to spray paint. I suggest you do this outside as it can get very smelly. Use a primer spray first if you need to. (Depends on the type of spray paint you use, it should say on the can). Let the frame dry thoroughly between coats; I used 2 coats for my frame.
We used our toys framed cork board to display Fergus’s sports medals, but you could obviously use it as a notice board or for photos. We not only love the look of the frame, but it’s great fun spotting old toys round the edge. This gives it a more personal and unique touch.
If you are looking for more crafts that use toys you might want to check out these, superhero crafts, Changeable Lego Frames & these Mini Dinosaur Terrariums.
There are more upcycled picture frame ideas here.

12 Awesome Superhero Crafts - Pillar Box Blue
Wednesday 20th of April 2016
[…] I so want to make one of these and perhaps spray it copper it’s a bit like the toys frame I made for my sons room. 3. Comic book planter – Plucking Daises […]
Scarlett Singh
Friday 25th of September 2015
It's such a cute idea! I made this frame for my girls and they love it! It was a good reason to talk about recycling and up-cycling and they're now so interested about this that we are thinking about our new project. Greets!
Claire Armstrong
Friday 25th of September 2015
Thanks, that sounds like it was a fun thing to do with your girls. I run a recycling and upcycling session with my Beaver cubs I think I'll bring the frame along to that to inspire them.
Cheryl | TimeToCraft
Sunday 20th of September 2015
What a lovely way to display the medals. I can imagine it doubling up as an I-spy game. Hopped over from Craft Schooling Sunday.
Claire Armstrong
Monday 21st of September 2015
Thank you ! My son does love spotting old toys.
Party in Your PJs #73 - Bumblebreeblog
Wednesday 16th of September 2015
[…] Upcycled Toy Frame […]
How to make a Recycled toy frame – Recycled Crafts
Wednesday 9th of September 2015
[…] to Clair for sending in a link to her blog Pillar Box Blue where she shared this fun tutorial on how to make a recycled toy framed bulletin board that she uses to display her kid’s […]