Revamp your denim in style! Learn to embroider jeans pockets with monograms and upcycle them into practical hanging storage. Dive into this step-by-step guide and elevate your crafting game.
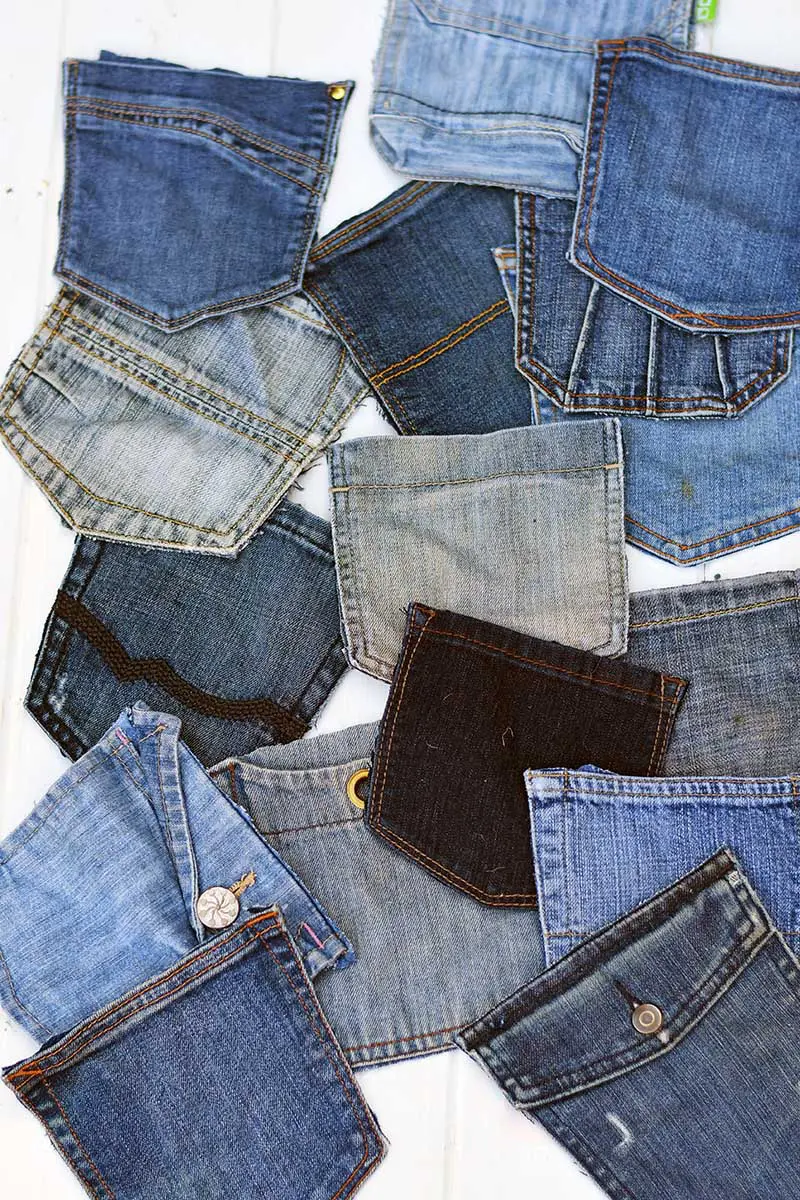
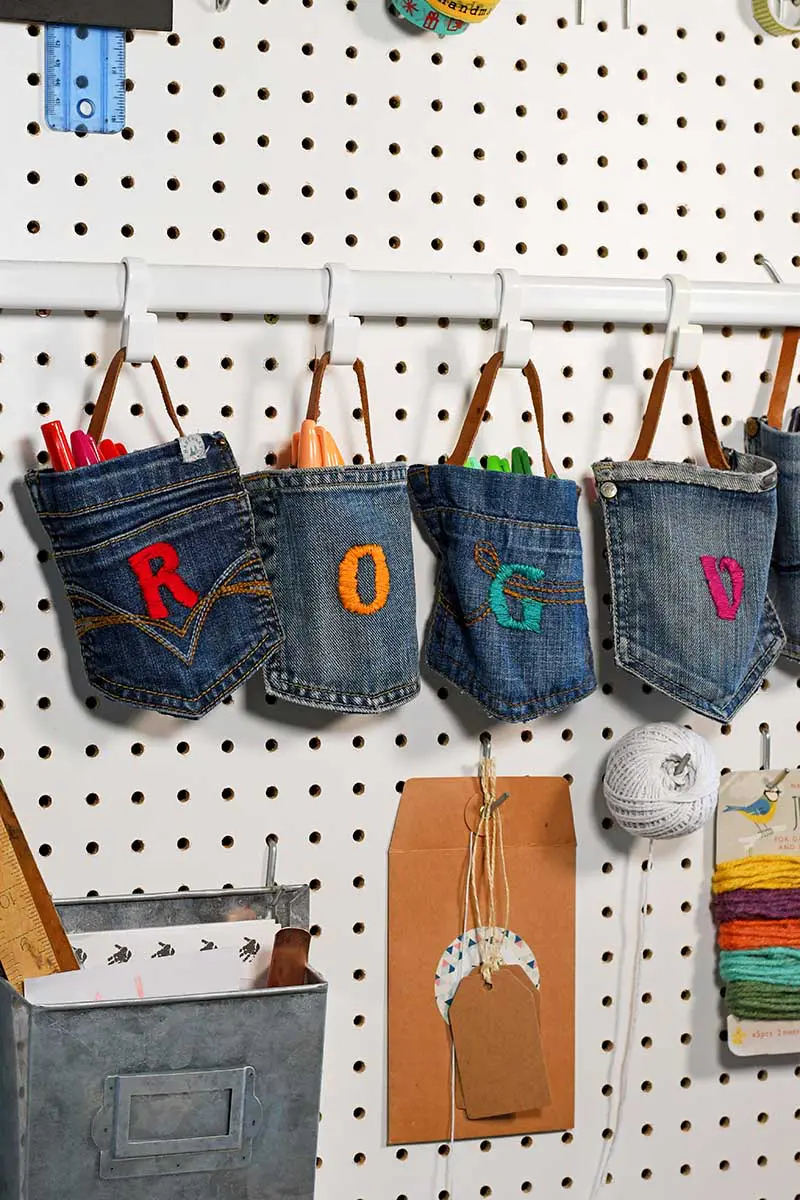
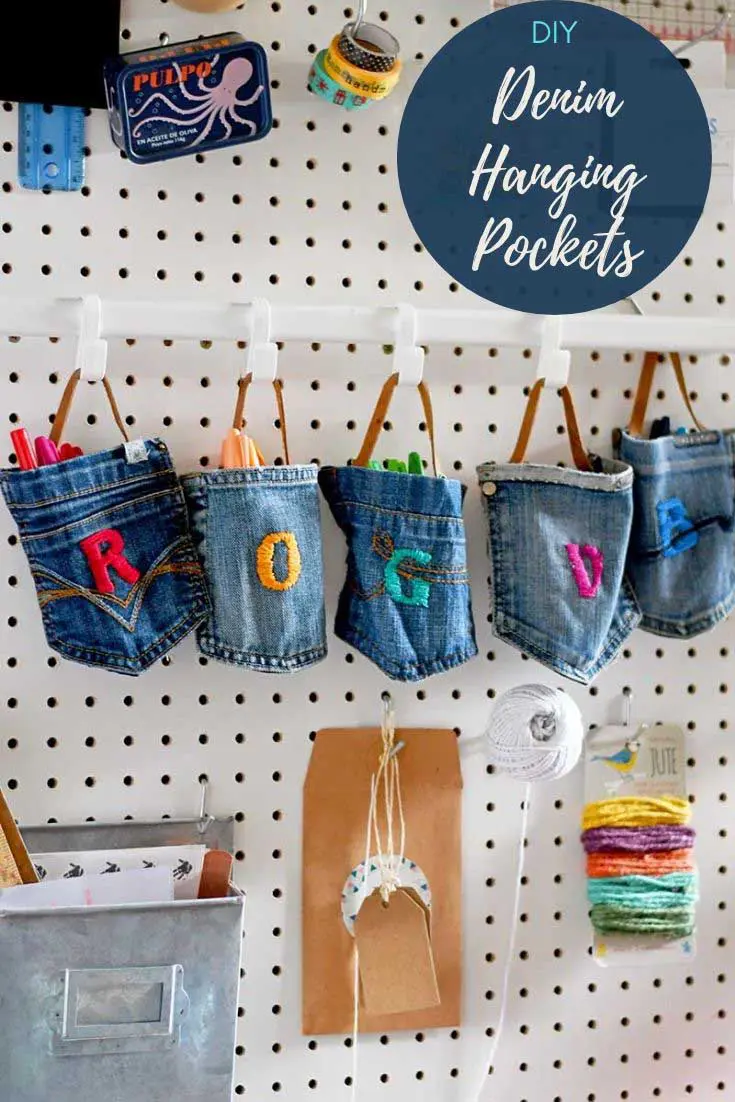
One of my favourite things to upcycle is denim. When I needed hanging storage for the pegboard in my craft room, I instantly thought of jeans pockets. They would make perfect pencil holders.
The Pockets on A Pair of Jeans
Most pairs of jeans have five pockets—two on the back and two at the front. The fifth pocket is the tiny one inside the front right pocket.
This small pocket was initially called the watch pocket. It was designed as a safe place for men to store pocket watches. It dates back to when Levi’s first-ever pair of jeans hit the market in 1879.
Now that most people don’t carry pocket watches, the fifth pocket is often called the coin pocket. Sometimes, it’s also called the ticket pocket.
I just repurposed only the back jeans pockets for these handy hanging pockets.
Along with the seams and waistbands, the back pockets of jeans are my favourite part. They add character to the jeans and make upcycled denim crafts more interesting.
My son has a great denim pocket organizer for the wall in his room. It is made from the pockets of the family’s old jeans. I also made him a denim iPhone pocket pillow.
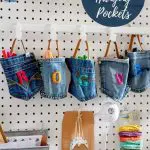
I wanted something different this time, so I made these handy portable storage pockets for my craft room. They can easily be unhooked from the pegboard and carried around.
Although I have used them for craft storage, these hanging pockets would also work well in a kitchen and could be used as cutlery holders.
Embroidering Jean Pockets
I embroidered a letter on each pocket to add interest to the hanging pockets.
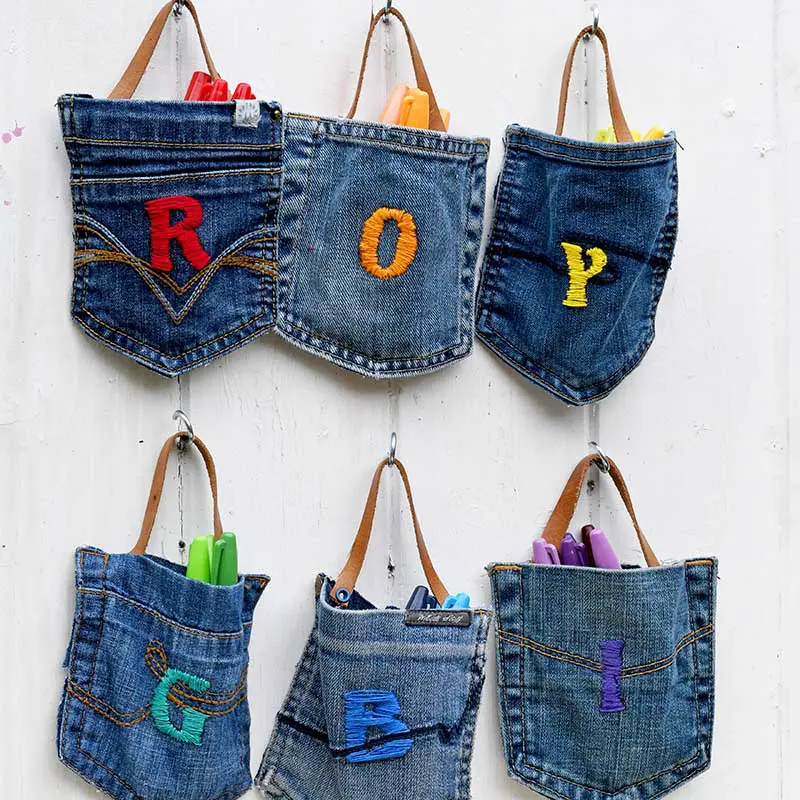
I love a rainbow; I embroidered an initial letter for each rainbow colour.
- R – Red
- O – Orange
- Y – Yellow
- G – Green
- B – Blue
- I – Indigo
- V – Violet
A rainbow seemed appropriate as the hanging pockets would be used to store my coloured pens.
However, you can always embroider a monogram initial on the pockets. Or even design them so they spelt a word when all hung up together.
We’re a participant in the Amazon Services LLC Associates Program, an affiliate advertising program designed to provide a means for us to earn fees by linking to Amazon.com and affiliated sites. As an Amazon Associate, I earn from qualifying purchases.
What You Need To Make Denim Hanging Pockets
- Old denim jeans
- Scrap leather
- Eyelet punch and eyelets such as a Crop-o-Dile
- Small embroidery hoop 3-4.”
- Coloured embroidery thread and needle
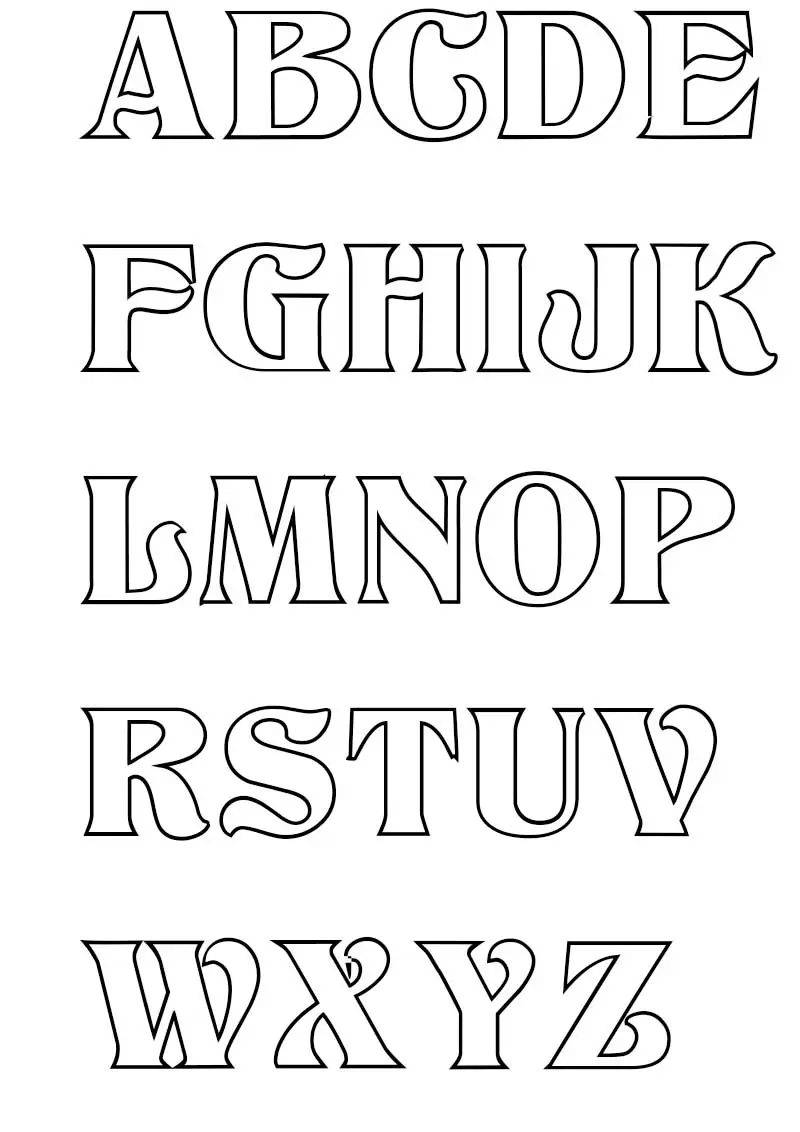
- Letter templates – You can download the one I used here.
How To Make The Jeans Hanging Pockets
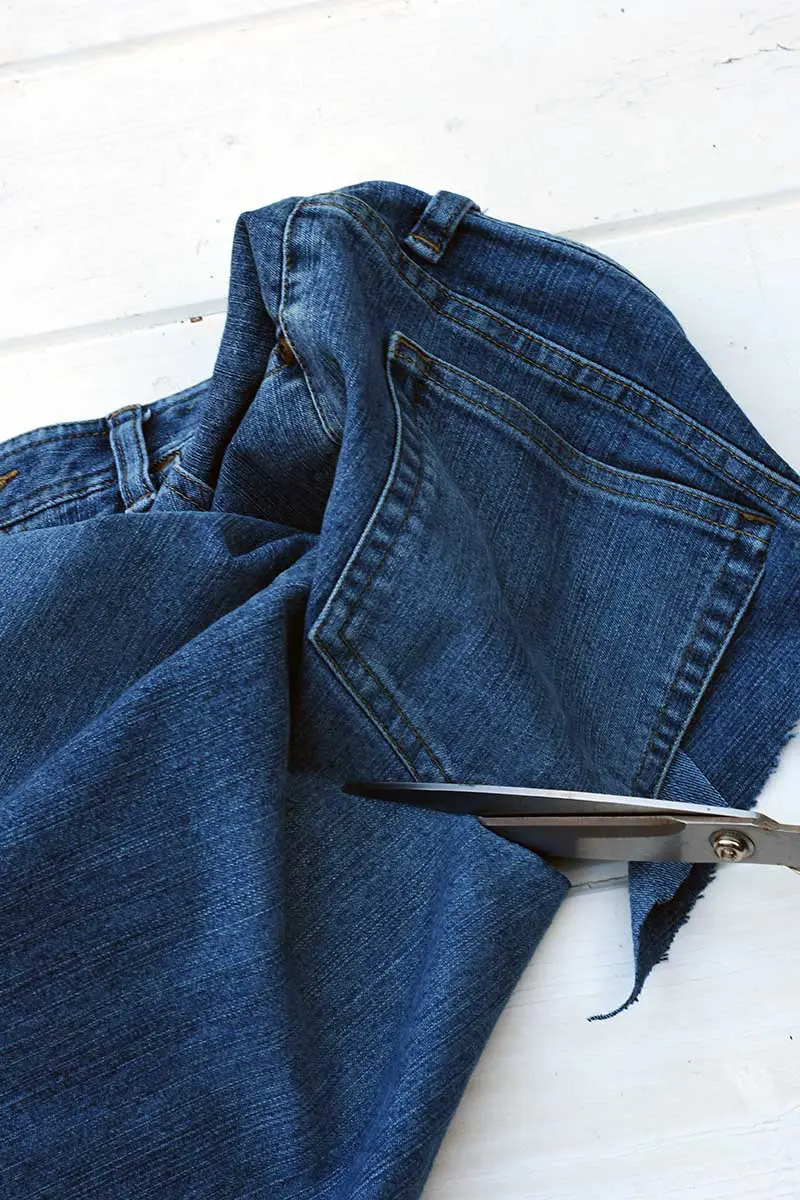
Step 1: First, carefully cut out the back pockets from the jeans. Cut as close to the seam edge of the pocket using scissors as possible.
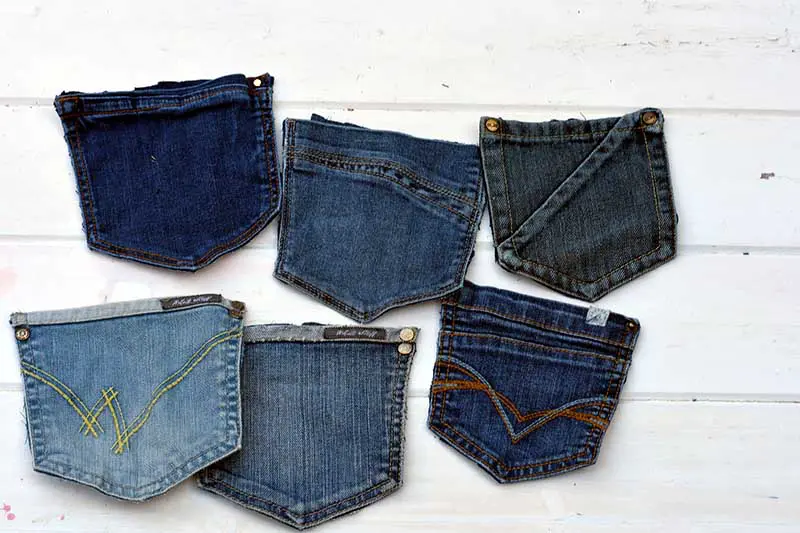
I made seven jeans pockets—one for each rainbow colour.
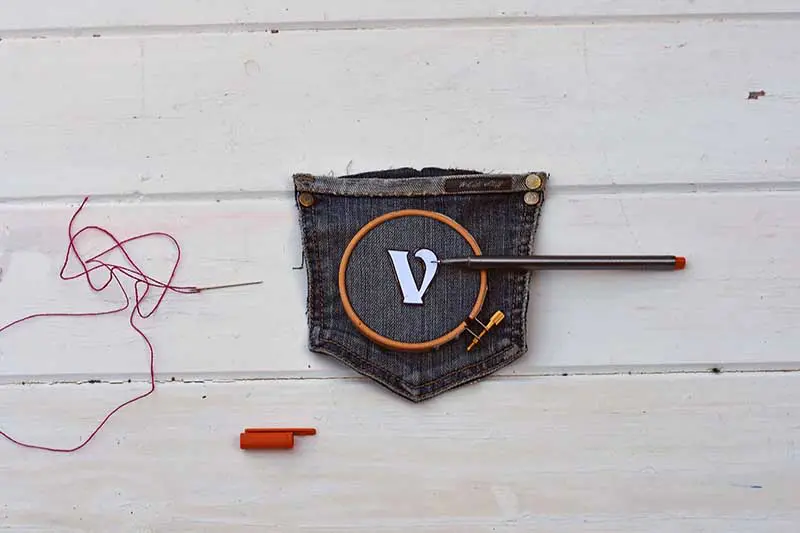
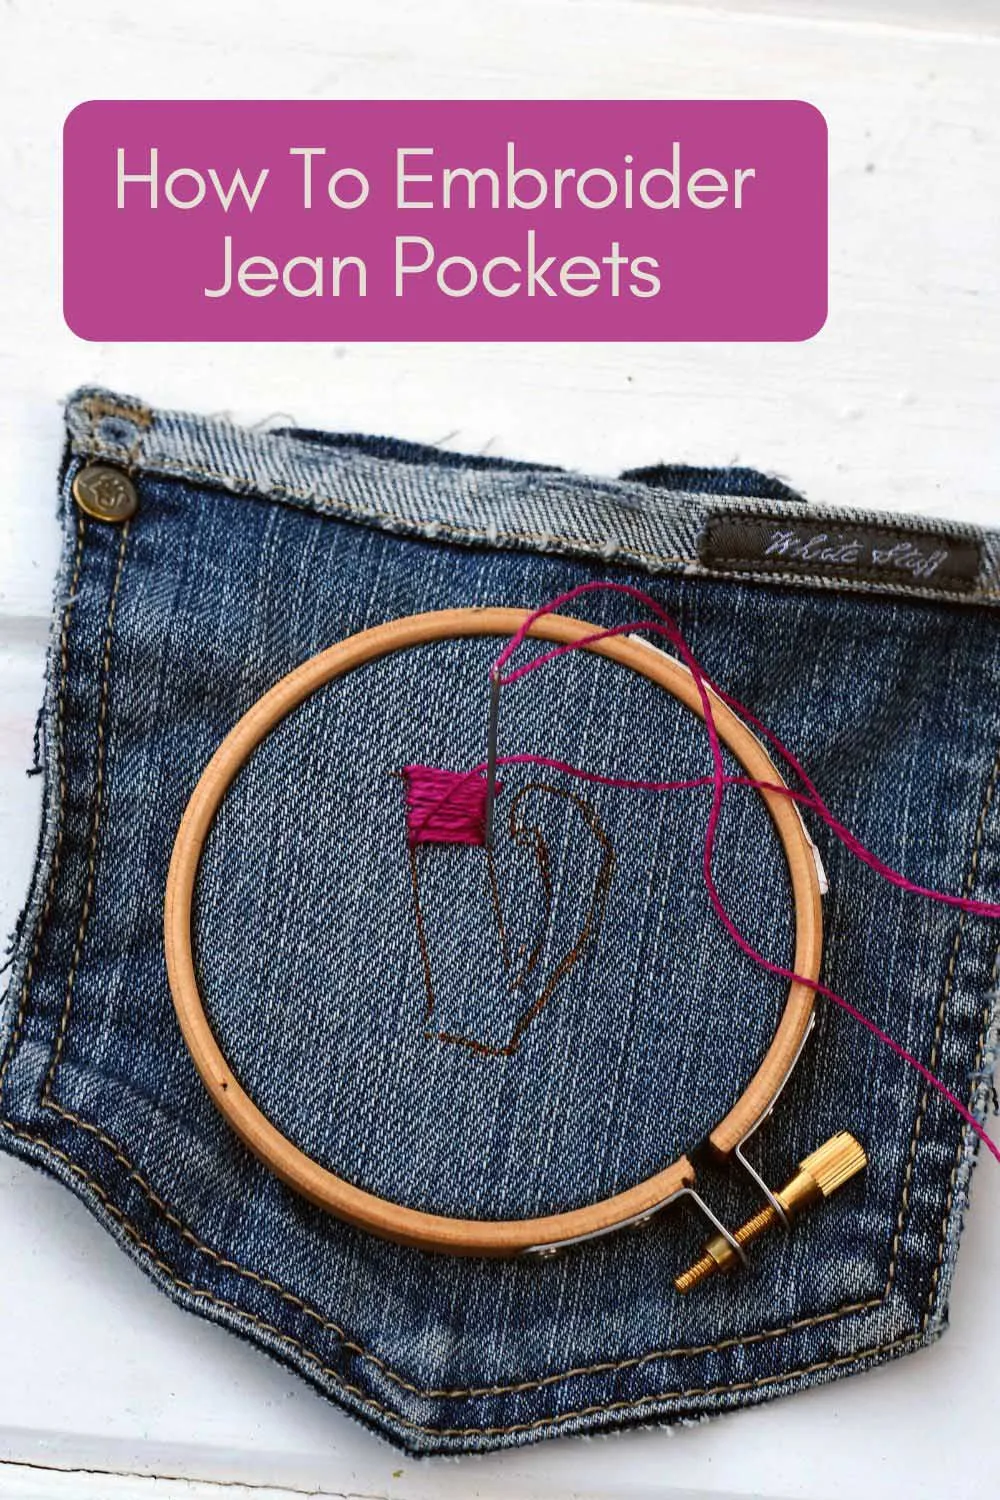
Step 2: Next, place an embroidery hoop onto the pocket. The inner hoop will go inside the pocket, and the outer hoop will be on the back.
Then cut out the letter template you want and place it on the front of the pocket. Draw around the letter.
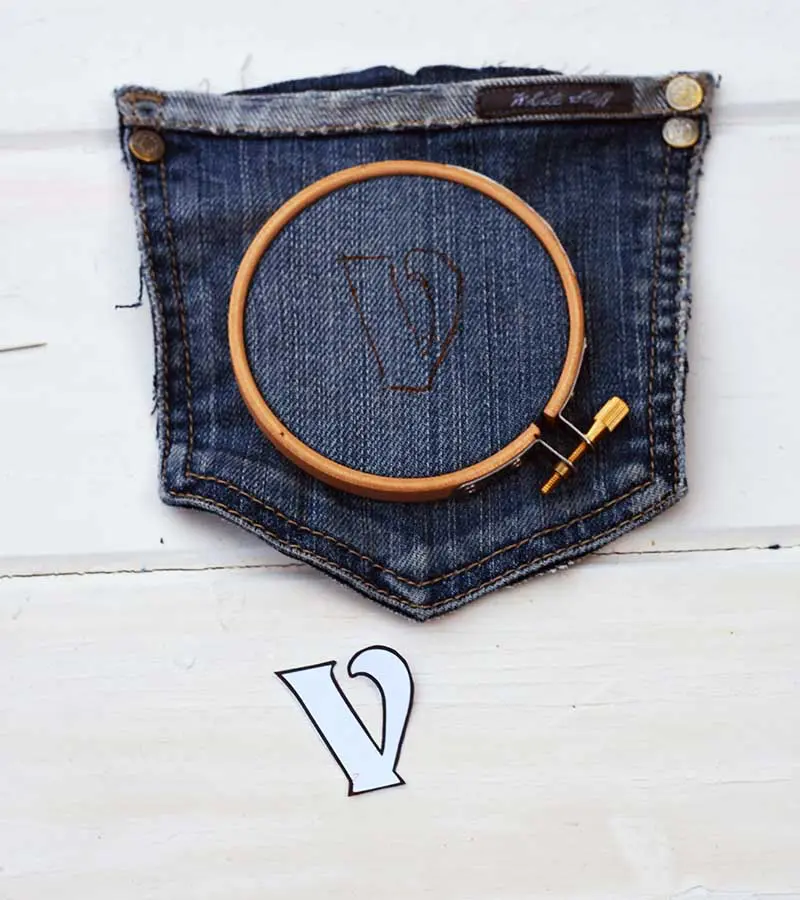
Step 3: Using embroidery thread and a needle, fill in the letter template with stitches. No need for fancy stitches; a simple satin stitch will do.
Be careful to stitch only the front of the pocket and not go through to the back.
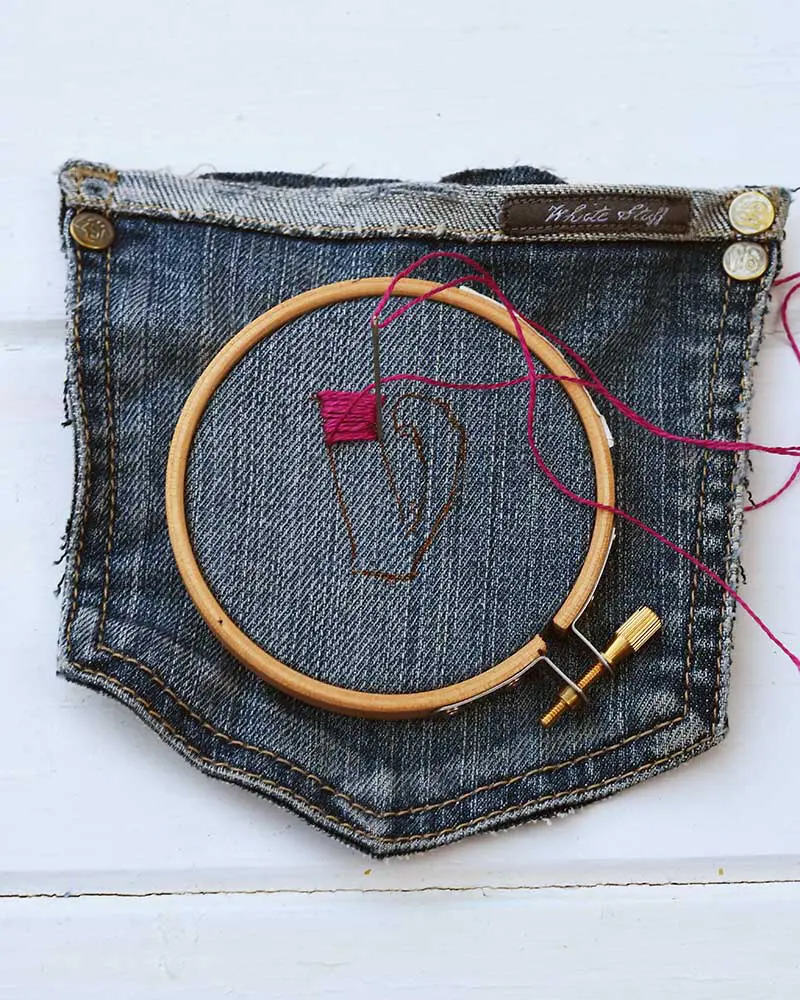
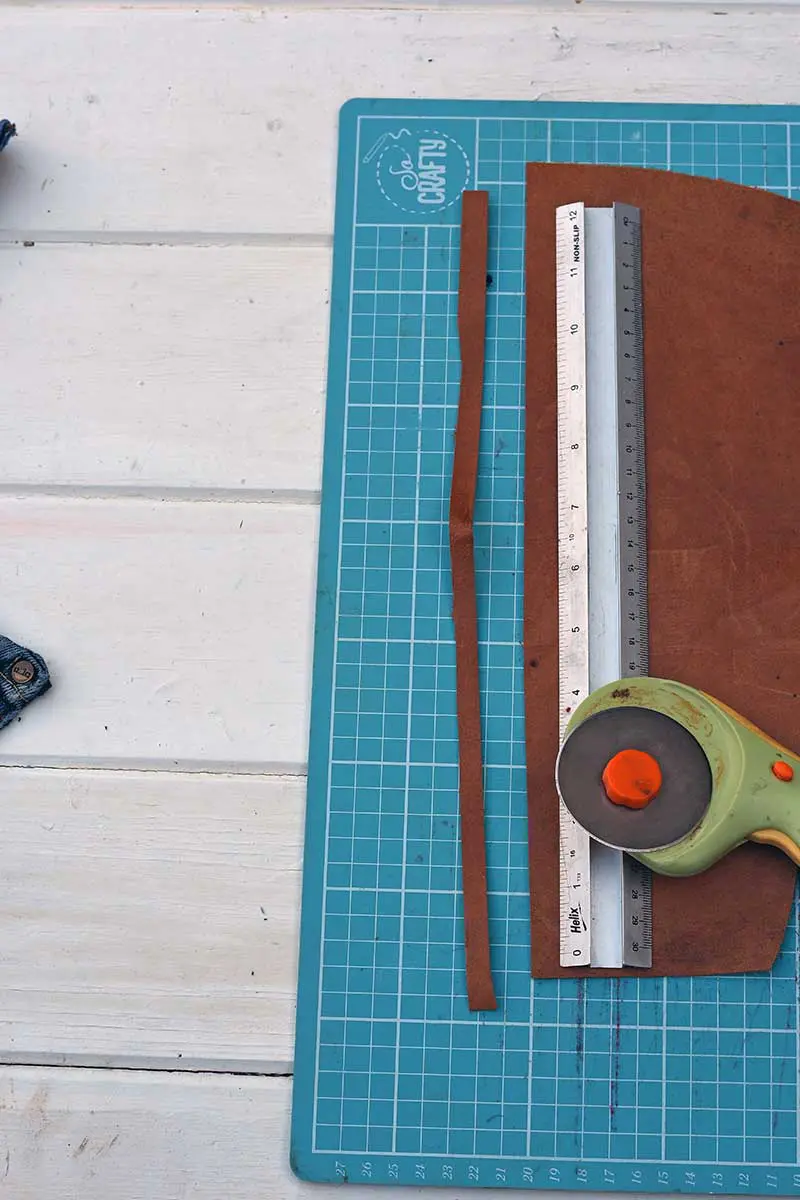
Step 4: Once the embroidery is finished, remove the embroidery hoop. Then, using a rotary cutter and mat, cut a leather strap for the pocket. The strap should be about 1cm wide and 15cm long.
Attaching the leather hanging strap
Step 5: The next thing to do is to attach the leather strap to the embroidered pocket. First, punch two holes into the leather strap, one at each end.
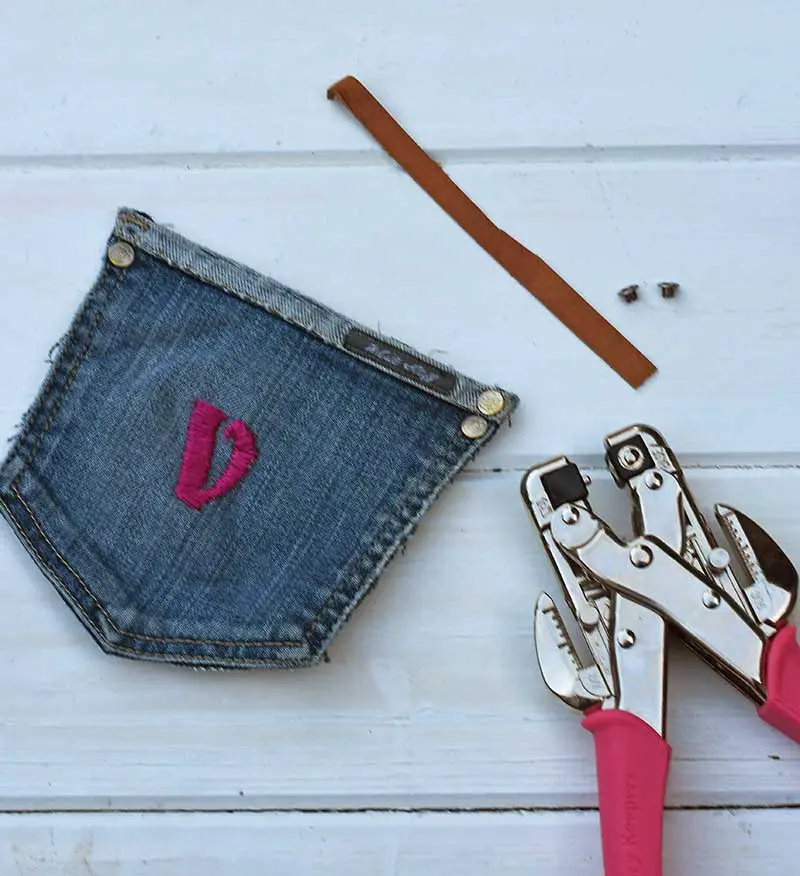
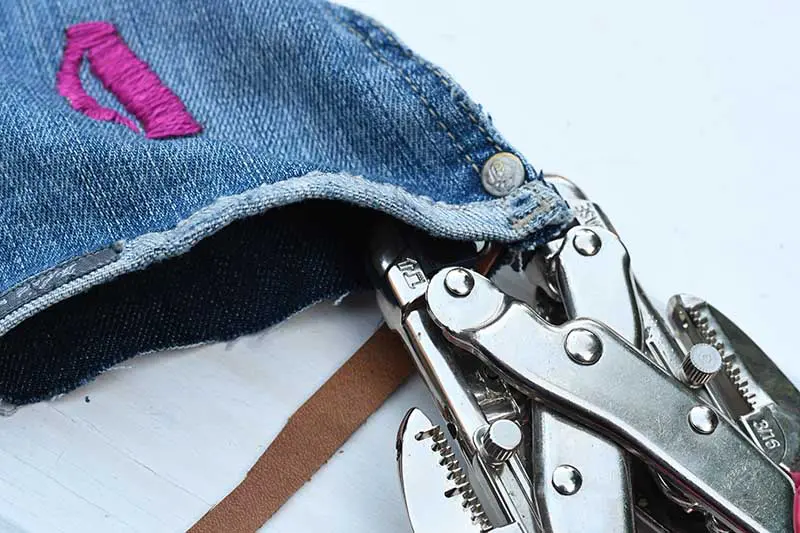
Then, punch two holes into the back fabric of the pocket. The holes should be at the top of the pocket and one at each end.
Attach the strap to the denim hanging pocket using eyelets and an eyelet tool.
If you don’t have an eyelet tool, you can stitch the leather strap to the jeans pocket.
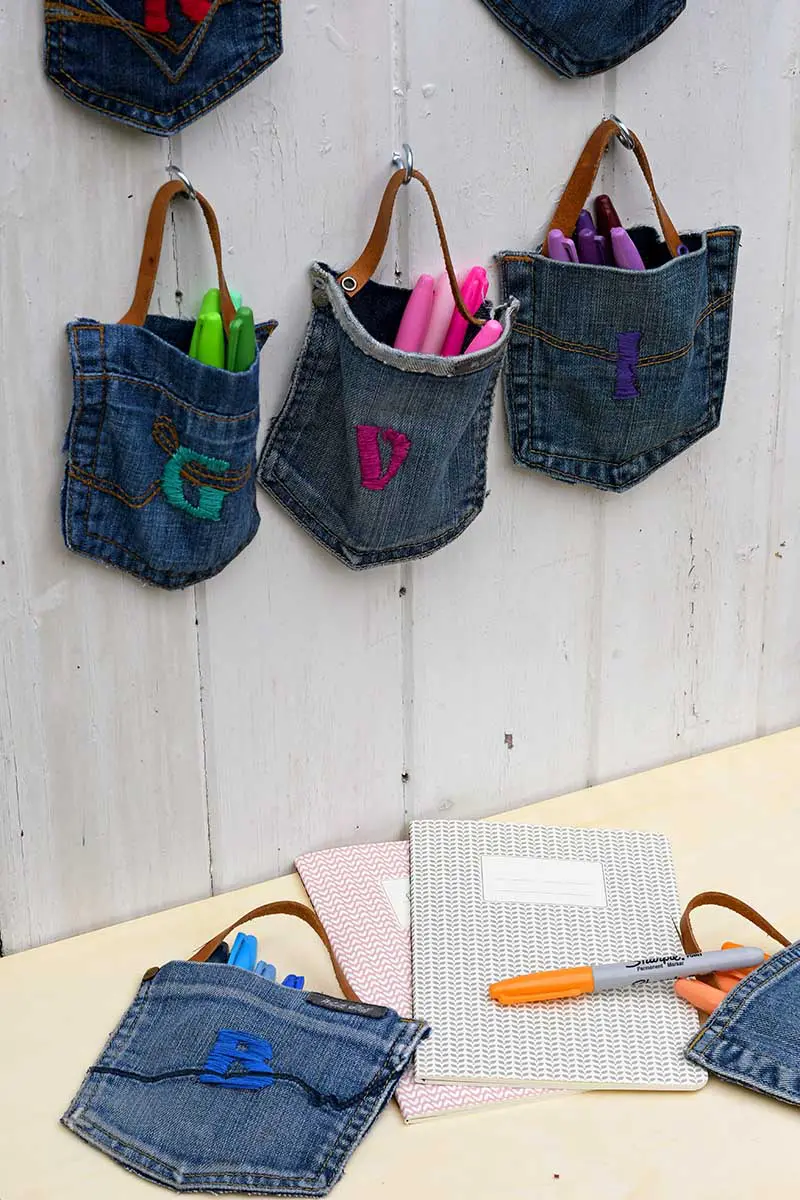
Repeat with the other hanging pockets. Then, fill them with your pens and hang them from a hook.
FAQs About Embroidering Jeans Pockets
It’s recommended to use embroidery floss or thread, which is thicker and sturdier than regular sewing thread. It’s available in a wide range of colours and types. Using a slightly thicker thread can give your embroidery more prominence for denim.
It’s good to use an embroidery or jeans needle, which is thicker and stronger than a regular needle. This makes it easier to penetrate the thick fabric of the denim without breaking.
Yes, you can. However, embroidering them while attached to the jeans can be trickier as you have to manoeuvre around the rest of the fabric. Some people find it easier to remove the pockets, embroider them, and sew them back on.
Designs with bold lines and simpler shapes stand out better on denim. However, you can experiment with different patterns and stitches. Sometimes, intricate and detailed designs can also look amazing on denim pockets.
Before you start embroidering, you can use a fray check on the edges or sew a zigzag stitch around the edges of the pocket to prevent fraying. Another option is to embrace the frayed look as a rustic design element.
An embroidery hoop can help keep the fabric taut, making it easier to embroider. However, due to the thickness of denim, sometimes it’s more practical not to use a hoop. It can be a matter of personal preference.
You can use various methods, such as fabric markers or pencils to trace the design, iron-on transfer pencils, or transfer paper. Choose the method that you are most comfortable with and that suits the complexity of your design.
Yes, but it is advisable to wash them gently by hand or on a delicate cycle in the washing machine to prevent the embroidery from getting damaged. Also, cold water should be used to prevent the colours of the embroidery thread from bleeding.
Practising on a scrap piece of fabric before you start on the pocket can help. Also, marking out your design and any significant stitch points with a fabric marker can guide you in keeping your stitches even.
Absolutely! Adding beads, sequins, or other embellishments can add flair to your embroidered jeans pockets. Just make sure to secure them well so that they don’t come loose during wear or washing.
Other Denim Projects
I’ve also made embroidered Halloween denim pockets to use as treat bags. I also did some Sashiko embroidery on jeans and waistbands to make cool fabric bookmarks.
You can decorate your pockets with applique if you don’t fancy embroidery. Just like these denim applique heart Valentine’s gift pockets. Or even paint like these denim-painted mushroom pockets.
These hanging jeans pockets are so handy. I use them on the pegboard in my craft room to organize all my coloured pens.
If you liked these denim hanging pockets, you might want to look at my other no-sew projects with old jeans or what else you can repurpose from one pair of old jeans.
Or if you are more into craft room organization and storage, check out this washi tape holder idea, the denim and copper tin can caddy, and these map repurposed empty cookie tin storage.
Denim Hanging Pocket Storage
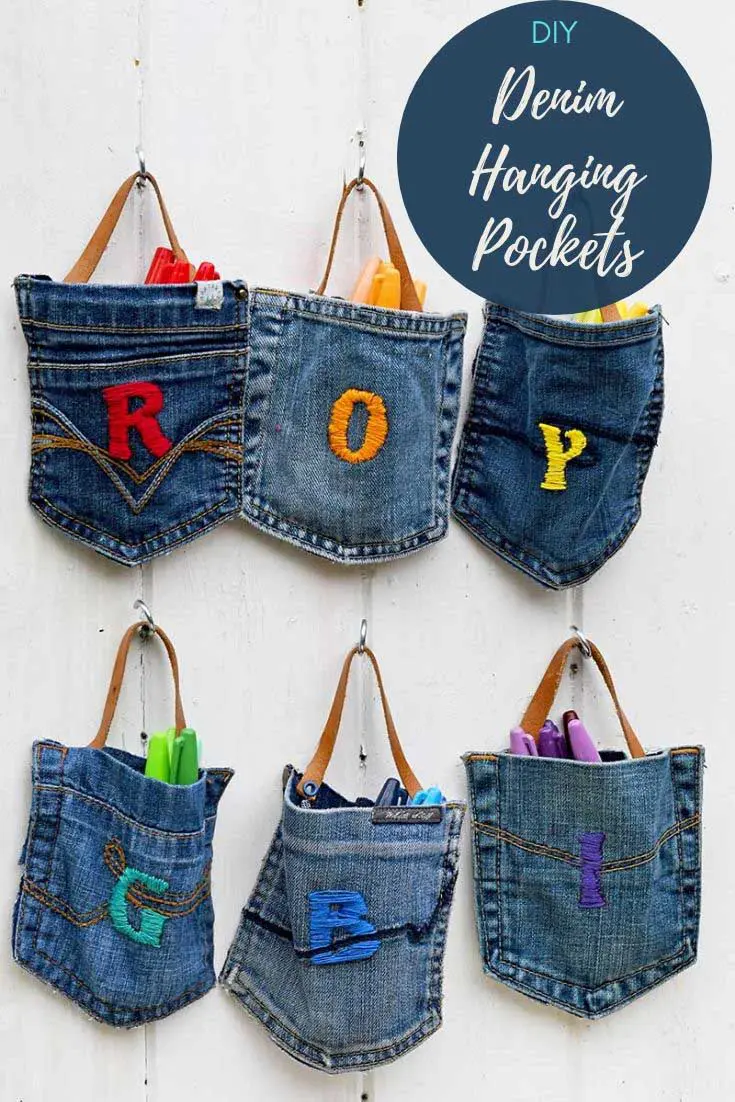
Create some fun hanging pocket storage for your craft room by repurposing and upcycling your old jeans. Just use the back pockets and add some colourful embroidery.
Materials
- Old jeans
- Leather scraps
- Embroidery thread
- Letter template
Tools
- Crop-o-Dile (eyelet punch)
- Eyelets
- Rotary cutter and mat
- Embroidery needle
- Scissors
- Small embroidery hoops
Instructions
- Carefully cut out the back pockets from the jeans. Cut as close to the edge of the pocket as possible.
- Place the inner embroidery hoop inside the pocket. Then, place the outer hoop on the front of the pocket.
- Draw a letter on the front of the pocket using the printed out template.
- Fill the letter pattern with an embroidery stitch. A simple satin stitch will work well.
- Cut a leather strap about 1cm wide and 15 cm long, using a rotary cutter and mat.
- Then, with an eyelet tool punch holes into the end of the leather strap.
- Then, attach the leather strap to the pocket using the eyelet tool and two eyelets. The leather should be attached to the back of the jeans pocket so that the leather strap forms a hoop from which to hang the pockets.
- Repeat with the other jeans pockets. For a rainbow, you will need seven hanging pockets one for each colour. Red, yellow, orange, green, blue, indigo and violet.
- Fill with pens and hang from a hook or your pegboard.
Notes
You can also use these pockets in the kitchen as cutlery holders.
For more upcycled crafts visit cheapandthrifty living.
Post updated June 2023

41 Brilliant DIY Desk Organizer Ideas - Craftsy Hacks
Thursday 7th of April 2022
[…] 23. Hanging Pockets from Old Jeans […]
Frédérique
Friday 16th of April 2021
Fun project, I love it! I featured it in my “D=Denim” post ;) Quilting Patchwork & Appliqué
Claire Armstrong
Friday 16th of April 2021
Thank you so much, I look forward to seeing it.
natelia bailey
Friday 6th of March 2020
Great project, and I get the "no-sew" idea, but for me, I would trim the back of the pocket longer than the front so that I could turn an edge under and have no ravel edges. Guess you could use iron-on tape or even fabric glue to continue with your no-sew idea. Love the leather handles.
Claire Armstrong
Friday 6th of March 2020
Yes, that is an idea. I found when they were hanging up you didn’t really notice the back of the pockets also if you brush the cut edge with glue that will stop the denim from fraying.
Ann
Monday 17th of February 2020
Very clever and useful! Thank you for sharing at Party In Your P's, you are being featured on my blog Tuesday evening.
Claire Armstrong
Tuesday 18th of February 2020
That's awesome I look forward to seeing it.
Michelle
Saturday 15th of February 2020
This is a super cute idea!
Michelle http://mybijoulifeonline.com
Claire Armstrong
Saturday 15th of February 2020
Thank you so much