Inside: A tutorial on using orange neon EL wire to make illuminated pumpkin signs for Halloween.
Pinterest is beginning to turn orange. The nights are starting to draw in, and the kids are returning to school. Before you know it, autumn will be here, so I decided to make a light-up pumpkin decoration this week.
Autumn is one of my favourite times of the year. I love the cooler evenings, snuggling indoors and crafting for Halloween and Christmas holidays.
Halloween is not quite as big a holiday here in the UK as in the US. But we are slowly catching up.
In my neighbourhood, you place a pumpkin outside your home to let the kids know you welcome trick-or-treaters. This year I have made my light-up pumpkin decoration for this purpose.
DIY EL Wire Pumpkin and Jack-O-Lantern
I upcycled an old chopping board with EL wire to make this fun light-up pumpkin decoration. I had fun designing several light-up pumpkin designs with the wire, including a Jack-O-Lantern.
This is a fun craft for older children, especially those who like playing with technology and simple DIY.
EL Wire, or Electroluminescent Wire, is a thin, flexible wire that emits a bright, vibrant light when connected to a power source. It’s an exciting way to take your Halloween crafts to a whole new level of awesome!
We’re a participant in the Amazon Services LLC Associates Program, an affiliate advertising program designed to provide a means for us to earn fees by linking to Amazon.com and affiliated sites. As an Amazon Associate, I earn from qualifying purchases.
What You Need To Make A Light-Up Pumpkin
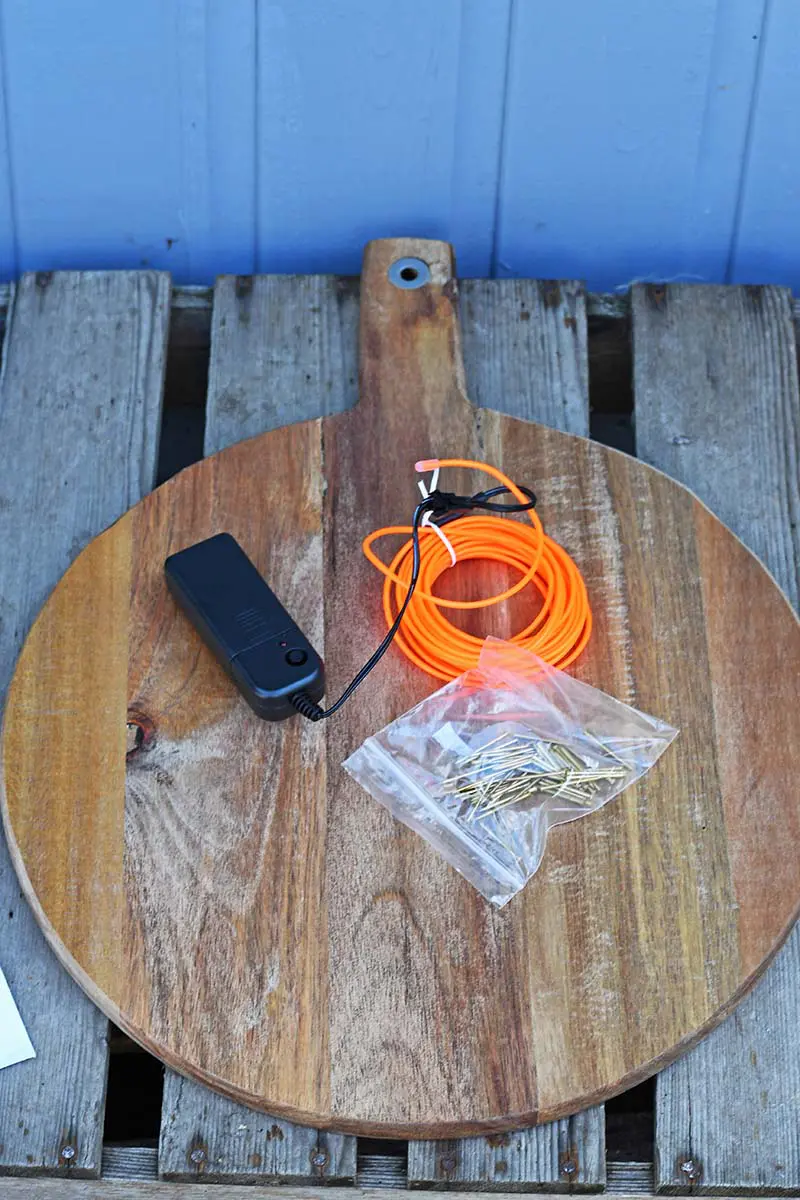
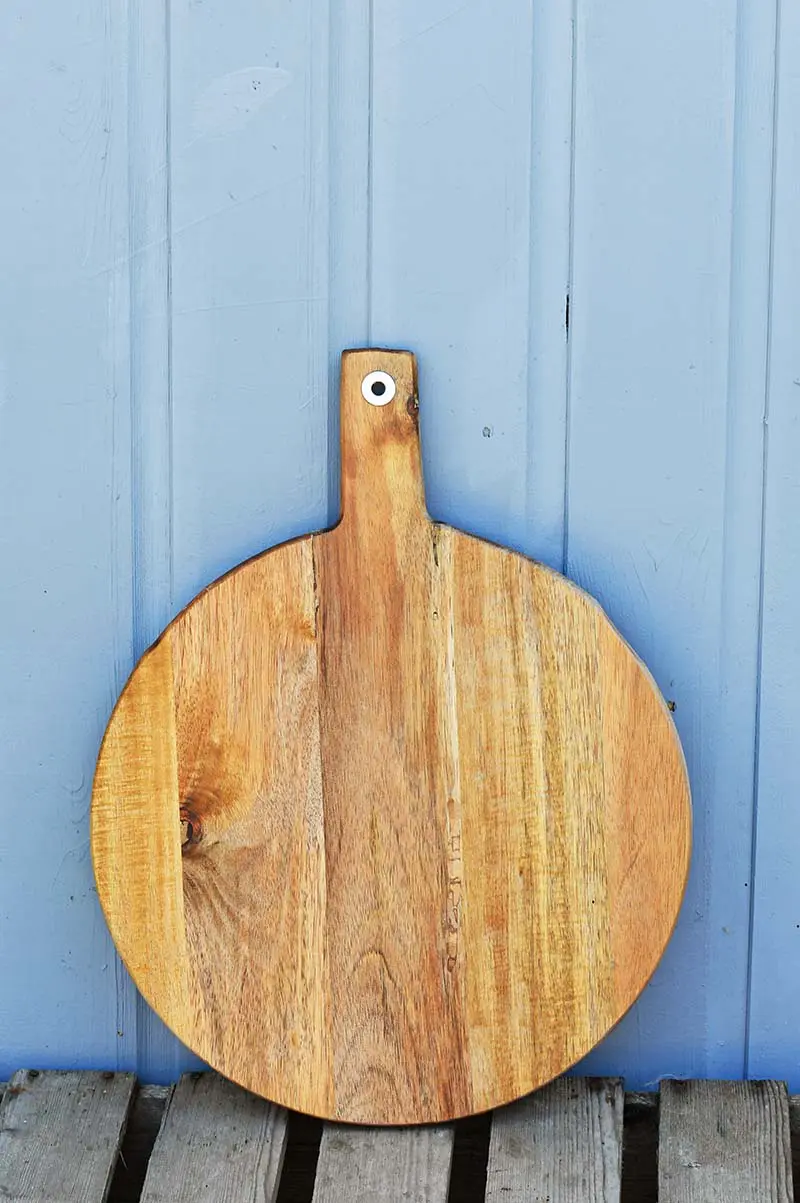
- A round chopping board with a handle. Or a pizza board with a handle. I luckily had an old chopping board that was the perfect shape for this light-up pumpkin. You could also use any old piece of wood.
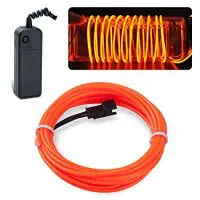
- Orange EL wire – One 5-meter wire is enough for the Jack-O-Lantern and simple pumpkin design. However, you may want to use 2 orange 5-meter El wires for the string light-up pumpkin design.
- Brass panel pins about 70.
- Hammer
- Pumpkin template and chalk pen
How To Make Light-Up Pumpkins
The Jack-O-Lantern Light Up
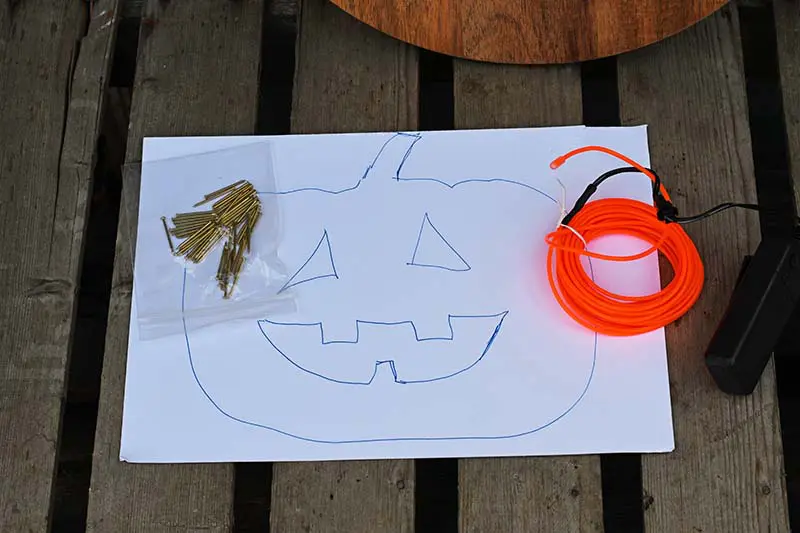
Step 1: Draw a simple Jack-O-Lantern design that will fit onto the wooden board.
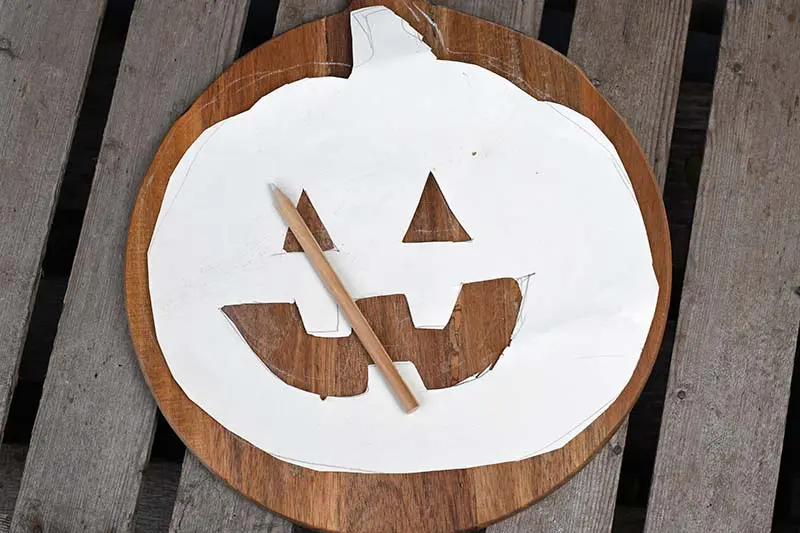
Step 2: Cut out the Jack-O-Lantern template and draw around it on the wooden chopping board. I used a white chalk pencil for this.
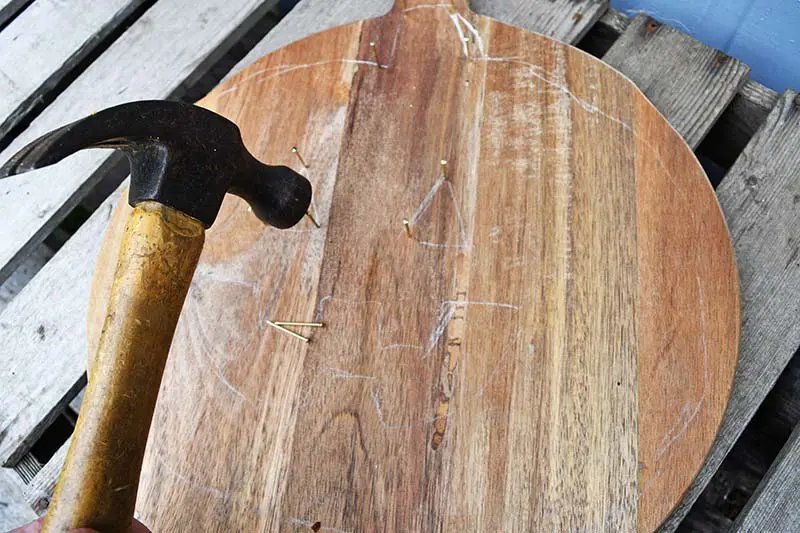
Step 3: Hammer the brass panel pins outlining the Jack-O-Lantern design. Start by outlining the eyes and mouth, placing a pin in every corner. Then beat the rest of the nails, spacing them at approximately 2-3cm intervals.
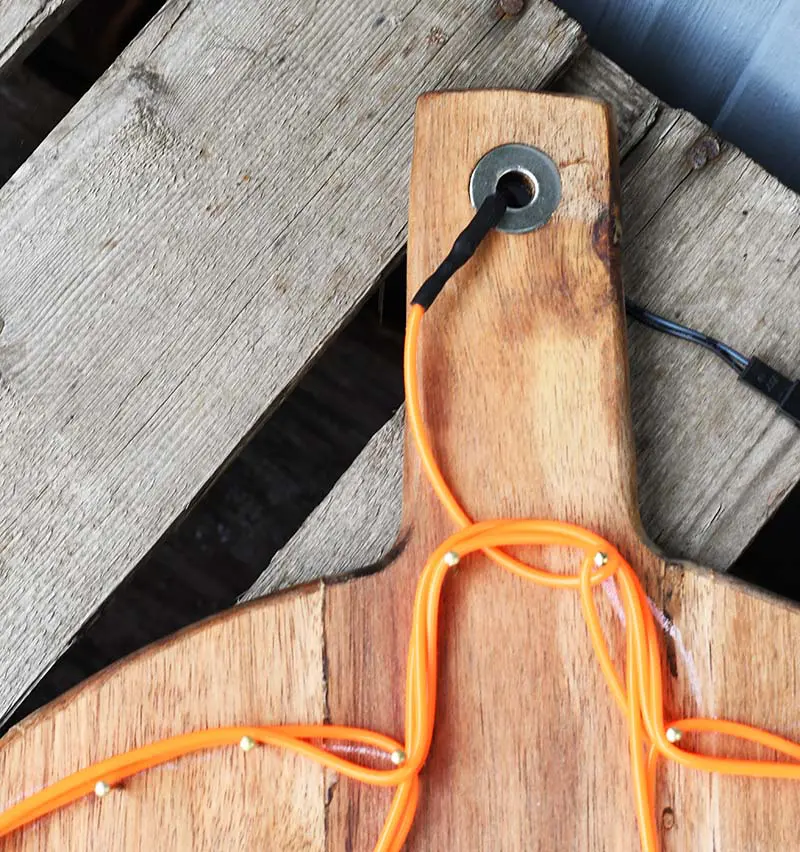
Step 4: When all the panel pins are in place, thread the end of the orange el wire through the hole in the chopping board handle. You can drill one if you don’t have a hole in your chopping board.
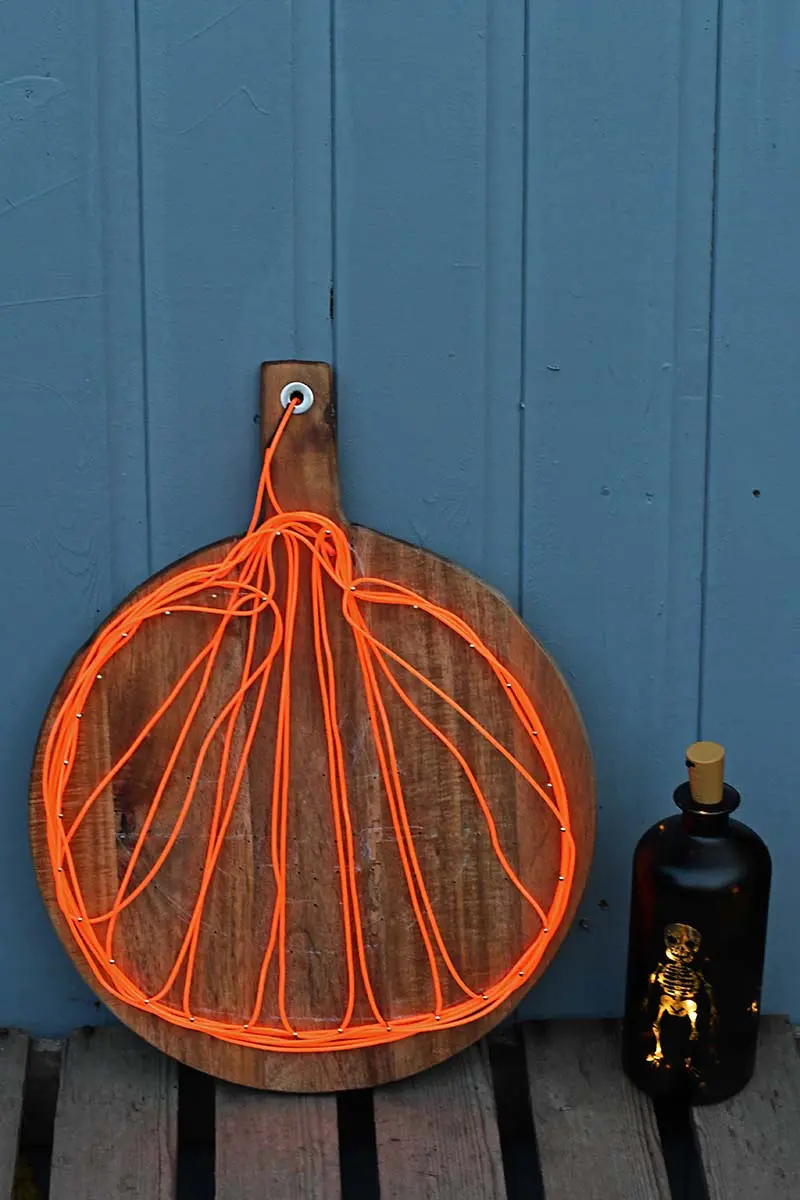
Then wrap the wire around the pins to create the Jack-O-Lantern face. Starting with the eyes and mouth first makes it more accessible.
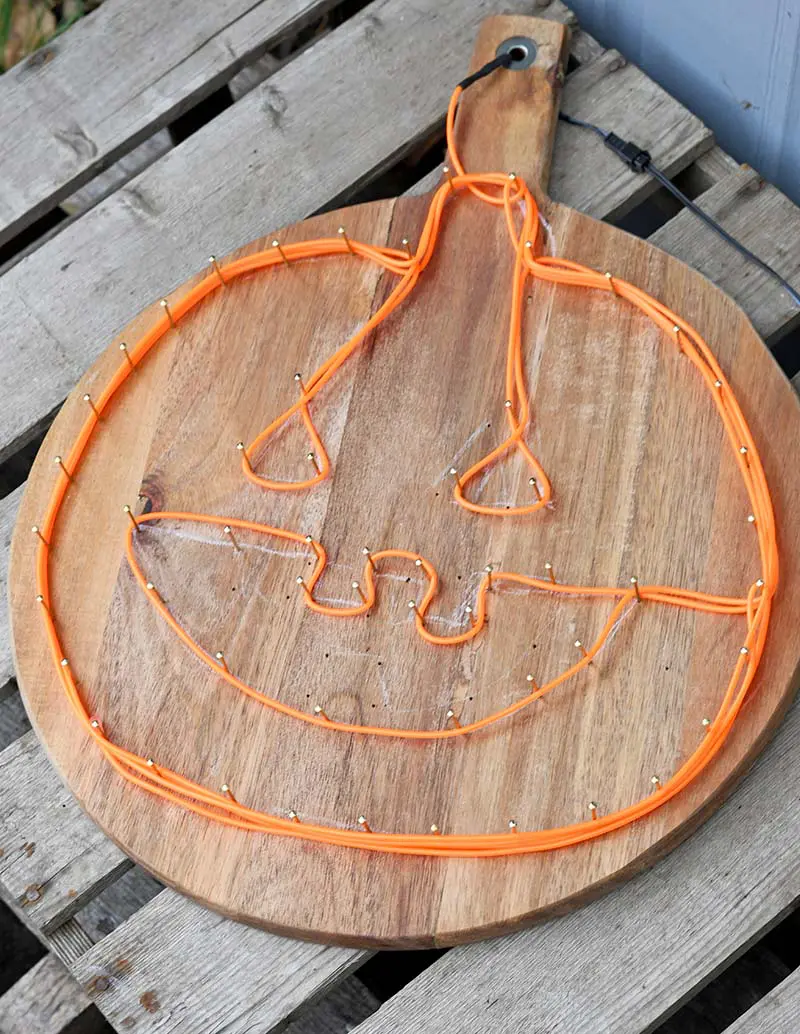
Step 5: Finish off the light-up pumpkin Jack-o-Lantern by taping the el wire battery packs to the back of the chopping board.
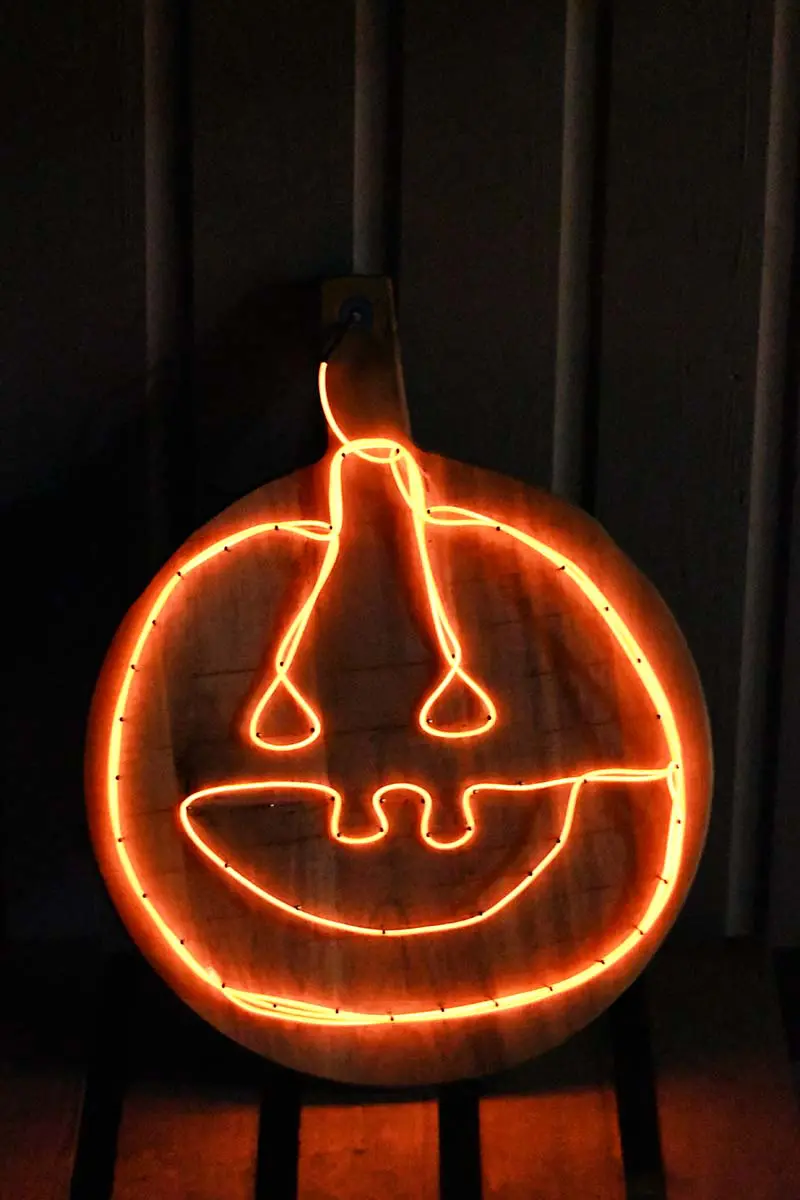
Then press the button to turn on the lights. The el wire I bought had three different light modes: on, slow flash and fast flash.
The Other 2 Light-Up Pumpkin Designs
This light-up pumpkin sign can be for the whole fall season and not just Halloween by simply changing the design.
Remove the panel pins from the middle of the board. Then crisscross the EL wire like you would with string art. Two packs of EL wire worked best with this light-up pumpkin design.
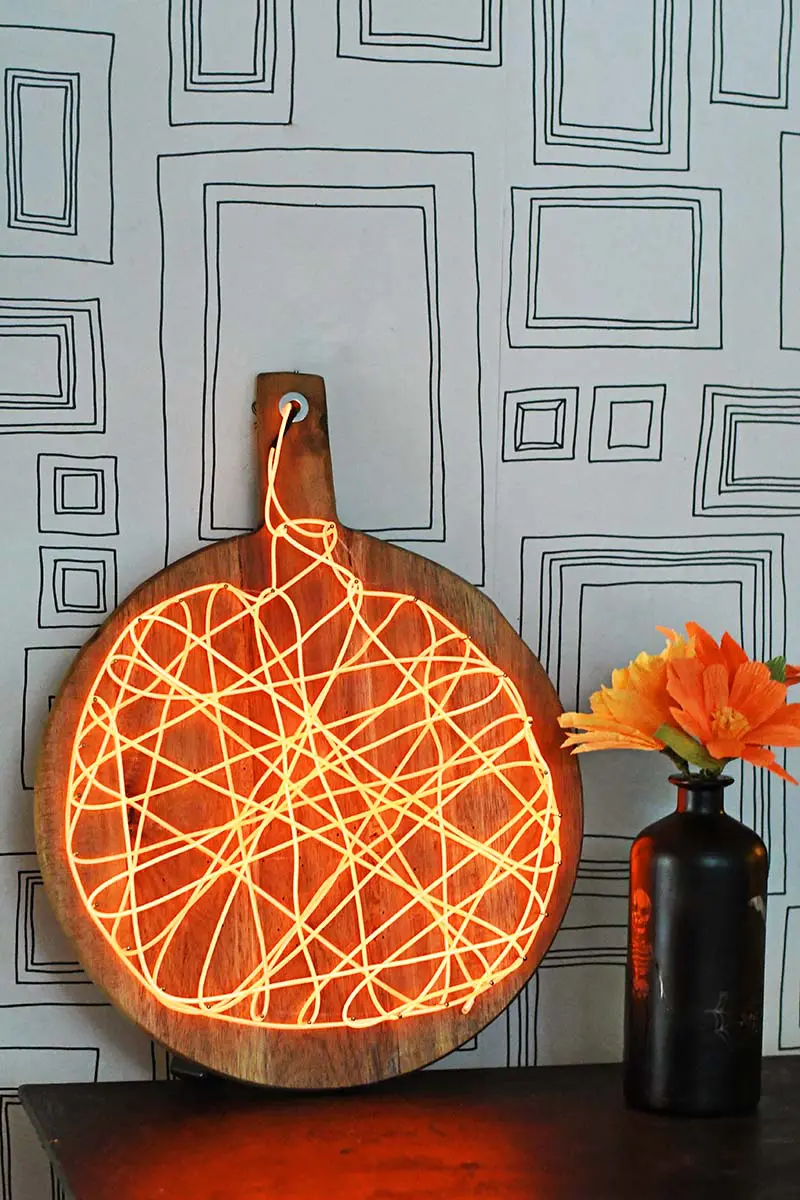
I created a simple outline with the EL wire for the final light-up pumpkin decoration.
I’ve also made some cute Halloween pumpkins as a wine cork craft before.
Light Up Pumpkin Decoration
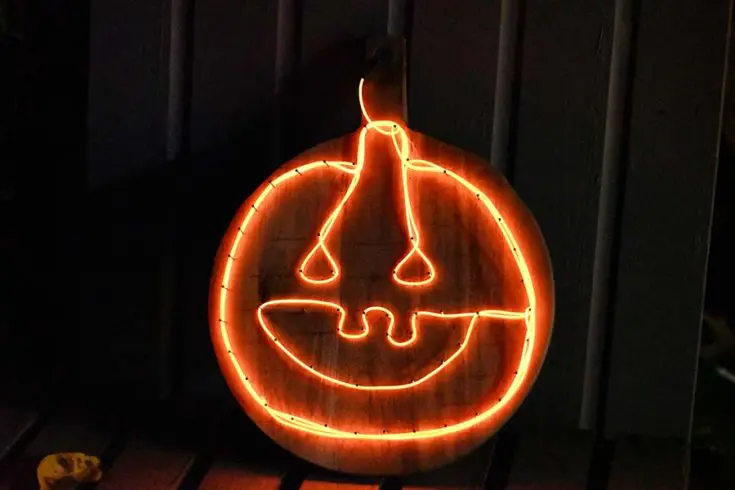
This is a fun illuminated fall and Halloween decoration for the home. With the el wire, you can create different light-up pumpkin designs. Make a Jack-O-Lantern for Halloween or just a simple string pumpkin for the rest of the fall season. Older children and teens really enjoy getting involved with this craft.
Materials
- Old round chopping or pizza board with a handle
- Panel Pins
- El wire in neon orange
- Paper template for Jack-O-Lantern
Tools
- Hammer
- Scissors
Instructions
- Decide what design you are going to make.
- For the Jack-O-Lantern draw out the face onto the chopping board in a chalk pencil
- For the other pumpkin designs just draw and outline of a pumpkin on the board
- Hammer in the panel pins following the drawings. Space the pins approx 3 cm apart
- Thread the el wire from the back of the board and wind it around the pannel pins.
Recommended Products
As an Amazon Associate and member of other affiliate programs, I earn from qualifying purchases.
Crafting with EL wire is a fun way to get illuminated decorations for the home. My teenage son particularly loves crafting with EL wire; we created a neon sign on wood.
It would be fun to replace the string in string art with el wire, like the Batman string art in this superhero craft collection.
Here are some of my other illuminated crafts and DIYs.
- String Art Neon Heart Sign
- Shrink Plastic Heart String Lights
- Fun DIY Light Box Sign
- Map Luminary Bags
Or if you are looking for more Halloween decorations & Fall crafts, then check out these.
- Cute Halloween Treat Bags
- DIY Halloween Bottle Lights
- Pine Cones Fall Mason Jars
- Free Vintage Halloween Postcards
- The Best Acorn Wreaths & Garlands
For more Halloween crafts, visit allfreeholidays.com


Fun Light Up Jack-O-Lantern - TheTellMeWhy
Tuesday 24th of September 2019
[…] is a fun craft for older children and teens. Create your own illuminated Jack-O-Lantern sign for Halloween. All you need is an old chopping board and some affordable El wire. The best thing is […]
Cecilia
Monday 9th of September 2019
How fun to create with kids! Thanks for sharing at Vintage Charm!
Claire Armstrong
Tuesday 10th of September 2019
Yes my son loved getting involved with this one.
Julie
Sunday 8th of September 2019
This is very cool. I love the el wire. it looks like such a fun thing to craft with. I need to make us something to put out this year, last year we just had a tiny ceramic pumpkin from the pound shop and the wind keep blowing the tea light out! I'm sure I can do better!
Claire Armstrong
Monday 9th of September 2019
Thank you. The wind won’t blow this light out and you could even mount it on a wall.
Printables - Download or Create Your Own + HM #249 - Life With Lorelai
Friday 6th of September 2019
[…] DIY Upcycled Light Up Pumpkin Jack-o-Lantern from Claire @ Pillar Box Blue […]
Chas Greener
Thursday 5th of September 2019
Love this Claire! I just love the Dollar Tree and all of the things they have to help us create. Thanks for sharing with To Grandma's House We Go, I'll be featuring you next week.
Claire Armstrong
Thursday 5th of September 2019
Thank you and look forward to seeing the feature.